https://www.youtube.com/watch?v=WEmIgzFVB-8
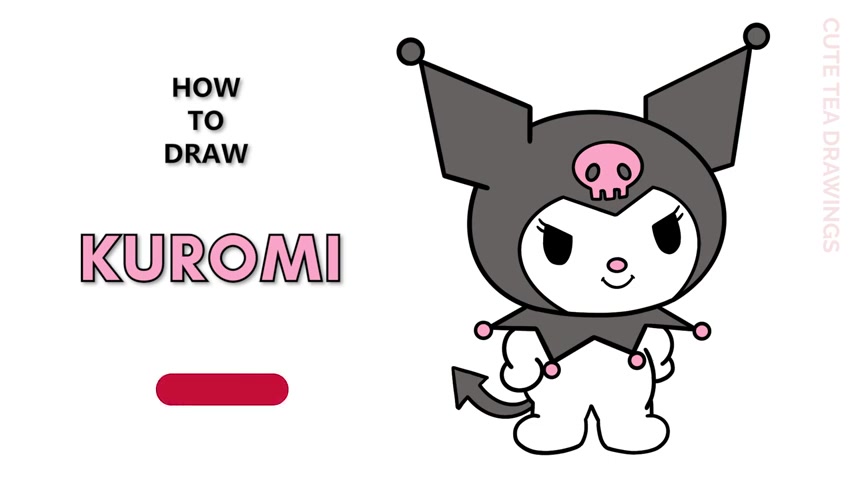
How To Draw Kuromi _ Sanrio _ Cute Easy Step By Step Drawing Tutorial
Hey guys , welcome to QT drawings today .
I'll be drawing Karoi .
I'll be drawing on my tablet .
You can also follow along on paper and please remember to like and subscribe .
OK .
Now let's get started with this drawing .
I'll be erasing some lines .
So I'd recommend drawing in a pencil first .
OK .
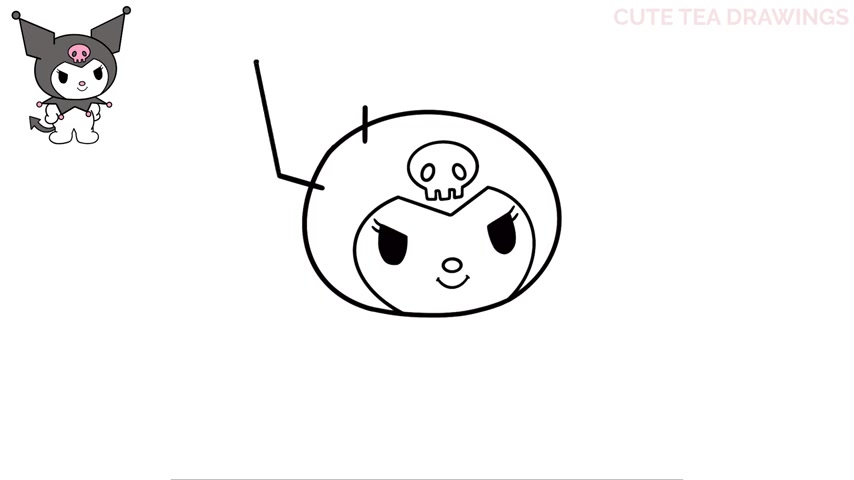
Let's first start off by drawing the shape of the head on the left side here .
Let's draw a curve down and in now from the top , let's continue it over to the right side like this and then close off the bottom with the curve next inside on the left .
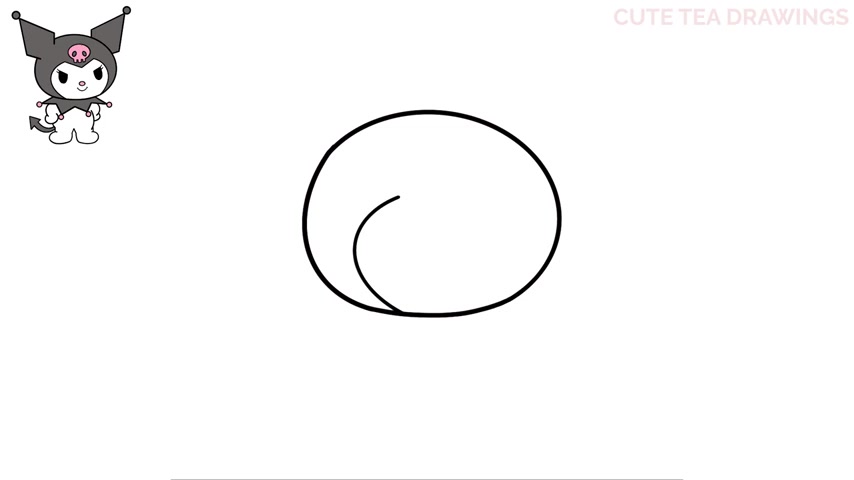
Let's draw a curve down to the bottom like this and the same thing on the right side .
Now let's close off the top with the V shape .
Let's draw the ice next inside on the left .
Let's draw an angle lined down and then a U shaped curve underneath to close off the eye .
Now , let's do the same thing on the right side for the other eye .
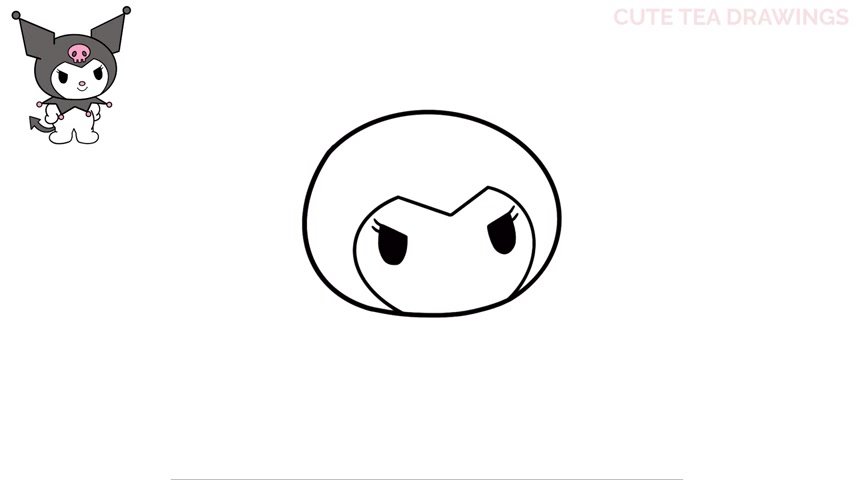
Now , let's color both eyes in black and now on each eye , let's add two eyelashes on the top outside .
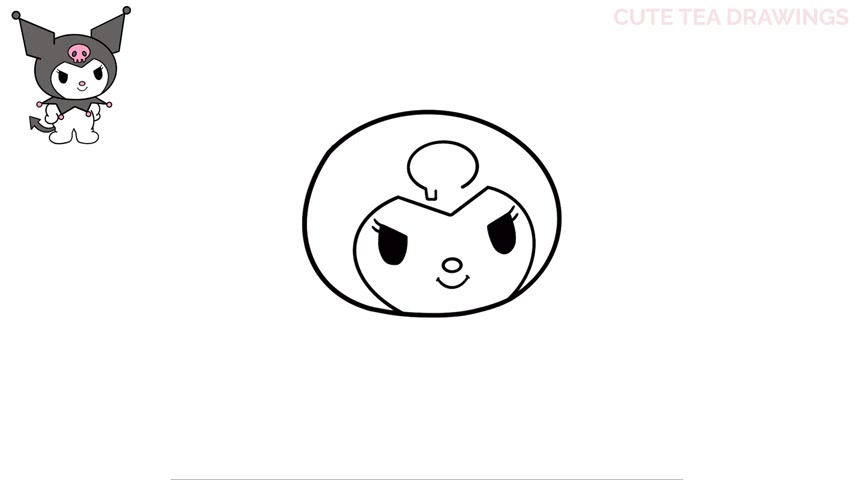
Let's draw the nose next in the center , let's draw sideways oval .
Now let's draw the mouth underneath .
Let's start with the curve and then at the end , let's draw a small diagonal line at either end .
And that's it for the face .
Next , let's draw the skull on the forehead .
Let's start with an oval shape that's open at the bottom .
Now , from the bottom left , let's draw a square sheet down and back up and the same on the right next , let's add two lines in at the top and then one more square shape down .
Now inside was drawn angled oval on the bottom left and the same thing on the bottom right next for the head .
Let's add the pointed ears shapes on the top left here is drawn angle up and let's move down and we're gonna draw another angle out from the side here .
Now let's connect these with the pointed V shape up to the left and next , let's add a circle at the very top .
Next .
Also raise the headline inside the ear .
Let's draw the other ear now on the top , right , but behind the head .
So starting from the top , let's draw an angle line up here and another one from the side and then we're gonna close it off with a pointed V again up to the right .
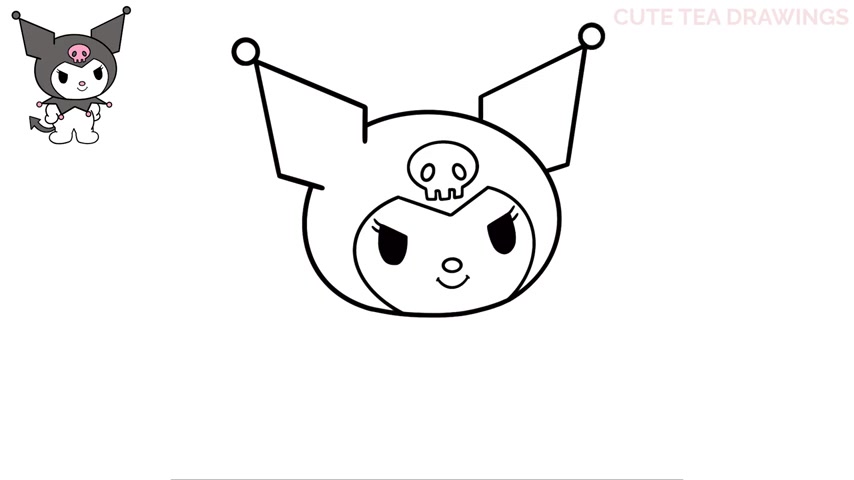
Now at the top , let's draw a small circle just like the other side and that's it for the head .
Let's draw the body next .
Let's start underneath the left side of the head and we're gonna draw a V shape down and the same thing under the right side .
Now , let's hop back over to the left and we're gonna draw another V shape down like this and then one more to close it off .
Next .
At the end of each of these points .
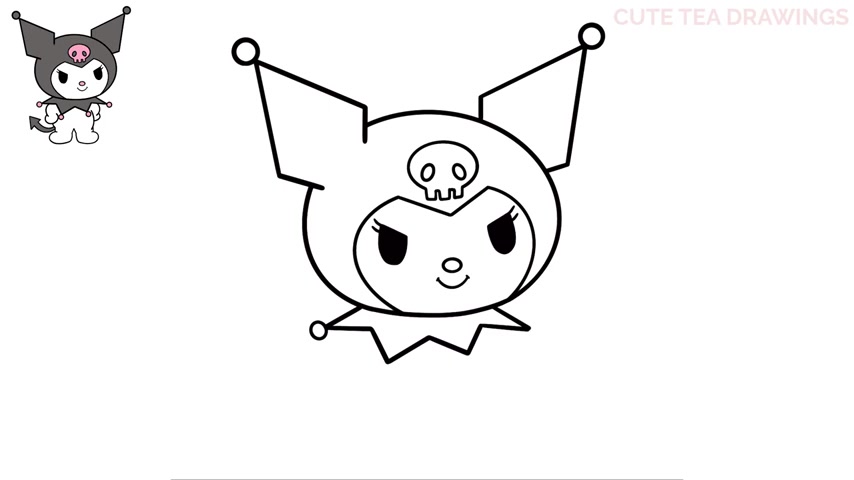
Let's draw a small circle next .
Let's draw the left arm underneath the left side .
Let's draw a curve down .
Now from the bottom , let's hop up slightly and we're gonna draw a curve back in and up .
Now underneath the arm here , let's draw a diagonal line down and then one more smaller line down like this for the side of the body .
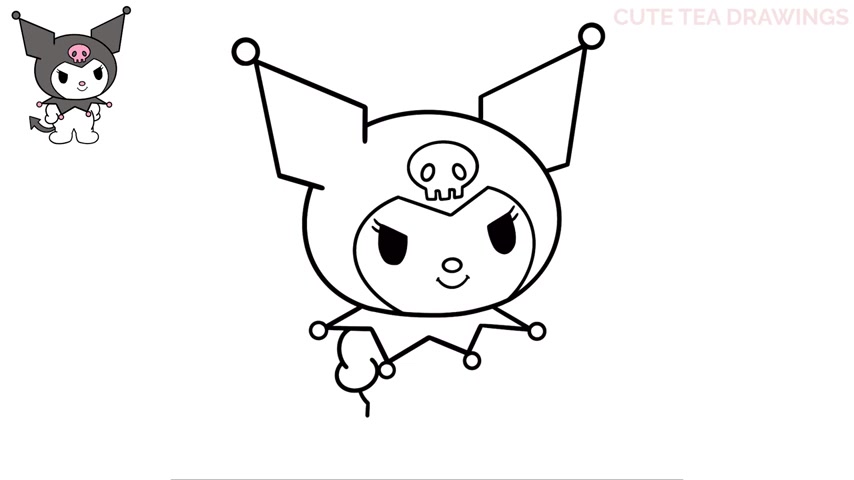
Now let's hop over to the right side and we're gonna draw a long curve for the right side and then at the bottom , a small line down here , let's draw the right arm and hand .
Now underneath the right side of the collar , let's draw a curve .
Then from the end , let's hop up slightly and we're gonna draw one more curve to close off the hand .
Let's draw the legs and feet .
Now in the middle , let's draw a V shape up .
Now , from the bottom , let's draw a curve down like this on both sides .
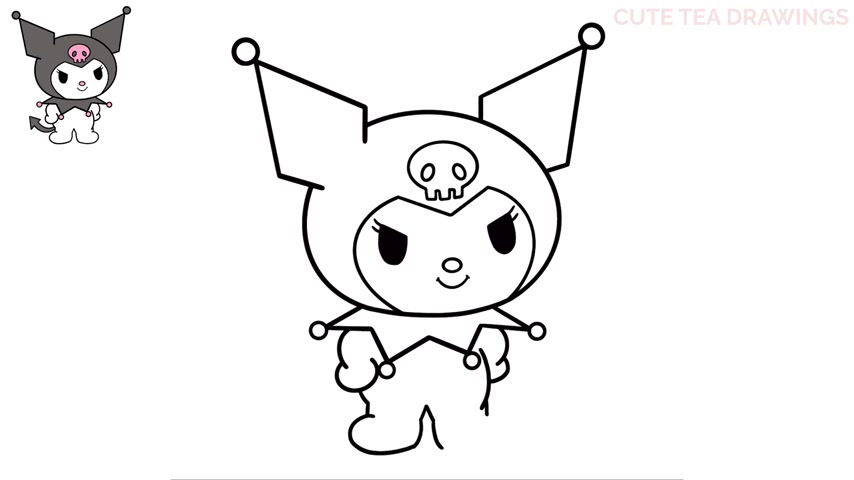
Now , let's hop back to the outside and we're gonna draw a curve out and back in for the bottom of the foot and the same thing on the right and that's it for the feet .
Lastly , let's draw the tail on the bottom , left , on the bottom left .
Let's draw a curve up and out .
And then the same thing underneath .
Now from the ends , let's draw small angle binds like this and then we're gonna close it off with the point and that's it for Kami .
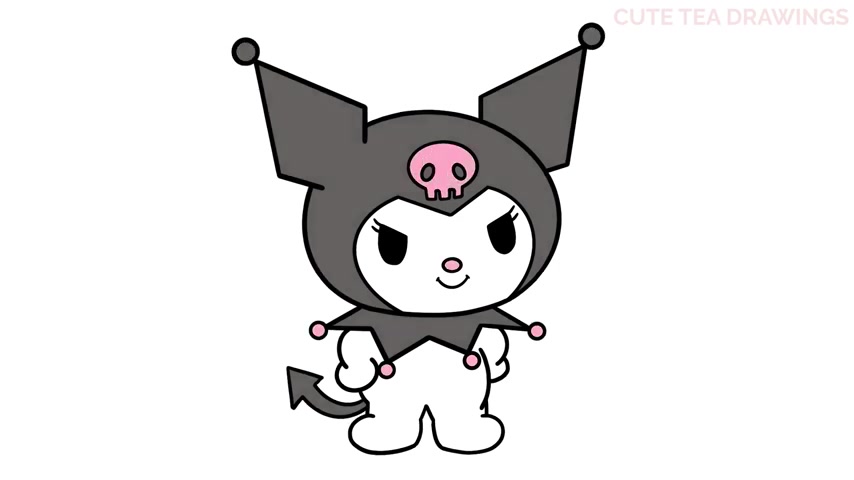
Now let's quickly color her in and then hope you enjoyed drawing along with me and please remember to hit that like button and subscribe for more videos .
Thanks for watching .
Are you looking for a way to reach a wider audience and get more views on your videos?
Our innovative video to text transcribing service can help you do just that.
We provide accurate transcriptions of your videos along with visual content that will help you attract new viewers and keep them engaged. Plus, our data analytics and ad campaign tools can help you monetize your content and maximize your revenue.
Let's partner up and take your video content to the next level!
Contact us today to learn more.