https://www.youtube.com/watch?v=d4zVRA6xHvo
How To Make A Portfolio Website in WordPress
Hi guys today , we're going to see how you can get your own portfolio website .
Let's say you are a professional and you want to showcase the skills and works you have done on a website , you can do that easily by creating a portfolio site .
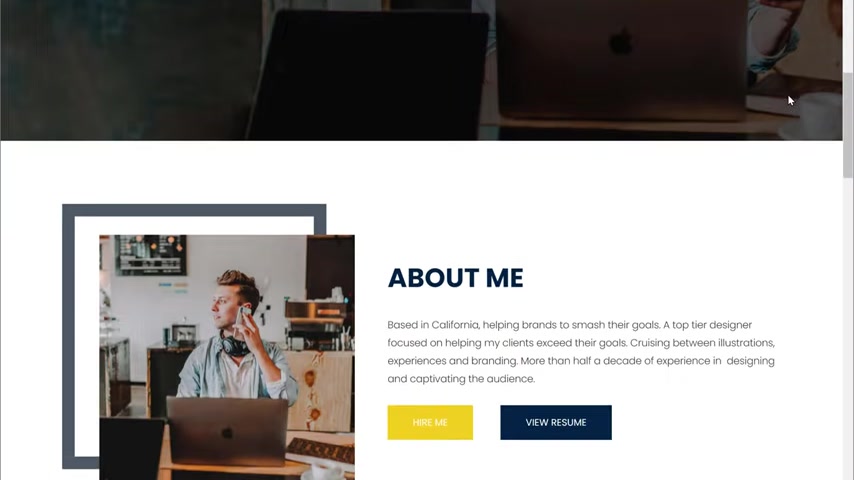
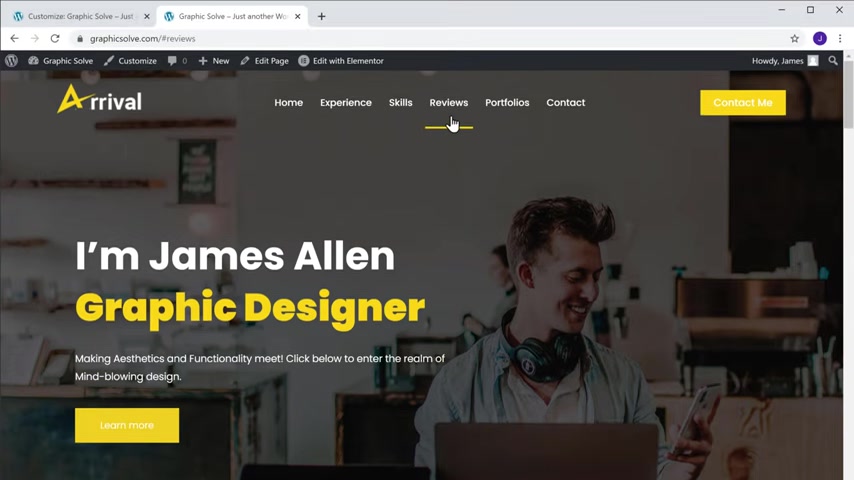
So after watching this video , you'll be able to create your own portfolio site like this where you can showcase your skills and works like this .
So people can easily check out your profile and contact you if they want to reach you .
Ok ?
I'm Brian from website learners and let's start building a portfolio website .
We're going to build a portfolio site in just two parts .
The first part is to launch a website .
Once you have launched your site , your portfolio website will be live on the internet and you can share your site with anyone .
So the launcher will pre decide we're going to do four steps .
The first step is to choose your website name .
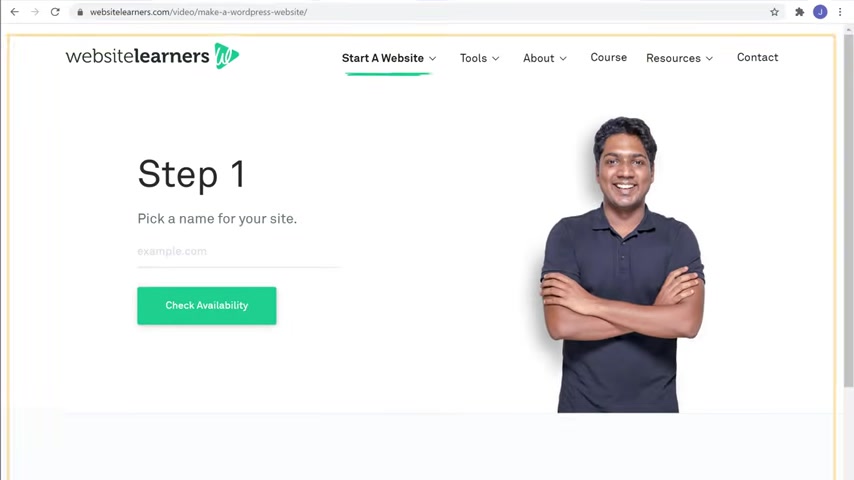
Now to choose your name , just click the link below this video and it will take you to this page .
Now here , enter the name you want for your website .
I have already picked a name , which is graphics soul dot com .
So I'm gonna search for it and click , check our ability .
OK ?
So you can see that graphics all dot com is available .
Once you get your name , you can go to step two , which is to get your hosting and domain .
So hosting is the place where your portfolio sites files will be stored .
And domain is your website address which will appear here .
So to get your hosting and this domain name , let's scroll down and click get hosting .
Now , this will take you to a website called blue hosts .
This is the place where you can get your hosting and domain .
So to get it , let's click get started .
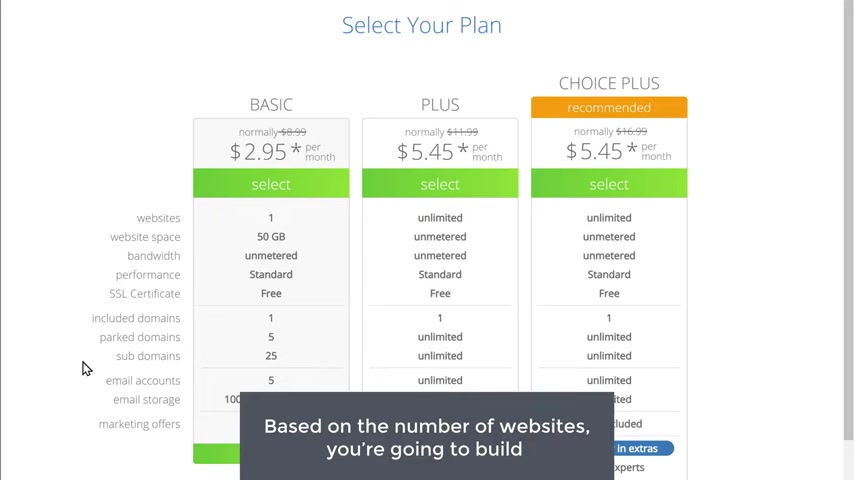
Now , here it will ask you to choose a plan .
So based on the number of websites you're going to build , you can choose a plan here .
I want to build one website .
So I'm going to choose this plan and it will take you to this page .
Now here , enter the same name which you selected before .
So I'm going to enter graphic solve and click next .
Now , as you can see , our domain is still available now to get this domain in hosting .
Let's fill up these details .
Now , here you can see that we're getting our domain , which is graphics so dot com for free and our hosting .
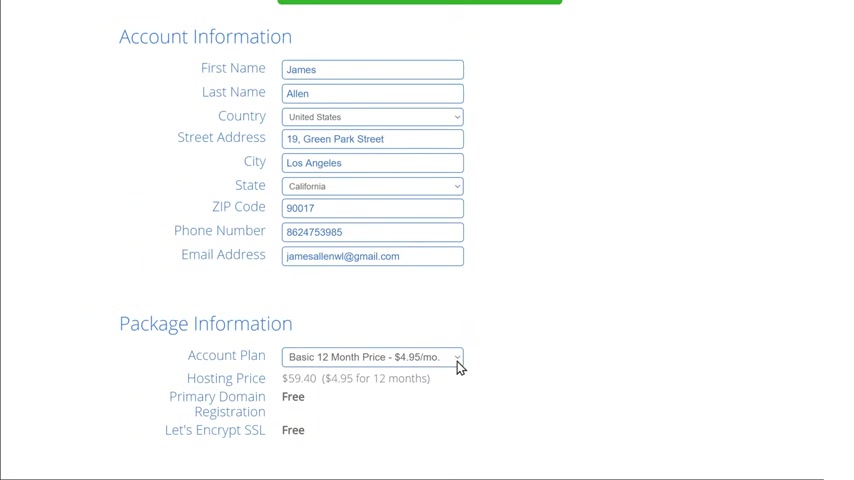
Now , this hosting will be valid for 36 months , which is for three years .
So once we place this order you can build and use your portfolio site for the next three years .
Now , if you don't want to get your hosting for three years , you can just click here and then select 12 months which will give you the hosting for $59 .
But I'm going to choose 36 months so that I can get the lowest price .
Now , just scroll down and here to reduce the price .
Let's uncheck these items .
And as you can see , our price has been reduced now to get our domain and hosting .
Let's enter our payment details and click submit .
So now we've successfully made the payment and we have got a domain and hosting .
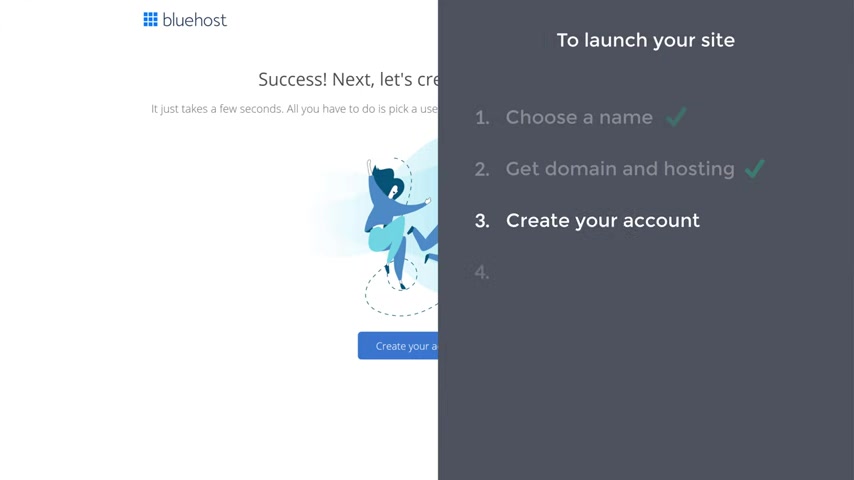
Once you have got your dominant hosting , we can go to step three of launching your site , which is to create your account on blue hosts .
So to create the account , let's click here and then enter a password for your account and click create account .
And you can see that our account has been created .
So let's log in and then enter the same password and again , click log in .
Ok .
So now you have created your account and logged in .
We can now go to the final step of launching a site which is to install wordpress .
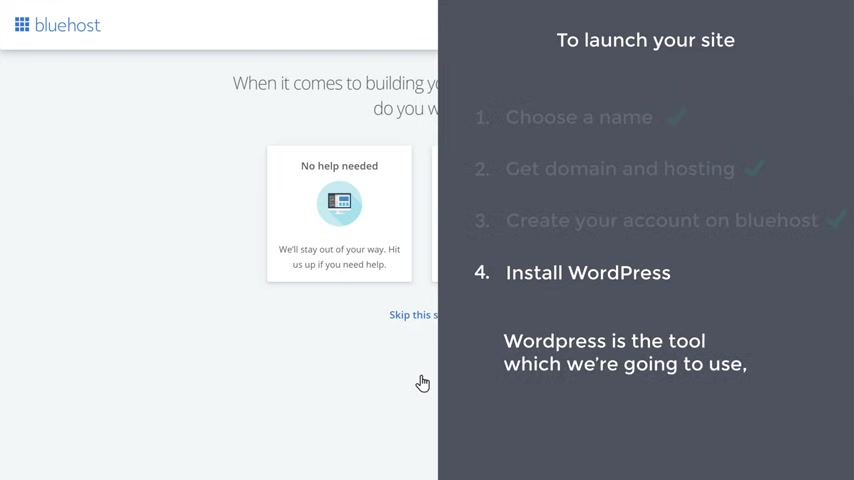
Wordpress is the tool which we are going to use to create a portfolio website .
Now , once you install wordpress , we can start building our site .
So to install wordpress , all you have to do is just click , skip this step .
And as you can see , Verus is now being installed and it's done .
Ok .
So Wordpress is now installed and this means we can launch a site on the internet .
Now , before we launch our site , let's confirm my email address .
So let's go to our inbox and then open this mail and click , verify .
Ok .
So now we've successfully confirmed our email address .
This means we can launch our site .
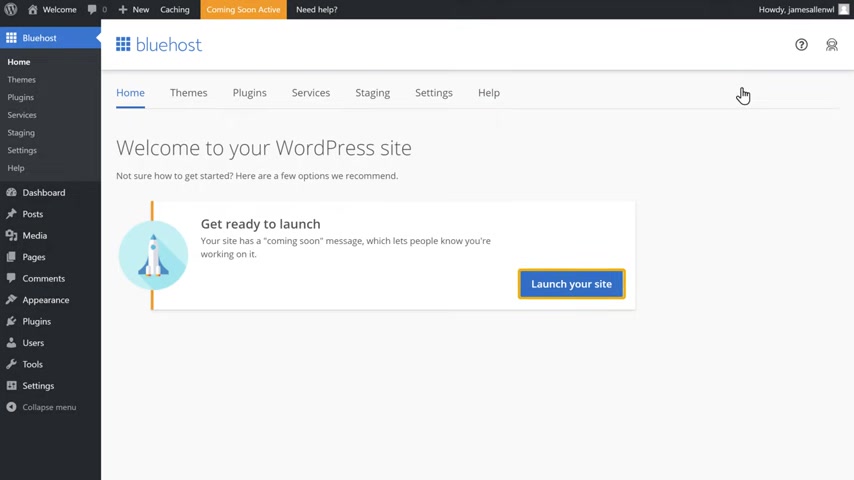
So to launch our site , let's click home and then log into wordpress and click on your side .
And as you can see our website is launched .
So to check it , let's open a new tab .
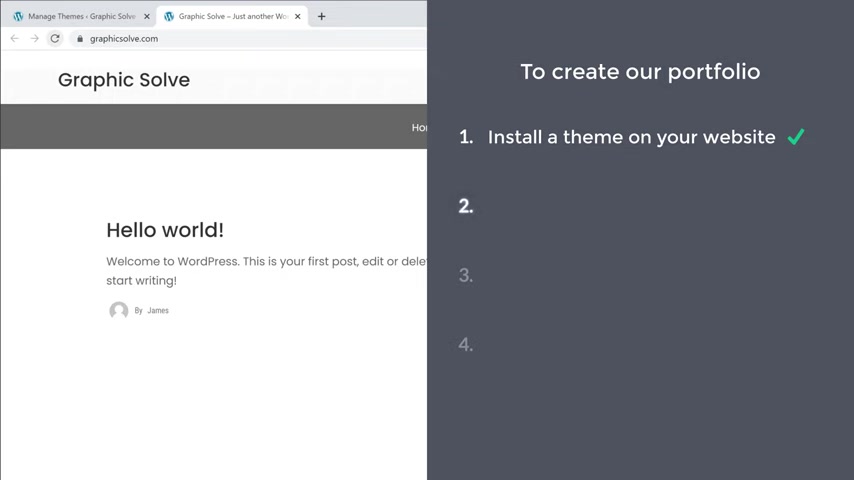
And now if we type graphics all dot com and press enter , you can see that we have a brand new website on the name which we selected and anyone in this world can access the site by going to this address .
So now we have successfully launched our site on the internet .
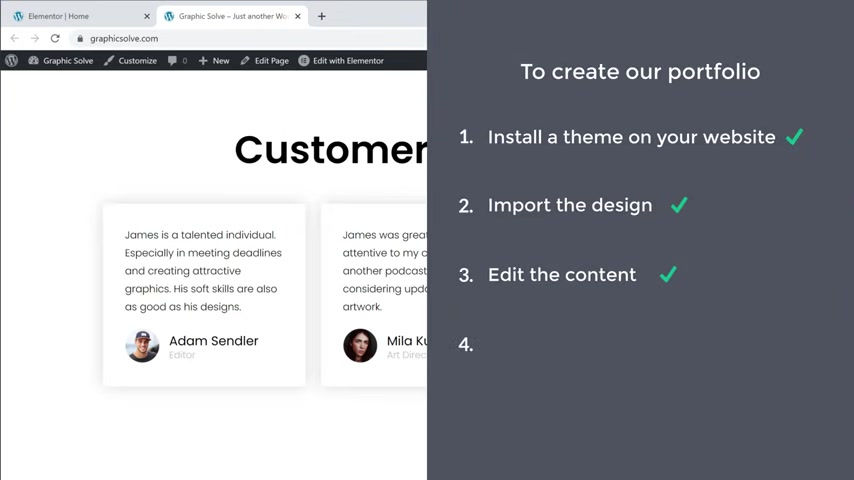
Once you've launched your site , we can go to the second part of this tutorial , which is to create a portfolio website .
Now to create our portfolio website , we are going to do four steps .
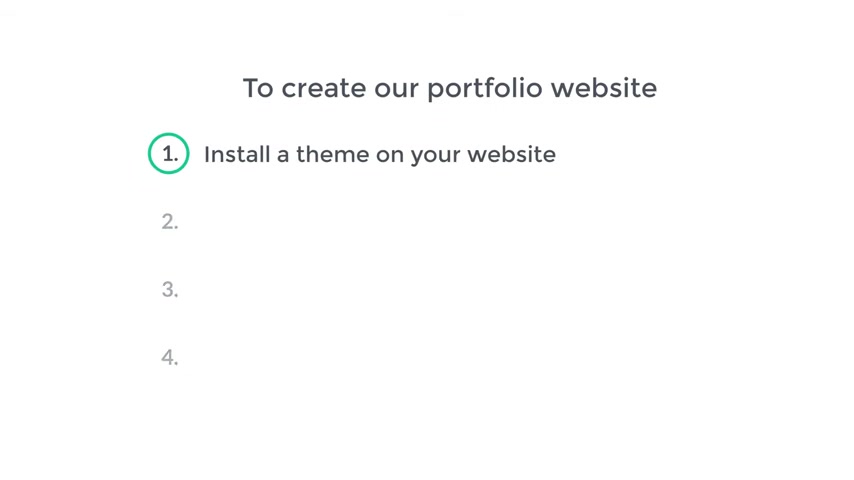
The first step is to install a theme on your website .
So to install a theme , just go here and click dashboard .
So this is the place where you can control your website .
Let's go to appearance , click themes , then kick knew not here .
Search for a theme called arrival me and you will get this theme now to install this theme , just click , install and click , activate .
And now we have successfully installed our team .
So now if you go back to our site and click the first , you can see that we have got a new team .
Once you have installed your theme , we can go to step two , which is to import the design now to create a portfolio website .
We're going to first import a readymade design and then edit it to make our own site .
So to import the design , let's go to our wordpress dashboard .
Click , let's get started and click in demo .
Now to import our design , you need to install this demo importer .
So let's click , install and activate once it is installed .
As you can see , we can now import any designs we want from here .
Now , as we are creating a portfolio site , I'm going to select this design .
So let's click import .
Now , in order to import the design , we need to install these plugins .
So first let's install these plugins .
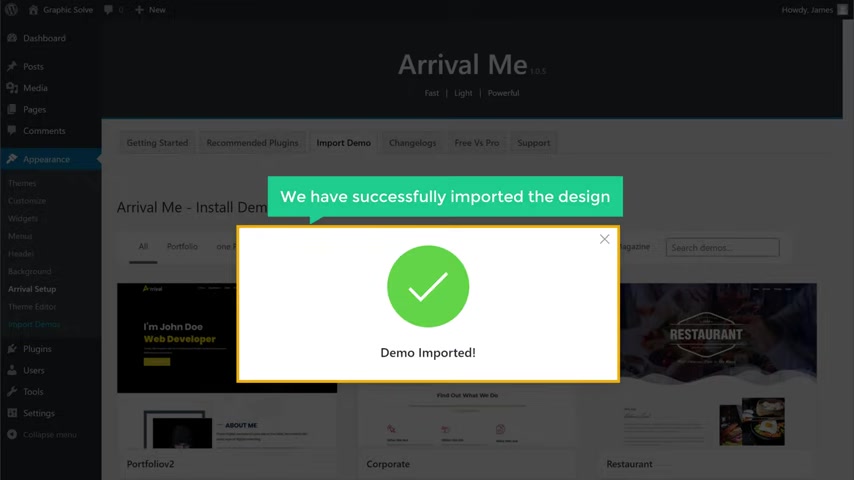
Once you have installed the plugins , click go to the next step and then click , install this demo .
Now you can see that we have successfully imported the design .
So reject it .
Let's go back to our site and click refresh .
You can see that we have successfully got our design and we have got these menu items here .
So now click skills .
It'll take you to the skill section , which is on the same page .
Similarly , if you go to any menu , it will take you to that particular section .
OK ?
Once you've imported the design , we can go to step three , which is the content of our site .
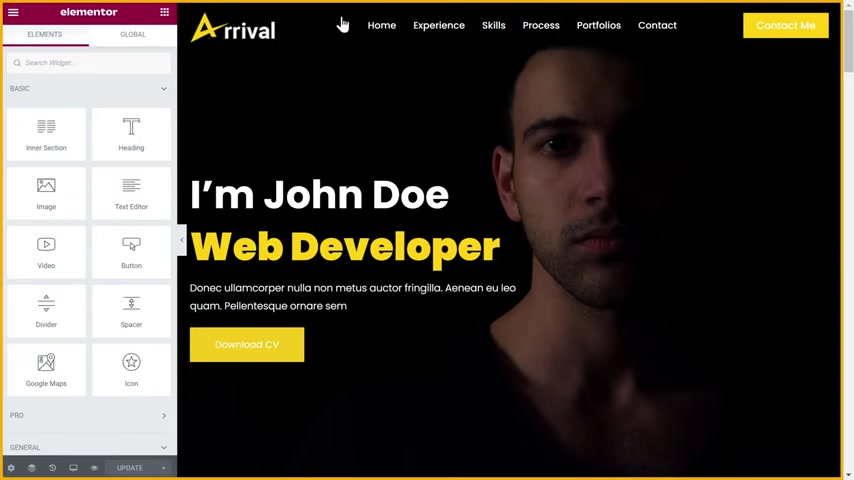
So to edit our content , let's click , edit to the element or and it will take you to this page .
Now , let's say you want to change this text , just select it and enter the text you want .
So to change any text on this page , all you have to do is just select it and then enter your text .
Next .
If you want to change the text on this button , just select it and then enter your text .
Similarly , you can change any text you want on this page .
Next .
If you want to change this background image , just right , click on the image and select edit section and then go to style tab .
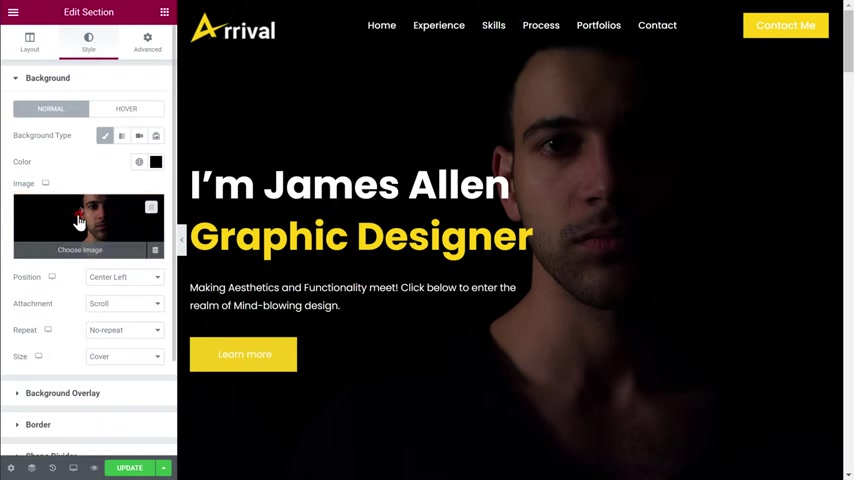
Now to change that you made , just click on the image and then drag an image you want and drop it here and you can see the background image has been changed .
Now , in the same way we can change the text and image on this website .
So all you have to do is just click on the image , click here and then drag and drop your image .
Once you have edited the contents of the design , just click update and all your changes will be saved .
So now if we go back to our site and click refresh .
You can see that we now have all the content which we added .
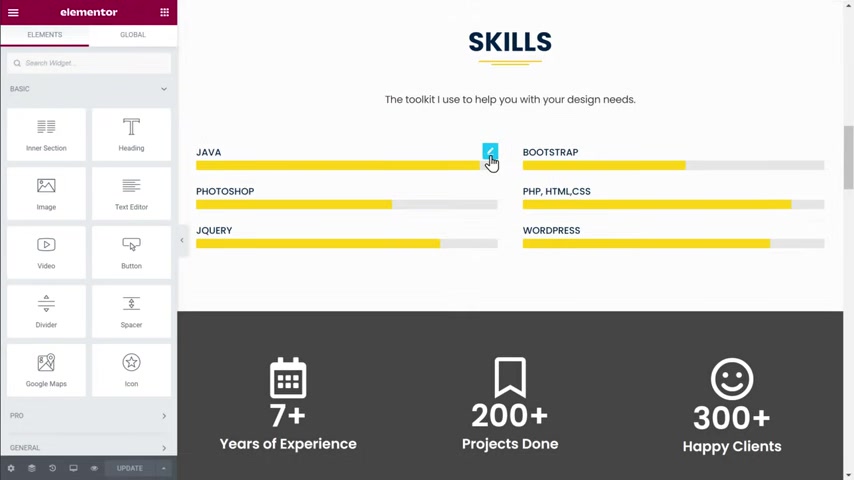
Now , if you see here , we have the skill section .
So if you want to make changes to these , let's go back to Elemental .
Let's say you want to edit the skill name , just go there and click the pencil icon and you will get these options to edit the skills not here .
Enter the name you want and you can also change the percentage of your skill just by dragging this similarly , you can change all the skills listed here .
Now , if you want to change the numbers on this section , just click on it and then you can change it from here and here you can change this text .
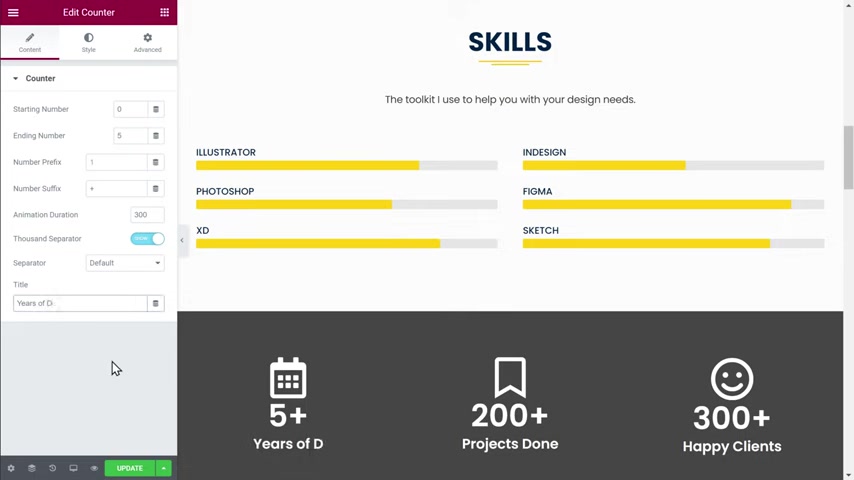
So I'm going to enter years of designing .
Now , in the same way , you can change these skills and once you have made the changes , not to save it , click update .
And now if you go back to our site and click the first , you can see that our skill section has been updated .
Ok ?
Now , let's say you want to remove the section completely and add a new one .
All you have to do is just go back to this tab now to remove the section , just go here and click this .
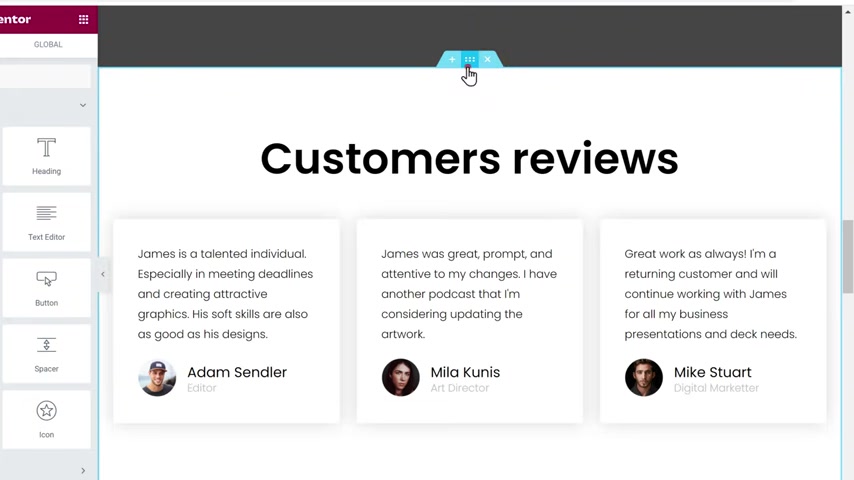
And as you can see the section has been removed now to add a new section , just click on the plus icon and then click here .
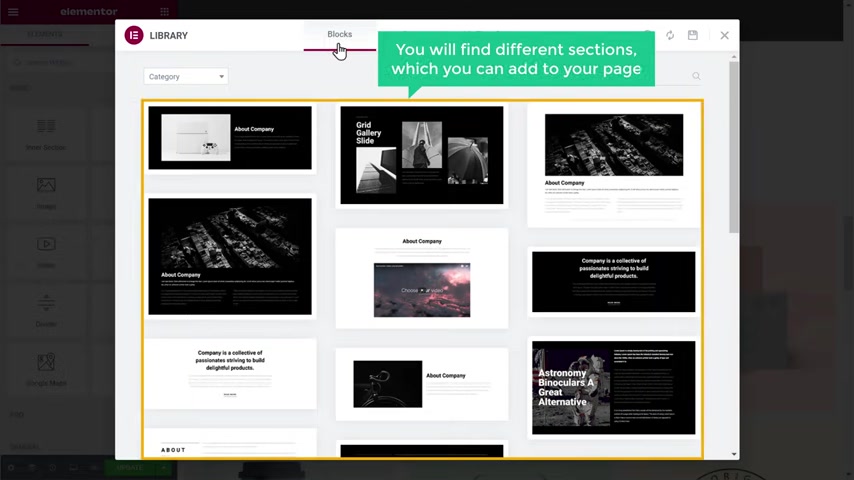
Now go to blocks and here you will find different sections which you can add to your page .
Now click here and you will get different categories .
I'm going to search for testimonials and you will get different testimonial sections .
Now select the one you want .
I'm going to select this one not to add it , just click insert .
And as you can see , we have got a new section now like we did before , you can edit the content of this section .
Once you're done with the changes , click update .
Now if we go back to our site and click your first , you can see that we now have a new section .
So now we have successfully edited the content of our site .
Next , let's go to the final step which is to edit the content of our menu section .
Now if you go to our menu , you can see that we still have the menu item which we removed from our site .
So to add a new section to the menu , let's click customize and click here to edit the menu section .
Then click edit menu first , let's remove this menu item .
So to remove it , just click here and click , remove next , we can add a new section to the menu .
So to add it , let's click , add items and click custom links .
Now here give a name for your new menu item .

I'm going to enter reviews and here you need to give an ID for your section .
So to give an ID , just enter hash and then type the name of the menu item , then click , add the menu .
Now , here you can rearrange the menu item as you want .
I'm going to place it here .
Once you've done that , click publish and your menu item will be added .
So let's go back to our side and click refresh .
And here you can see that we have now got a new menu item .
But now if you click it , you can see it does not take us to the respective section of our side .
So to make it work , let's go back to element or and click here .
Now , click advanced .
And here you need to enter the idea of the menu item which you have given earlier without hash once you have done that click update and the menu item will not work properly .
So to check it , let's go back to our site and click refresh .
Now , if we click reviews , you can see that it takes us to the review section .
So this is how you can edit the menu section .
Next , let's see how you can change the logo of a side .
So to add the logo , let's go back to customize .
Now , as you can see that we have the default logo .
So to add a logo , just click here and click change , logo , no drag a logo from your computer and drop it here .
And as you can see A loga has been changed .
Once you have done that click publish .
Now , if we go back to our site and click refresh , you can see that a loga has been changed .
And finally , let's see how you can change the photo section of our site .
So to change the photo section of our site , let's go back to customize and click this blue icon .
And here enter the text you want similarly do this for the remaining places in the photo section .
Once you have done that click publish and your photo section will be updated .
So now if we go back to our site and click refresh , you can see that we have successfully got a new photo section .
So that's it guys .
This is how you can create your own portfolio site using wordpress .
Now , if you're ready to make your own portfolio website , just click here and it will take you to the page which we saw in step one , which was choosing your domain .
So just pick a domain and start building your website .
Now , if you want to learn more about wordpress , you can check out a complete wordpress course by clicking the link below this video and also make sure you subscribe to website learners to get more videos like this one .
Thanks for watching .
I'll see you in the next video .
Take care .
Are you looking for a way to reach a wider audience and get more views on your videos?
Our innovative video to text transcribing service can help you do just that.
We provide accurate transcriptions of your videos along with visual content that will help you attract new viewers and keep them engaged. Plus, our data analytics and ad campaign tools can help you monetize your content and maximize your revenue.
Let's partner up and take your video content to the next level!
Contact us today to learn more.