https://www.youtube.com/watch?v=LtTZhHqWNVQ
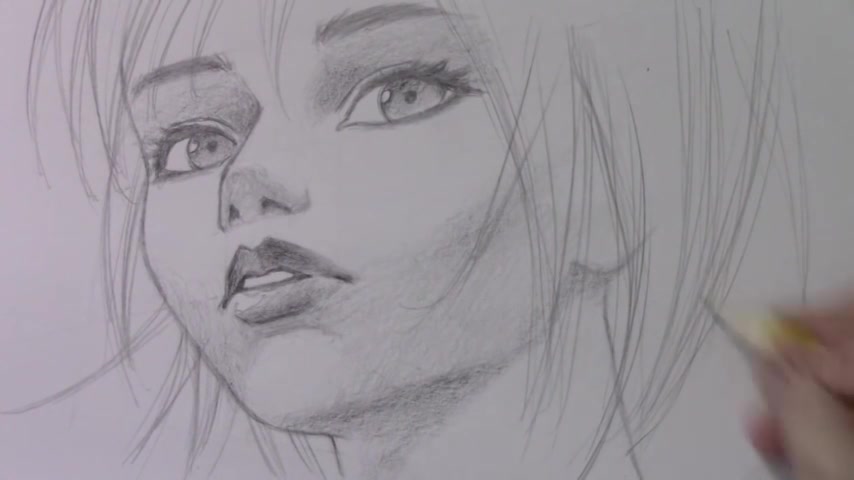
How to Draw a Face, Seen from Below - 'Worm's Eye View'
Hey there everybody .
It's Mark Crowley .
I'm back with another how to draw video .
You know , I've done lots of videos on how to draw the human face uh over the years .
But there is one such video that I have avoided until today frankly because I was just a little too scared .
It's a difficult tricky thing to draw .
That is the face as seen from below the so-called worm's eye view .
That's what we're gonna be doing today .
Wish me luck .
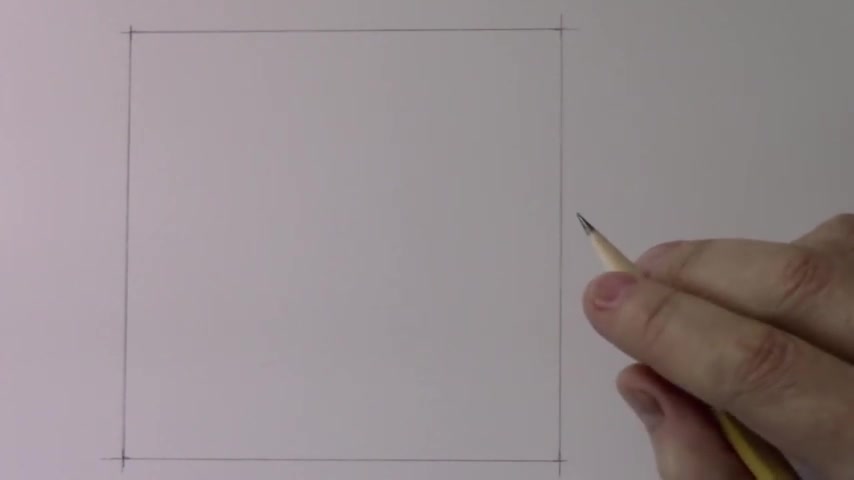
My friends , I've got a square here to show you the size .
I'm working at , it is four inches on all sides that works out to just a little bit over 10 centimeters .
I'm gonna draw a few uh diagonal lines here uh to um get started .
Uh If you don't like doing uh guidelines , you can just go ahead and skip this part , but I'm gonna go ahead and put these lines in place .
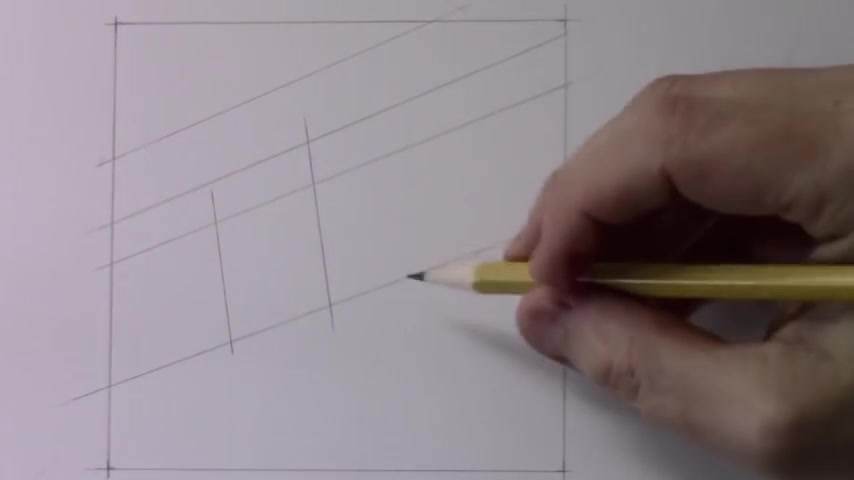
So you see , we've got four lines here all roughly parallel just to tell you what we're doing .
These two lines that are more tightly packed together .
Those are gonna be the lines that help us place the eyes , this line up here will be for the eyebrows and this line down here uh will eventually be for the mouth .
I'm gonna go ahead now and draw two more um also slightly diagonal lines .
Uh And then we're gonna start getting into drawing the actual uh basic guidelines of the face .
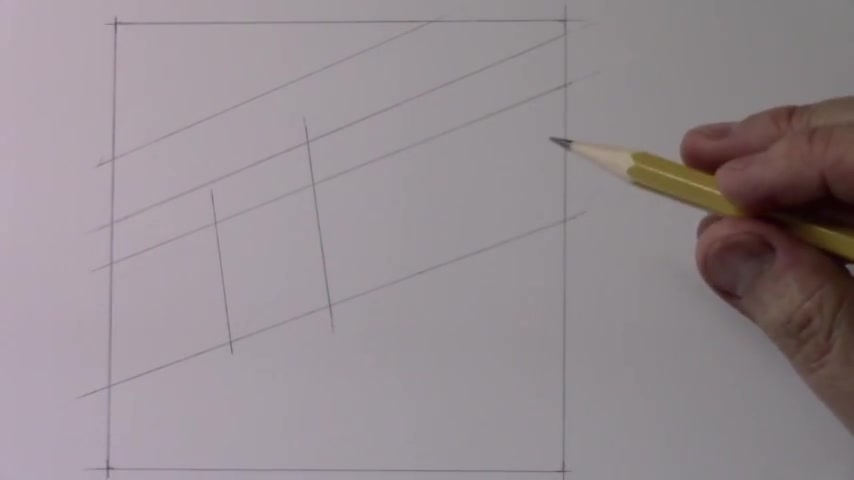
OK .
So you see , we end up with a sort of trapezoid , trapezoid deal a shape here that's going to help us place the uh lines of the mouth , uh the tip of the nose .
And uh at least one of the two eyes , uh I should say right now that this is not a traditional uh way of teaching how to draw the human face .
I think a real , you know , serious art teacher would tell you no , you need to study the structure of the human skull and so forth .
And that's true .
This is really kind of a uh a shortcut method .
I'm a big believer in there being multiple ways of getting to a good final result .
And this is for people who , you know , don't want to undertake the years of training that are needed uh to really learn how to draw the head from any conceivable angle .
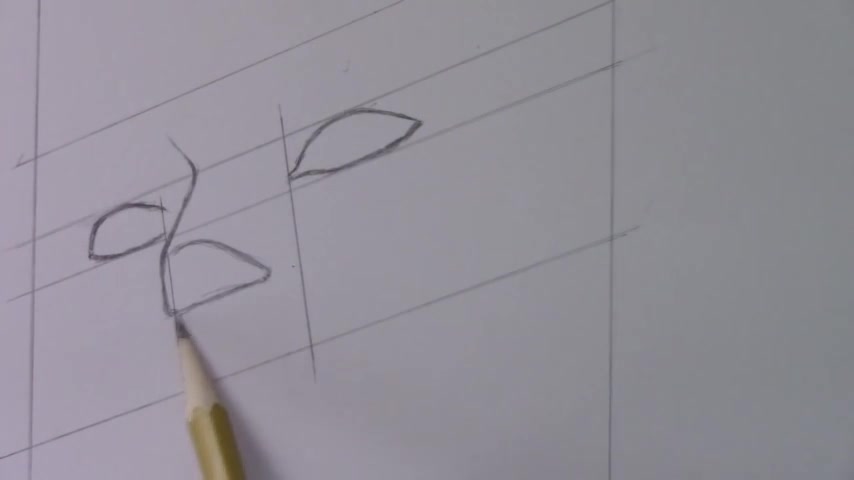
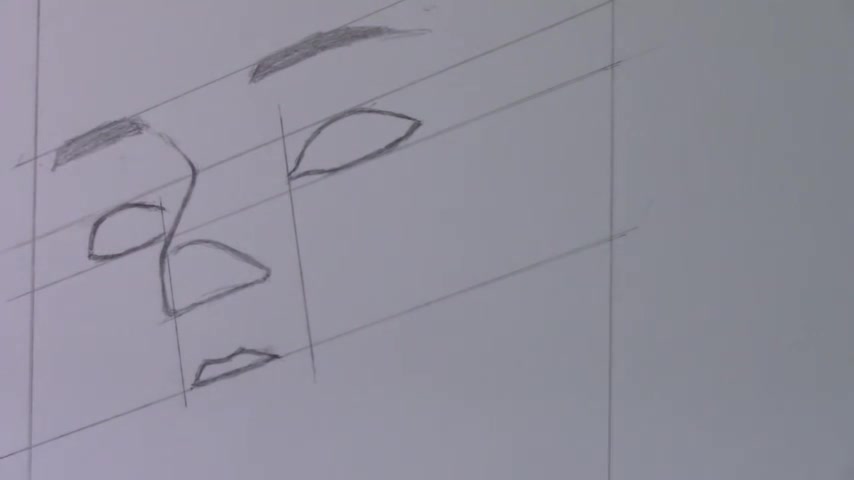
Anyway , let's get on to drawing uh the basic shape uh of the ice .
So here are the two shapes of the eyes , kind of uh almost leaflike shape , I guess you could say over here , you see the tear duct over here , it's gonna be hidden by the nose .
So I didn't bother to go into detail there notice though that this is more compact from side to side because the face is going to be turning away from us just a little bit .
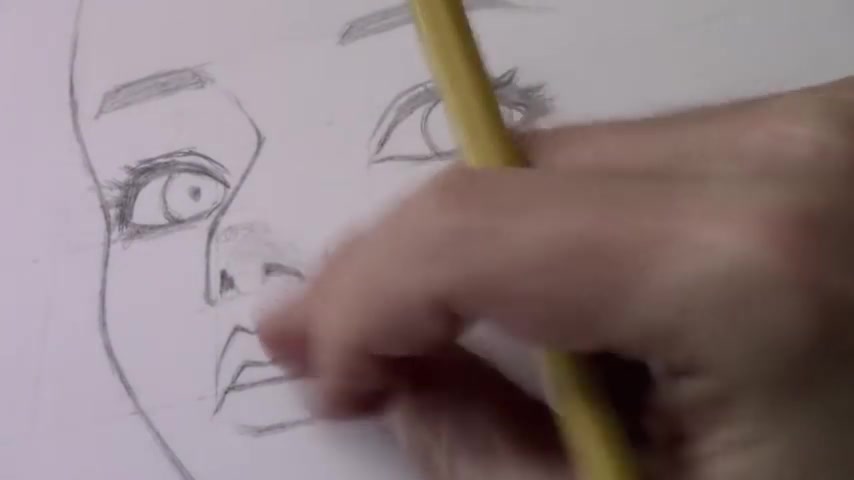
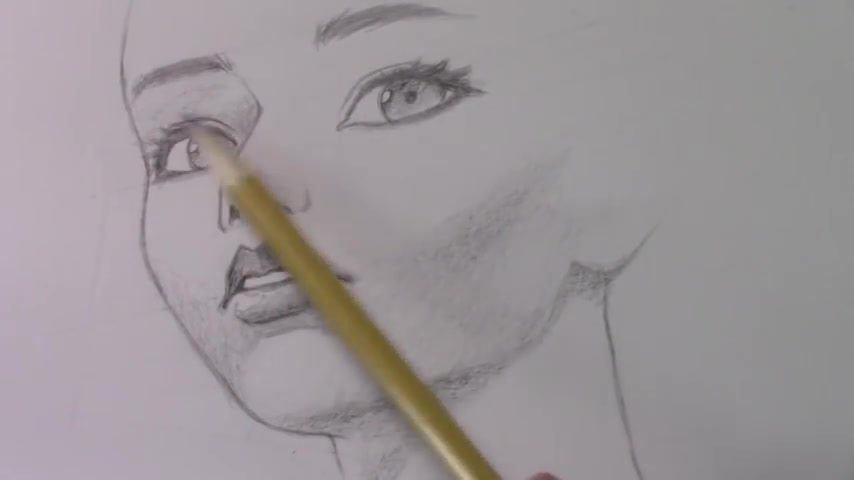
And uh now I suppose we should zoom in a little more so that you can see the details uh as I begin to uh sketch in the basic lines of the nose .
Now , I would say drawing the nose is really what makes the worm's eye view so difficult because you're seeing it from an angle that you're not used to seeing , uh which is to say the underside of the nose becomes very visible .
Uh The bridge of the nose is foreshortened , um paying attention using my kind of weird shortcut method .
Uh If you've got that square in place , you can pay attention to how this comes uh the bottom side of the nose comes just outside of that line .
Uh There's a certain relationship between the eye and where this comes to a stop .
Or you again , you can sort of consult that the , the line here that I've drawn for the um connecting the two nostrils uh is around the halfway point , maybe just a touch closer uh to that line .
And then getting the angle here , you know , even if you paid attention to that triangle right there , that might help you uh for getting this uh uh line in place for the bridge of the nose Well , this is all just very basic guideline stuff .
We're gonna be refining this quite a bit as we go along .
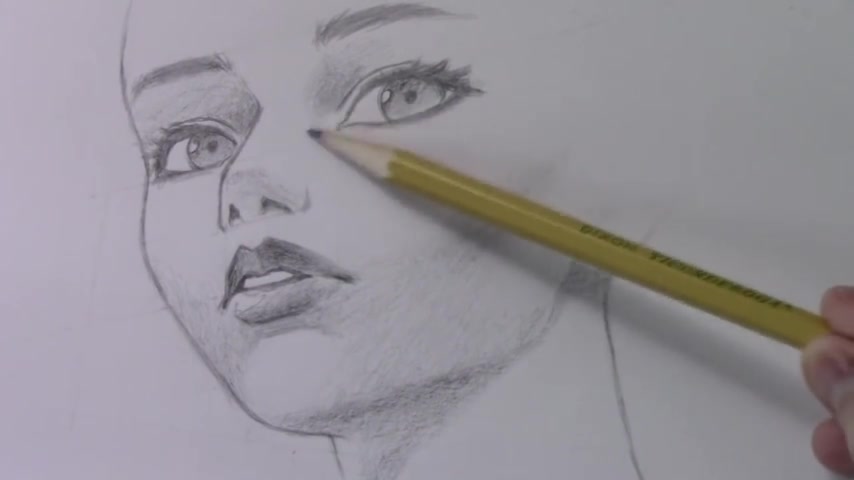
But for now , uh why don't we go ahead and draw the eyebrows ?
So drawing the eyebrows uh presents uh challenges all its own .
The uh what's happening because of the structure of the face is the eyebrows shift over here uh to the left .
But I think if you've got that um uh bridge of the nose line in place , it sort of , you can sort of understand the relationship between those two that helps you place that .
Uh And of course , this initial box , if you'd put that in place , you can see how close this comes uh to the edge there .
But basically both of them shifting over here uh in relation to the eyes to their respective eyes .
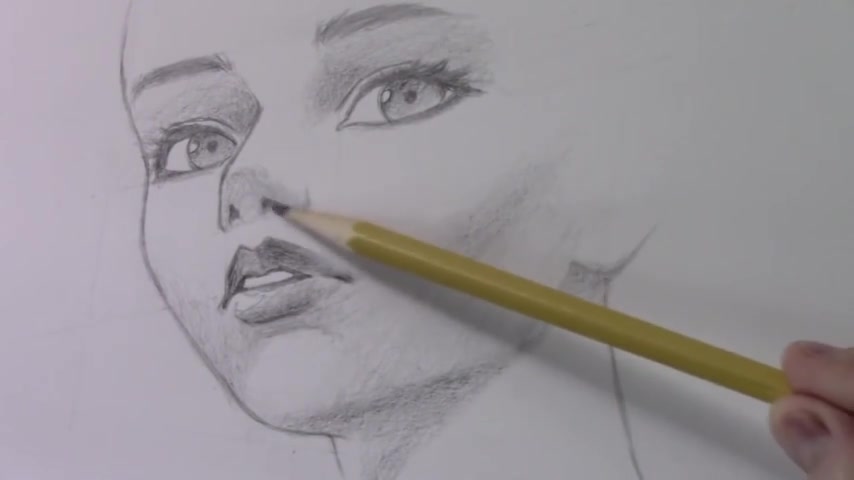
Uh Let's go ahead now and draw um just a very basic guideline for the opening of the mouth .
So this is really just uh the kind of the teeth in a way you're eventually gonna see just this little parting of the lips .
Um wanted to do this first as a way of uh you know , inching our way towards drawing the lips , which is kind of a complicated arrangement of lines .
But again , we got this sort of relationship between the structure of the bottom of the nose and the opening of the mouth .
Uh If you pay attention to how those uh you know , And of course , this is resting neatly upon that line .
The whole reason I put that line there to begin with .

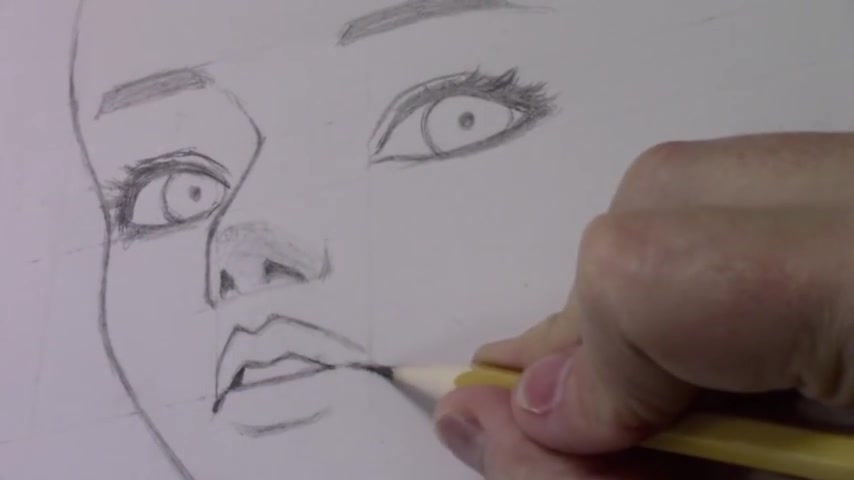
Well , let's go ahead and start drawing a line for the upper uh lips , the sort of bow of the upper lip and maybe a line down here for the lower lip .
So , what I always notice is the relationship between the tear duct up here and the edge of the mouth over here , sort of extending maybe just a touch past it .
But basically the two relate to each other in a pretty um uh helpful way in terms of placing various lines .
Uh the , the line of the lower lip , I'm really just making AAA kind of a horizontal line here .
I'm not connecting them .
Uh Unless the person is wearing really bold lipstick , you're not going to see such a decisive line right there anyway .
And uh you know , different shapes uh for different lips .
This one sort of an M shape uh up here , but not everybody has lips uh shaped like that .
I'd say the key thing is to notice again that everything is shifting over here to the left .

Uh So that the sort of center of the lip is way over here uh line up uh more or less uh with what will eventually be the center of the uh nostril .
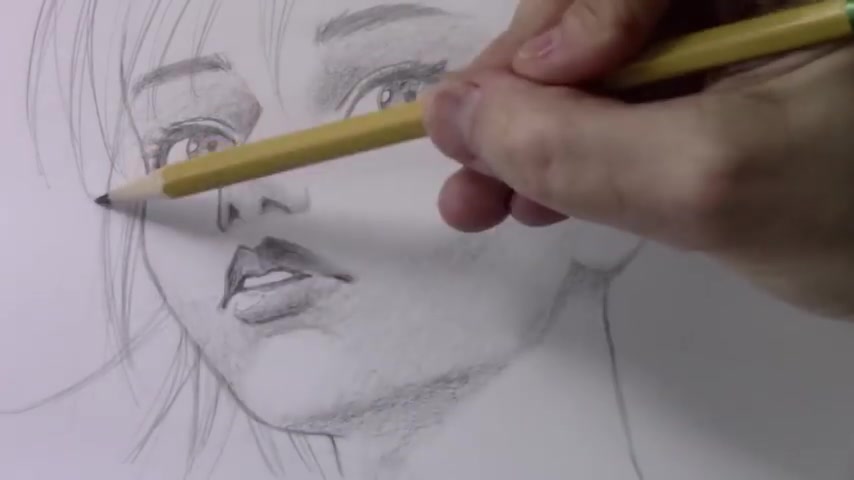
So let's go ahead now and move on to one of the toughest lines to draw .
And that is this line of the contour of the face .
I'm going to refocus the camera and I'll probably draw it in at least two different segments .
So , yeah , I thought I'd come at this in two different parts because it is a very tricky line to draw .
Um , starting just outside of the box here to uh begin indicating the forehead .
Some of this is gonna be obscured by hair later on .
But the key thing is to get the structure of the um you know , upper part of the eye socket , I guess you would call that as this line comes down , here comes quite close to the eye itself .
And then what I would do here to as a a way of remembering the angle is to look at the nose and see how they can kind of become parallel to each other for a time .
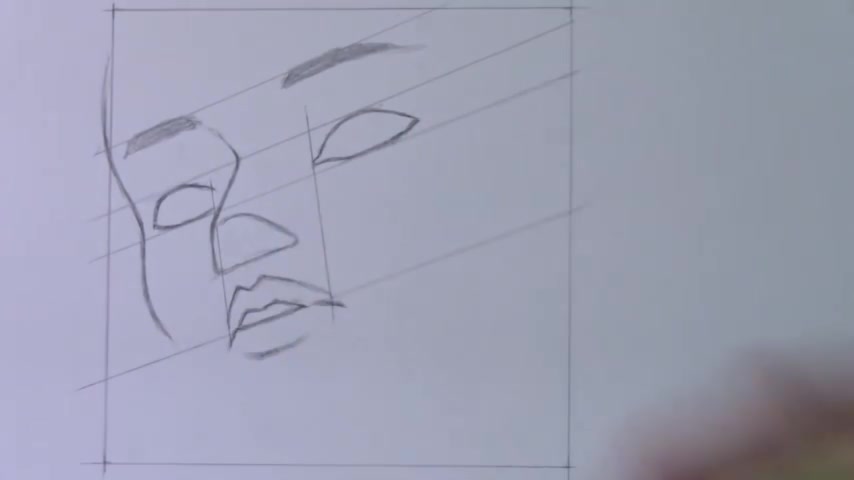
And when you reach right around here to the , you know , lining up with that uh again , just from this particular angle , that's when this line begins to curve back and head uh towards the lips , pay real close attention to the line as I draw it uh in in terms of how it relates to the lips and heads down towards the chin .
So quite a tricky line here noticing the uh the space between the edge of the mouth and this line , it can kind of help you to get that angle uh the curve of the chin uh happening just above that initial uh box that we drew , I went ahead and uh put in a line uh beginning the angle of the neck again , we're zoomed in so close or I'm not gonna be drawing the whole neck uh just right now .
But I went ahead and put in this line for the underside of the jaw , which is roughly parallel to this one , I think just because the jaw does curve up a little , we're getting it at a slightly different angle .
OK .
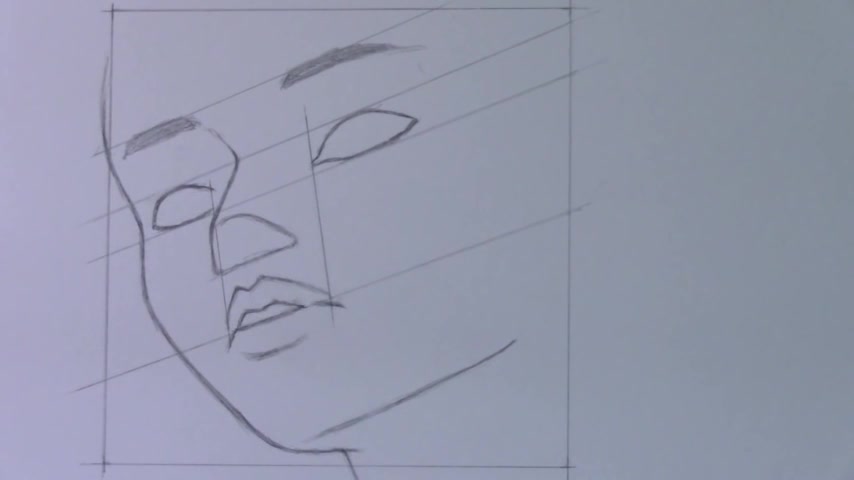
I'm gonna do just a couple of more lines over here , get an indication of the lower part of the ear , the other side of the neck .
And then maybe we can finally knock it off with all these basic guidelines and get into some real time drawing .
So as the head is uh sort of turning in space , the ear ends up coming down here , uh sort of appears almost to be lower than uh the mouth .
But again , it's just the weird angle uh that we're drawing here and this line of the back of the neck um relating to the ear lobe .
I find that happens quite often in a variety of angles that there's a certain relationship between the line of uh the neck and the ear lobe , uh especially in three quarter points of view .
Um But it should be sort of roughly parallel uh of course to this line over here because of uh them both defining the edges of the neck .
Well , I think it is time to finally start doing some real time drawing .
But before I do that all in time lapse , I'm just gonna erase uh these basic guidelines that helped us set things up .
Uh Now , before I get into too many details , I think I should zoom in .
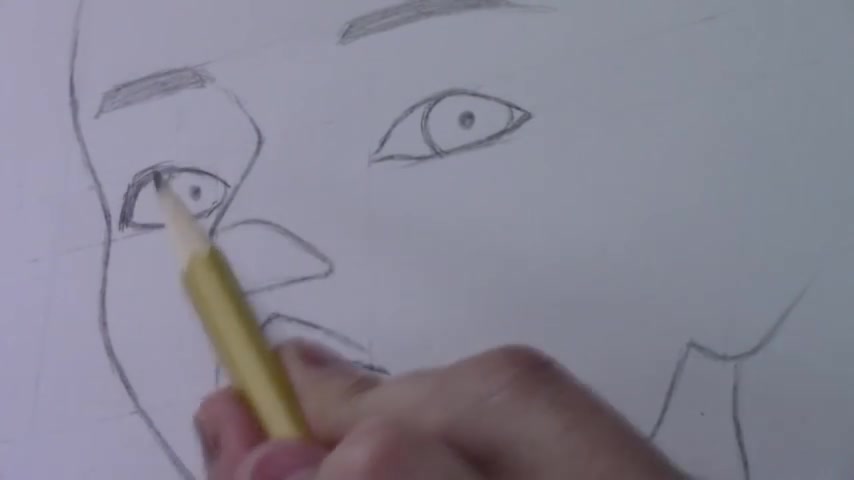
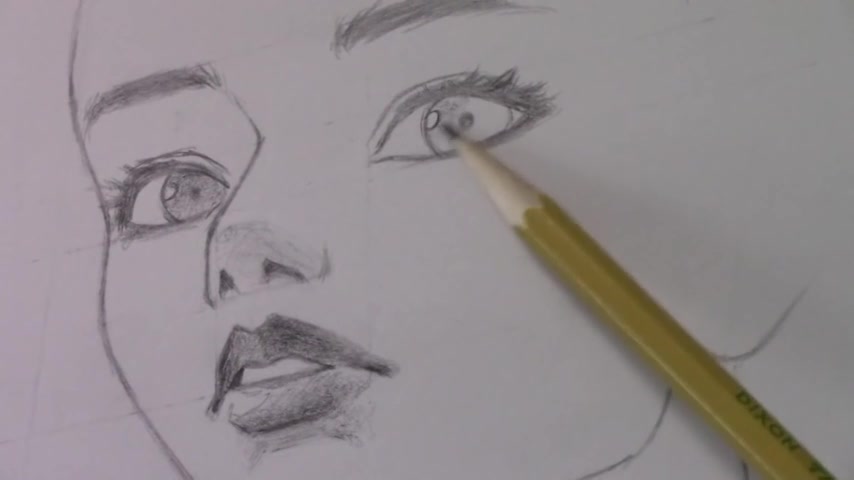
I'm gonna start with the eyes , I'll get in as close as I can so that you can see the details uh as I begin to uh refine the illustration .
Now , the first thing I wanna do is to draw the uh irises .
Uh and uh you know , you can have the character that you draw , looking in any direction you want .
I've decided to have uh have her glancing off to the side and that means that you want to coordinate between the two different eyes and make sure that the irises are similarly placed .
Uh People are always asking what pencil is that this is just a Dixon Tadao standard number two pencil .
I like to use inexpensive materials .
I don't like people to feel they have to run out and blow a lot of money on fancy art supplies .
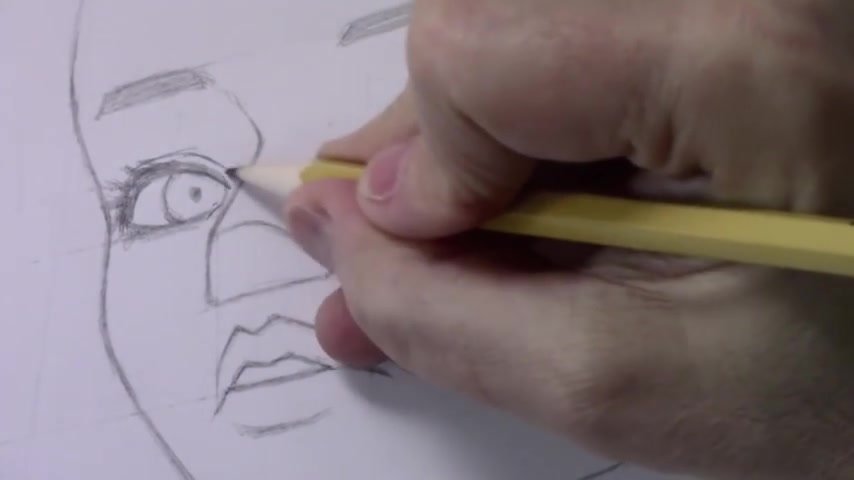
Let's go ahead and draw the um irises .
Of course , you're trying to or not , you know , the the pupils in the middle of the iris .
Um You're trying to place them as near to the center of each circle as possible and it doesn't need to be perfect .
You can kind of refine things later on .
Uh but what I wanna do now is begin to um indicate the eyelashes and uh rather than draw a whole bunch of individual eyelashes , I'm going to kind of be a little cartoony here , I suppose .
And uh just make a black massive uh area of eyelashes across the tops of uh both eyes .
The uh angle does , of course , uh change the shapes of the eyes compared to what they would look like .
Uh from straight ahead , I think they become a little narrower , from top to bottom , maybe uh have the appearance of squinting .
Even if , even if the person is not squinting , I always like to get one line in for the uh fold of the upper eyelid .

So I'll go ahead and drop that in right now if you want uh the your character to have eyelashes , you know , you can kind of do little hints of them .
I think that's what I'll do here .
Why not throw in the hints of eyelashes cry ?
You only live once .
So , yeah , I'm going , I'm sort of refining the shape to make it a little more shy .
And uh I'll go ahead and darken things in here for the uh lower eyelash generally .
I never make it quite as dark as the uh upper eyelash .
So over here , we must be um consistent and do also sort of slightly foggy , vague indications of eyelashes .
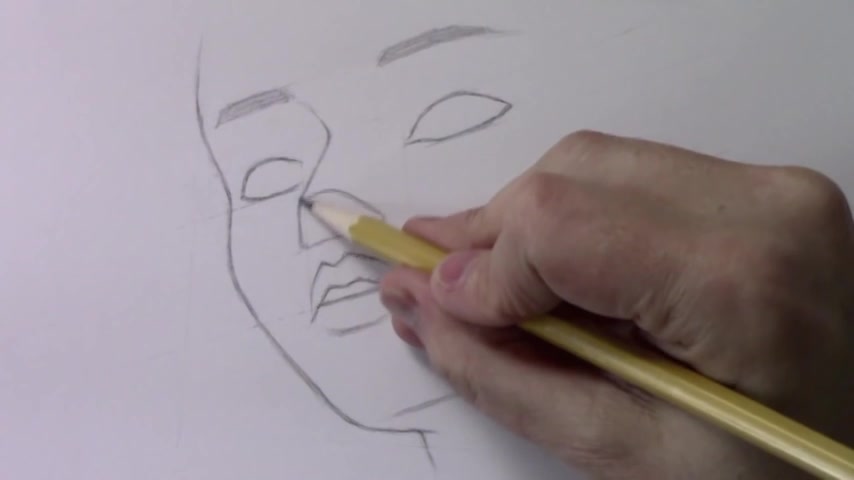
Now , we come to the really tricky part and that is uh drawing the underside of the nose .
And uh I , you know , it's , it's a big reason why I avoided this uh video .
Oh Wait a minute , I haven't done the fold of the upper eye .
Uh eyelid , people were like curly , what ?
She only has one eyelid , what is going on here ?
Um Now we can move on to drawing the underside of the nose .
It really is a challenging thing and this shape here is almost like a placeholder .
I'm actually gonna erase away a little bit here .
This is a structural line .
This one too , uh that sort of just helps me to understand uh where the underside of the nose is .
Uh the actual underside of the nose is much more subtle in terms of its construction .
Um But I , I feel like you need to start somewhere rather than just uh jump in with a bunch of final lines .
And so that's why I got that in place .
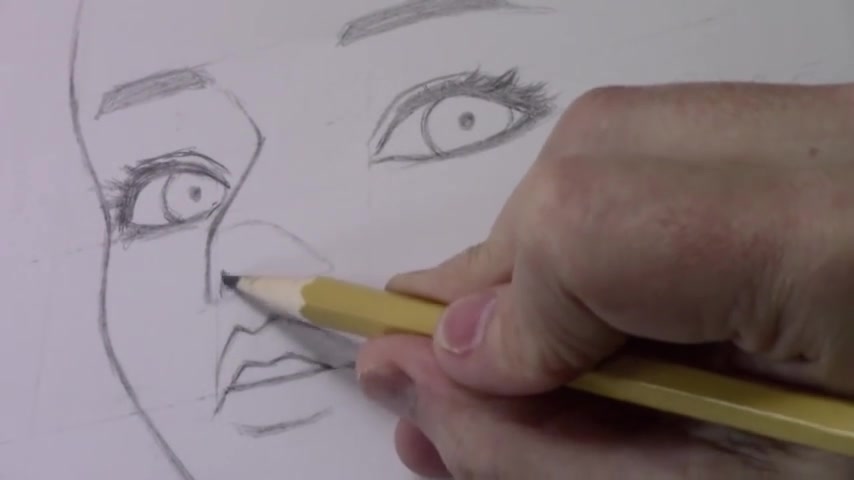
Really what I want to do right now is to begin indicating the nostrils uh because of the face is turned ahead or turned to one side .
Uh One of the nostrils is way over here uh near the edge of the , the nose shape .
Uh Again , this uh the upper part of the lip and this center um structure of the underside of the nose are very closely related .
In fact , you know , in photographs you're gonna see sometimes depending on the person's facial structure very clear lines uh that uh connect those two .
Um what I'm going for in this illustration is a slightly modified realism .
And I noticed that a lot of illustrators will avoid drawing those lines too uh boldly just because it's just not super elegant looking .
And uh there is just in general something about the nose .
Um the more you define these lines , the worse it looks , it seems to me and that's why , um , well , you know , in manga illustrations , anime illustrations , the nose is greatly minimized .
Um to the point where like with a Chibi illustration , there's no nose at all .
I think .
Uh maybe all of these things are related that uh the more you define the nose somehow psychologically , the less elegant , uh the face might appear .
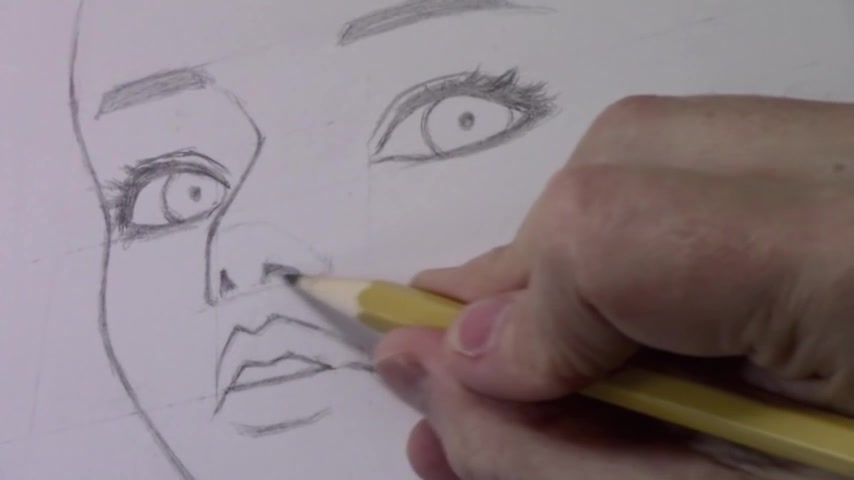
Uh I'm gonna go ahead though and put in just a bit of shading , although the shading part of the video is gonna be later .
But I , I wanna help you see what this eventually looks like kind of shading the underside of the nose .
It really is tricky stuff .
And , um I'm gonna continue refining this , but let's say this outer edge of the one nostril that is closest to us .
What the , the amount of darkness that you see me putting in right now , that might be about as far as I go , even though in a photograph again , depending on the person's nose , you might see that defined much more uh darkly or starkly stark , starkly darkly .
Um But uh like I said , there's something about illustrators maybe want to uh minimize uh the details of the nose and that's what I'm gonna do uh today .
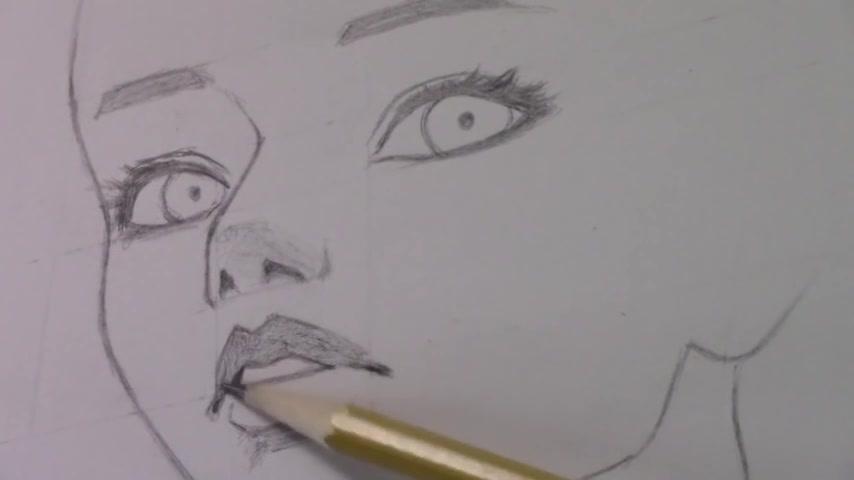
Let's move on now to drawing the um uh further refining the lips .
Happily .
We've got mo mostly uh all of the lines in place that we need .
I think when the mouth is turning away from us , we're gonna see a bit of darkness over here on the other side of the teeth .
Um This II , I want to darken in the , the two edges of the mouth .
This again based on sort of photographs , you get quite a lot of deep shadow right here at the edges .
And then one thing that I hadn't drawn here , II , I think I'll go ahead and refine this lower lip just a little more over on this one edge .
But uh one thing uh that you often see is uh a fairly defined area of shade below the lower lip .
I don't wanna go too thick with that .
Um And it may even extend a little bit over on both sides , kind of uh revealing the structure of the chin .
And uh like I said , there's gonna be uh there's gonna be a sort of shading part of the video later on .
But I do think that some of these things are , it's hard to see the structure without the shade .
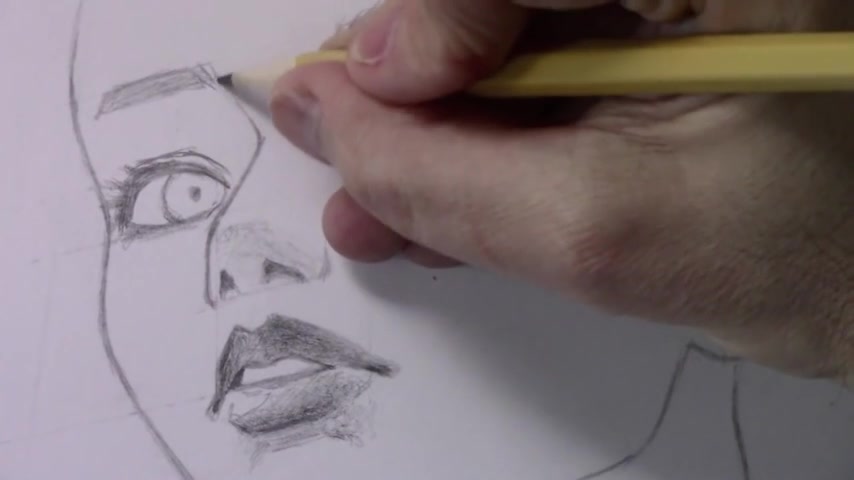
So I'm gonna go ahead and shade the uh upper lip here .
And I think one of the challenges is to not have this all just be one solid bold uh area of gray .
If you want more of a sense of three dimensionality , you're gonna have to refine certain areas of it .
Uh For example , this edge right here might get uh darkened and a little , a little bit depending on how the light uh is hitting it .
Uh A similar thing might happen over here very often .
People's uh the upper lip is sort of divided into two sections uh almost in a linear way .
So that's why I'm gonna be darkening in this uh area right here .
But you can see how , you know , instead of having just one uniform area of uh gray by darkening in sort of uh increasing the shade in certain areas , it just adds to the illusion of three dimensionality .

Uh I think the one area where we can go fairly dark here on the lip is right here .
Um I'm not going to uh define that line right there as I was saying before , just uh maybe just a little a bit , a bit of tone show us the difference between the two , but right here down at the bottom , I think you can go fairly dark , you can get away with going fairly dark .
And uh as I said , there's gonna , there's gonna be a sort of a shading part later on where I'm going to refine all of this quite a bit , but I felt like you in a way you couldn't really see the structure of the lips without at least getting into some of the shading right now .
And uh I suppose the next thing I can do is to move on to drawing a bit more of the eyebrows .
I mean , there's just so many different topics that you could cover here .
Uh , maybe eyebrows that can be in a separate video .
I've never done a video that's devoted specifically to eyebrows .
Maybe it's time folks , maybe it's time .
Uh suffice to say some people , the the hairs of their eyebrows are kind of going a little bit vertical right here uh on the inner edge and then they tend to go more horizontal as the eyebrow itself goes more , more horizontal and then kind of tapering off over here .
Um I'll go ahead and uh maybe finish off the shading of uh the interiors of the irises .
Uh I like to do just one highlight on each side and then , uh I'm putting my pencil low to the paper here .
So as to expose a lot of the edge of the , the lead and that allows me to get a um , a fairly smooth area of gray .
Generally speaking , depending on the lighting situation , the upper part of the iris gets shaded more than the lower part .
I know one more thing that I should talk about and that , that's , it's definitely gonna involve refocusing the camera .
But the that area of the underside of the jaw becomes a fairly important aspect of drawing the head from this angle .
I'll be coming in and refining all of this quite a bit more .
But I thought why not cover just a bit during this section , this real time section that seems to be going on and on endlessly Crowe .
Will you please move on ?
Ok .
I guess I will , I'm gonna refocus the camera so that we see uh the underside of the jaw .
I'll do some more of that real time .
And then I think we're gonna get into , well , I'm also gonna have to draw the hair that's not really the focus of this video , but uh uh I think this underside of the jaw area is gonna be one of the last parts that I do uh all in real time .
OK .
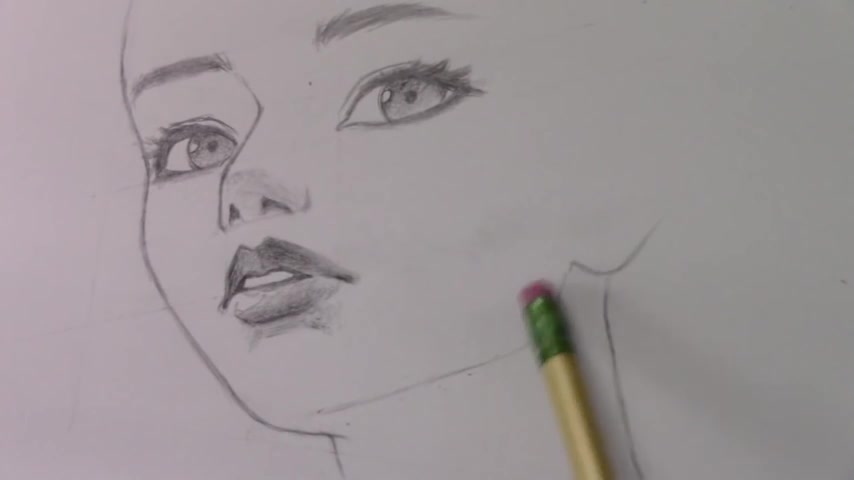
So we come down to this area of the jaw .
I'm actually gonna sort of erase a little bit here because I don't like the jaw to be quite so uh clearly defined .
Uh It becomes quite , you know , cartoony .
I think when you go um when you draw an actual line right there , especially from this angle , uh again , I'm holding the pencil low uh to the paper going into sort of shading mode here creating a , a roughly triangular shape here at the base of the chin .
It's , it really is a challenging thing between I'd say this comes for me number two , after the nose uh drawing this area of the underside of the chin because it's not uh there aren't a whole lot of structural lines there for you to work with .
Uh even looking at photographs and stuff , it becomes very , just a subtle um gradation of shaded areas , one sort of flowing into the other .
Uh I'm gonna have her ear largely uh concealed by hair , how convenient you can't see her ear .
I did my video on how to draw the other eye .
I feel like half the comments were people saying I just have the person's hair covering up the other eye .
Then there's your solution .
Well , that's one way of doing it .
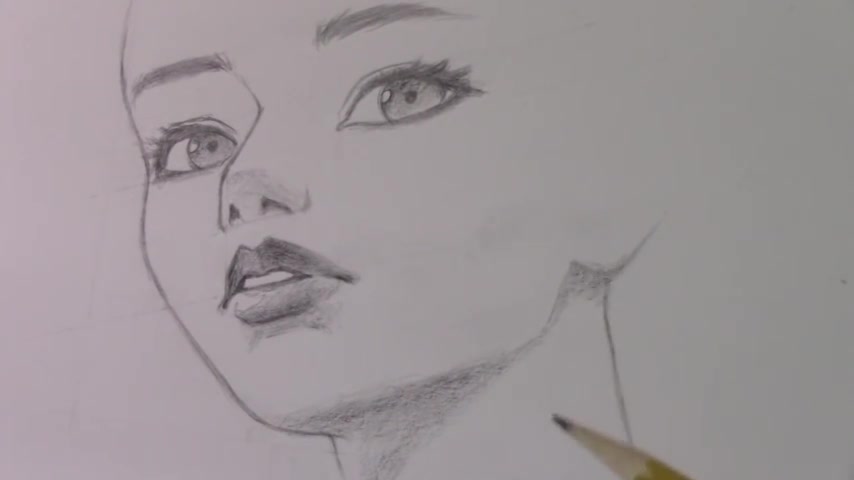
I'm going in now and drawing the uh some uh shade beneath the uh cheekbone and depending on the lighting situation , depending indeed on the structure of the person's cheekbones .
You may or may not uh see quite so much shade here .
But I find that it's gonna help me uh get the final effect if I uh sort of shade this whole area of the cheek as if the sunlight is not quite hitting it the same way it hits the upper part .
I think you need all the help you can get in terms of selling this uh structure uh visually and shading , I think becomes a crucial aspect .
If you , if you did this all just with line work and no shading , I think it becomes even harder to convey the uh this angle .
I would say more than usual , the shading is part of your uh method of uh helping people see all of this uh structure .
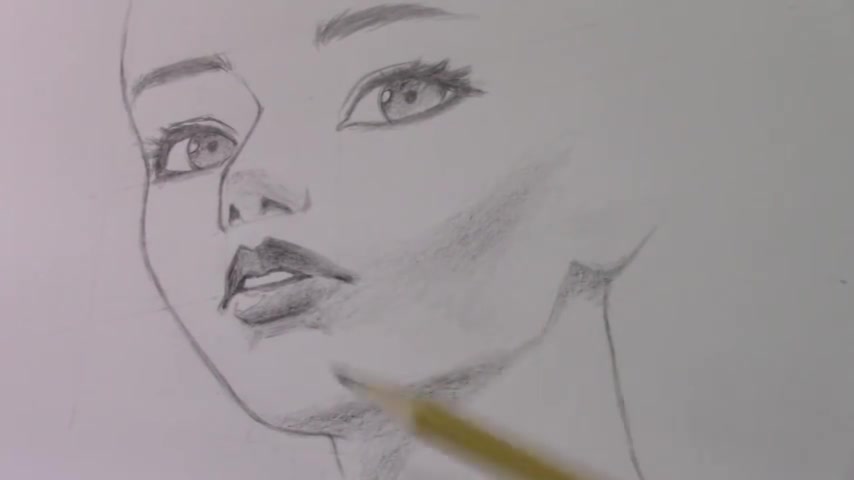
I'm gonna define this just a little more like I said , some people depending on their uh that area beneath the lower uh lip .
Some people you see that defined in a fairly clear way uh oh you know , one last thing here and , and I should have probably talked about this before when I was doing the eyes um depending again on the lighting situation .
But um uh it can be very helpful to get some shading in here for the area beneath the eyebrows .
Uh And in this case , with the head being turned away at a three quarter angle , um sort of beefing up this area with uh extra shade can really help a lot in terms of conveying the the structure of the uh the bridge of the nose .
And a similar thing happens over here just above the fold of the uh eyelid , let me um sort of go over that one more time .
So it becomes more clear and with that uh kind of going super dark , not super dark , not supremely dark , just a little moderately dark right here .
Uh And then uh sort of letting up on the shading as I go across the rest of the underside of the uh eyebrow area , eyebrow region .
Now , I'm really pushing it with this region stuff .
And sadly , I think that's getting us near to the end of this .
I am going to , uh , pull out my trusty black Prisma color .
Just a simple colored pencil that you can get at , uh , lots of different art stores .
And that's where I'm gonna be , uh , all in time lapse refining , uh , the , uh , uh , the shading , um , beefing up the contrast .
That's the second time I've used the word beefing up .
What is going on today ?
Curly ?
You need to expand your vocabulary clear , uh Clearly , but I'm gonna go ahead and uh do that also .
Well , I guess I could do this right now just to , to give you a sense of where I'm gonna choose to uh put the hair .
Like I said , you gotta , at some point , you have to decide what is this video about ?
Is it gonna be about hair ?
Abso absolutely not .
It's gotta be mainly about the structure of the face , but I suppose it could be a bit disorienting for me to suddenly uh draw uh the hairstyle all in time lapse .
So let's go ahead and give you some idea of where I'm gonna be going with this .
Uh Maybe over here on the other side of the neck having uh you gotta watch how much of this is visible , get some hair covered flowing off in this direction .
Uh Often I think in illustrations like this becomes a sort of design element uh the directions , the various directions of these lines uh can be one of your tools in terms of making an interesting composition .
I'm gonna have one line come across here .
All of this is subject to change depending on my winds as I get into uh drawing the rest of this .
But like I said , I'm gonna have to kind of conceal this uh lower part of the ear uh with uh lines of the hair you'll see , maybe just a little fragment , a fragment of the year .
And , uh , yeah , maybe that brings us to the part where I'm gonna have to skip it into time lapse .
Bring in worm's eye view , old man , time lapse .
It's not a very flattering angle .
I'm starting to sound like the guy from the Simpsons .
I got the Simpsons on my brain after last week's video where I drew Homer .
Anyway , I think it's high time .
Once I start doing Grandpa Simpson , that means it's time to kick it into time lapse and finish up this illustration .
Ok .
Well , that brings us to the end of the video .
Of course , I did an awful lot of shading here in time lapse .
Um , just so that you get the , you know , don't get the wrong idea that I did this all in , uh , 15 minutes or something .

This is more like one hour or more that you saw , uh , uh , during all of that time lapse period of , of , uh , darkening and adding shading and so forth .
And I just say , especially with this point of view of looking up at the character from below these areas of shade down here below the chin , uh below the mouth , uh below the eyebrows , they are all of , of added importance .
They give you a stronger sense of the uh structure and that allows you to pull off this uh very , very tricky point of view .
And uh I don't know if I've entirely pulled it off , but I uh I hope I've helped you at least a little uh if you want to draw such a illustration .
But for now , I want to say thank you to anyone who has supported me by getting any of my books like Brodie's Ghost , my graphic novel series , we've got the realism challenge , my book on hyper realistic illustration .
Also the drawing lesson , a graphic novel that teaches you how to draw .

And my very latest book , mastering manga three , always super , super appreciative of anyone who supports me by ordering any of those books .
But let's go ahead and lay down this pencil .
I wanna thank you all for watching this video .
I really hope you enjoyed it and I'll be back with another one real soon .
Are you looking for a way to reach a wider audience and get more views on your videos?
Our innovative video to text transcribing service can help you do just that.
We provide accurate transcriptions of your videos along with visual content that will help you attract new viewers and keep them engaged. Plus, our data analytics and ad campaign tools can help you monetize your content and maximize your revenue.
Let's partner up and take your video content to the next level!
Contact us today to learn more.