https://www.youtube.com/watch?v=jyzCEA8kvxI
How To Make A Portfolio Website For Beginners _ Wordpress Tutorial
Hello , everyone .
Welcome back to my channel .
As graphic designers , we all need a portfolio website with our own domain name .
It will help us showcase any work we want get exposure and looks professional to get more work opportunities .
This video is a bit different than usual .
I am gonna walk you through the process of making a simple portfolio website without writing any single line of code .
To make this possible , we gonna need Web hosting a domain name , WordPress installation and a free theme for Web hosting .
I'm gonna use hosting .
It's one of the best hosting providers and as this is a beginner tutorial , hosting offers the most affordable price in the market for great quality service and a very user friendly interface .
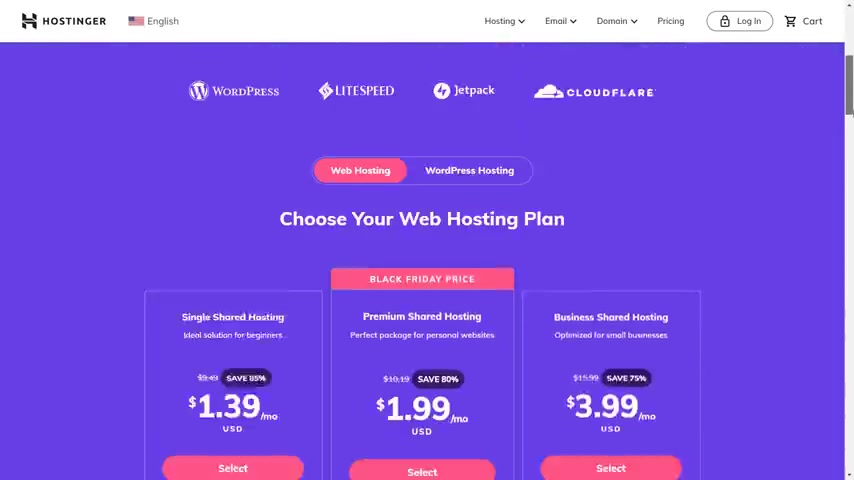
It's the end of November and the Black Friday discount already started hosting are offering a whole premium shared plan with a freedom main name and SSL certificate for just $1.99 .
Play consulate , then choose the 12 months plan , then select a payment method , then use the code may dash me to get even more discounts , fill out the payment info , then click on submit .
Now you finished the checkout and you're logged into your hosting account .
Now you can easily set up your hosting and automatically install your website .
Let's click .
Set up .
Start now .
I'll choose Word Press .
Now you create your WordPress account .
Click on Continue .
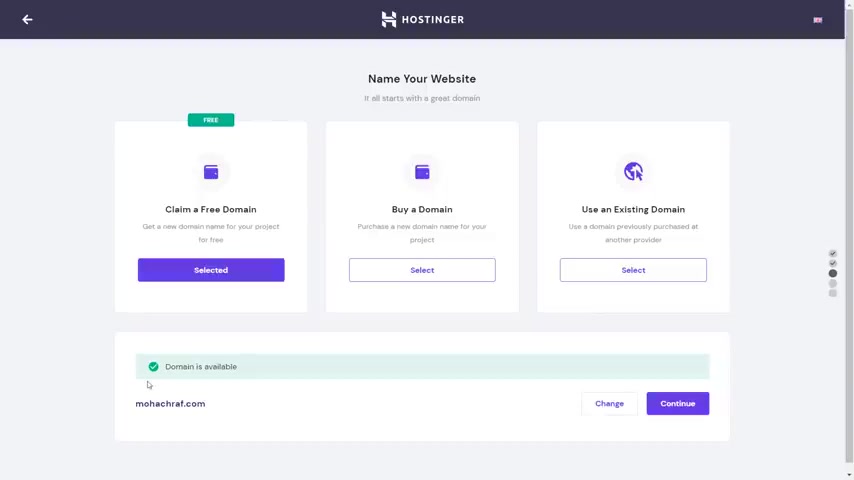
I'm gonna skip the template step for later And here you can claim your free domain name .
Let's click .
Select now enter the domain name you want , then click search .
OK , The domain is available .
I'll click .
Continue .
Let's finish the set up here .
You should complete your domain registration and your website is ready .
Just go to manage WordPress Then install the SSL certification .
Now go to edit website .
Ok , this is the WordPress dashboard .
The first thing .
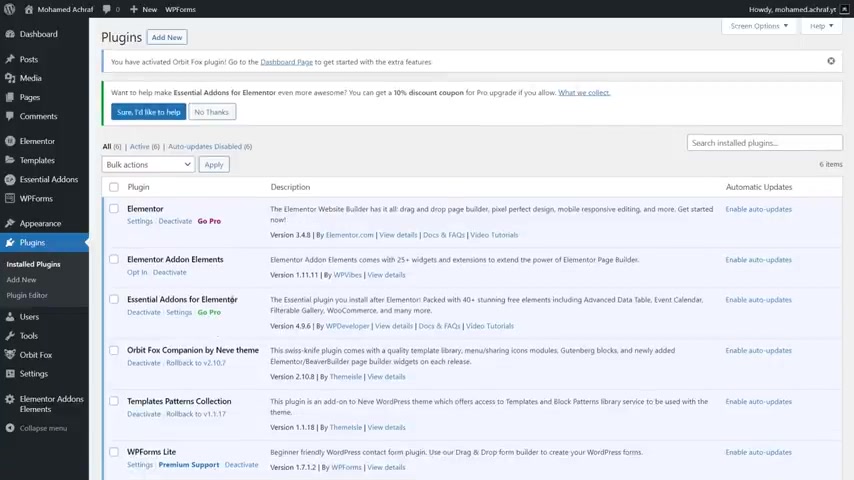
Go to Plugins .
Then check them all from here .
Then deselect the WP forms .
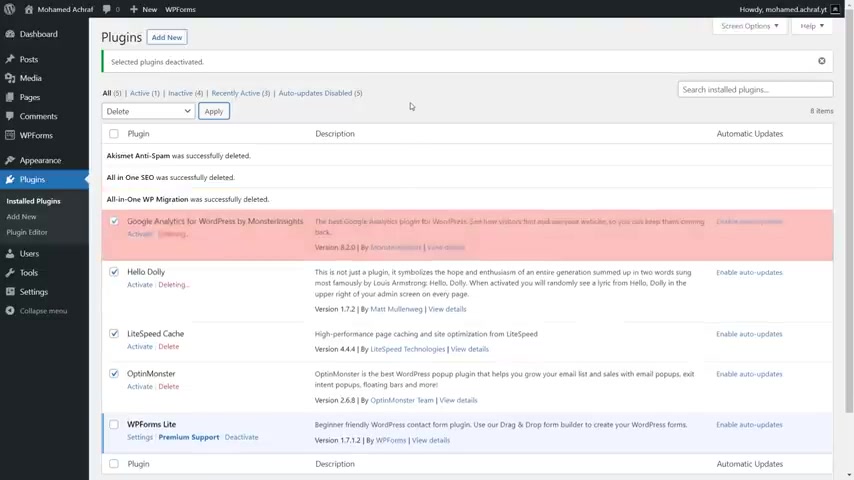
Plug in now select deactivate and click on .
Apply .
Then again , select them all .
Accept the WP form , then choose delete .
Then click on , apply and press .
OK , Then go to pages and select these two .
Then choose Move to trash and click on .
Apply now click on trash , then empty trash .
Then go to posts and do the same to delete this post .
Now go to appearance , then themes .
We are going to install a free theme , play a new theme , scroll down and this is the theme we're gonna use .
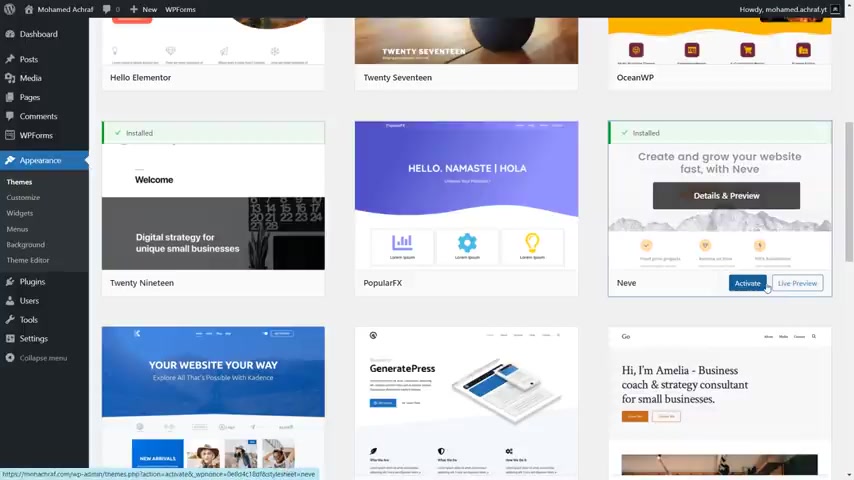
It's called Never Click on Install , then activate .
Now that the theme is installed and activated , click on this button , then click here .
Now we will choose one starter website .
We're gonna choose the one made with AA Click Import , then import entire site .
Just wait for the site to install and let's check how it looks now .
And this is our website , which we will customise and make it a simple portfolio back to the dashboard .
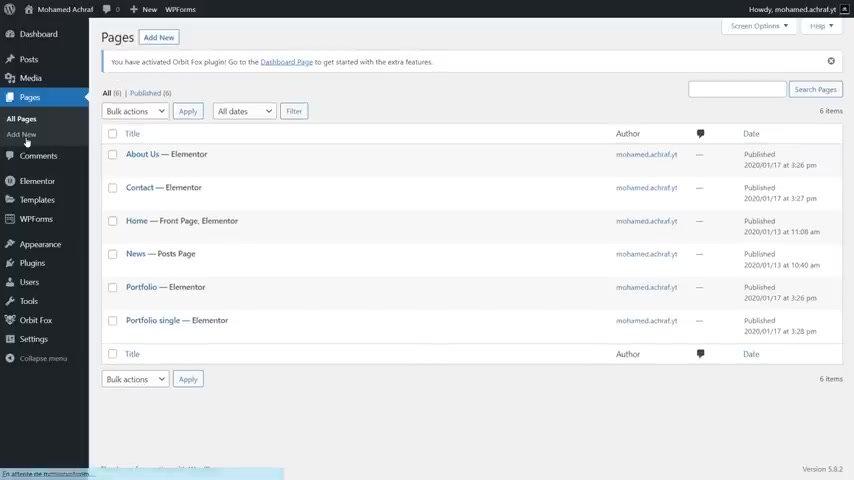
Go to pages and delete the news and single portfolio page .
Go to Plugins , then I knew now search for Element .
Now install this plug in .
We will use it later .
Click on Activate , then next until it's done .
Return to Plugins , then add new and search for elemental add-ons elements .
Then install it and activate it .
Click it on Skip and it's done .
Now we have all the needed plugins installed back to pages .
Quick edit set the parent of the page , which is the home page , Then change the slug to the name of the page this will appear in the URL and Click Update .
Then I do the same for the rest of the pages from here .
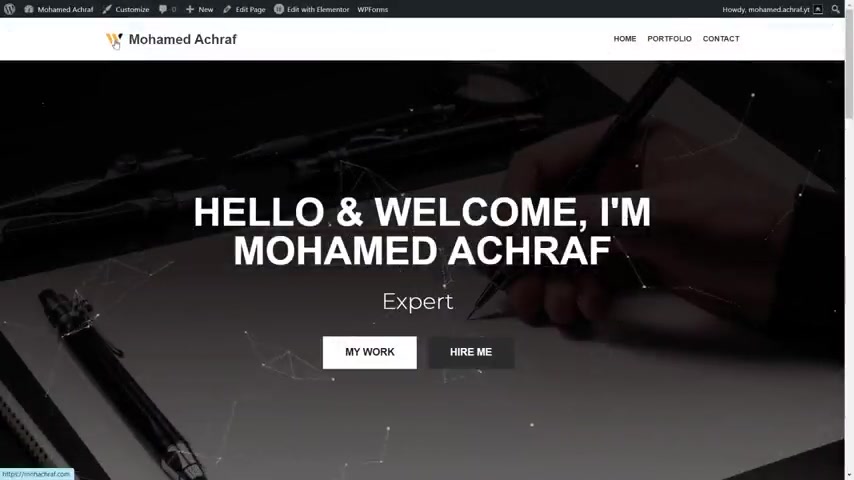
Click on Visit site Once on the website , click on Edit with Element , and this is the tools we will gonna use .
Click on this icon to edit the section , then go to style , then background and click on the image .
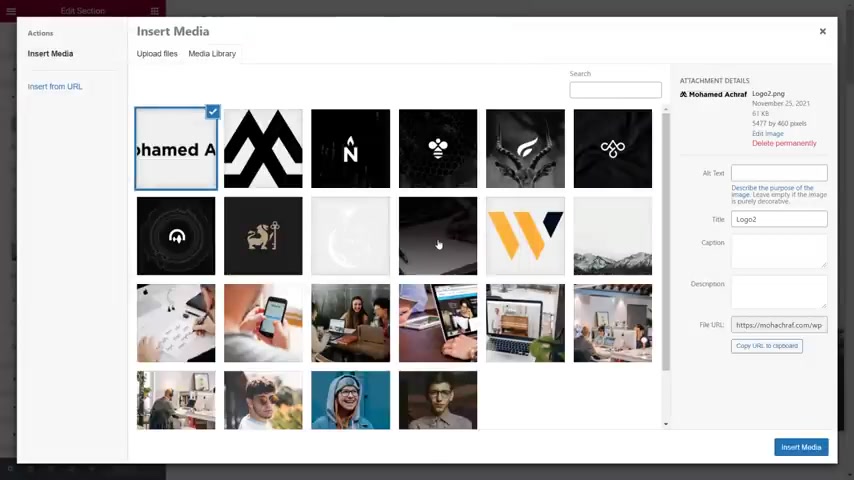
To change it , you can select from the already uploaded media or simply upload your own select files .
I will upload all the photo that I will use later .
Then I select this photo that I've prepared for the header .
If you want to make white text , then choose a dark background and vice versa .
Click on the text .
Then from here , change it to what you want .
Then from style , change the colour to white .
Now , right , click on this text and delete it from the search bar Search for text .
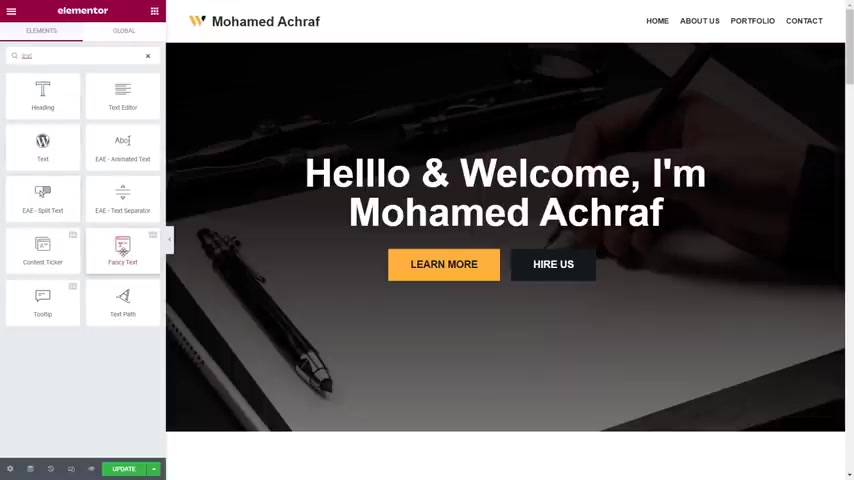
We will use an animated text included in the plug in that we have installed .
It's called fancy text .
Drag it , then drop it here from style .
Change the prefix text colour to white , then the fancy text colour to white , then from content , delete this third string and change the prefix text to anything you want to display at the beginning of the sentence I write .
Then , for the first string , I write logo designer , and for the second string , I write logo design instructor .
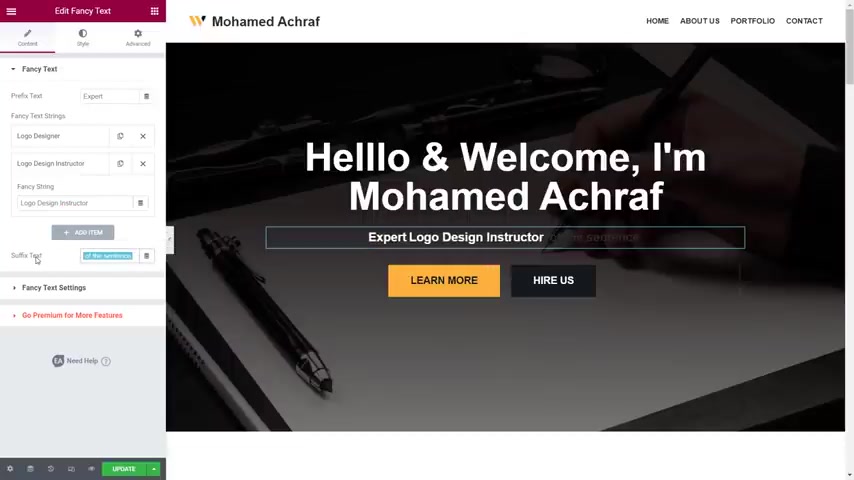
You can write whatever you want , delete this suffix text .
Then , from style , I changed the font family to Montserrat , then the weight to 300 .
Then increase the size to 40 to save this font setting .
Click on this plus icon , then name it and click create .
Now go to fancy text styles , then typography and click on this icon .
Then choose the save font .
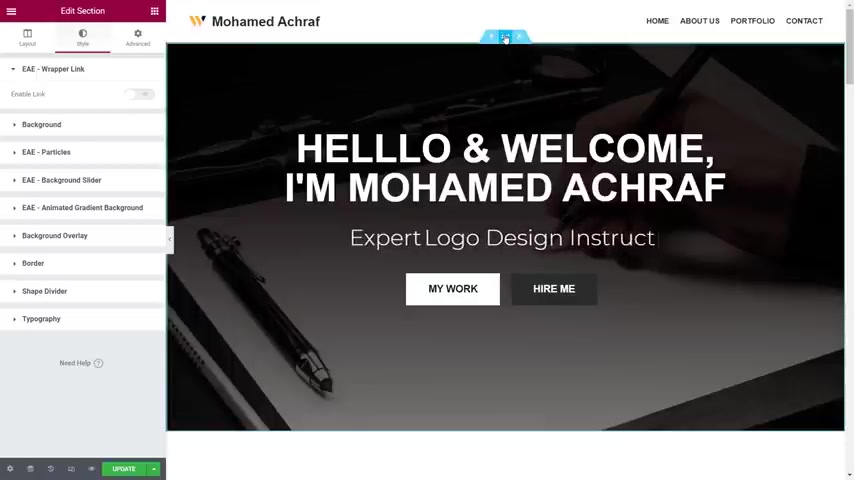
I think I'll change the heading to all caps .

Click on the text , then from style , go to typography , then from here , choose up a case .
I'll change this to hire me and this text to my work .
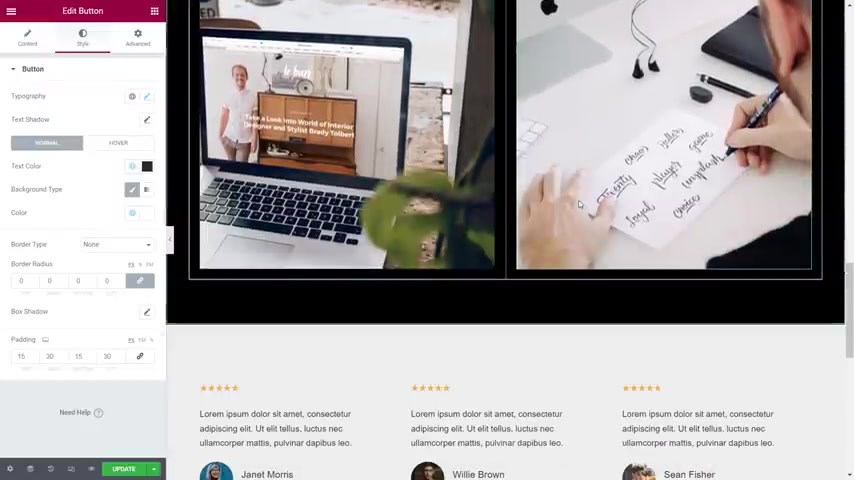
Click on the button , then from style , change the colour to this predefined grey .
I think it's better to change it to white now to change the hover , look click on hover , then change the text colour to white and the colour of the button to grey .
Now do the opposite to this button change the text colour to white and the button colour to grey and the opposite for the Hovis style .
Now we're gonna add a good looking animation to this section .
Select it and click here .
Then activate this element or add ons element .
You can see the floating particles .
I want to reduce them a little .
So I go to this value and change it to 60 .
I misspelt the hello word .
So I remove one letter L , Then select the section and change the height to fit to screen .
Going to the live website , you can see how it looks now scroll down , then change this background colour to black .
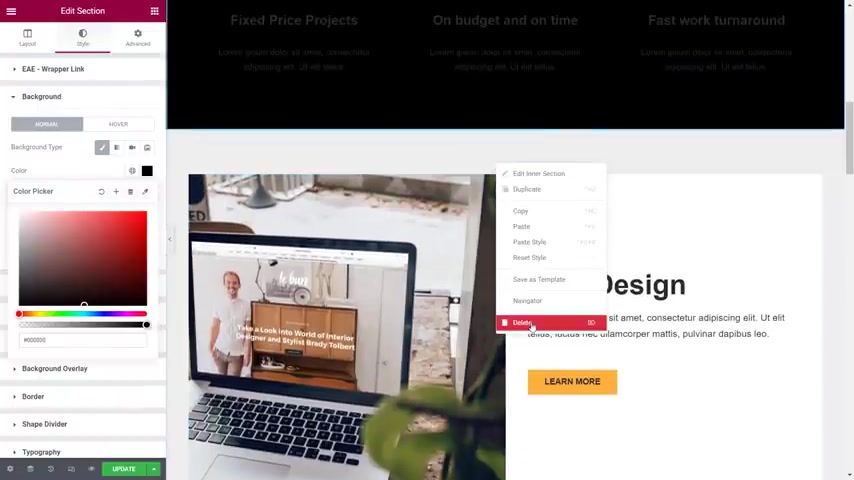
Then I delete these two sections .
I'm not gonna use them and this one too .
In this section change the background colour to the predefined grey .
And for this section , I'm gonna use black change this text colour to white Then this button to white also and the text to grey .
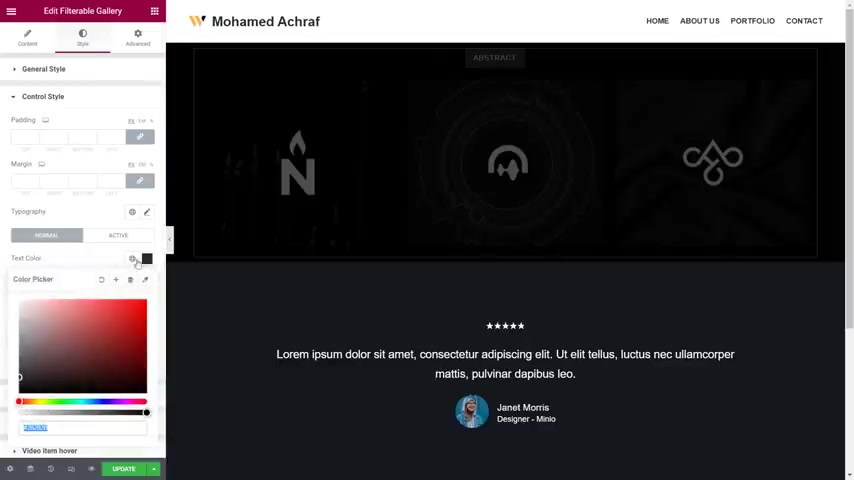
I am flipping all the websites styles to white , black and grey change this section background colour to grey And for the testimonial I changed the text colour to white Back to the top in this section click on the icon , then go to style and change the primary colour to white from content .
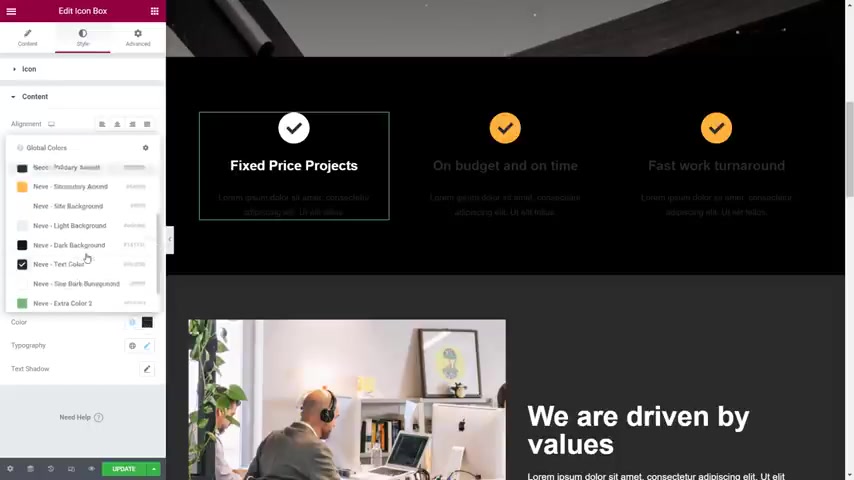
Change the title colour to white , then change the description colour , then reduced to spacing to the minimum .
Now I do the same for the rest columns scrolling down to this section .
Right .
Click on this image and delete it .
Then drag a video element from here and drop it here .
I changed the heading to my logo design process .
Now I go to my YouTube channel and I open the logo design process video .
Then I copy the link back to the website .
I select the video , then I paste the link here .
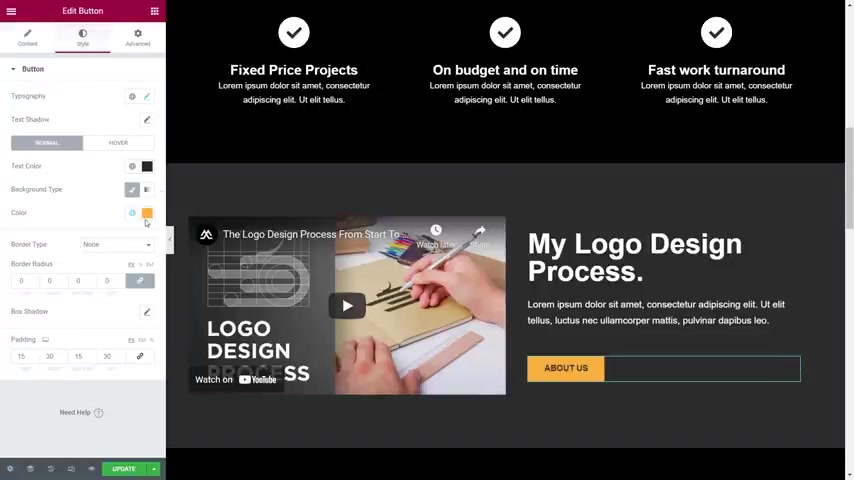
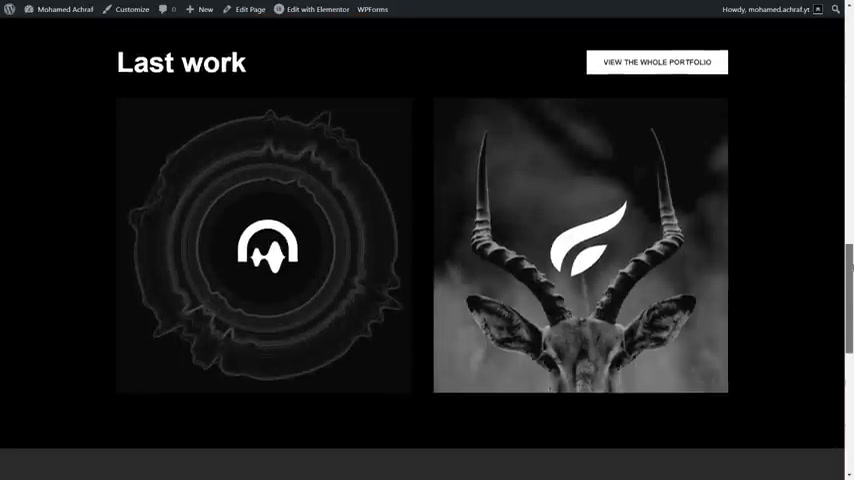
Now I'm changing this button's colour to white , and I change the text to watch more videos scroll down , click on this image , then click to choose image and select one work photo from the media and click on insert , then do the same for the other photo .
Now I change the text featured work to last work .
Then I click on those stars and go to style and change the colour to white .

Then I do the same for the rest .
Then I change this button's colour to white and reverse the hover colour .
Now we go to the live website and see how it looks so far back to the dashboard .
Go to pages , then click on the portfolio page , then click on Edit with Element .
Once on the portfolio page , delete every section except the testimonial .
Then click on this plus icon and choose a one column section .
Now drag it to the top , then from Element Search for Portfolio .
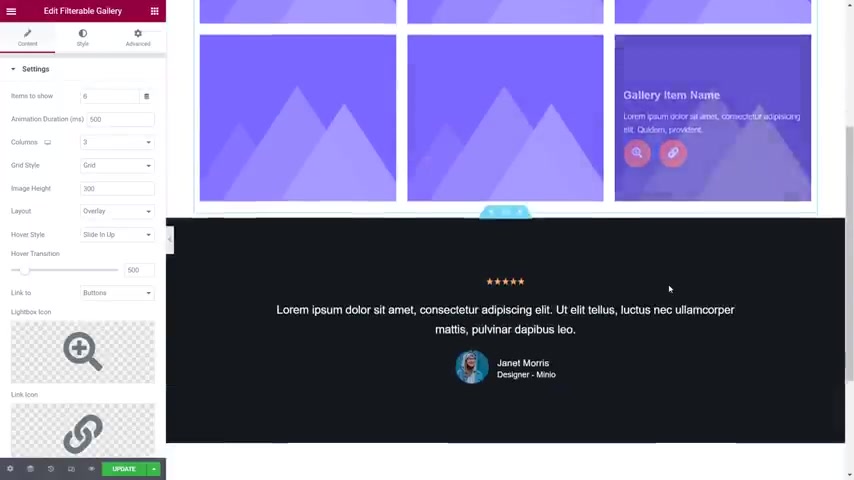
Then drag this filterable gallery and drop it .
Here .
We will use this simple gallery as our portfolio .
Go to gallery items , then click on the first one , scroll down , then click on this image .
Then select one work photo and click on insert .
Then scroll up and here , give it a control name .
This will help to philtre the display of the work .
I do the same to insert the rest of the photos .
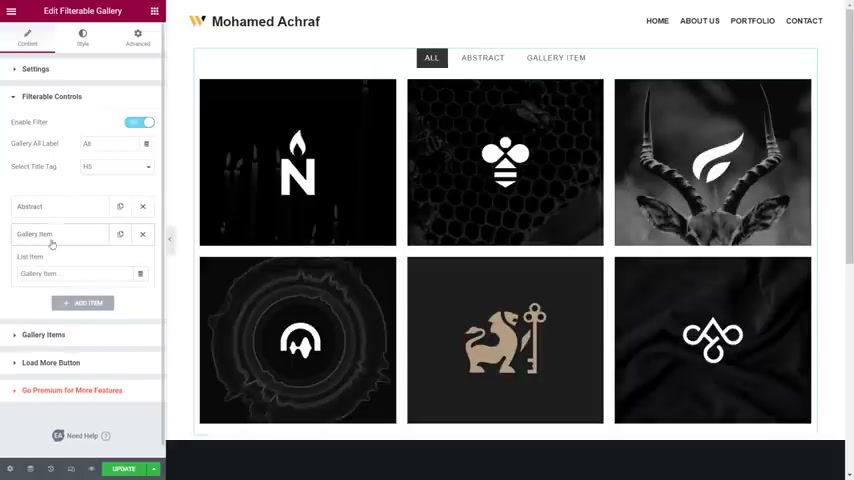
Once finished , go to fill terrible controls , then gallery items .
Then add the control names that we wrote before you can see how the portfolio is filterable .
Now click on update and go to the live site to see how it looks .
Everything looks good and works so well .
Now I change the background colour of this section to black .
Then I select the gallery and remove its background colour .
Now I select one of the control names , Then go to control style and change the text colour to white , and this is a quick look to the live site Back to the word press dashboard .
Click on the contact page , then edit with Element .
Now click on this section , then from style , change the background colour to black , then change the text colour to white , then click again on the section .
Then activate the particles .
This section .

I'll change its background to the predefined grey , then click on this column , then from style .
Change the background colour to black , then click on the icon and change its colour to white .
Then from content , do the same for the text , then do the same for the other columns .

The last section changed the background colour to black , then click on the button of the form and change the colour to white .
Then click on the social media icons , then change the colour setting to custom , then change the primary colour to black .
Let's get a look at the live page .
Looks good .
So far , you can put the text that fits you the best .
Later I am gonna keep it simple for this video .
So back to the dashboard , go to pages , select the about us page , then delete it back to the live website .
You can see that we have only three pages in the header , and the logo still needs to be changed to my logo , along with the powered by sentence .
In the footer , click on customise , scroll down to the footer , click on this icon , then change the text from here .
Go back , then click on the header .
Now click on this icon , then click on the logo , then go to upload files and upload your logo .
Then click on select , then crop the photo as you like .
Then click on crop Image .
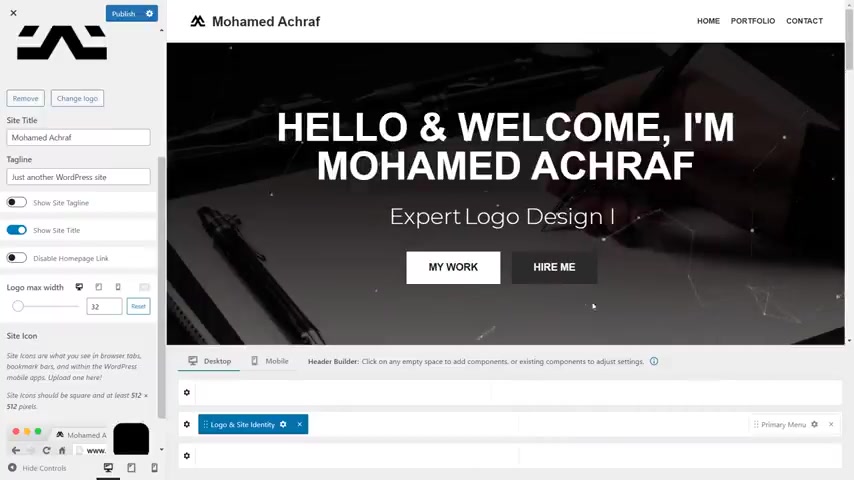
Then , from here , I set the Facon and it's done .
Click on publish , and this is our portfolio .
It's not a fancy website , but it's simple and effective , and we do the work for you as a beginner .
So if you are ready to make your website , I really recommend command hosting for you .
I recently start using it , and I am really enjoying the process It is really very cheap price over the quality service you are getting in return .
Just use the link in the description along with the discount code .
Thank you guys for watching .
I hope you enjoyed this video .

Don't forget to leave a like and share the video .
And if you have any request , just post it in the comments section .
See you in another video .
Are you looking for a way to reach a wider audience and get more views on your videos?
Our innovative video to text transcribing service can help you do just that.
We provide accurate transcriptions of your videos along with visual content that will help you attract new viewers and keep them engaged. Plus, our data analytics and ad campaign tools can help you monetize your content and maximize your revenue.
Let's partner up and take your video content to the next level!
Contact us today to learn more.