https://www.youtube.com/watch?v=nd_bwRjKMFg
DIY - How to Make - Coffee Shop Hidden DollRoom PLUS MiasMunchables Etsy Review
What's up ?
Fabs and Besties ?
Ok .
Here's the deal .
My new studio is super neat and organized but it's kind of small and it's up two flights of stairs from my old one .
So , carrying the Star Frogs , coffee shop up to the film table is kind of not happening , which creates a little bit of a problem for summer .
And Cali , yeah , Caroline needs her coffee shop .
The dolls need somewhere to hang out .
Plus I've been totally obsessing over this Etsy shop , Mia's munch .
It's kind of a seasonal shop .
I've noticed they've been posting for like special occasions like Halloween and I just ordered some stuff for the winter holidays .
So we're gonna need a new place that can work as a display for miniatures and hang out spot for the dolls that's easy to store and carry upstairs .
We already have our sweet shop candy counter that we made a while back and then we gave it a makeover in a more recent video for paper , food crafts .
This measures about eight inches across and we'll need a little bit of space on the side for the doll to walk .
So we're gonna need our box to be about 11 inches wide .
I have foam board .
I pick this up at Target for 2 99 each .
It measures 20 by 28 inches .
I am pretty certain we're going to need two pieces if our board is 28 inches across and we need 11 inches in the center that gives us 17 inches for the sides .
But you have to divide that in half , which is 8.5 .
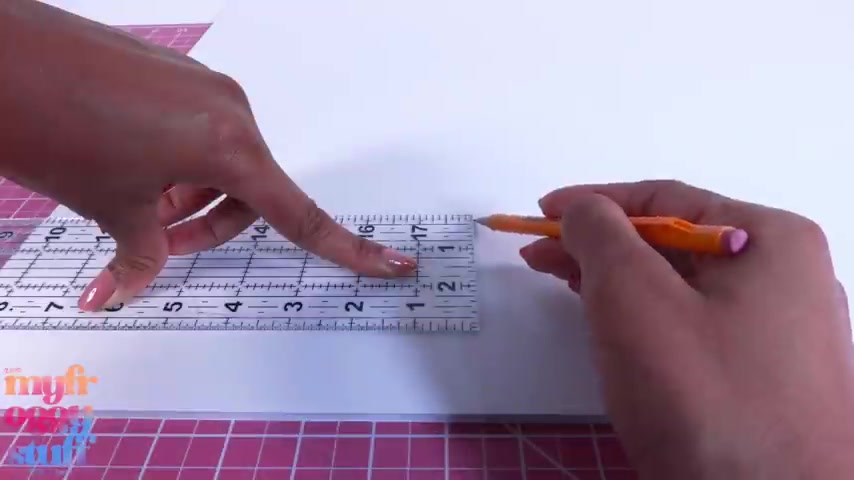
So we have to measure over 8.5 inches on the sides .
Yep .
Crack his math .
Before we cut those lines , we really do need to cut down the foam board to 13 inches .
I cut the foam board using a sharp Exacto knife and an acrylic ruler giving us two pieces , one that is seven inches wide and the other that is 13 on the 13 inch piece , measure over 8.5 inches from the edge score .
It being careful not to cut all the way through so it can bend and snap repeat on the other side .
So we have a tri fold .
We are going to take some ideas from our doll attic bedroom and make the wall bend again .
So it goes that way .
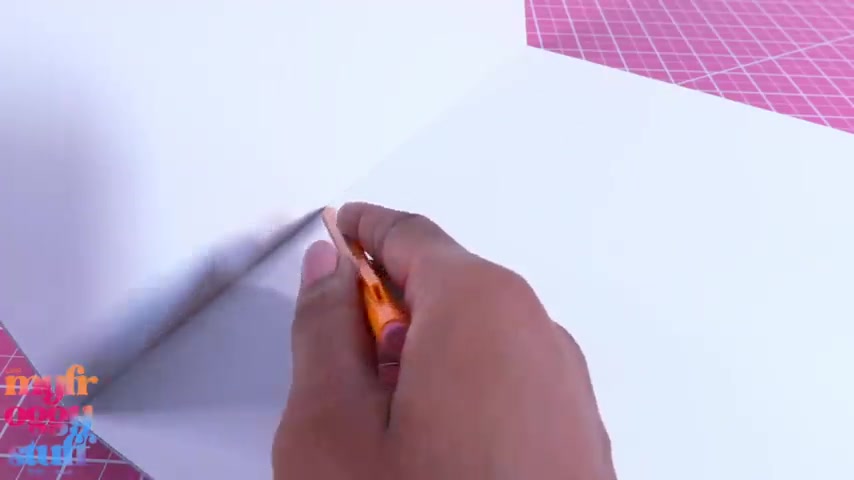
So let's lay it down and draw a line in the corner so I can see measure over six inches sco a line so it can bend repeat on the other side and we're gonna need some wall extensions .
My shelves can handle a box that is 14 inches deep .
So we're gonna make our box room a little deeper than the other ones with a footprint that is 11 by 14 .
And since the side walls already took up six inches of that 14 , our side walls over here can be a total of eight inches .
This part right now now measures 2.5 .
So we're going to need an additional 5.5 inches and we can cut it from the seven inch piece .
We cut off the top .
I cut 1 5.5 by 13 inch piece .
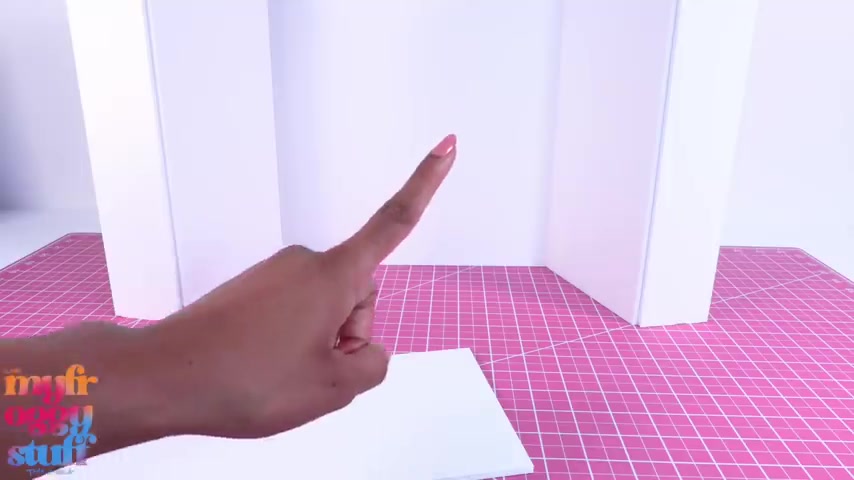
Then I'm going to glue onto the side right here and there was enough to make another wall right here .
But I have another idea .
Let's use a second piece of foam board and cut a 16.5 by 13 inch piece on the right hand side , I measure over 5.5 inches score on the line on the 11 inch side .
I plan out a door .
I cover the center with a brick scrap of paper .
My inspiration is coming from some cute little restaurants I went to on my vacation to DC .
Cut a large window out of the door .
I cut clear plastic from packaging to go on top .
Take the cut out from the window , cut it into thin strips to glue around the edge .
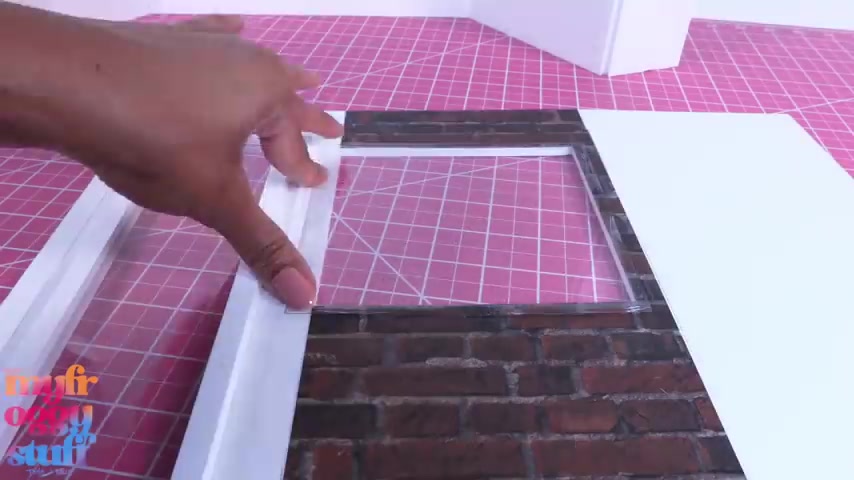
Let's cut out another window like over here on the side , cover it with clear plastic , cut , leftover foam board into half inch strips , glue them around the edges to frame the door and the window .
Now you could score around the door so that it can open .
Then I'm gonna keep mine closed just to add to the stability of the wall .
Now , we have all of our wall pieces and before I start to glue them together , let's cover the back wall .
I am using our subway tile printable .
If you do not wish to use our printable , you can always use scrapbook paper .
Once the back wall is covered , let's glue on the side walls .
I glued on the 5.5 inch wall first , then let's glue on the wall with the door extension giving us a pretty nice sized space .
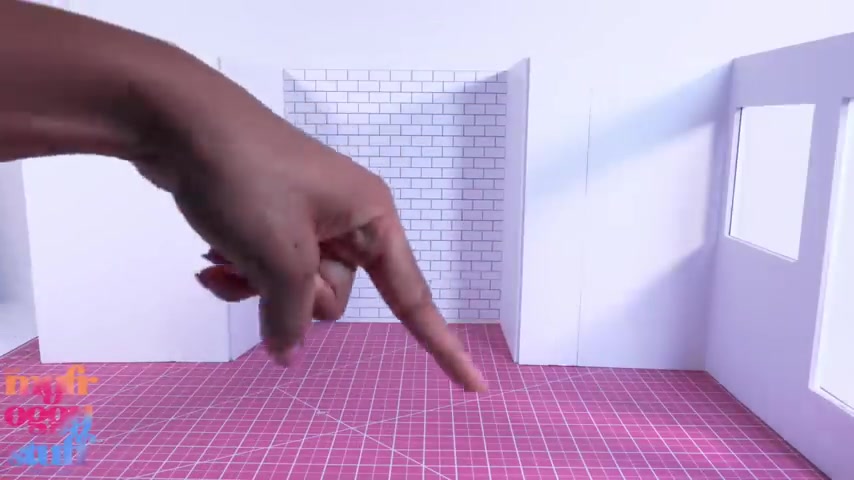
Look at us , y'all , our hidden door rooms are evolving but I'm not loving those seams and the walls and we still need a floor .
Let's use leftover foam board to cut an 11 by 14 inch rectangle .
I am covering it with a printable then tape to add a little shine , then glue it in place glue on the side walls but only the first six inches .
So the walls can still open and close .
I think we have enough foam board to make a few floor extensions .
I thought wrong .
We're a little short , but I think it'll work as long as we keep the camera angled a little higher covered to match and finish it off with tape .
Let's cover the seam with plain paper .
I take the leftover seven inch piece .
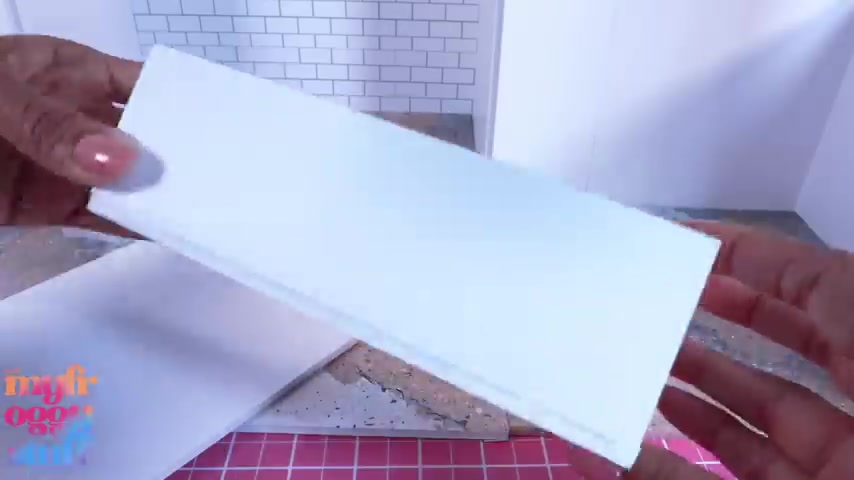
I cut it into a three inch strip , a six inch , a two inch and 22 inch by two and three quarter inch rectangles .
I glue the two inch pieces onto the three inch piece to make a little box cover them with paper , then glue them together .
Oh , man , I got a little sloppy with my glue .
Well , since it's going in the corner , maybe it won't be that noticeable .
So let's glue it to the wall .
Being careful not to glue it to the floor .
I have a little black foam board left over from a previous project .
I cut a few half inch strips to glue around the window .
Let's frame the door with leftover white foam board .
I cut some floral wire from the dollar tree .
Let's bend the ends , then push it into the foam board to make a handle .
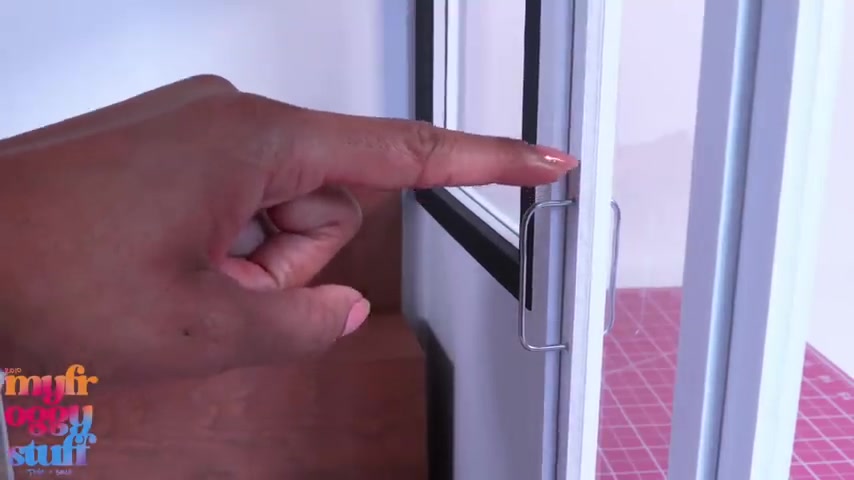
Now we have the one on the inside and it's going through two pieces of foam board .
So it's going through the frame on the other side and the same thing is happening on the outside .
It's a little over to the side .
So it's going through the frame on this side and we can use a little drop of glue to help hold it in place .
Let's bring over the table from our coffee shop in place it right in front of the little seating area let's bring back our magazine stand .
This has been in all of our coffee shops .
So , yeah , we got to hang on to it and I'm going to glue it onto this wall here , making sure not to glue it onto the floor .
But you know what ?
We are going to be moving this set a lot and our magazine , the newspapers might fall over .
So let's take a few coffee stirs , cut off the ends and glue them across the bottom of every shelf , giving us a little more security for our display .
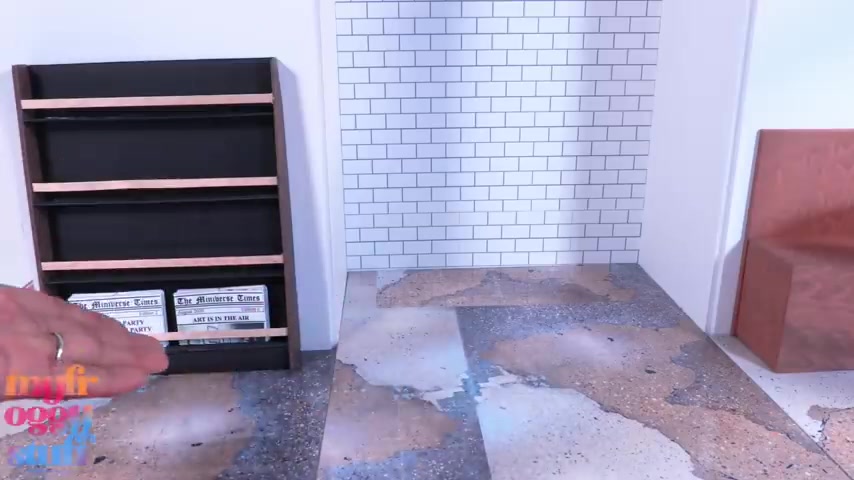
I placed newspapers on the bottom that are severely out of date .
Sorry , it was difficult keeping up with the newspaper .
We can add our printable magazines , some of our easy magazines and even our comic book illustrated by Bella .
I took the sign from the Star Frogs coffee shop .
Let's place that on the back wall .
This is a small space , but we're still going to need a little storage .
I cut a piece of foam board .
It's about an inch wide .
Let's cover it with the wood grain paper , glue it to the back wall .
Now , we can add our coffee dispenser cup , miniature coffee stairs that are just cut toothpicks , bags of coffee .
I have this basket of fruit from Michael's , but I don't really want the little cloth .
So I'm going to remove all of the fruit so we can remove the red piece of fabric .
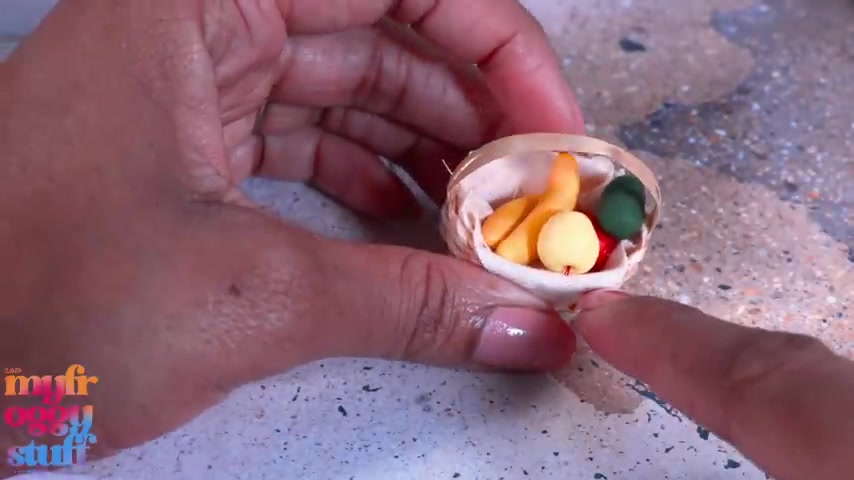
Add something a little more neutral we can put the fruit back in .
But yeah , so I'm just going to fill it with some model magic lemons .
We made a while ago .
I added a plant , some more cups , a little jar of fake sugar and a jar of tea bags .
Now , let's bring in our counter .
I'm not loving the bottom because this little ridge here goes underneath these metal strips and it kind of just makes it bow a little .
So let's remove them .
Cut a piece of leftover foam board , cover it with the wood grain paper , then glue it to the bottom to give it a new look .
Let's bring over our little easy cash register .
Let's add the totally tiny tier dessert stand .
I put it on the other side because my counter is Boeing a little , let's add a plant in the corner , another table and chair set .
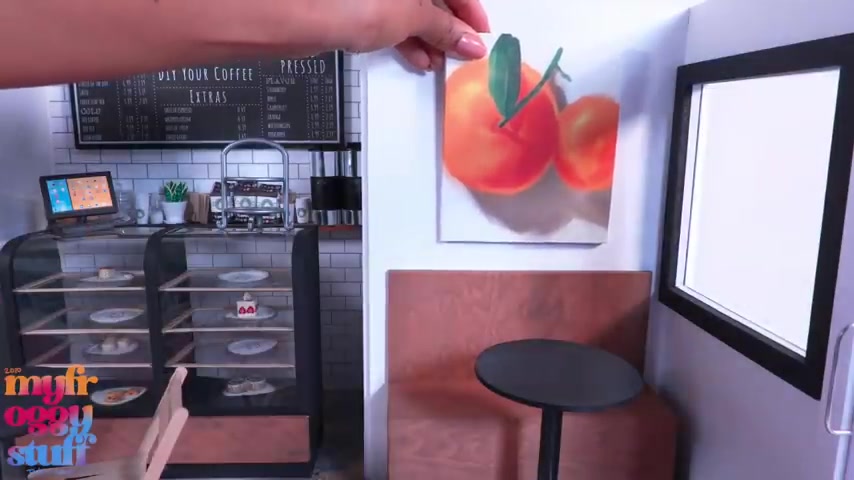
I printed it out some of Bella's artwork , glue it over foam board to make artwork for the walls which added a lot of color to this space .
I have the sign from the old Star Frogs coffee shop .
It's attached to string and I'm going to tape it right outside the window .
So everybody knows where to get the coffee and the sign is double sided .
So it looks good from the inside as well .
Completing our new coffee shop slash cafe in a hidden doll room because yes , folks , this one is easy to store , just remove the floor extensions and fold in the walls to take up less space .
And it looks pretty good closed too while still giving us a nice amount of space when it's open to film summer and call .
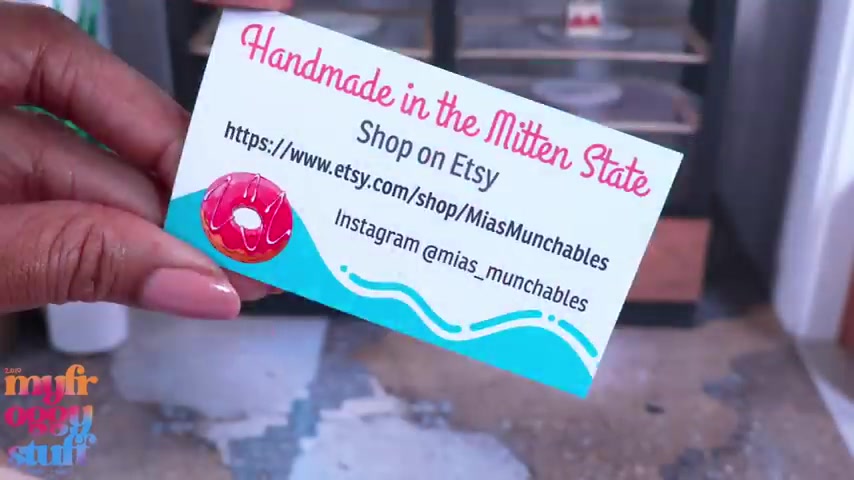
And I have more me as much balls to stock the display case with , oh , it's all wrapped up and protected .
A business card was included with information for the Etsy shop and Instagram .
I've been slowly acquiring these little miniatures I want to say since the summer because I knew that I wanted to use them in our display .
Here are two little lemon doughnuts .
Check out the details on the sides .
They were $4.35 each .
Got a little drizzle on top .
A little slice of lemon yum .
There is an orange drizzle , doughnut , key lime chocolate frosting .
Oh , it's so shiny .
A chocolate doughnut with chocolate frosting , a doughnut with chocolate frosting and a white drizzle .
A chocolate doughnut with blue frosting and white drizzle .
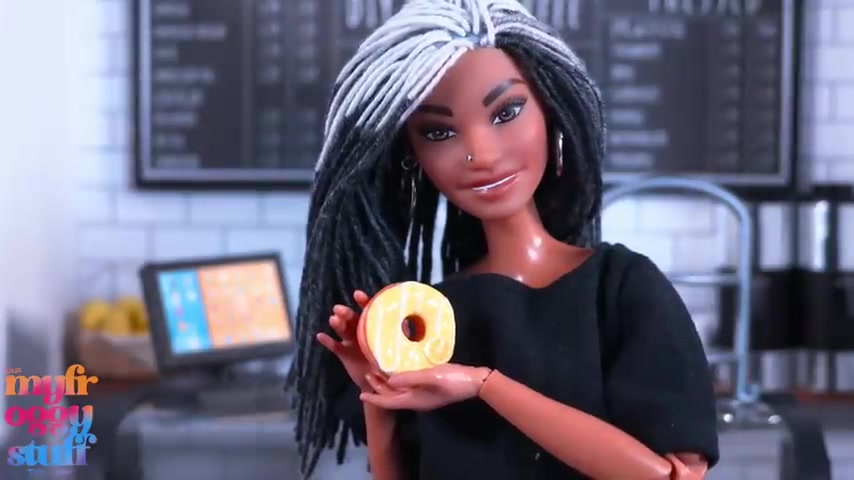
How about a chocolate doughnut with green frosting and white drizzle or a classic doughnut with white frosting ?
I really like how they included that little line in the center and the doll's hands .
These are nice sized doughnuts and I think they're going to look really fun on display .
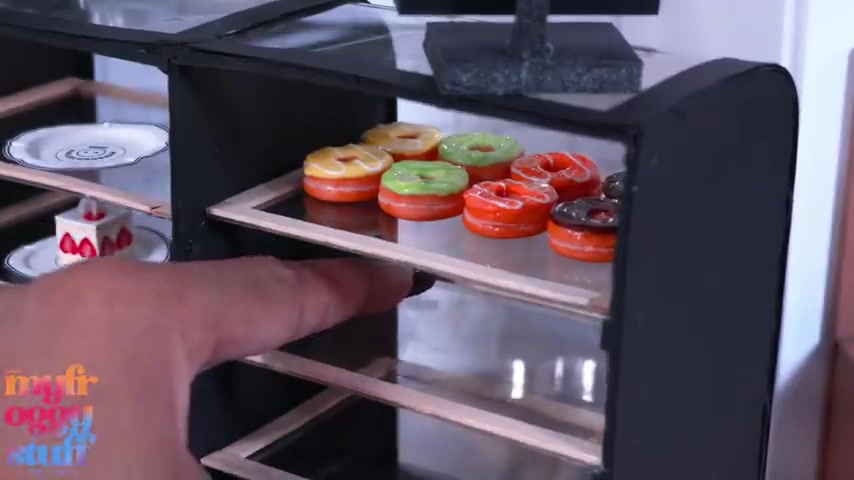
So let's turn around our display case , clear one side and add the doughnuts .
I think that looks pretty good .
Although in hindsight , I probably should have got three of each .
So we could have filled the whole shelf .
I put a couple of the single doughnuts on the dessert stand .
I also picked up some chocolate cookies .
They have a lot of texture on the front and you can see some texture on the back .
Those were $2.10 each .
But I think I got them on sale .
So don't quote me on the price .
I got rainbow sugar cookies for 3 20 each .
Sugar cookies with frosting for $2 each .
And I got four different colors .
I picked up this seven piece rainbow cookie set for 12 80 .
And yeah , once again , I believe these are so prices and the regular prices may be a little higher .
Let's add the cookies to our display and we don't have to add them all at once .
We can switch them out depending on the season .
Our mood , our color scheme for 13 85 .
I got a set of three pastelle frosted vanilla cupcakes .
The frosting is all swirly and you can see the little lines for the wrapper .
These are perfect for the top of our dessert stand and for 28 15 .
Again , I believe that's a sale price .
I bought a whole vanilla cake with yellow frosting and eight individual slices .
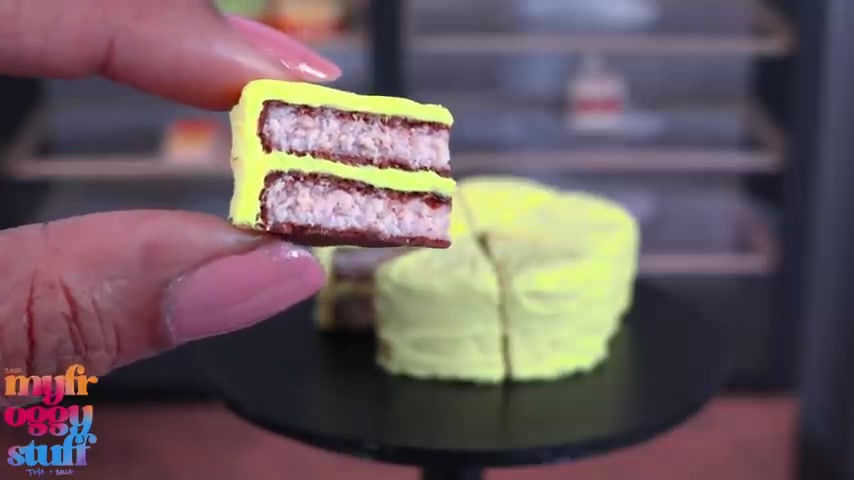
Look at all that texture .
Everything is made out of polymer clay and I'm loving the browning on the cake .
Look at that .
There's texture on the bottom .
Look at all of that texture in the cake and the frosting has lots of texture .
Wow , these are some nice size slices .
The dolls will be bouncing off the walls with all of this sugar .
Uh uh This is the mini verse .
We can pretend like everything is plant based and sugar free .
That's right .
Folks in our imagination .
Anything goes .
Oh , wow .
The cake took up the whole bottom shelf , but I still have an empty shelf .
No worries .
Because before Halloween , I picked up the fall set , I told you this shop is seasonal .
So you kind of just got to keep an eye out .
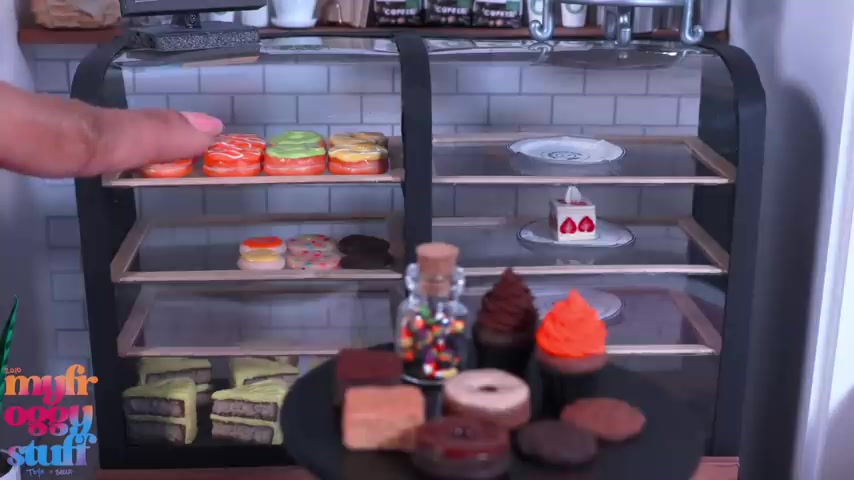
It was $25 for all of this and I was kicking myself for not getting two because it looks good on the shelf .
When you got at least two , we got two doughnuts , two different types of chocolate cookies , two different types of brownies with all that texture to cupcakes and a jar of candy .
But hey , now we have two of these dark chocolate doughnuts with chocolate frosting and more chocolate cookies .
So we can add those to the display as well as the brownies .
Then switch out the pastel cupcakes .
Four fall colors and I placed the jar of candy on top by the cash register .
Oops , there was another doughnut .
It came with a chocolate doughnut with green frosting .
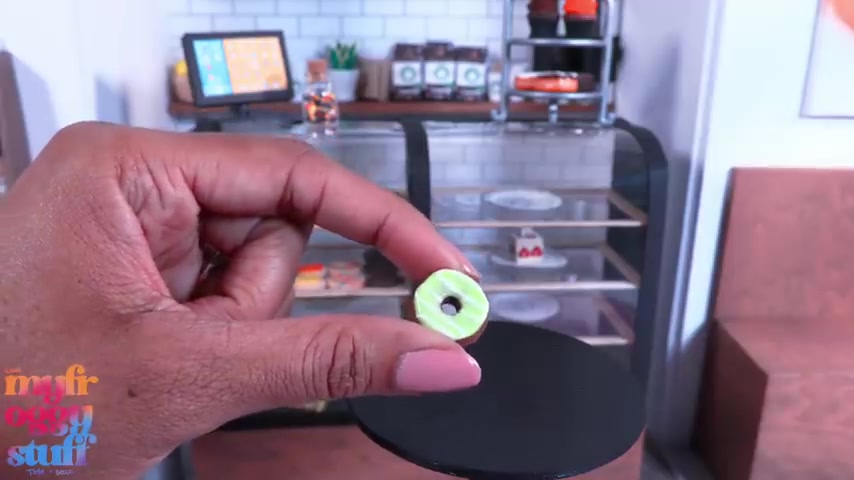
So there was three doughnuts in that set and there was a little gift munchie included this little heart shaped cookie .
And because the holidays are right around the corner .
Mia's Munch Bos already launched their Christmas themed set price tag $23 .
This time , folks , I picked up two , each set comes with one cupcake , one jar of candy , a doughnut , three macarons , three Christmas tree cookies and a glass of milk .
We're just gonna pretend like that is almond milk .
The little tree cookies have sprinkles .
So does the cupcake and the candies look like multicolored mints plus threw in a free doughnut .
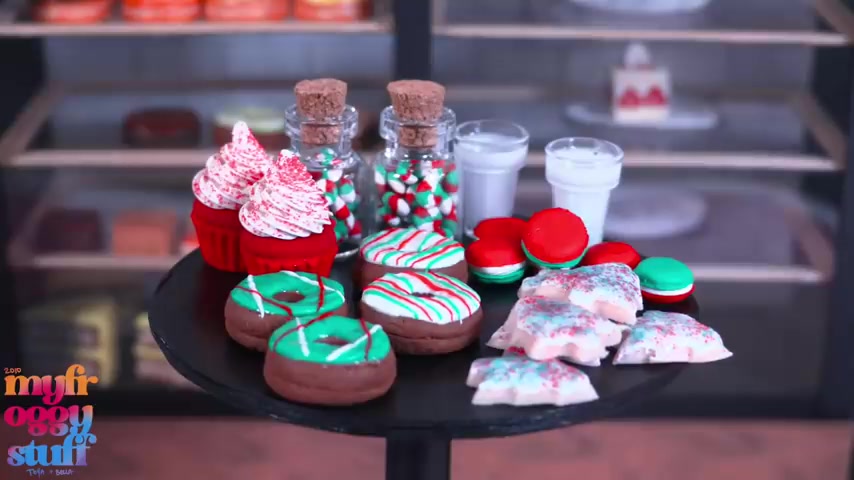
So we have a nice amount of goodies for the holidays and all we have to do is carefully switch out our fall theme for our holiday munchies and we can combine them with some of the other items to fill the case .
Everything that is not in use is stored away until we need it on this side of the display .
I thought we could put a few savory items like our paper sandwiches , burritos , breads and soup .
So it's kind of like a cafe or a one stop shop for all of our dolly needs , but I don't have enough food to fill up the case .
So we just have to fill it in with whatever we have until we have a chance to make more .
And hopefully Caroline will like her new space here in the mini verse .
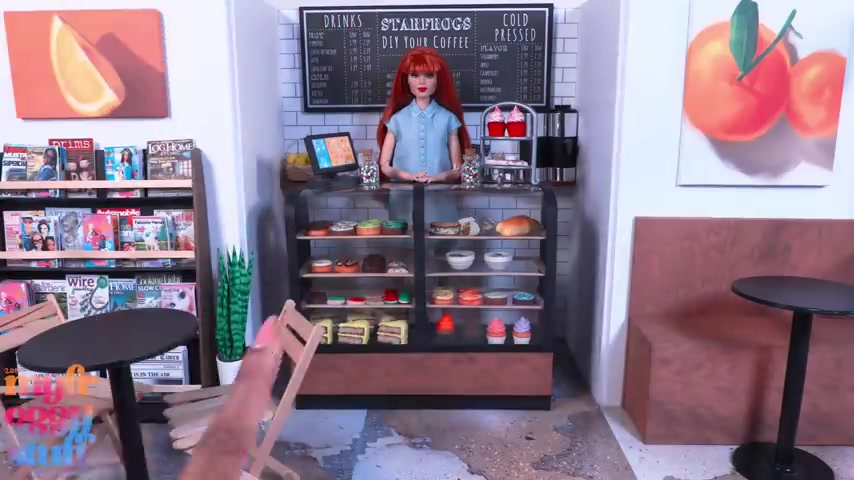
Thank you for joining us while we made a coffee shop slash cafe in a hidden doll room and checked out Mia's munch Etsy shop .
Like comment , share and subscribe .
Don't forget to ring the bell and follow us on Instagram at my froggy stuff and the frog vlog and Bella of my froggy stuff and we will see you next time .
Are you looking for a way to reach a wider audience and get more views on your videos?
Our innovative video to text transcribing service can help you do just that.
We provide accurate transcriptions of your videos along with visual content that will help you attract new viewers and keep them engaged. Plus, our data analytics and ad campaign tools can help you monetize your content and maximize your revenue.
Let's partner up and take your video content to the next level!
Contact us today to learn more.