https://www.youtube.com/watch?v=twyEpcOSZCM
Learn How to Make Giant Paper Rose Flowers, Plus Free Pattern _ Sweet Red Poppy
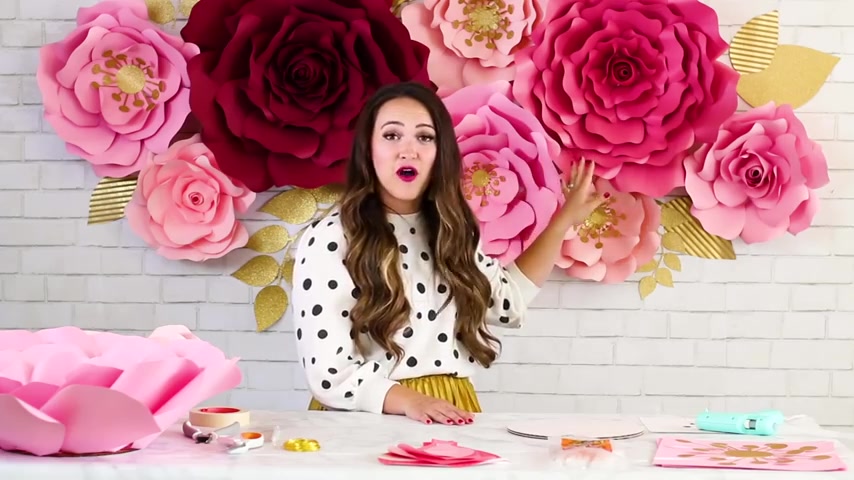
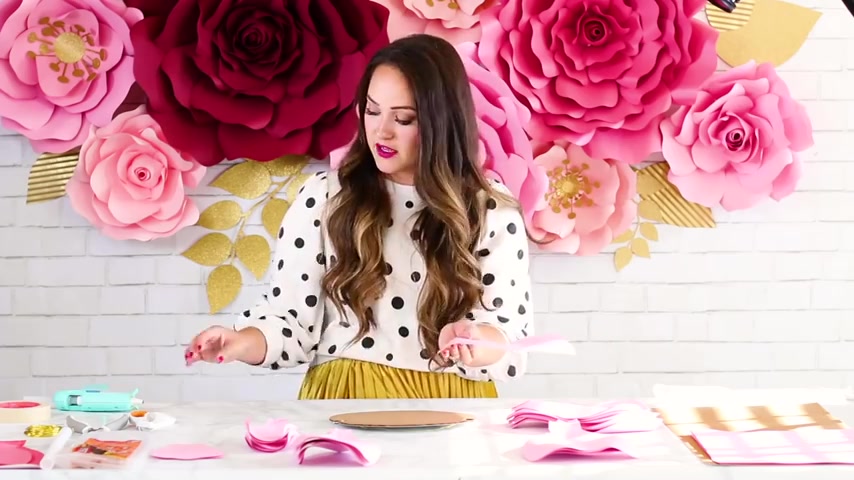
Hi , it's Kimberly from Sweet Red Poppy .
And today we are making these fun paper flowers .
I'm so excited to share this tutorial with you because it is perfect for decorating .
If you have a baby shower to attend or maybe a wedding or an anniversary party .
Really .
Anything you can think of flowers are so much fun .
I will teach you all of my tips and tricks or how to hang them on the wall , make them look beautiful .
And I'll even share what type of materials you'll need to get started in this tutorial .
I'm going to be showing you two different flowers .
So first off , we have this oversized rose with a closed bed and I'll also be showing you how to make this open center .
It's made from the exact same pattern piece .
But the technique is just a little bit different for this tutorial .
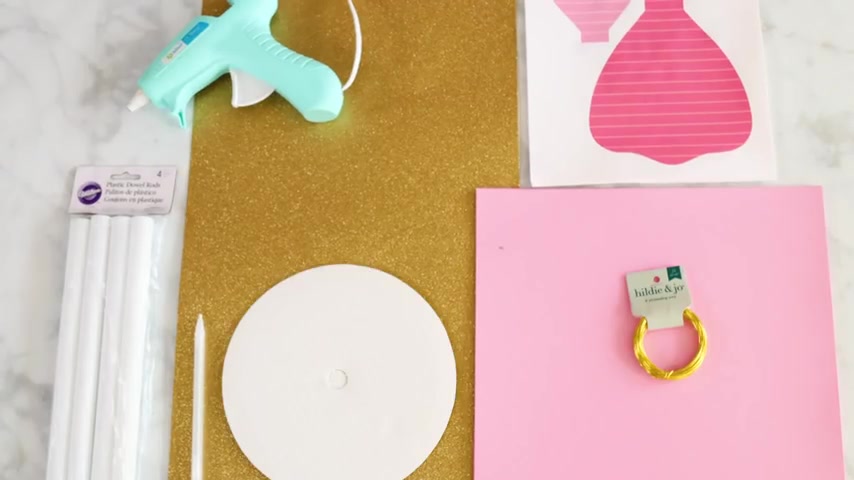
You'll need glitter card stock , a stack of regular card stock , a printed pattern , a dowel a pen or pencil , a hot glue gun wire , a cake plate , a pair of wire cutters , hot glue sticks and a pair of scissors .
Let's go ahead and jump right into the process of making these paper flowers .
I'm going to show you how to create a vase for your paper flowers that's sturdy and will allow you to place your flowers on the wall .
What I like to do is just attach a little bit of wire to the back of my cake plate .
So this is just a cake plate from Joe and it is cardboard .
It's really easy to work with um super inexpensive , which is nice and you can hang it on the wall .
You can use either a thumbtack or you can use a command hook , which makes it really easy to remove it without any damage .
So I'm gonna show you exactly how to do this .
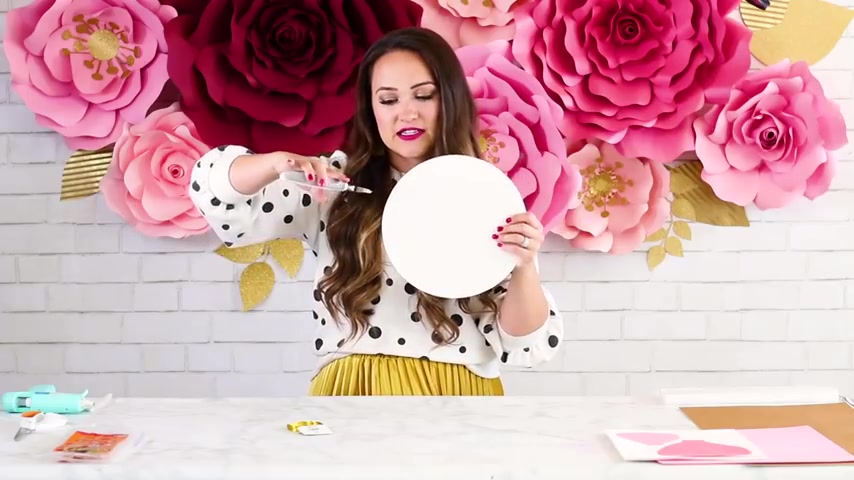
First off , you're going to want to use a pair of wire cutters and just cut into the side of your cake plate and about an inch apart , just an inch more than that .
You're gonna do another cut , same thing on the other side .
And this is just going to create a little holder for your wire .
So I'm gonna open up my wire and you can use any type of wire that you have .
Um , this is just some wire that I had on hand , but if you have floral sim wire that works too , I'm gonna unwrap this and I just want just a little bit more .
So I'm gonna open up this wire and I want it to be a little bit longer than my cake plate that way I can wrap it around each side .
So I'm just gonna get a general idea of how long I want it to be and then trim it with my wire cutters and you can decide if you want the white side to be facing up or facing backwards .
It's just up to you .
I kind of like the clean look of it .
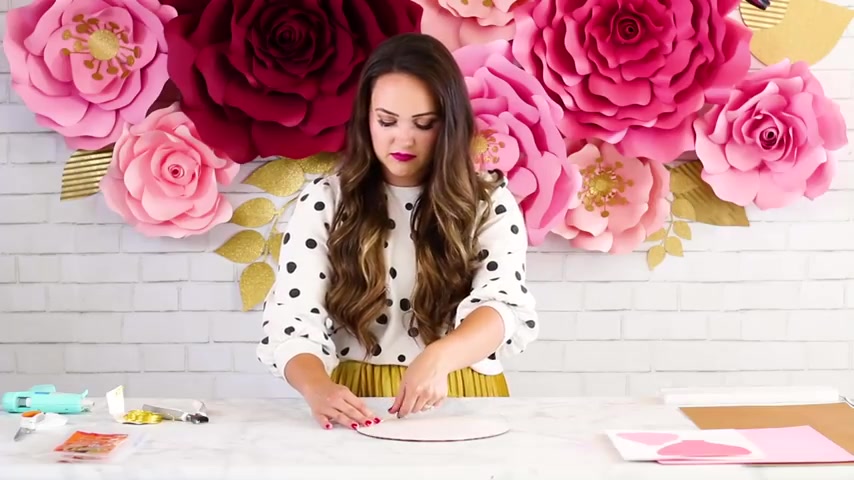
So I'm gonna keep it facing upwards and just going to stick my wire into these slits that I've made and just wrap it around .
Yeah .
So you're just going to twist it to make sure that it's nice and secure and then do the exact same thing on the other side .
So I usually we'll just flip this little tab upwards and then secure my wire .
It was seen around and around once that's complete .
I like to put a little bit of hot glue on it just to keep everything in place .
So I'll do a little dab on the back and I'll do the same on the front as well .
So this is ready to go .
I'm gonna set this aside and let it cool off while we work on making our paper flour .
Please .
To create your flowers .
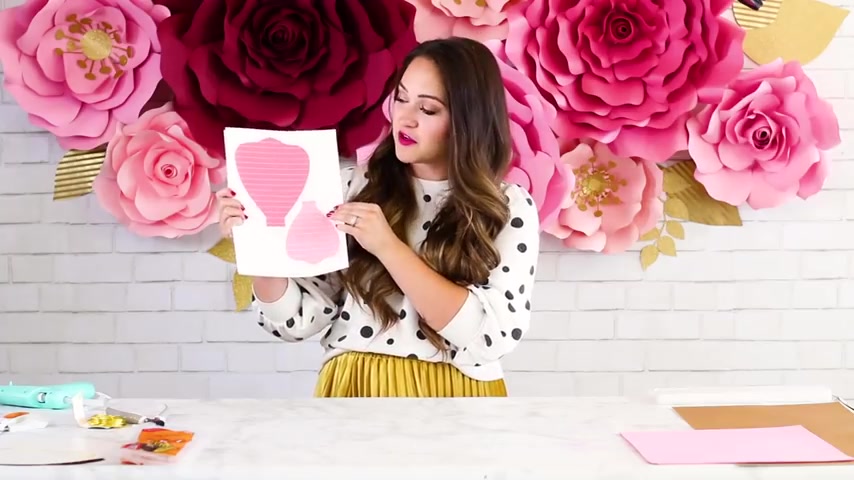
You want to print off this free download .
This will give you all of the pattern pieces that you need for this flower .
If you have a cricket machine , you can also cut them out on your cricket machine or really any brand of cutting machine .
I like to do it two different ways .
So I like to cut out my pedals by hand .
And the reason I like to cut my pedals by hand is because it's a little bit faster because you can cut multiple pieces of paper at once instead of just feeding one piece and at a time into your machine .
But for the centers of my flowers , I really like to cut these on a cutting machine just because it's a little bit more intricate and harder to cut by hand .
So I'm gonna show you the way that I like to do it , which is just cutting all of my petals by hand and then cutting my centers with my cricket .
So you wanna go ahead and lay out all of your pattern pieces .
You have , you have a small , a medium , a large and an extra large piece .
This one needs to be pieced together .
So I'm gonna quickly put that together for us .
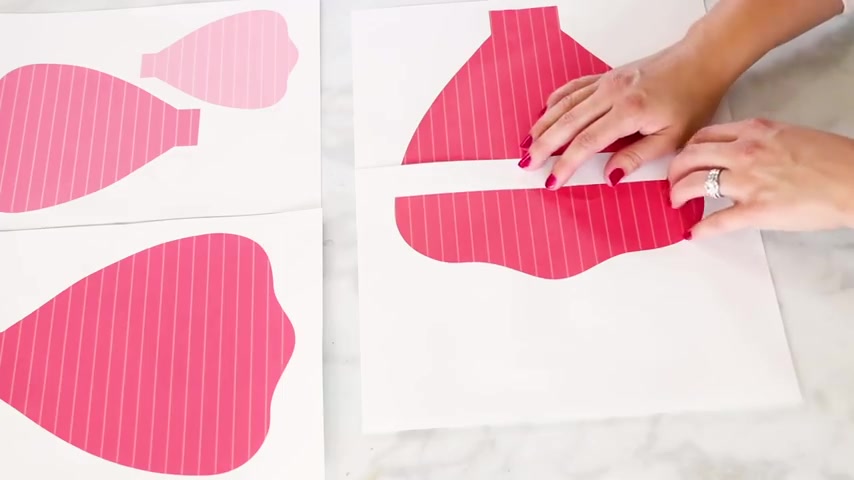
So we're just going to line up those lines .
You don't have to trim away the excess because you can really see it through the paper if you just want to line it up and then put some tip on it .
And now I'm just going to cut out all of my pattern pieces .
An optional way to do this would be to cut out the templates with your cricket machine .
If you plan on making a ton of flowers , it's actually easier to cut them out of something heavier like card stock and use those as your templates to trace .
Now that I have all of my pedal templates cut out .
It's time to start cutting our card stock .
I like to take a big stack of cards stuck and sort it into stacks of two or three papers .
It really depends on what type of scissors you scissors you're using .
If you'll be able to cut through three or five pieces of paper .
My preference is usually about three .
So I'm gonna take this place it in front of me and then I'm going to draw an outline of my template .
The nice thing is you don't need to draw 20 of these .
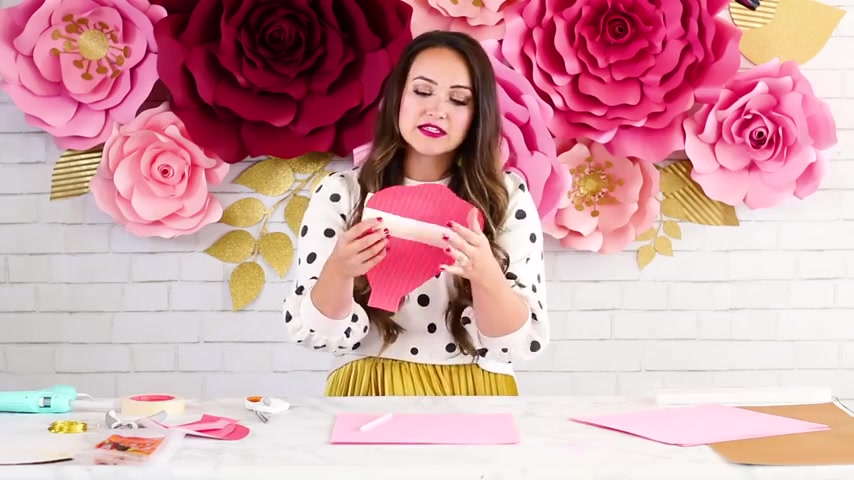
You only need to draw a few and then cut around it because you're going to be cutting multiple pages at once .
So for my biggest template , I like to cut about 8 to 10 different pedals .
And the reason that I usually will cut a few extra is just in case something happens along the way , maybe one of your pedals gets ruined or you end up putting everything out and you and you think , oh , I just need one more pedal .
It's nice to have a few extra instead of not enough .
So I always go , I err on the side of caution .
So I'm gonna take a white little pencil , you could use any pen or pencil and I'm just going to trace around the edge of it .
You wanna make sure that your line is as smooth as possible .
And for this project , if you're making a large flower , typically , you'll need around 20 to 25 pieces of 12 by 12 inch card stock .
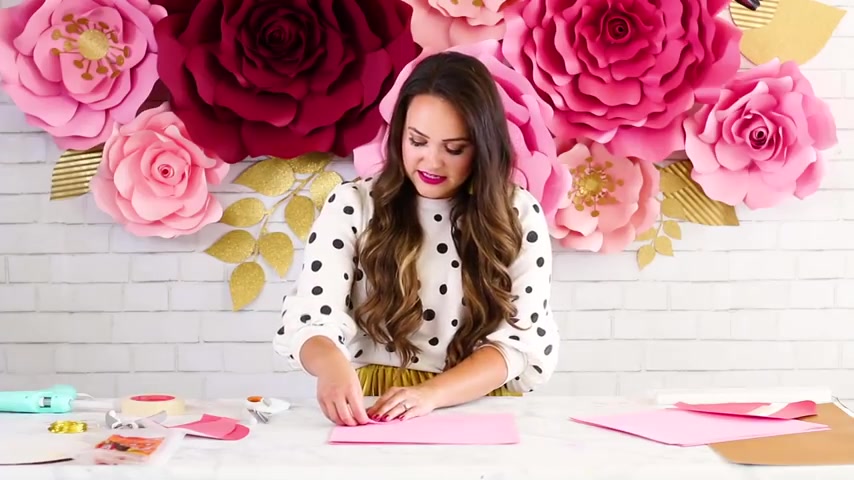
So I've traced this out on here and I do have a little bit of space in the corner that I'm going to stick another small pedal in just so that I can get the most out of each sheet of paper .
So when I go to cut these , I like to make sure that all of my corners are lined up and I like to hold it in my hand firmly with my left hand , making sure that the papers aren't going to shift as I'm cutting .
And then I just start at the bottom and I like to use long slow strokes .
That way you don't have any rough edges .
You just wanna go slowly and then you'll come to the curve and again , long slow strokes so that you don't end up having jagged edges .
The one downside to cutting your paper pedals with a pair of scissors is that they can be a little bit jagged as opposed to cutting it with a cutting machine .
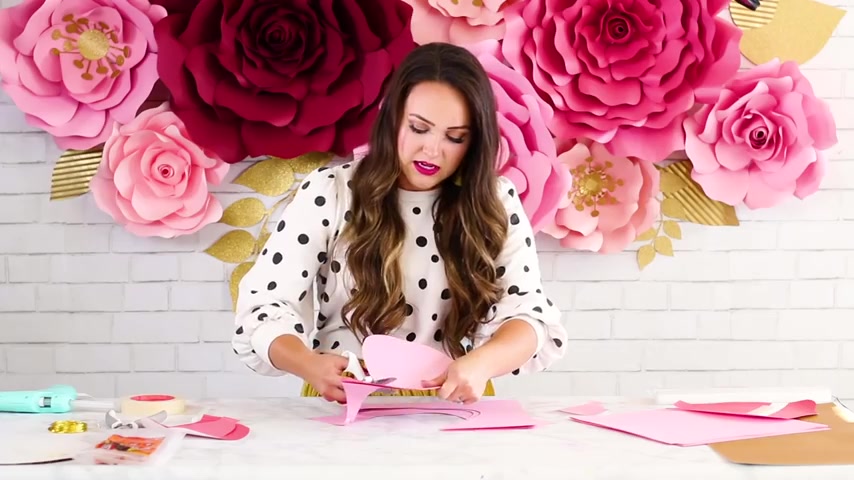
But the thing I really like about this is that it's a little bit faster than having to feed each piece of paper through your machine .
You'll notice as I start to get to the end , it kind of wants to move around on me .
So just hold it firmly with one hand , I'm gonna put these pieces back together and cut out my next peal .
And I always like to use if I have any scraps , I like to keep them and look for ways that I can reuse them because card stock paper can be a little bit expensive when you need so many sheets of it for a project like this .
So now I'm going to go ahead and cut out all of my pedals and I wanna talk quickly about how many pedals you need .
So if you're making a normal standard size flower , so this one behind me , this one's a large one .
This is gonna take a lot more pedals than what we're doing today .
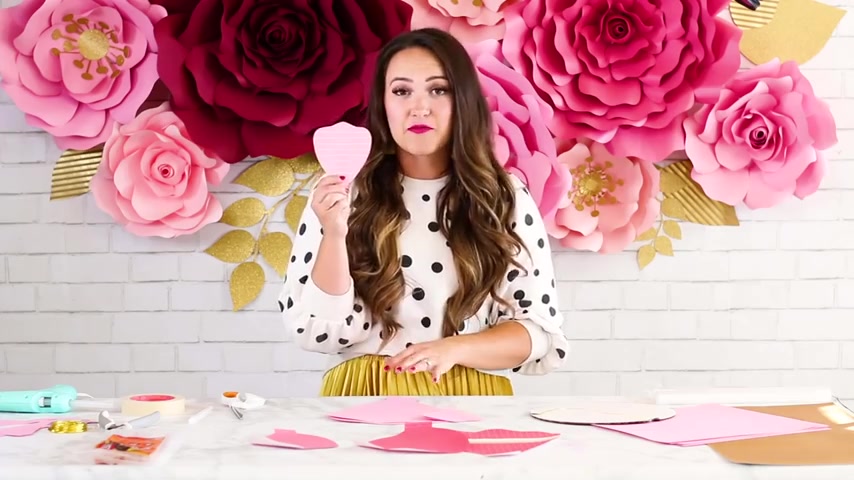
But if we're making one similar to this size or this size , you're going to need about 8 to 10 of your largest petal and then 8 to 10 of your middle pedals .
And then the smallest one , this one really depends on the type of center that you wanna do .
If you want to do a closed bud like this one , then you'll need about 16 .
If you're planning on doing an open center where it has this pretty gold in the middle , then you'll only need about eight of these .
Now that I've cut out all of my templates , it's time to get started on making our pedals .
And this is the really fun part .
So one of the things I want to talk about is we want to create the most realistic looking pedal that we can .
And one of the reasons why these flowers look so pretty is because they have a lot of movement .
The pieces of paper aren't just flat , they are curved in different ways .
And that , that's what makes them really appealing and also gives them kind of that fun wild rose look .
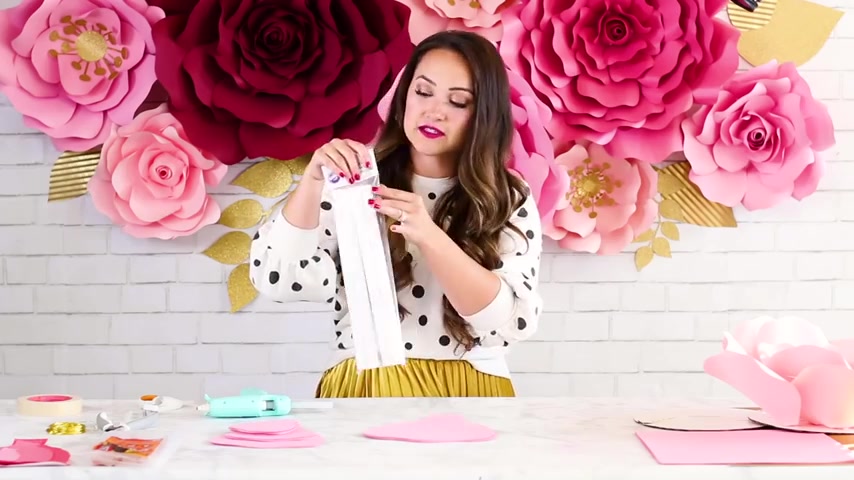
We're going to start by giving our petals a little bit of shape and the way that we do this is with a dowel .
So I'm just using these plastic dolls and these are from Wilton .
I found them at Joanne and I'm just going to use this to shape each of my leaves .
So what I'm going to do is take this in one hand and then roll my paper with the other hand .
I like to do a few pedals at once .
I find this gives a more uniform look and it prevents the paper from cracking as I'm doing it and you can do as little or as much as you want .
It really depends on the look that you're going for .
I like to do some of my petals really rolled forward and some of them less that way .
There's a little bit more dimension within my flower and then I have this nice looking pedal that looks realistic instead of just being flat .
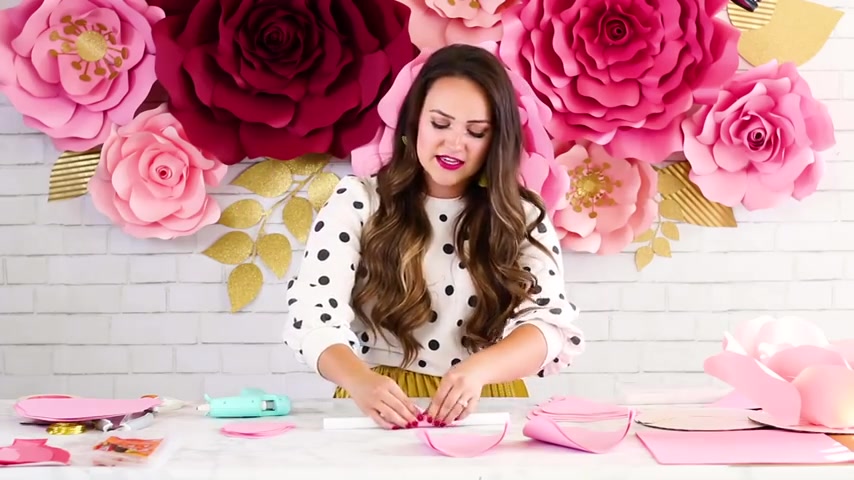
So when I'm making paper flowers , I really like to cut out tons of petals that way I can make a bunch of flowers all at once .
And I like to do it assembly line style .
So I'm gonna cut everything out at once and then I'm gonna roll all of my petals at once and then I'm going to put them all together .
It's just a little bit faster that way .
So I'm gonna keep rolling this one and then when we get to the center , this one's a little bit tricky .
So it depends on which type of flower you're making .
If you're making this closed bed , then you'll want to leave some of them flat , you'll just leave them alone and then you'll leave and then you'll roll some of them .
If you're making the open center , then you'll want to kind of roll all of them because none of them will be closed into a bed .
So I'm gonna show you how to make both ways .
So I'm gonna leave a few flat and I'm gonna roll a few and I just roll it back and forth until I'm happy with the shape .
I even have one more secret tip that I'm going to show you that way .
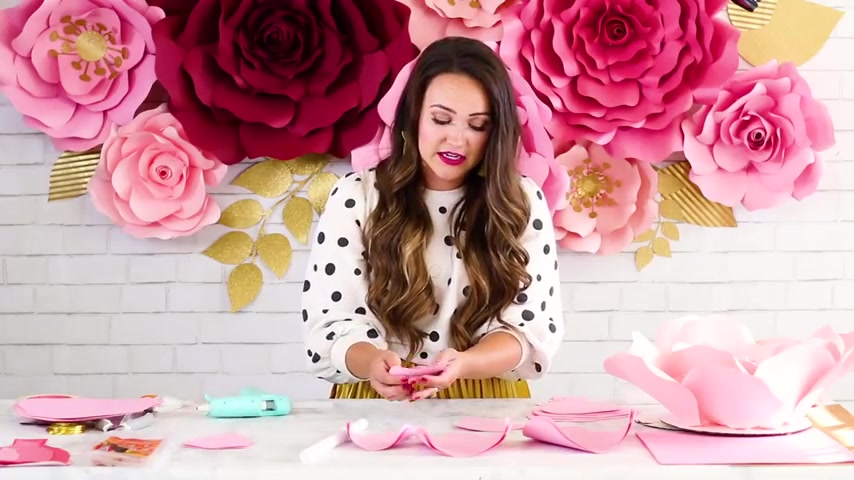
You can get even more dimension and make your flowers look even more realistic on the biggest flower .
I like to curl in the sides and then I like to curl the metal up just like this .
So it's a little bit tricky .
I'm gonna go like this and then hold it for a few seconds just to make sure that it's going to stay .
And this is going to give a nice curve to those outer flowers , those outer petals .
So I just kind of rock it back and forth until I notice that it's really holding in shape .
And for this technique , I really like to use multiple sheets of paper if you try to do it with just one , a lot of times the paper , um it doesn't fold very nicely and you'll get little cracks .
Now that I have given some extra dimension to all of my pedal pieces .
It's time to cut down the middle just like this .
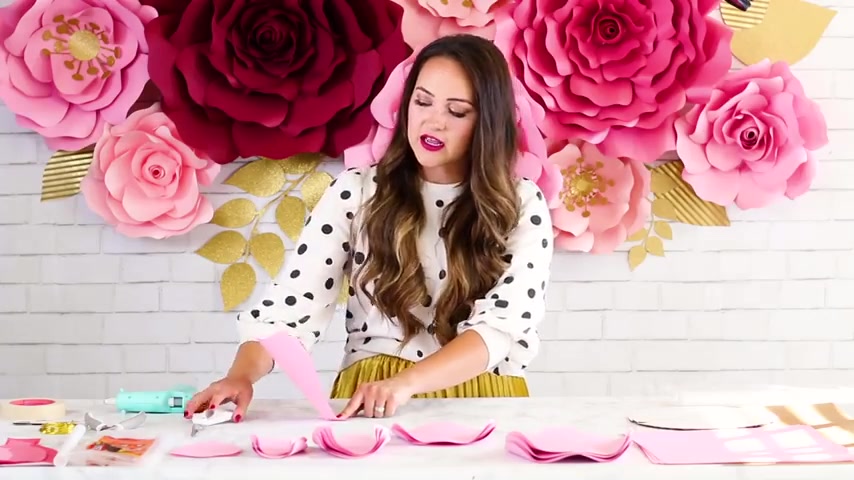
I like to cut about 1 to 2 inches into the pedal and then we're going to overlap the end and this will help our pedal just to stand up a little bit .
And one of the things I wanna show you that's really important is to understand how much to make these pedals stand up .
So the tighter you pull these two pieces together , the more your pedal is going to stand up straight .
So on your outside row of flowers .
So the , the very outside , you only want it to stand up a little bit because naturally a flower isn't going to be standing straight up on the outside .
It's going to be laying a little bit more like this .
So I like to just put it on the table and then just play with it a little bit until I find the perfect height .
So I like just about there is pretty good .
So I'm gonna go ahead and cut all of these now and get them ready and then I'll just put a little dab of glue to hold that in place .
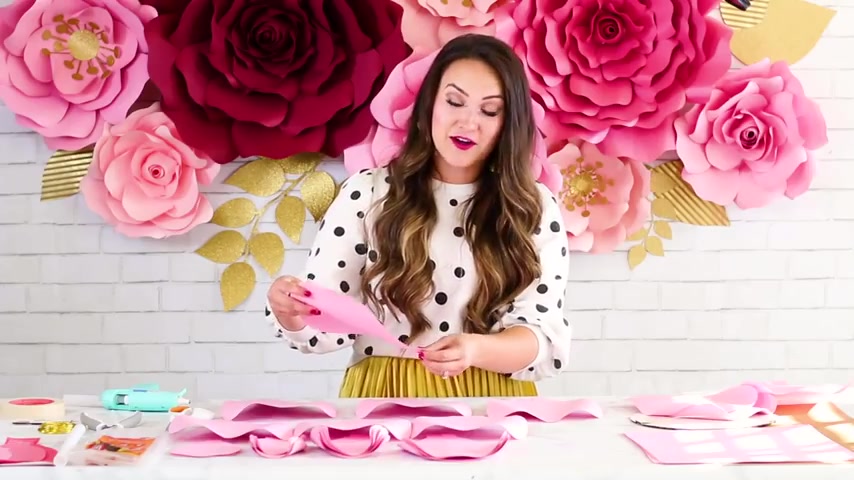
So I'm gonna start with my side pedals first .
So I've laid all of my pedals out so that the rounded edges are facing downwards and you wanna double check this before you glue them in place because it's easy to mess it up .
I do it all the time .
So what you want is your pedal should be , should be rolling away from you and you can just hold them like this .
OK ?
So this is the right direction .
So now I'm gonna put a little line of glue on all of my pedals .
I like to do this all at once just because it's a little bit faster and then I'm going to slightly overlap .
So the more overlap , the higher it's going to stand up , the less you overlap , the more it's going to be relaxed .
And I like to have a little bit of variation between pedal to pedal because it looks a little bit more realistic .
And I usually just stack them all up as I finish them .
You do kind of want to pinch it until it pulls that way .
It doesn't come undone while it's so hot .
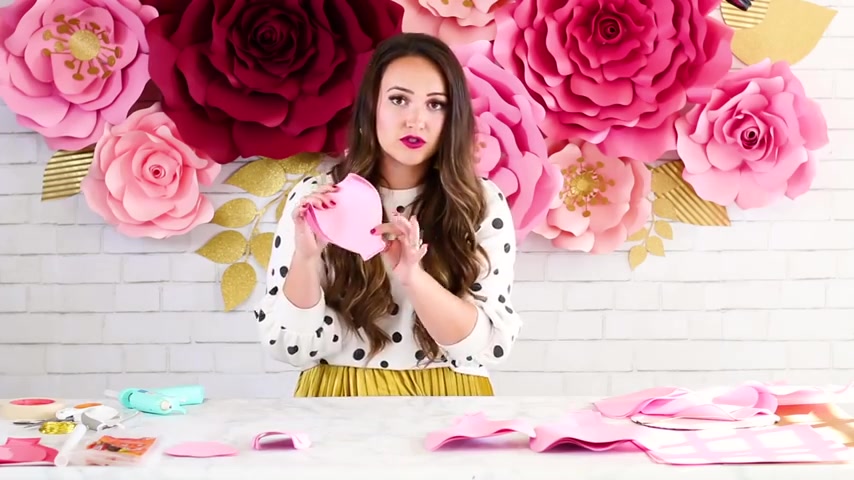
So as I get to the smaller petals .
So once I've done my large , my extra large and large on this one , I like to make sure that they're standing up a little bit straighter because they're getting closer to the center of the flower and it looks a little bit more realistic .
If they have more height to them , you'll do the same to this but make sure that they're going up a little more and then on the small ones , it's actually going to be reversed .
So as you come into the flower to the bed , you want your , you want your petals to be facing inwards like this so that it's kind of just enveloping the center bud and you can give these ones a lot of height by really overlapping those cut ends .
So I'm just gonna go ahead and do all of these .
Now that I've shaped all of my pedals , we're going to start putting our petals onto the cake plate .
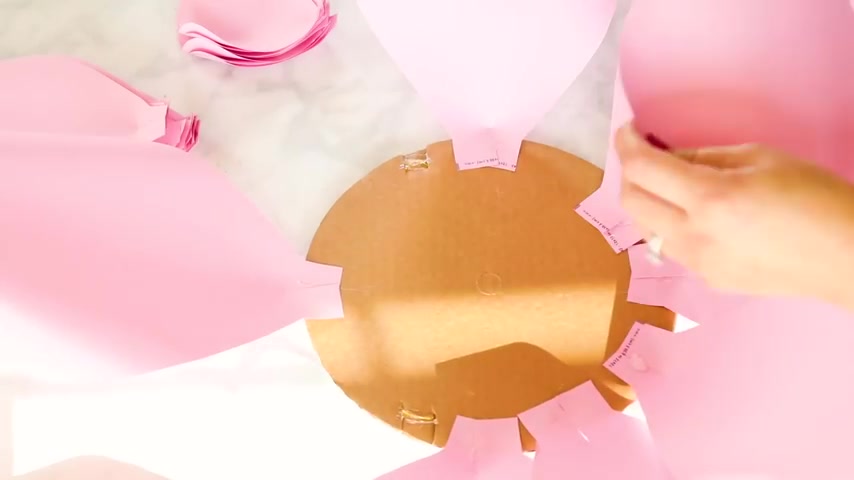
So I'm going to start with my largest petals and I'm going to be attaching them to the very outside of the cake plate .
So what I like to do is just flip this over and then put a big blob of hot glue on the back side and I'm going to hold it in place until it cools that way .
I know it has a really firm grip on the cake plate because I don't want them coming undone later on .
Usually I'll just go directly across and do another large pedal and then I'll just fill in from there .
And I like to have , I like to make sure that at the end that some of my pals are overlapping a bit .
It just looks a little more natural that way .
But usually I'll do four of them across from each other like this .
And you can put the glue directly on the plate or on your pedal , just whatever works best for you , but do make sure that you're putting firm pressure onto your cake plate .
That way your pedals are really attached .
You don't want them coming undone , especially if you have to move these to an event .
Are you planning on transporting or shipping them ?
So now I'm gonna go in and just fill in the open gaps .
So now I have my largest two pedals are all attached and I'm going to start working inwards with my medium size petals .
So it's just gonna be the same thing again .
I like to offset them a little bit .
So if I have a pedal right here , then I like to put my next pedal just in between the other two pedals .
That way , it kind of fills in any gaps .
Now , I have my middle petals attached and it's starting to really look like a flower , which is exciting .
Now , I'm gonna move on to these pedals and just keep doing the same thing filling in any gaps that I see .
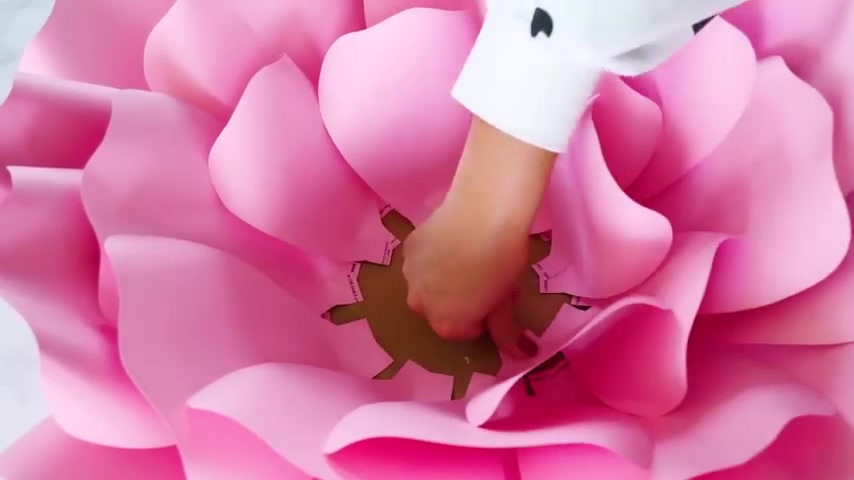
And as you are building your flower , make sure that you're pulling out any glue strands .
When you're using hot glue , there's just bound to be lots of glue strands .
So just remove them as you're going .
Here's what it's looking like .
Now it's time to start building our middle .
Now , these pedals are facing a different weight .
So we're just going to be creating the same , same look , but they're just facing inwards instead of outwards .
Now it's time to create the rose bud .
So I'm going to start with my smallest templates and I'm going to set them out in front of me just like this and make a little bow and I like to curl up this edge .
So these little pieces are pretty much just going to be hugging each other .
So I'm gonna give them a little bit of shape just so that they curl into each other easier .
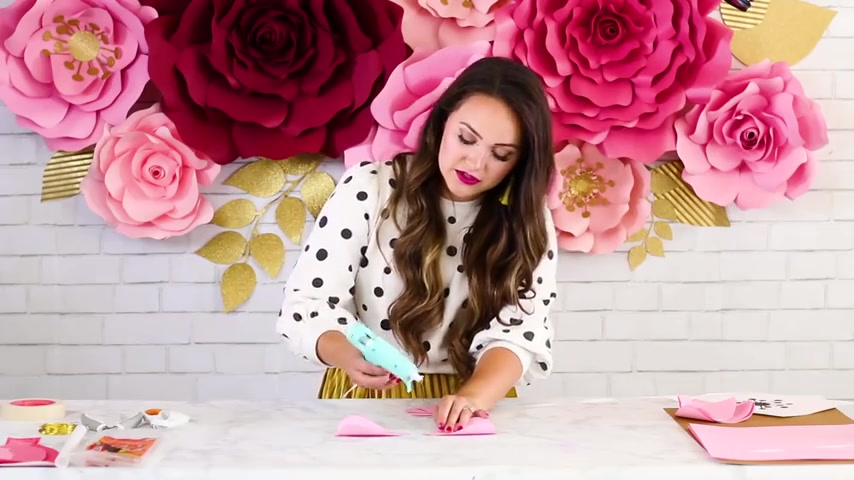
I'm gonna put a little bit of glue right here to attach each pedal together and then I'm gonna wait for it to cool and then I'm going to bend it just right here .
If you just fold it over on top of its itself and you have a nice little line , you wanna do that with both sides and then we're going to take these and just overlap them .
Keep pushing until you have a small opening in the middle .
Sometimes this part's a little bit tricky and then take a little bit of hot glue and close this off and you can keep pushing to make it tighter or you can let go and let it be a little bit looser .
Just depends on what look you're going for .
So I'm gonna hold this in place until it cools .
That's really important .
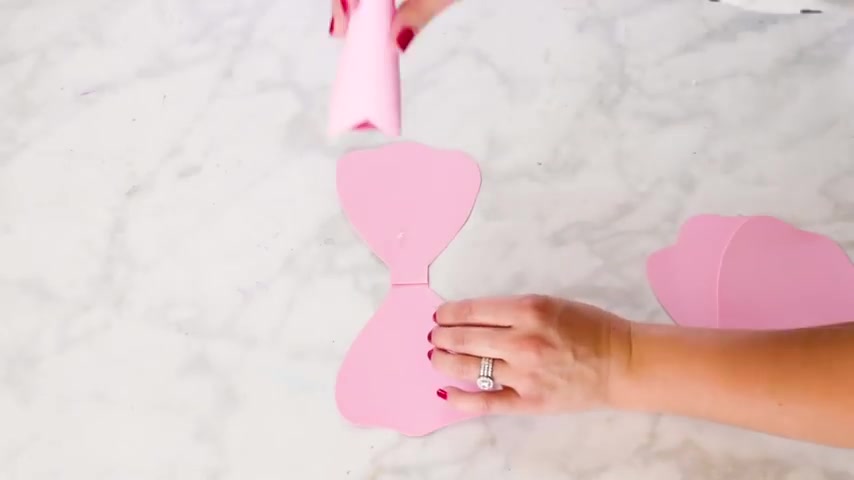
If you let go right away , it's just going to pop open because you haven't given the hot glue gun , you haven't given the hot glue any time to cool .
Now , I'm going to do the same thing again , putting these two petals together and then I'm going to put this in the middle .
Do you wanna put some glue on the bottom ?
And again , you're gonna hold it in place until it cools .
Then I'm going to bring these up , just kind of curling them a little bit as I'm bringing them up because it just helps them to get into place better .
And I'm going to put a line of glue on this side and a line of glue on this side .
So I'm just going to bend this with my hand and then this one as well and then pinch them together .
And as we're adding layers , you're going to want it to get more and more open .
So the first one is really tight and closed .
The second one is a little bit more open .
It's looking pretty good and I'm gonna keep adding some more pieces .
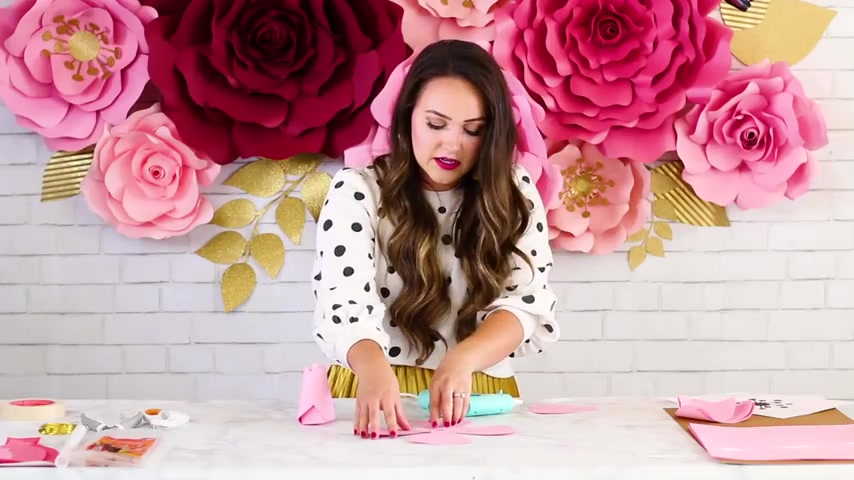
So this time , I'm gonna put four pieces out and I'm gonna glue them all together .
And I want it to be slightly bigger than it was the last time because I want it to look like it's growing .
So I'm just gonna create a little square in the middle .
I'm just gonna wait until this cools off all the way with a little bit of glue on this side and then stick it in place and really press down firmly .
You don't want this to move around , you want it to be solid and remove any little glue strands that you might have .
And now I'm gonna keep doing the same thing and I like to alternate .
So if I had ones going this way , then the next time they would need to go the opposite direction and then as it starts to get bigger , I'm going to just glue these to the sides and set up to each other .
So I'm gonna put some glue on this panel on both sides and then I'm going to be gluing it to the center .
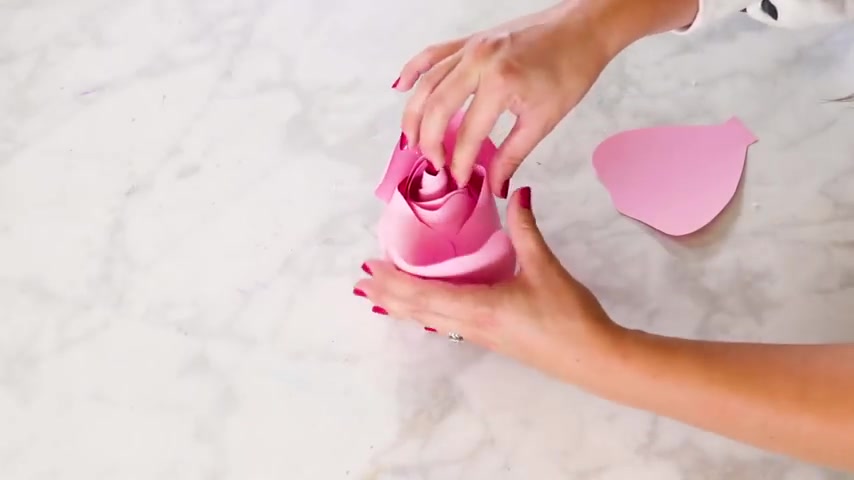
And at this point , I'm going to take some more petals and I'm going to just fold this in half right here , which will make it stand up a little bit more , then I'm gonna connect it so that it looks like it's a little bit more free standing .
I like to cut extra petals out , especially for the center because every single center is going to look different .
Each time you're making this roast bud , it's gonna turn out a little bit different and you might want less flowers , you might want more petals .
It really just depends .
Now , I'm going to grab my big flour and we're going to place this into the center .
I'm going to cover the base of this with a bunch of hot glue because I really want this to be secure .
And then I'm just going to put it into the center .
You can kind of wiggle it around and find the way that it fits best .
And then you're going to firmly press down to make sure that it's secure to the cake flake and there you have your flower .
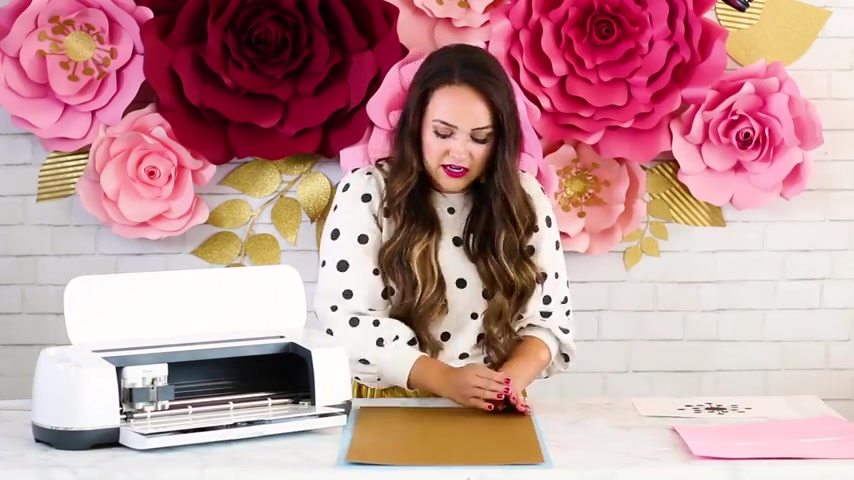
Now , I'm going to show you how to make a center for this flower that resembles this flower back here .
So we're going to be cutting out some gold paper and creating the little stem .
Here's the template that I'll be using .
It's available as an SVG file for your cutting machine or you can print it off and cut it by hand .
If you're planning on cutting it by hand , you'll probably want to use a short pair of scissors that's really sharp .
I'm gonna go ahead and put my sparkle paper on my cricket mat , make sure that it's firmly adhered .
And then I'm going to pull up my cricket design space files and cut out the center .
I'm going to insert my mat .
So I'm pulling up cricket design space on my phone and I'm just going to pull up the center flower pieces .
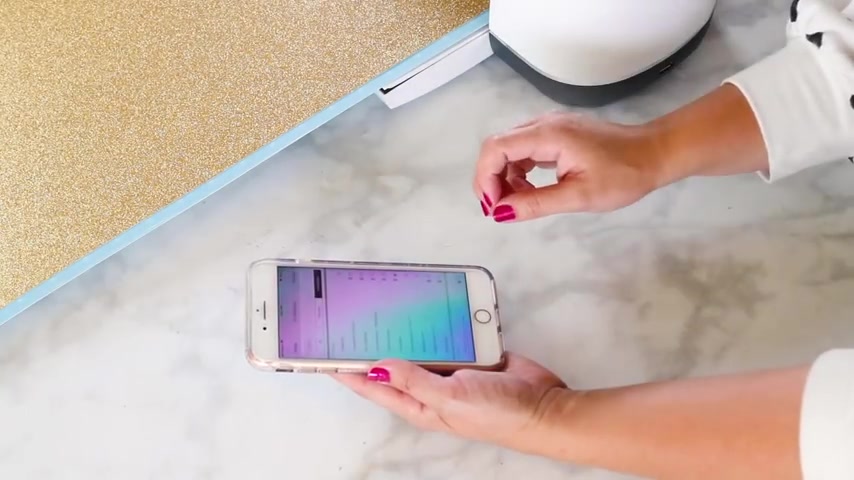
So I'm going to go into my materials and select glitter card stock and then on pressure , I'm going to select more .
I always select more when I'm cutting this type of paper because I want to make sure it cuts all the way through and that I don't have any pieces that are left uncut and press my cricket button .
Now that it's finished cutting , I'm going to inject my matt with my cricket .
And when you're working with card stuck , you always want to flip your mat over and then remove the mat from the paper .
And this keeps the card stuck from , from any pieces getting broken or from it getting bent .
So we can just fold it in half like this and peel it away .
And isn't that amazing that it just cut that out for us ?
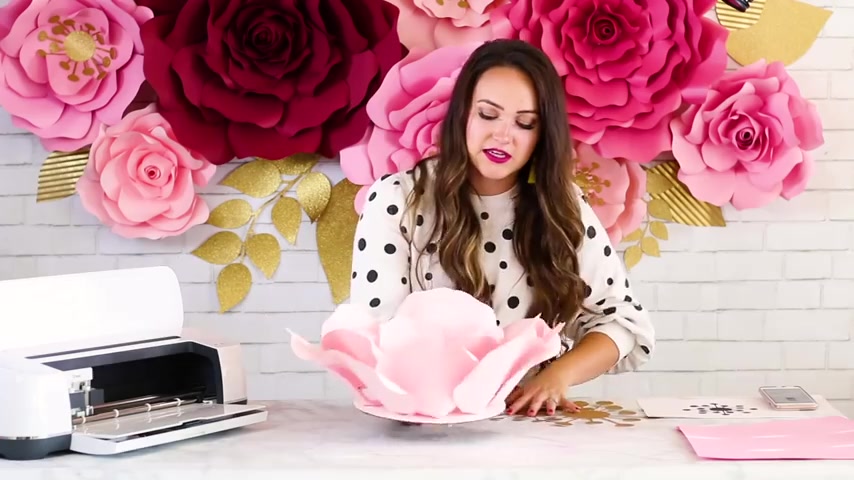
So usually I will cut two or three out that way I can audition a few different sizes just to see what's the best fit for my flower .
So here my flower is and I'm just going to try out both of them .
So this one is really big and oversized , which is pretty fun .
But I think I'm gonna go with the smaller one .
So it fits a little bit better .
So what I'm going to do is take each of these and just fold them forward and this will give a little more dimension , make it look more realistic .
And then I'm gonna flip it over and put some hot glue on the back and this is actually my favorite way to finish these flowers off .
I like it more than the closed bed just because I think it looks a little more whimsical and matches the style of this flower .
So I'm just going to firmly press this into the center and wait until it's cooled completely .
And here's what the finished flower looks like .
Are you looking for a way to reach a wider audience and get more views on your videos?
Our innovative video to text transcribing service can help you do just that.
We provide accurate transcriptions of your videos along with visual content that will help you attract new viewers and keep them engaged. Plus, our data analytics and ad campaign tools can help you monetize your content and maximize your revenue.
Let's partner up and take your video content to the next level!
Contact us today to learn more.