https://www.youtube.com/watch?v=7j4AKJp7KCc
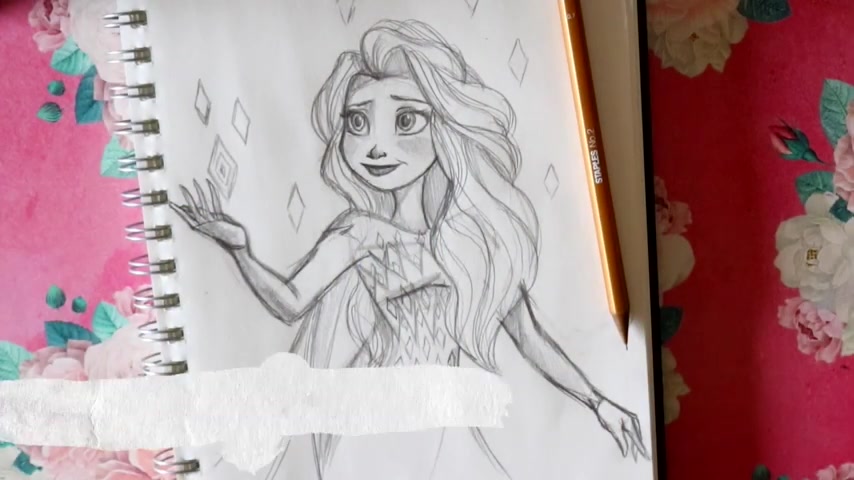
How to Draw ELSA as the FIFTH SPIRIT from Disney's FROZEN TWO
Hey guys , what's up ?
It's me and I thought it'd be fun today to go ahead and draw Elsa as the fifth element from Disney's New Frozen Two .
Now , you've probably already seen it .
You probably already haven't , but it comes out soon in February .
So I thought we would do a fun frozen two tutorial series .
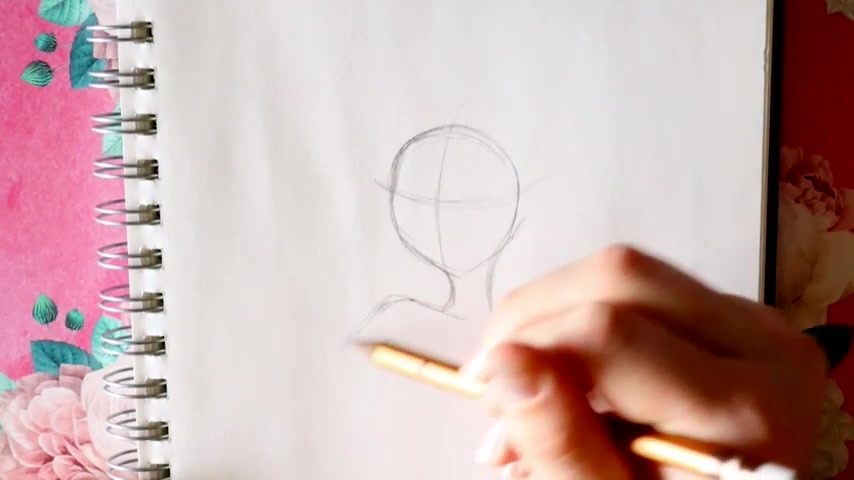
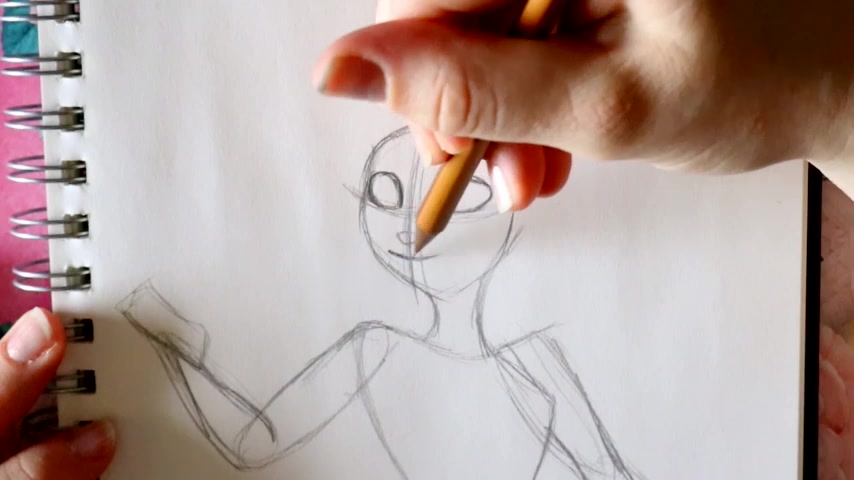
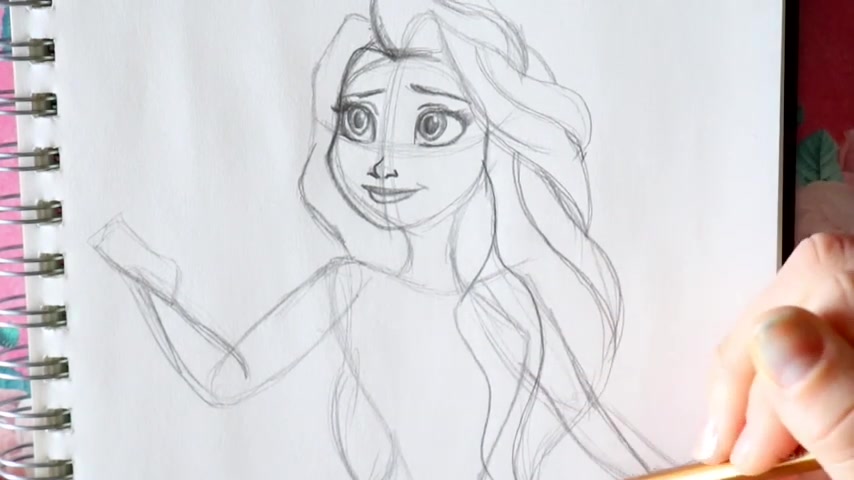
So let's start with , so I make this top part of her head and she's going to be looking off into the distance up at her , the elements .
So you're gonna go out curb and then connect to here .
Then what you're going to do is we want to go ahead and give those guidelines right off the bat , just go ahead and just draw those guidelines , ok ?
Then we're going to go ahead and draw her neck .
You're gonna bring down this side right here and then bring down this side .
We're actually gonna draw out one shoulder .
So we see I went from the neck here and the neck here and I make a shoulder .
Actually , we're going to just continue this slide down and you're gonna bring out this other shoulder even though we won't see it in the future So you're gonna bring down this part right here to her arm .
Then from this shoulder , you're gonna go ahead and just circle up and into the shoulder again .
And then from here , this part of her sh her shoulder up here , we're gonna bring down this part of her back and it's gonna go outwards then from her neck here , from this part of her neck , you're gonna bring out her chest and you're gonna go in like an hourglass shaped figure .
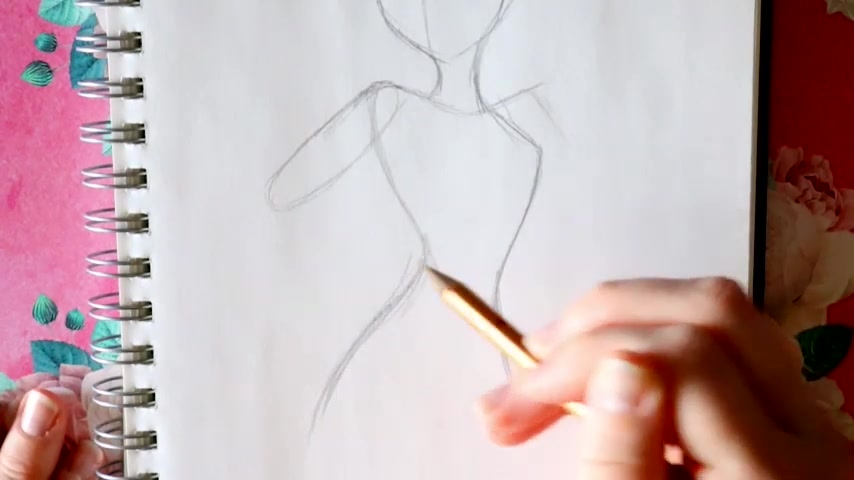
So we're not gonna draw her entire body , but we're just gonna stop about right there just so we can get the designs on her dress .
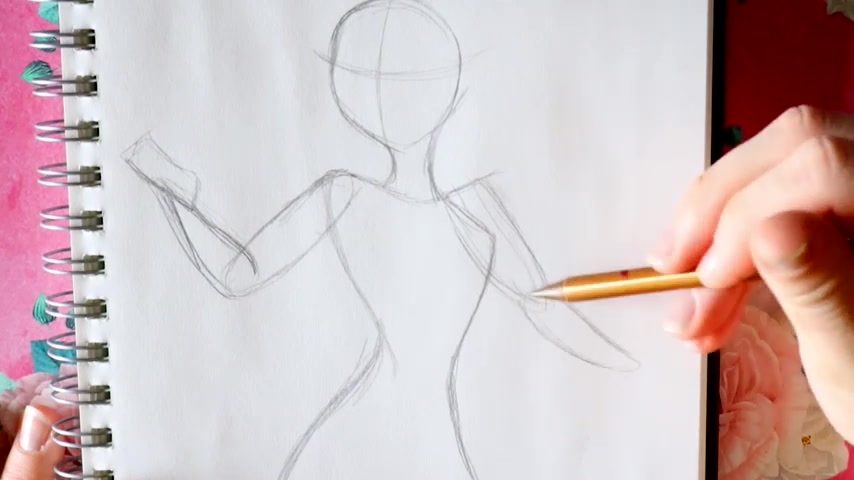
Now , from her shoulder , from this part , her upper arm here , you're gonna bring out this part of her arm and you're gonna curve in .
So you see , I kind of made this shape where it looks like a very elongated cone and it attaches to her arm .
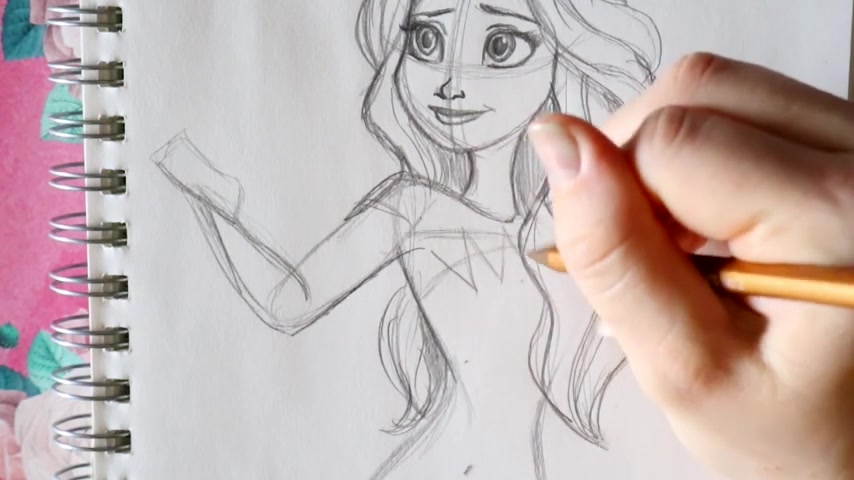
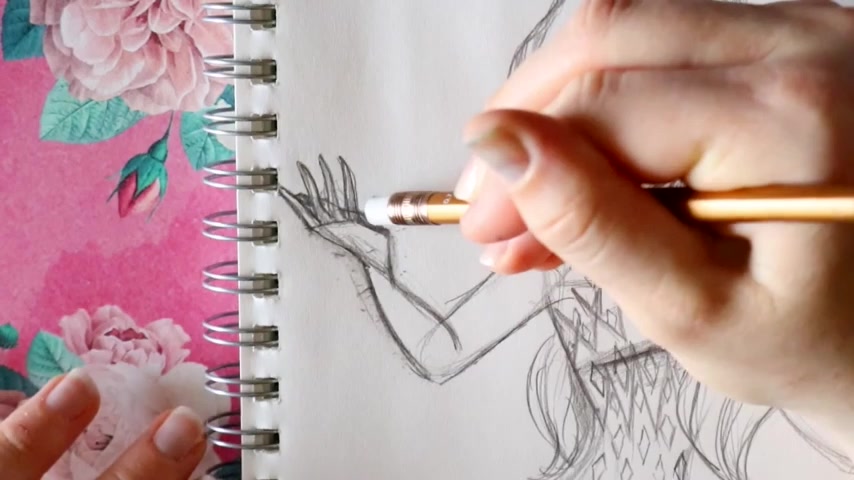
Then what you're going to do is we're just going to lightly draw a little bit of a box for right now .
So I made this box and essentially this will be her wrist connecting to her hand that's holding out the elements for this arm over here .
Even though we don't see the shoulder , we're still going to keep it proportion .
And we're gonna draw another round oval right here like we did over there .
And then we're gonna draw another part of her arm and you're gonna draw another box right here and this will be essentially her wrist .
Now , this arms a little bit more smaller since it's off to the side of her .
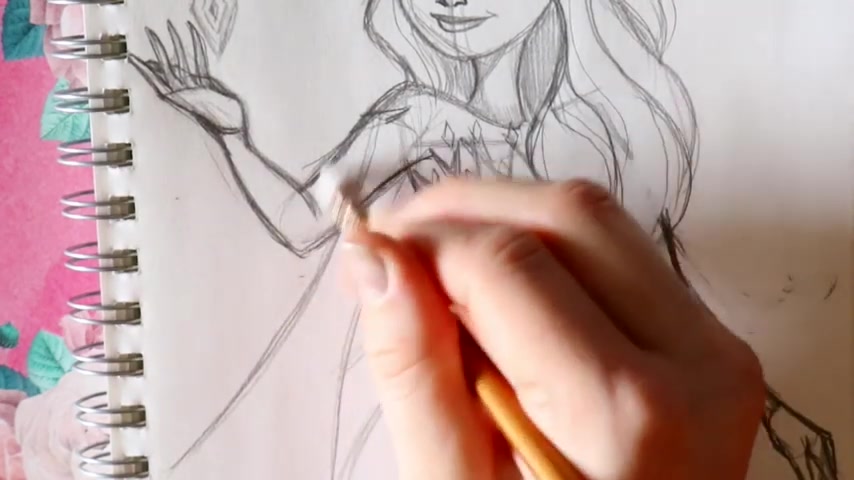
Now , for her face , what you're going to do .
So we went ahead and we divided it up and we're going to shape this up a little bit more into the future .
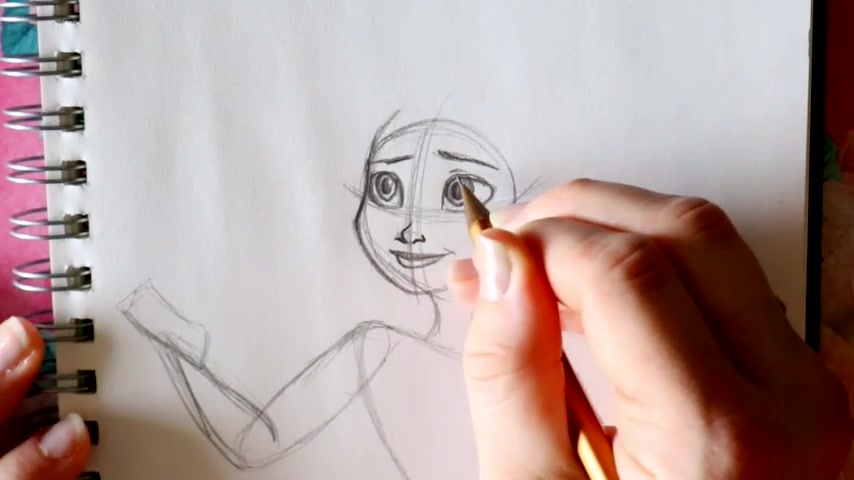
But on this eye guideline , what you're going to do is we're going to place her eyes , so she's looking up Elsa's eyes .
So you're gonna come up from this side of her face and you're gonna kind of round off down at the bottom and we're gonna keep it on that eye guideline , we draw this so that we can draw it on the same level .

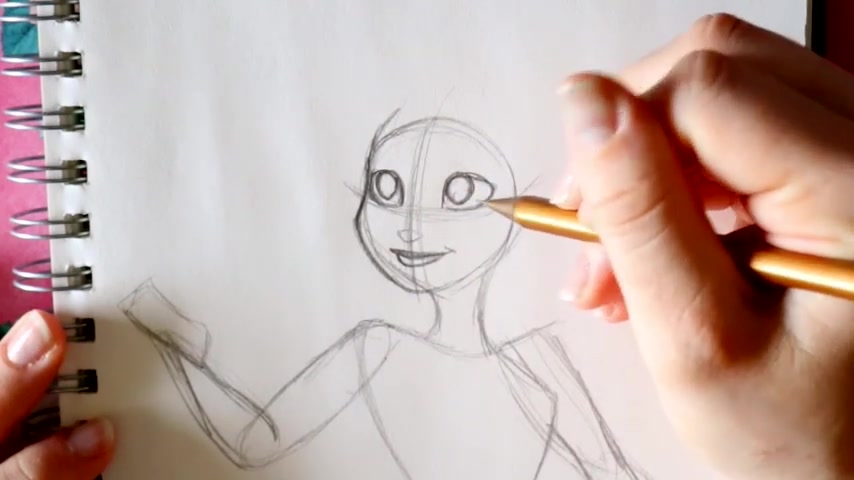
So with her eye , you're gonna bring up this part round it off , not too much of a really thick corner and just round it right down , then you're gonna jump over here , bring out this eye .
And since it's a three quarter turn , we're seeing a little bit more of this eye .
As opposed to this one , you're gonna bring out this eye and you're actually in circle down here and go right back to that corner .
So you want to make it nice and big off to the side , round it down and bring this up , then we're going to go ahead and establish where her nose is .
I'm gonna bring down her nose line just a little bit more because it is that three quarter turn and we see more of this side than this one .
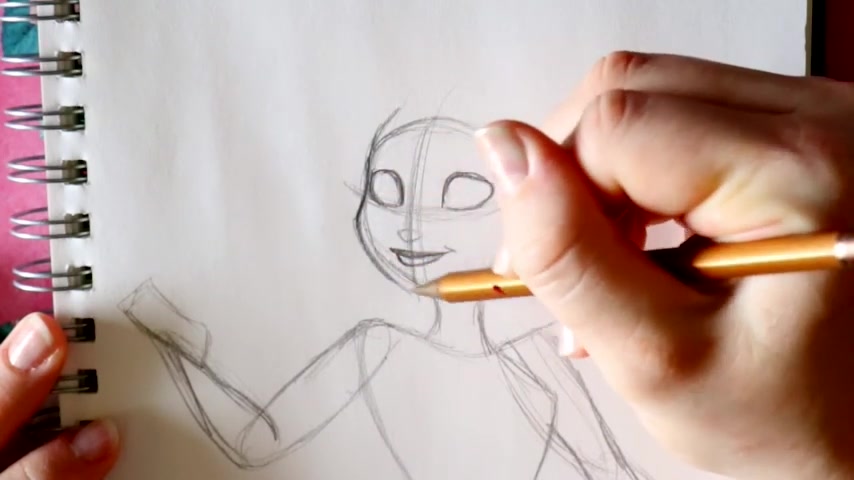
So I'm gonna go to right here and I'm just gonna make a circle for right now and then this isn't really too complicated for her lips because she's not smiling .
She's got a closed lip smile .
So , what you're going to do is I'm just gonna go ahead and make that really simple smile line .
So I'm gonna start over here underneath her nose and then bring out this lip right .
So on top of that line , I just made , you're gonna make it a little bit thicker and you're gonna go off to the side and we're just gonna make a really small dimple .
So underneath that one , I'm gonna go ahead and bring out this lip here and go ahead and finish off that bottom lip and it should be a little bit more fuller than the top lip .
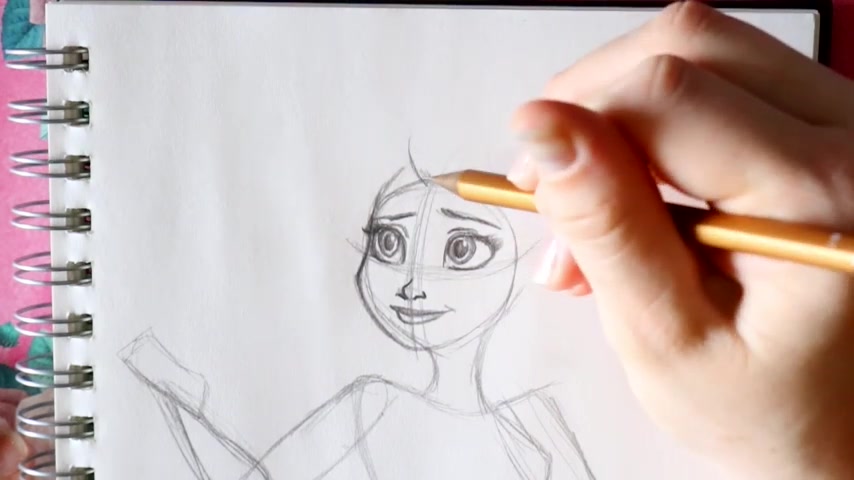
Now , let's make a couple more , let's shape up her face before we fill in some more details .
So from this eye here , you're gonna go ahead and bring up her forehead just a little bit more and you're gonna go out with her cheek just a little bit more and then you're gonna get out just a little bit more .
So it kind of like goes skinny inwards towards her eye , bring out her cheek , go underneath her lip and then attach back to the initial shape of the head that we made .
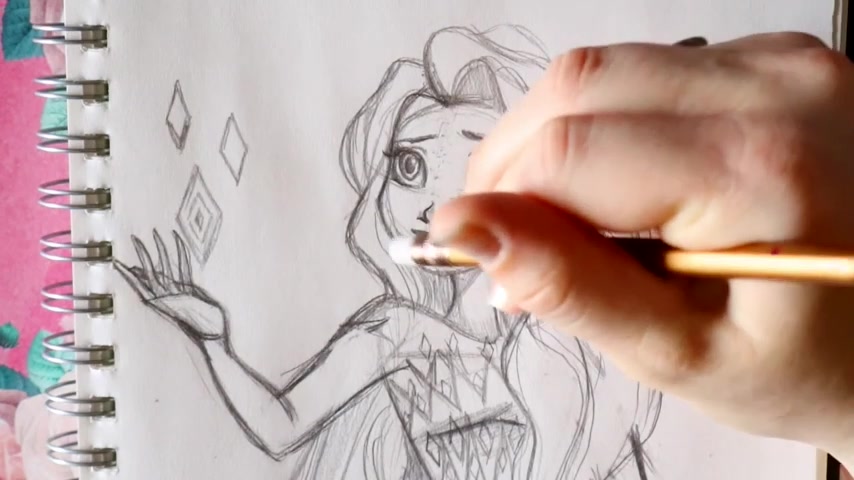
All right , Now , let's add a few more details .
I'm just gonna go ahead and draw one circle into this right eye .
Then I'm gonna draw another circle into this left eye , big thick circles and they should be looking in the same direction .
So you see , I left a little bit of white space on the side , the left eye and start from the top , go to the bottom and I left a lot of white space on this side because we see more of this eye .
Now , I'm gonna make a , create a little bit of a shine here and a little bit of a shine here .
And then I'm gonna go ahead and fill in where my pupil area is gonna go .
So I make that little people area built around that shine .
See I'll do it over here as well .
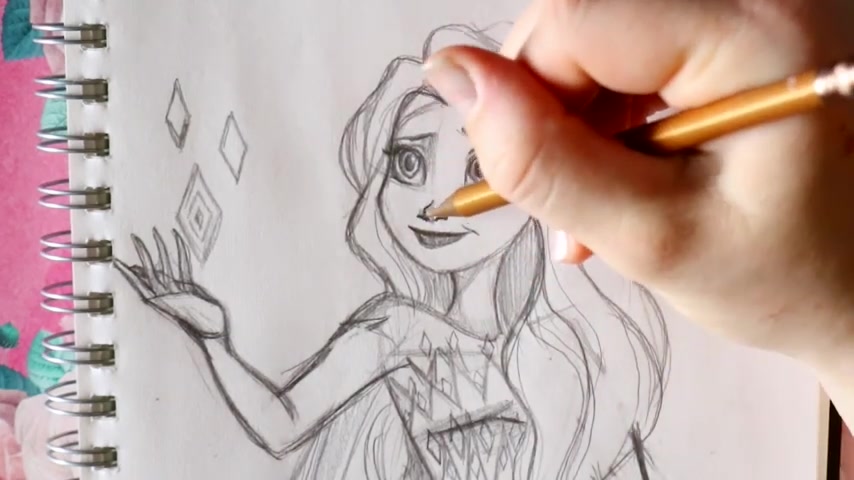
Now jumping to her nose , it's a really simple nose .
It's not too complicated .
You obviously want to keep it in this bit of a shape , but you're just gonna make one nostril here , bring up this side and then another nostril here .
She has a very , very tiny note .
So I go into the nostril and then up just to kind of accent it .
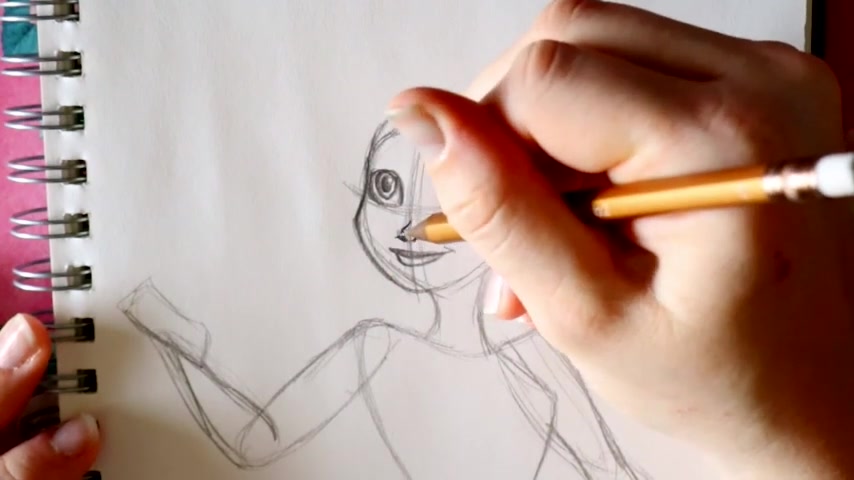
And I'm just gonna make a little bit of a line coming up from that top , the tip of her nose .
So you see just a little bit of a tip of the nose .
A nostril bring up that nostril flack , whatever it's called , bring it up and there it is .
Now , what you're going to do is on top of this eye , you're gonna draw her eyebrow .
So we're gonna go a little bit up just a little bit and she's kind of , it's not a concerned eyebrow , but it's just a little bit lifted , bring up that eye there , that eyebrow there and I'm gonna start over here as well and they're very not thick eyebrows at all .
So I'm gonna bring up this eyebrow .
So I'm just gonna fill it in just a little bit .
Now , Elsa has very thick eyelashes and she has purple eyeshadow .
So I'm gonna first make that eyelid line .
So I'm gonna go above this dark top part of her eye and I'm just gonna make a little bit of an accent of an eyelid there .
Then I'm gonna jump off to this side and make another little bit of an accent to her eyelid over here .
Now , for her very thick eyelashes , you can just go crazy .
They're kind of in a cluster and they're very , very , very dark .
So I'm just gonna kind of go in a cluster and even the bottom part of her eye is super dark as well .
Same over here .
I'm gonna go off to the side and they look like fuzzy little caterpillars .
What are they called ?
Wooly worms ?
Very , very thick .
I'm seeing over here , very thick , bottom eyelash line and type eyelash line .
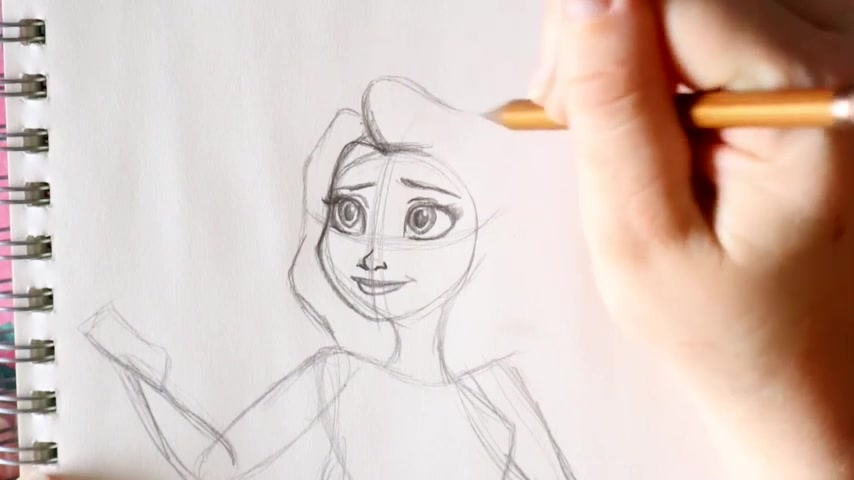
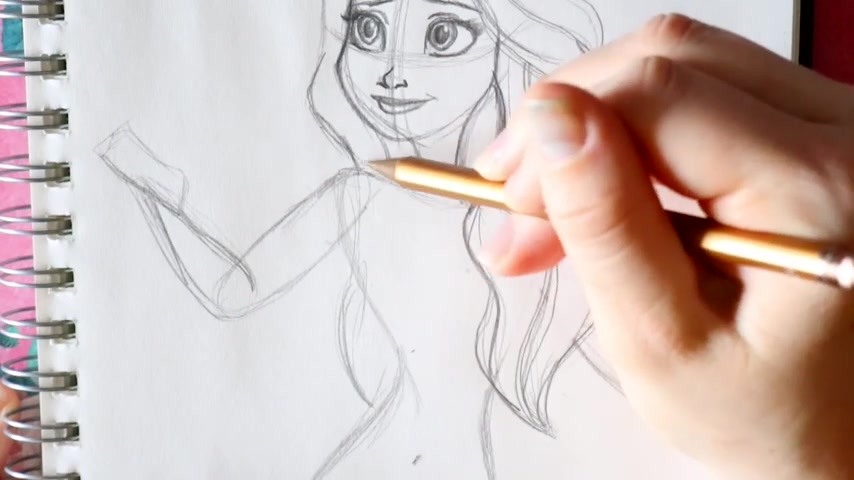
Let's go ahead and start to fill her hair .
Yay Elsa's hair is down .
It's not too complicated .
So we're gonna start above , we're still gonna keep her widow's peak right here in the middle of her face and there's a division of her hair .
So we're gonna start at the top right there where we kind of brought up her forehead .
We're gonna start bringing in that hair line .
So there's one hair line here and there's one hair line here .
So it's gonna go this way and we're just going to divide this up into sections .
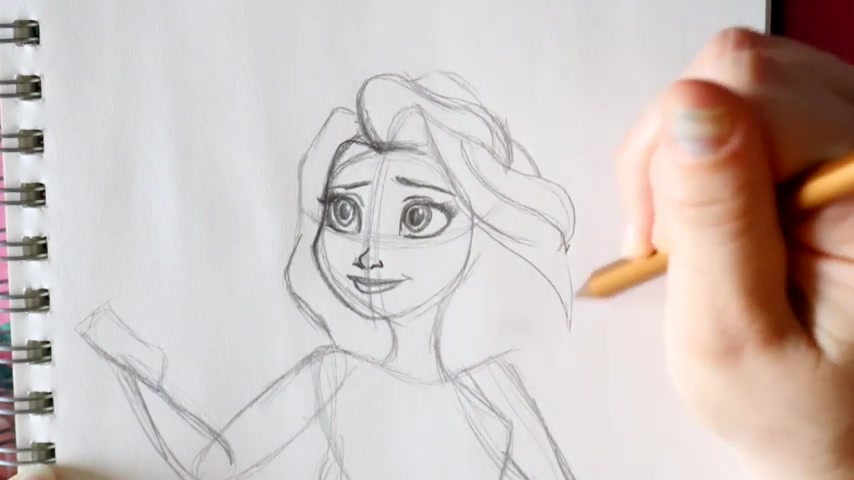
So starting with the left side of her hair building off of this part of her hair .
This one that's going up , you're gonna bring down this part , it's gonna go out and then it's gonna start to go in , bring it down into there .
So after bringing this part down , bring down this part of her hair and you're actually gonna go , I'm just gonna lightly draw through her back because you're gonna see a little bit of her hair off the side down here .
Now , coming back up here , you're gonna go and bring down this section of her hair and it's kinda gonna start to fold in , but then we have another little bit of a section up here as well .
So starting back to the widow's peak , you're gonna go up and this one's gonna start to , it kind of goes in front of her head and down up to the side , this part is gonna go , so we leave this one alone and then this part is gonna start to look like it folds in .
So it looks like a super loose braid .
We still have that braid kind of indication of her hair .
This one actually is gonna go out in and we're gonna go back to here and then we've got another piece of hair here .
So it still looks like she has a little bit of a braid .
It's just the , the hair folding into it .
This part right here , it's gonna go down and back up and then we have the rest of her hair that goes in front of her shoulder that we're going to see from this part .
You're gonna go ahead and bring it down from this fold underneath and it's actually gonna go in and down very nice fluid line .
You can't really go wrong with Elsa's hair .
Her new hair look , but you should get like the folds .
These are what is important , but she has a very , very , very fluid hair almost .
So it's , I don't know how to say it .
It's just really , really pretty and it kind of almost , I don't , I wouldn't wanna compare it to a horse's tail how it folds into each other .
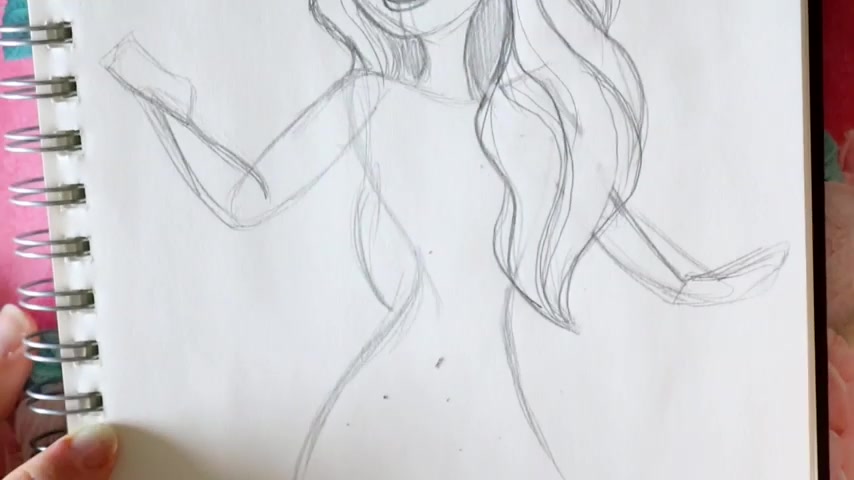
So as long as you get this bulk and it's gonna go out and then back in , as long as you get it across her shoulder and this thick kind of teardrop So you see , we still have her neck here and this is like the back part of her hair .
So we still have this fluid motion of the braid where it used to be and it kind of looks like one giant teardrop .
So even if you wanted to draw a teardrop from the beginning , but you want to divide those folds up into each other .
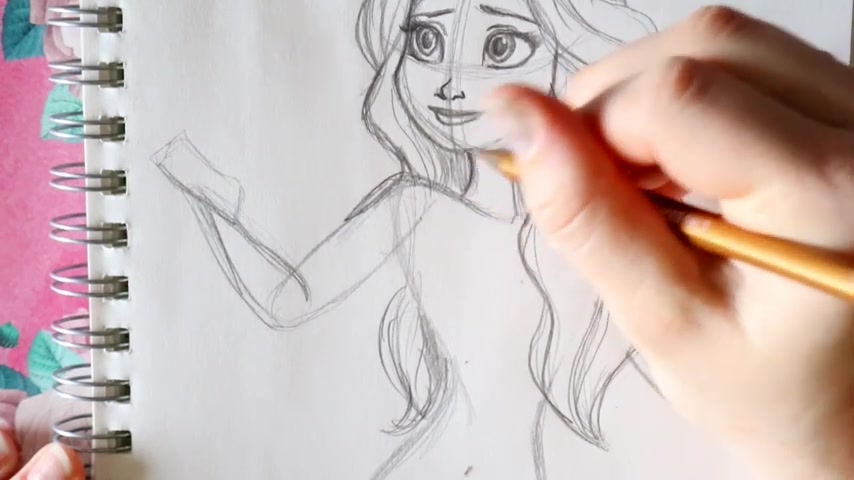
So I'm just gonna kind of bring in the folds and I'm gonna get rid of this hand and her , the rest of her chest .
So we can see that hair .
So as long as you divide it up and you got a little bit more of a fold on this side and you want to just make it nice like a fluid wave motion almost .
They just want , you want to make it look like really rounded waves and you could divide the hair up individually into little strands or you can just leave it in these big clumps , however you would like to .
So seeing how we've got like these folds and they're creating bits of shadows .
You can go ahead and like shade in like right here where her widows peak , that initial cow like starts maybe back here , maybe here in front of the big folds and definitely behind her neck and right here and even back behind your back , you just want to kind of create all that hair in the braid .
We had no idea and I'm just gonna kind of create that shadow back on her back as well .
Now , for her new dress , it's really simple and it depends on how you would like to draw it .
If you really want to go into detail , I'm gonna make it as simple as possible , starting from her shoulder , bring out that shoulder just a little bit .
We have her collarbone here and then her neck is going to stay just how we drew it from the beginning .
So from her collarbone to here , you're going to go ahead and leave that .
But from her shoulder , you're just gonna go ahead and create a faint line and you're gonna create a faint line up towards where this collar bone line is just a faint line there .
And then you go ahead .
I'm just gonna make that nice decline .
Bring up that shoulder just a little bit more .
There we go .
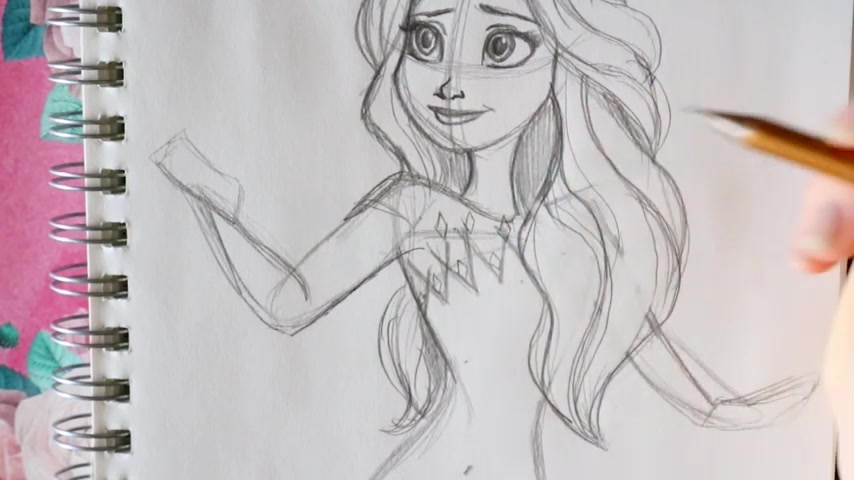
Now for her new design and her dress , it has a really faint white line .
But starting , I'm just gonna start right here and go towards that fold .
So I see it makes kind of like another line , another faint ghost line that's there .
So starting here , they just look like arrowheads almost and they , you're gonna go down , up and then down , back into her hair .
And then from right here , I'm actually gonna start there , go up into her armpit and then it's gonna go down again .
So they get spiky at her side , but they connect a little bit more at the top .
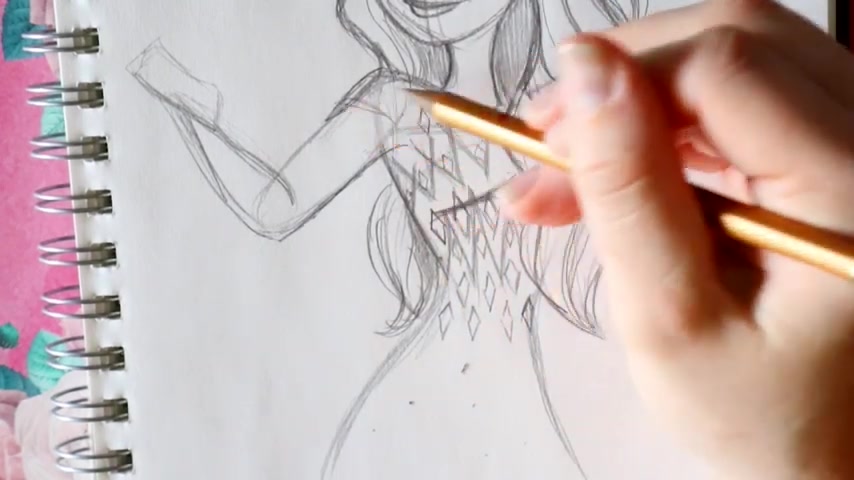
So we're not gonna get too complicated , but right in here in the middle of each little s little arrowhead , you're gonna make a little diamond and you can actually go in at the top of each little spike and there is another little diamond and that's what creates , that's where that nice light line is .
It's almost like a snow film and create those little diamonds on top .
And now I'm just gonna make like a really faint line for her chest .
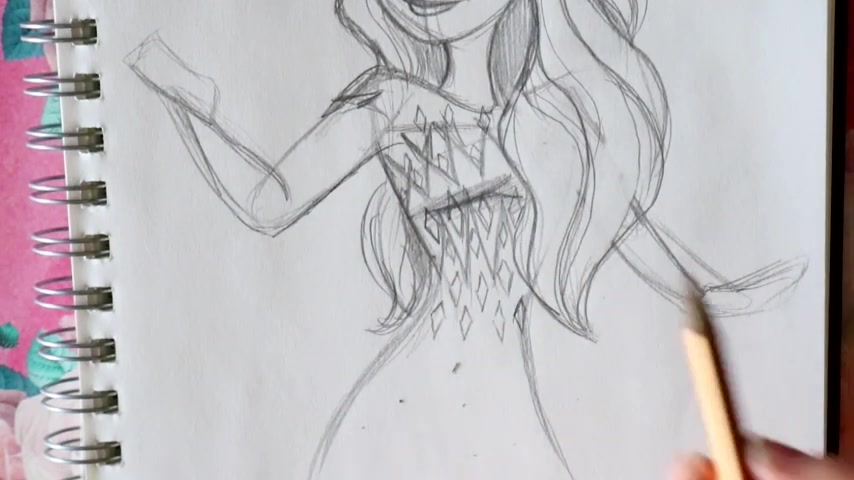
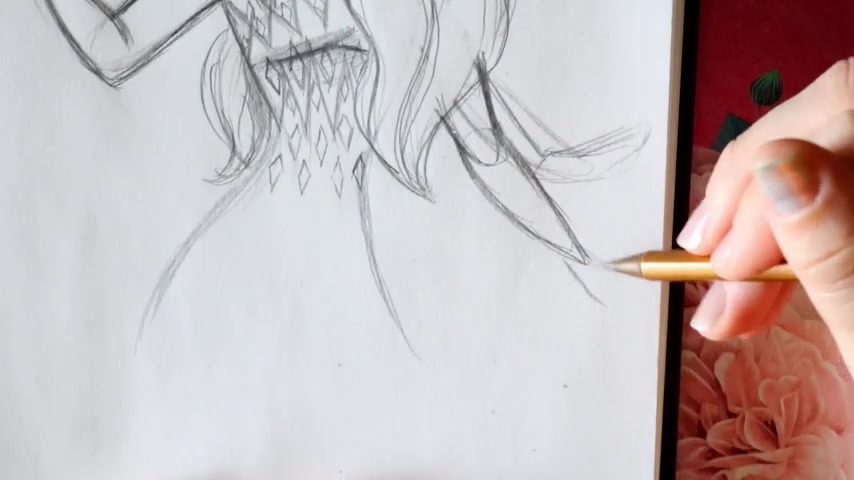
So I go underneath those little diamonds arrowheads that we just made and make a really faint line for her chest just to accent it a little and going down , what you're going to do is you're going from starting from this little spoke here , the little arrowhead , you're gonna make another little diamond and they're gonna get bigger as you go down her dress and then it goes into like white .
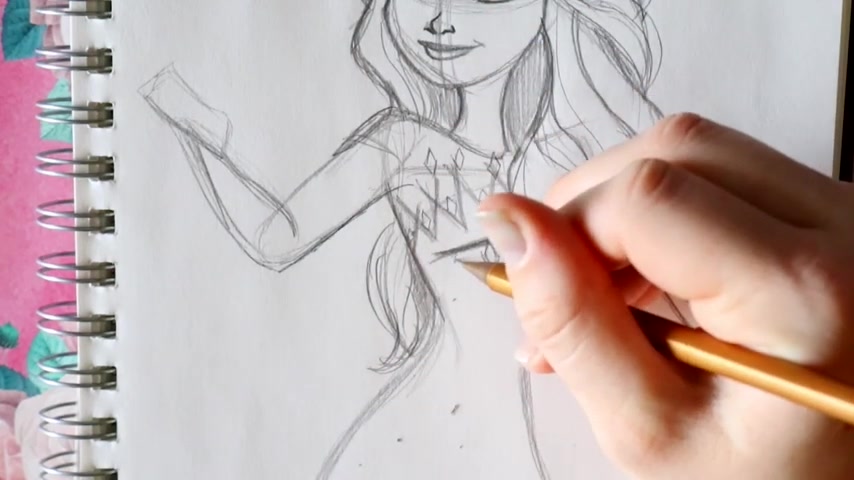
So this is a another really skinny blue diamond , another blue diamond here and another blue diamond here .
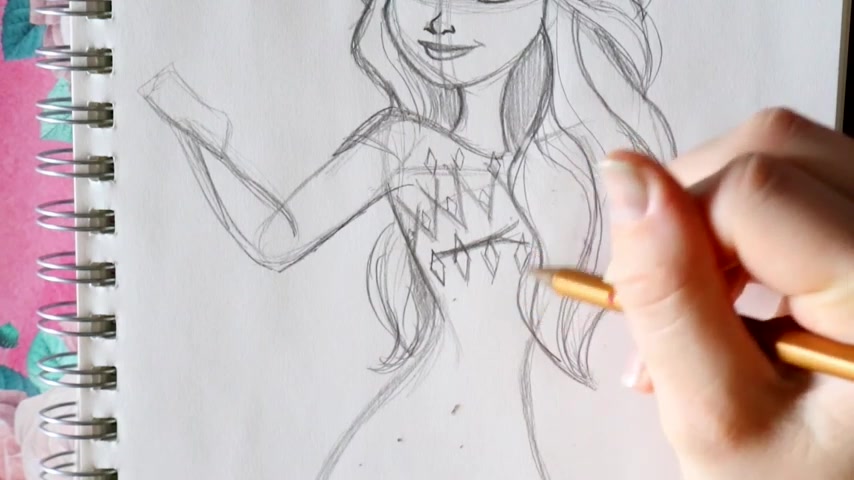
And then in between one more blue diamond tree here , in between these big diamonds , you have no more little itty bitty diamonds and these are all the elements from frozen two and then down a little bit more connecting like in the line with these , you're gonna create more diamonds and then in between these more diamonds and then from this one , you have one giant spoke here and these are all different shades of white , but I'm just gonna create the lines that are going up in between them .
So it depends on how much of a detail dress you wanna make because she's got all these different shades of white and blue that indicate the parts of her dress and you can kind of go on top of her shoulder and make that one little jagged part there .
But this is all like a see-through white .
So as long as you have this little line here and this line , then that's basically what you want to go for because that's the top of your dress .
And then you've got the spokes , the little arrowheads and you can even go in and make them a little thick and you can go ahead and just kind of shade in because all the crystals on her dress as the elements are all different colors .
But I'm just gonna lightly shade in here for that accent to her chest and underneath her neck and her head , they're gonna shade just a little here and a little here .
And then this collar bone is definitely shaded in for her hand .
This is gonna just get a little complicated because it's outstretched outwards for the crystals .
So starting with her arm off to the side , we already created her arm for the hand .
You're gonna go out round it up , create a little bit of that , that bottom of your palm and it's gonna fluently go into the wrist .
So you're gonna go , just bring this out and it's gonna go into a wrist .
So I like to make my fingers look like sticks , just a position .
So starting from the bottom of the palm , we're gonna go out and I'm gonna go on to the ring finger now the middle finger and then the pointer finger , I'm going off my paper and then you kind of see the faint look of the thumb on the other side .
And to create that look , you're just gonna grab the other side of the palm and draw that right there .
So here's the bottom of your palm going into your wrist and you can see like this part of the hand .
Now , I like to go in and fill in the finger .
So I just go into those little sticks and you're gonna curve it inwards and then make a little bit of a division .
So you go up , bring up that ring finger and then bring up that middle finger and you just wanna kind of curl them in just a little and then the pointer finger and I'm gonna lightly shade in that side , the other side of her hand .
Then what you , you just wanna go ahead and fluently kind of like make those flow in just a little bit more and you can kind of make a little bit of connection of the thumb and I'm just gonna shade that in so we can see it .
I'm gonna just bring this in just a little here and then to close off her dress , you're just at the end of her hand , you're gonna curve in because it's like really skin tight to her and bring down her elbow just a little bit more to her shoulder .
Kind of give a little bit more definition and then floating above her hand , I'm just gonna make one little element and it's just the diamond .
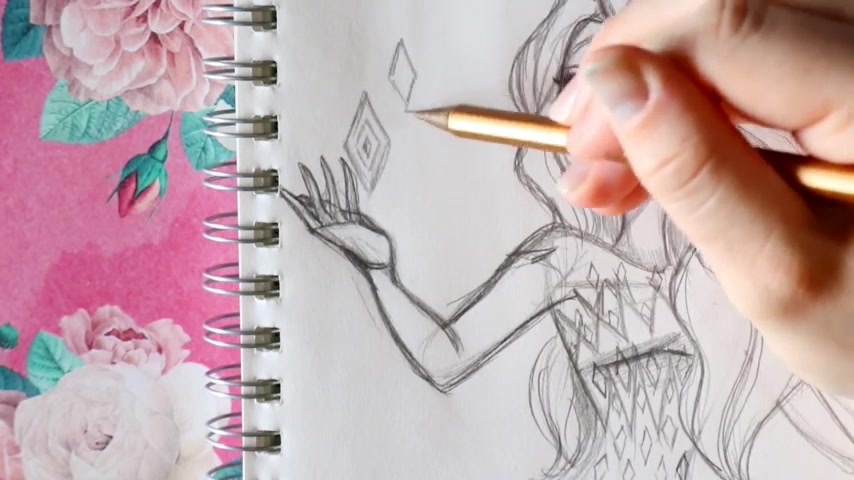
You can actually make a couple little more diamonds floating above her hand if you would like .
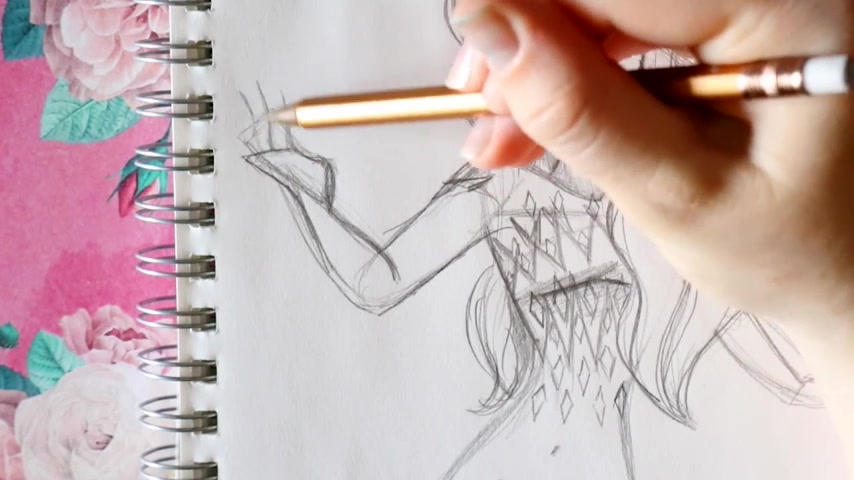
And then for this hand all the way down here , since it's off to the side , I'm actually gonna bring down from her , from her hair , bring down this part so I can actually draw the hand show you how to draw the hand .
I'm bring down this part here just adjusting .
And then for this hand once again , start with a little bit of a square from this part .
What you're going to do is draw her thumb and it's gonna go outwards and this part , I'm gonna go ahead and bring out the finger , make my little skeleton fingers again , bring out this one .
So from the thumb , bring out this finger here , go down and then I'm gonna draw a finger here .
I'm gonna make a little bit of like the side of that middle finger next to the pointer finger .
I'm gonna bring this up just a little connect to there just to give that look and bring out this part .
I'm gonna close off that sleeve , make this a little bit thicker so this can go away and this can go away .
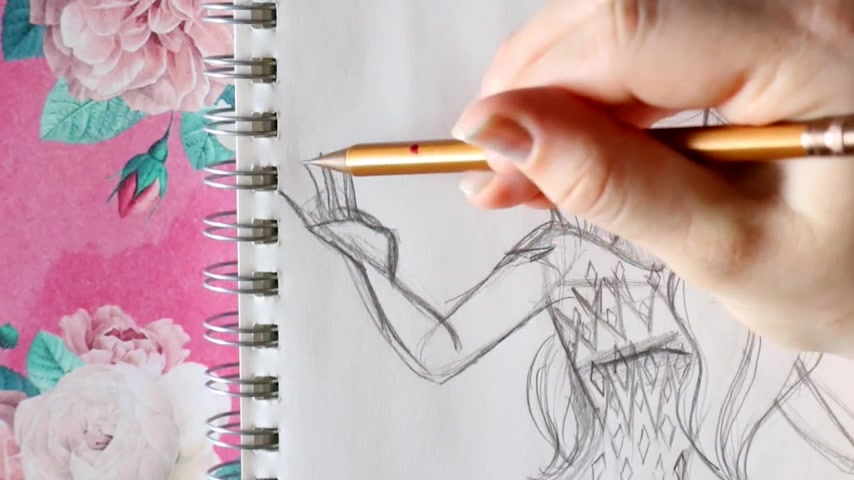
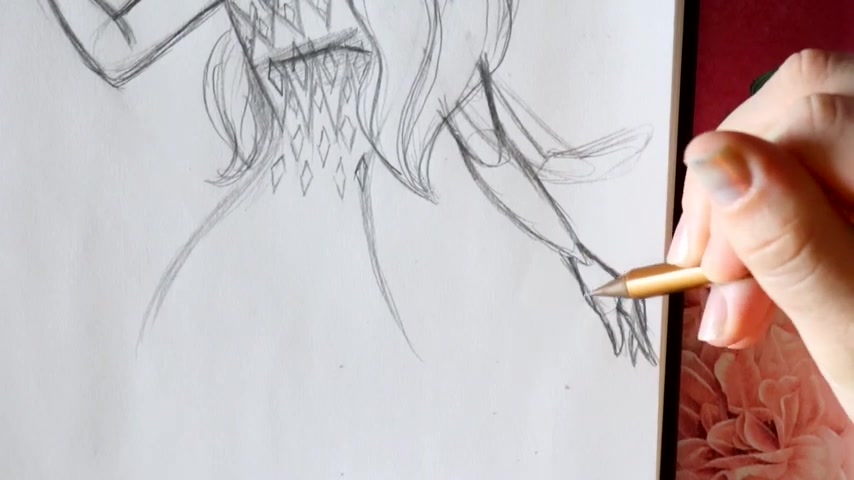
Now from behind this shoulder here , starting at the top of her shoulder to behind , you're gonna go out and you're gonna jump back here as well , make another part here and then you're gonna jump from her back right here and make another little tail here .
And these are like , I guess they're like the tails or just like , you know , they almost look like a veil like a wedding veil should have drawn that line there .
And those are just the tops like her wings .
And so from here , I'm actually going to go in and I'm wearing out this one and then from here just kind of go ahead and divide it up as well and I'm gonna shade this one in .
I'm gonna shade this part behind here and get rid of that guideline .
I'm gonna get rid of this guideline too and just I'm gonna lightly shade in her lips just a little and she's got a little dimple here and then that full bottom lip , I'm just gonna shade it in because she has super dark lips .
I'm gonna shade in that upper lip darker than the bottom one , lightly shade her eyelids to give that look of that purple and shade over here .
I'm a shade underneath her nose co shade her cheeks for some blush here in here , probably shade underneath her hair where her arm is .
And then we've got this slip of her dress .
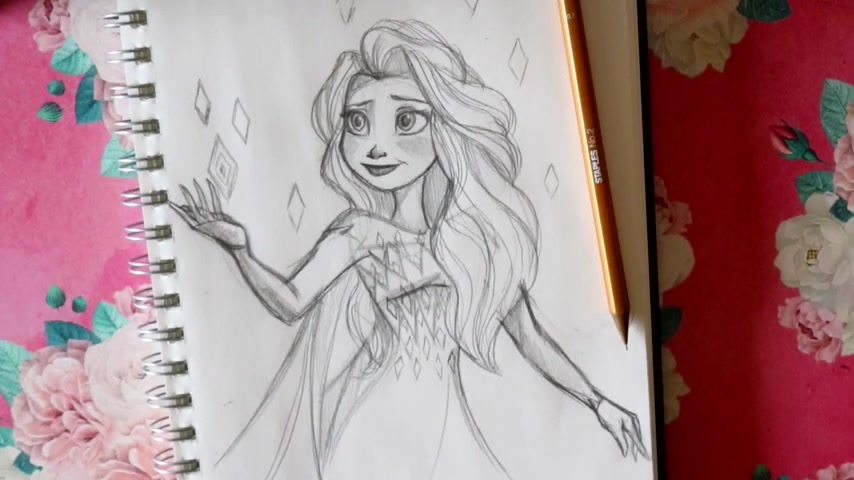
There you go .
There's how to draw Elsa or Disney's New Frozen Two .
If you haven't seen it yet , it's quite magical .
And , you know , the sisters really grow up and they really get closer .
So it's a great movie to see if you've already seen it , then you may know why everybody loves it so much .
I hope you guys have the most wonderful day and I will see you all later .
Bye bye .
Are you looking for a way to reach a wider audience and get more views on your videos?
Our innovative video to text transcribing service can help you do just that.
We provide accurate transcriptions of your videos along with visual content that will help you attract new viewers and keep them engaged. Plus, our data analytics and ad campaign tools can help you monetize your content and maximize your revenue.
Let's partner up and take your video content to the next level!
Contact us today to learn more.