https://www.youtube.com/watch?v=YnyPffcx6hg
MINECRAFT Cupcakes - Let's Play Minecraft... in Cup Cake form!
Yeah , hello and welcome to Cupcake Addictions , Minecraft Fondant Figurine tutorial .
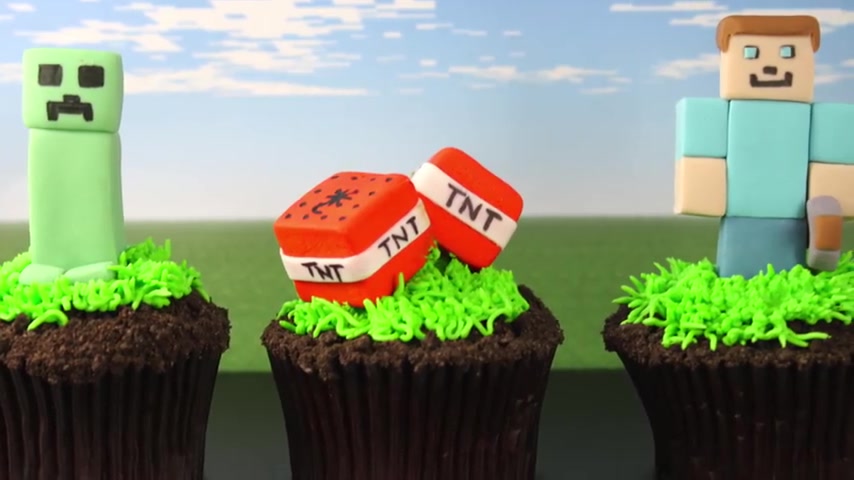
So today I'm gonna be showing you how to make these awesome simple little Minecraft Fondant figurines .
You can use them like I am today to top your cupcakes , otherwise you can use them in our awesome Minecraft Checkerboard cake , which is coming out in a couple of days .
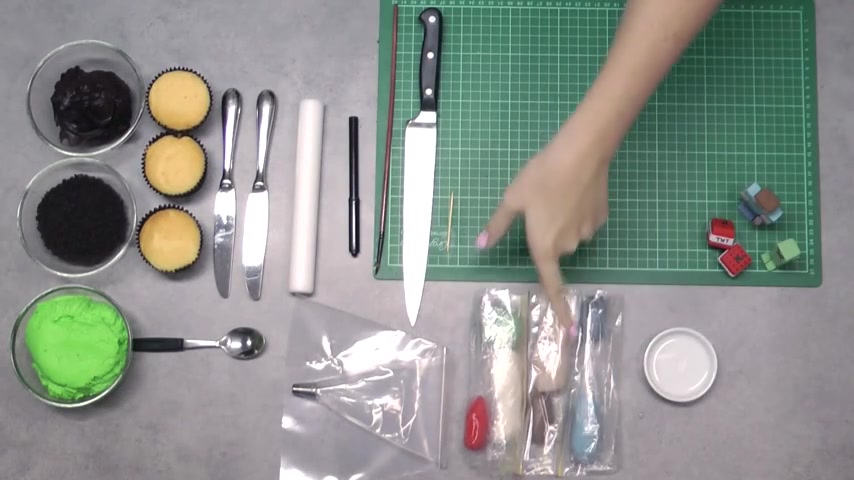
The things that you'll need today include some water .
I've got Fondant in blue gray .
I've got some light tan and some chocolate brown , some white , some green and some red .
And you can also use modeling chocolate for this .
I've got a toothpick and a shower knife , a paintbrush and an edible marker .
You can also use food coloring .
I've got a Fondant roller and a couple of knives .
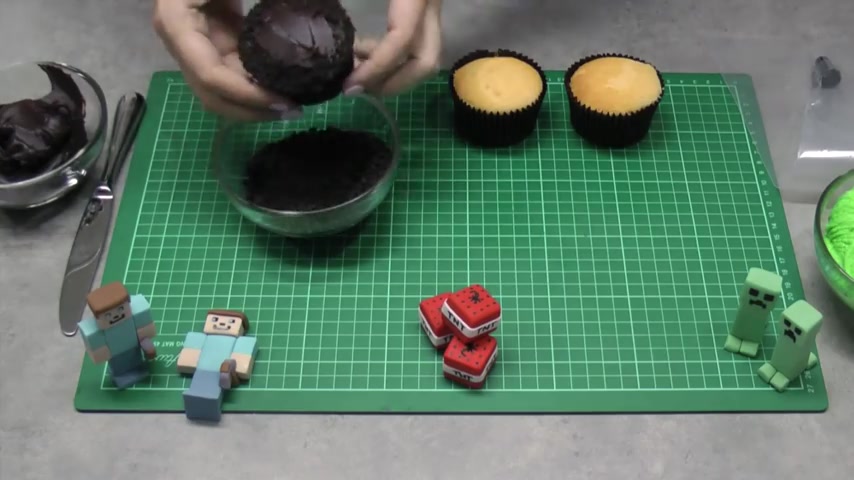
I've got a spoon and of course some cupcakes to frost .
And over here I've got my frosting .
So I'm using some chocolate can ash , some crushed up Oreo cookies and some of our perfectly pip or butter cream frosting , which I've tinted green .
I will leave recipe links for the frosting and also the gnash in the description box below down the bottom .
I've got a disposable piping bag teamed up with a grass piping tip .
These come in all different shapes and sizes .
What you're looking for is a piping tip with all of these holes in the end to give you a grass effect with your frosting .
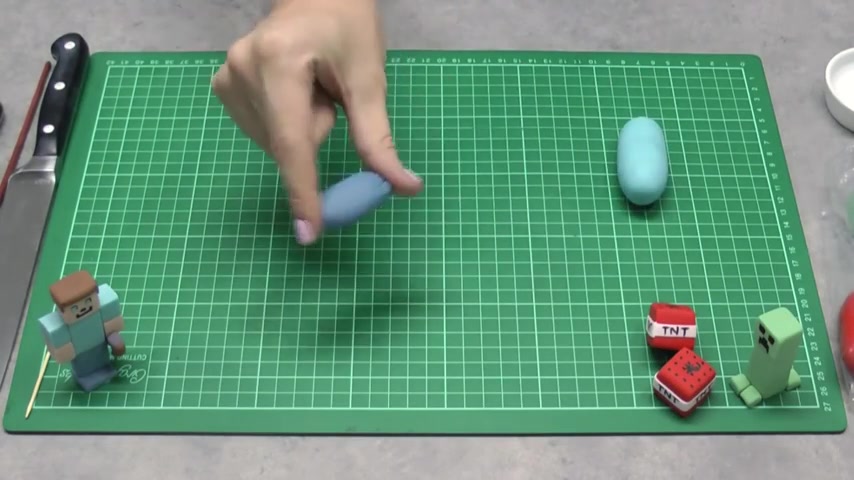
So we're gonna start off today with your Steve character for this .
You're gonna need both of your blues and you're also gonna need your tan and your dark brown .
You wanna roll that darker blue into like a ball and then I'm gonna use my Fondant roller .
This is so we get really nice square edges and I'm just rolling my ball .
So I've kind of got like a thick circle of Fondant about a centimeter or so thick , taking a sharp knife .
Now we're gonna cut kind of like a rectangle shape and you wanna make sure that you're getting it really , really nice and sort of long and tall , turn it over so that you're using the side that's been on the mat as the front side cos this is gonna be a more square edge .
Roll out a bit more of that dark blue Fondant nice and thin this time and then line your rectangle up .
You're kind of gonna make like some little feet for underneath Steve .
And then I'm gonna use the knife just to make like kind of a little square indentation .
This is just gonna help him to stay upright , taking the lighter blue .
Now and you want to roll this out to the same thickness as that darker blue .
And you're gonna cut another rectangle about the same size as that darker blue rectangle .
Once again , make sure that you turn it over so that you've got your sharpest edges facing forward .
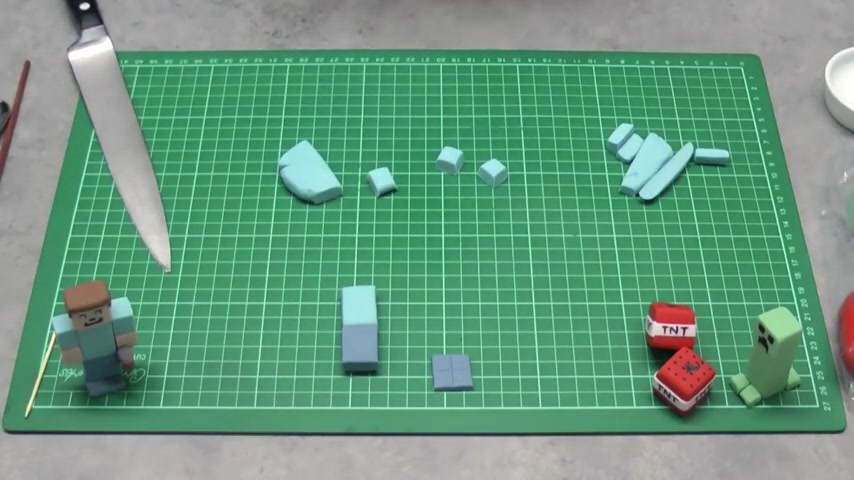
Now , you wanna take the rest of that light blue and we're gonna cut kind of like a long narrow strip .
We're gonna cut out Steve's shoulders here .
So I just cut two or three cubes and just so that I can choose the size that I like lined them up against the sides of my little Steve .
And you want them to be about half the height of that light blue rectangle and are almost the same width but not quite as wide .
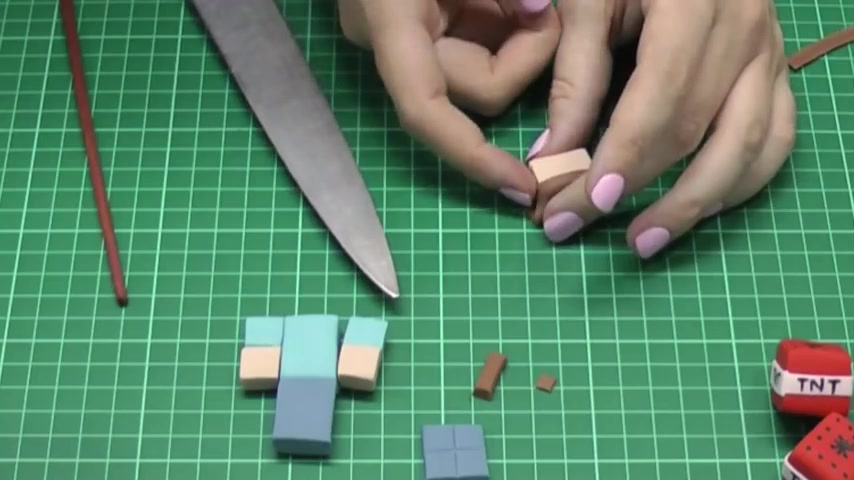
Roll out your tan .
Now , once again to the same thickness as you've rolled everything else and you wanna cut out Steve's head .
Now , you want this to be just a fraction fraction wider than the light blue of his torso and you just want to cut it off on top , just kind of measure it .
It should be about half the height of that light blue piece that's gonna be his head .
You wanna take his little blue shoulders now and you wanna cut exactly the same size piece out of that tan , which is kind of gonna make like his little hands or his little arms hanging out of the bottom of his shirt .
Now it's time to roll out your dark brown So roll it out , not too thin to begin with and we're just gonna make the little handle of Steve's kind of little pick ax thing .
So I'm really just cutting kind of a longish rectangle out .
So it looks like a little wooden handle .
Now , I'm gonna keep on rolling .
So that my Brown fond , it's really , really nice and thin .
I'm gonna cut out one tiny little square just for a bit of definition on the top of his pick ax .
And then I'm gonna lay Steve's head straight down on that brown fondant .
I'm kinda gonna use Steve's head as a little bit of a guide .
So you can see I'm kind of just slicing and dicing around it before I cut that bottom section .
You wanna wrap it around and just make sure it's gonna come down about a millimeter or two across .
So he's got a little fringe .
Now take a little bit of water and spread it on the back of his head , the top of his head and just across that little millimeter of fringe .
So that all of your fondant's got something to stick to and then lay it down .
You wanna make sure that that little fringe at the front is right before you start sticking anything else down .
So position the fringe , stick it down and then you can stick the rest of the head down .
You wanna cut it just below his neck and then on either side , you just gotta sort of push it in with your fingers a little bit and then cut it off on the sides .
He's kind of got like a little bit of a fringe , a little bit going up the sides of his head and then straight down the back , you can even up those edges if you like , you really want this to be as nice and square as possible as everything is in the Minecraft world .
Alright .
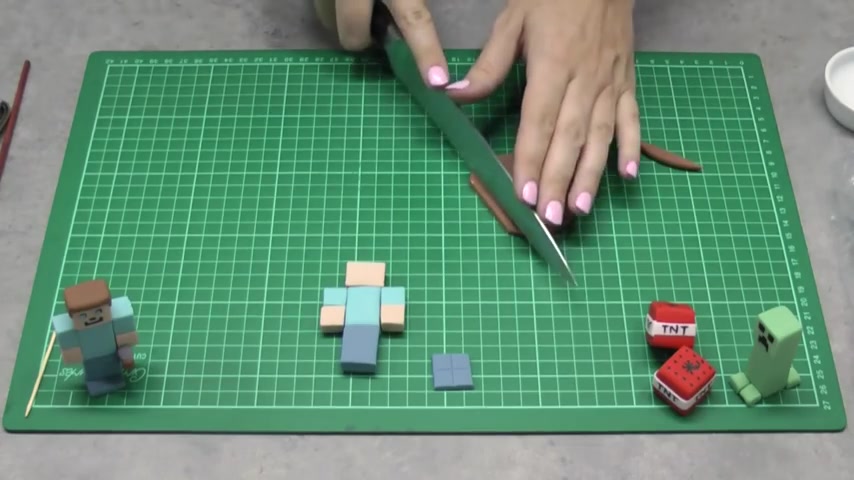
So with your head done , we're gonna make the end of his little Pickax , take that darker gray and once again , we just want to roll it out kind of flat and you're gonna cut a second little rectangle , no exact sort of size or shape here .
I just cut out about a similar size as that little wooden stick that we have for the handle of his pick ax and then down on an angle on either side .
So you get this kind of like little , I guess a triangle type shape or a long triangle .
Then I'm gonna use my sharp knife just to cut a little section out of the back of the pick ax .
That that handle is gonna slot into nicely a little bit of water in that little slot that you've gouged out and in goes your handle that's gonna kind of glue the two together and then that little square just goes on the very , very top .
Once again , just a dab of water to secure that down .
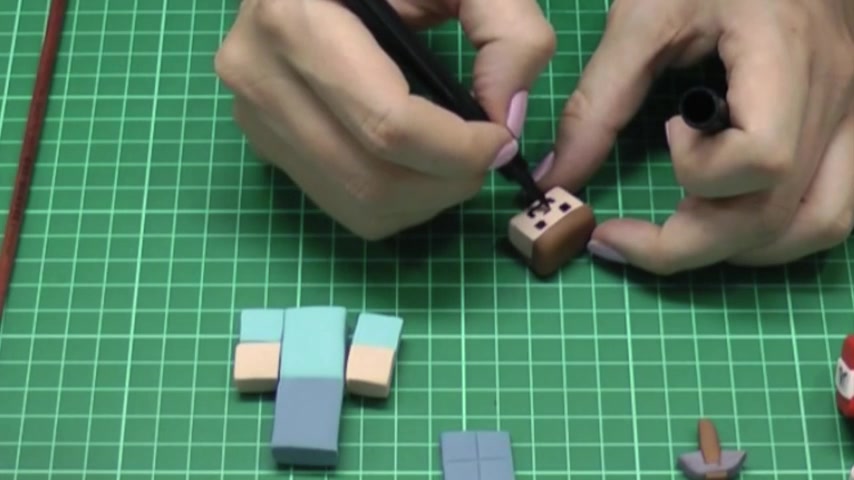
I'm using an edible marker to put on the details of Steve's face .
But as I mentioned , you can also use just some liquid food color paste and a toothpick .
I'm just gonna give him two kind of long rectangles for his eyes and then a long kind of a square i mouth with a little tiny rectangle for a nose on top .
It might help to have a picture of him close by just to help you with his face details because I'm a so for detail , I'm also cutting out a tin , tinky little square of that lighter blue fondant and popping it in the corner of his eye as an eyeball .
And then I'm gonna use some more water to glue everything together .
Now , remember here , these are big pieces of fondant or modeling chocolate and less is more when it comes to your water .
So just a very small amount of water down on each of those pieces to glue them together and then a little bit on that pick ax handle to hold it to his arm .

You only want glue the base on the back half of that little base so that he's kind of got two little where feet facing forward , popping out the front section of his little legs , moving on to our creeper .
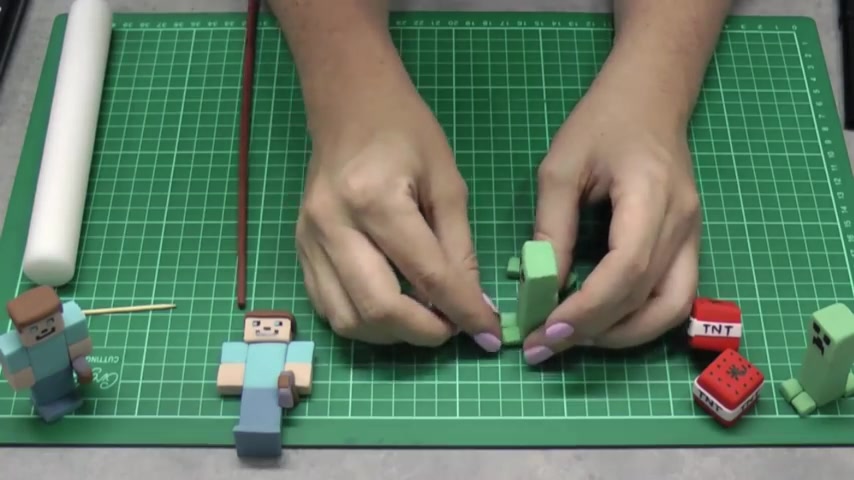
You wanna start with like an oval and then once again , just sort of flatten it off a little bit with that fondant roller and we're gonna cut a long cubed rectangle .
So quite square once again , and you wanna cut all four of those sides and then you just want to use your fingers to make sure that it's as square as it can possibly be .
I'm actually going to cut about a quarter off this piece , which is gonna make our head using your fingers just to square everything up nicely .
And then you wanna cut four little small pieces out of a slightly thinner piece of fondant , which is gonna make our little feet for the eye detail .
I'm once again using that edible marker and I'm just gonna sort of draw in two squares and his mouth a little bit different to Steve .
Steve's a bit smiley , but your creep is kind of more frowny .
So he gets like an upturned mouth and then a little square at the top for his nose .
Once again , taking the less is more approach with our water .
So a little , a bit of water on that creeper's neck and on goes his head .
And then you just want to attach those four little feet on both Steve and the creeper because these are quite tall , those feet are actually gonna help them to give the stability to stand up on your cake and cupcakes and stop them from toppling over , moving on now to our little TNT boxes .
And these are probably the easiest of all .
So I'm just using my FNET roller to kind of bash my piece of red Fondant into shape and then I'm smacking it down on the bench .
You kind of want to start with a bit of a basic cube shape here .
Then you can take your knife and you can cut off all four of your sides .
So you get it as sharp as possible and then you wanna just give it some more sort of little smacks on the bench just to try and get it as square as possible .
The trick with all of these is to keep your edges as square and sharp because nothing's gonna look worse on a Minecraft cake than having rounded edges in a world that's supposed to be incredibly square .
You wanna take your white fondant and you want to roll that out as thin as you can get it paper thin if you can because the , the sooner it is , the better these are going to look and then using a sharp knife , you just wanna cut like a nice long thin strip , paint , a small amount of water all the way up the back of that strip .
And then you're gonna carefully just kind of drape it across the middle , going all the way around the center of your little T and T box .
Try and get your two corners to meet up on one of the corners of the box so that when you cut it with your knife , you're not gonna see a seam anywhere .
They're actually gonna kind of join up right on the corner of one of your little tea and tea box .
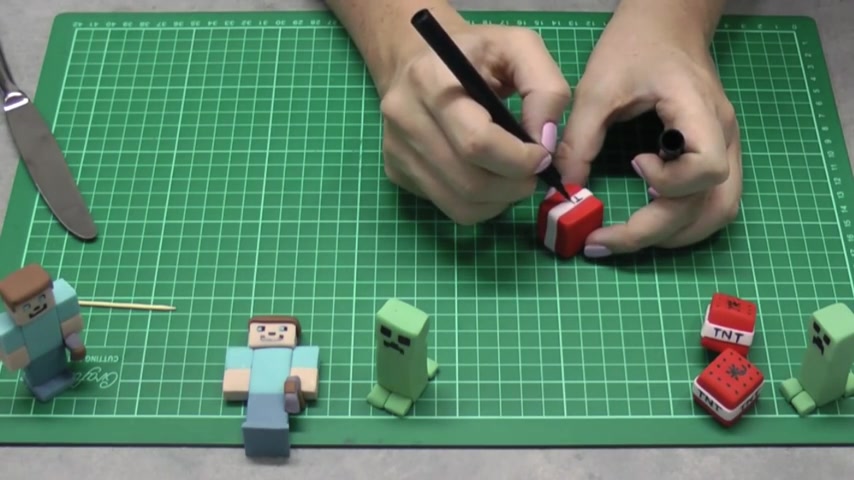
You can take your edible marking out and just mark on the words TNT .
I found it's easier just to do two sides and let them dry before doing the other two so that you don't sort of smudge your edible markings around the place .
So I did two sides and then I painted just 16 , very small little dots on the top to look like the tops of your little sticks of dynamite .
And then just like a little asterisk in the center with kind of a little curly line hanging out of it before going on and doing the other two sides with the words TNT .
That's your completed little TNT boxes .
So that's how you make all of your fondant figurines now to get them onto your cupcake so that you've got a complete set here .
I just took some of that chocolate can ash Cos it's really , really nice and dark , but obviously you can just use regular chocolate frosting , spread it neatly onto the top of the cupcake and then you just want to edge the very centimeter or so around the edge of that cupcake in those Oreo cookies .
This is gonna make it kind of look like the dirt around one of the grass blocks .
Once you've edged your entire cupcake all the way around the sides , but you've got no Oreo cookie in the center .
You want to put some of that frosting into your piping bag with that grass tip .
And you can see here , I'm really just squeezing and lifting that piping bag and that grass tip is doing all the work for me piping out all those beautiful little strands of grass on goes Steve now to secure him in place .
I'm actually gonna take the piping tip and just pipe around his base so that he's kind of stuck in that frosting .
And then you can repeat that with your creeper once again with the creeper .
You do want to put some of that frosting around the base of his feet with your TNT blocks .
I thought either one or two just depending on how many cupcakes you wanna make and how many figurines you wanna make .
But in a nutshell there , you've got your little fondant figurines and your Minecraft themed cupcakes .
If you're looking for something a little more simple , make sure you check out my simple Minecraft Creeper cupcakes and definitely check out that Checkerboard surprise inside Minecraft full size cake coming out on Friday .
Thanks very much for watching .
Are you looking for a way to reach a wider audience and get more views on your videos?
Our innovative video to text transcribing service can help you do just that.
We provide accurate transcriptions of your videos along with visual content that will help you attract new viewers and keep them engaged. Plus, our data analytics and ad campaign tools can help you monetize your content and maximize your revenue.
Let's partner up and take your video content to the next level!
Contact us today to learn more.