https://www.youtube.com/watch?v=qlutQKpSLeM
How to Draw Elsa _ Frozen
Hey there today , I'm gonna show you how to draw Elsa from Frozen .
So let's start with the eyes .
Starting with the one on the left , we'll put a pen at the top and work our way down to the bottom and back to the top .
Again .
From here , we're gonna draw a highlight circle on the top right corner .
So up here draw a little tiny circle and in the center of the larger circle , we're gonna draw the iris .
So we're gonna draw a circle behind the highlight in the middle .
I'm gonna color this in black and let's give her some eyelashes .
So over on the left side , we're gonna curl three curves .
So starting on the left side here , curve up one to and three .
Let's move over to the right side and draw the exact same thing , but flipped over .
So starting on the top , making sure they're at the same height to draw a circle .
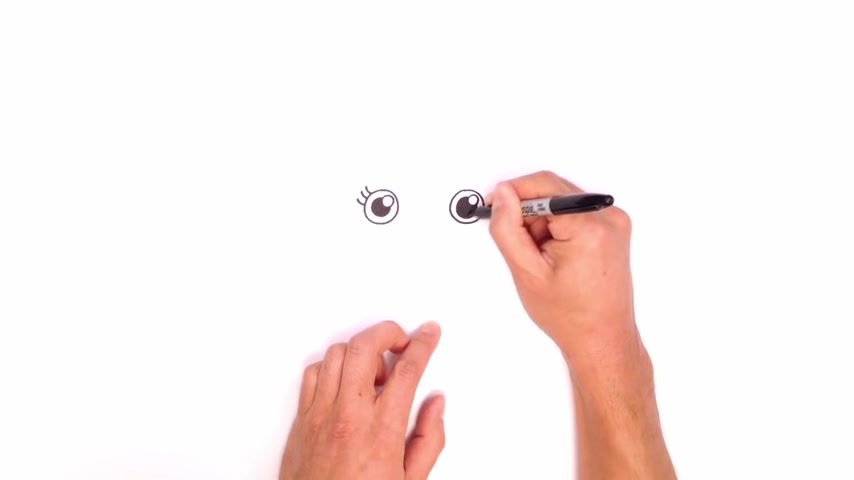
And on the top right corner again , we're gonna draw the highlight circle and it will draw the iris smaller circle inside .
We'll cut that in black .
Now from here , let's draw in the eyelashes .
So starting with the one on the top , we curl up two and then three .
Let's draw in a little smile .
We're gonna give her a little bit of a crooked smile .
So , starting just underneath the left eye , we'll curve over to the right .
Then over here we're just gonna draw a little curve just to finish off that mouth and it's drawing some eyebrows .
So , starting over the left eye and curve up and I'm gonna come down and on the right side , we're gonna lower the eyebrow down just a little bit curve over that eye .
Let's draw the proot outside edge of the face before we get into the hair .
So just on either side of the eyes , we're gonna draw a dot Just indicate how far we want to go from here , we're gonna curve down to the bottom of the chin , which is right about here .
So starting on the left , I'm gonna round out the jaw and aim towards my finger on the right side .
We'll do the same thing coming in the opposite direction , ring in and I'm just gonna connect those two points together .
Now , for here , this is where the ears are gonna be , but let's move up to the hair and get that done and out of the way .
So I love this left eye right on the inside edge .
We're gonna move up right about here and draw a point .
This is where the part for the hair is gonna go .
So from here , we're gonna curve out and then down and , and towards the right eye , gonna go back to that same spot and make it thicker and then curve in and just come in back to that point there .
Now , from here , we're gonna draw the first main bang that comes out to the side of the head .
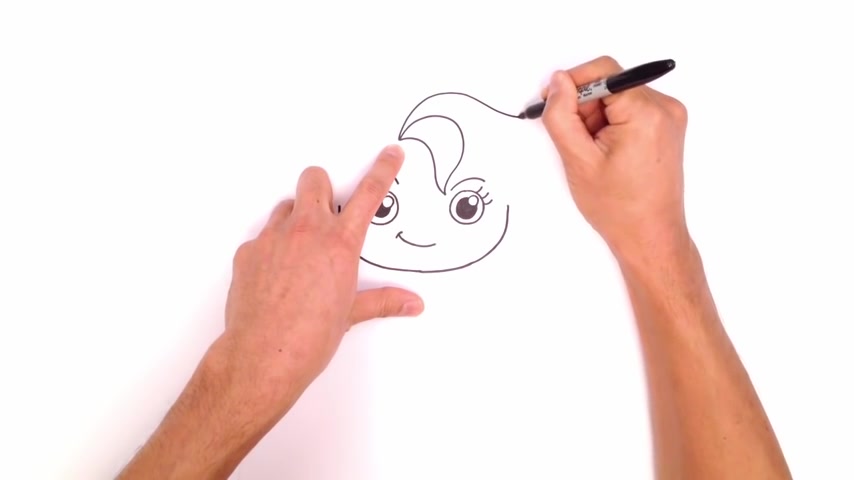
So from here I'm gonna curve out and up , going back out to the side of the head and then flick it up at the end here , we're gonna curve it back in towards this main bang like so we're gonna do a couple layers underneath it .
So right here and curve down and then bring that back up again like that , we're gonna finish off the side of the head in a bit .
Just let's get to the rest of the hair first .
So right back at that same point , I'm gonna draw another curve curving up over and then blending in by tucking that in underneath that bang .
Let's continue .
So going back to the same spot , I'm just gonna do a series of overlaps curving this hair around and again , I want to start bringing this down this way .
So right about here , go back to that same starting point curve around tuck this in and one final one , we'll go back to that same spot , the curve one in like that .
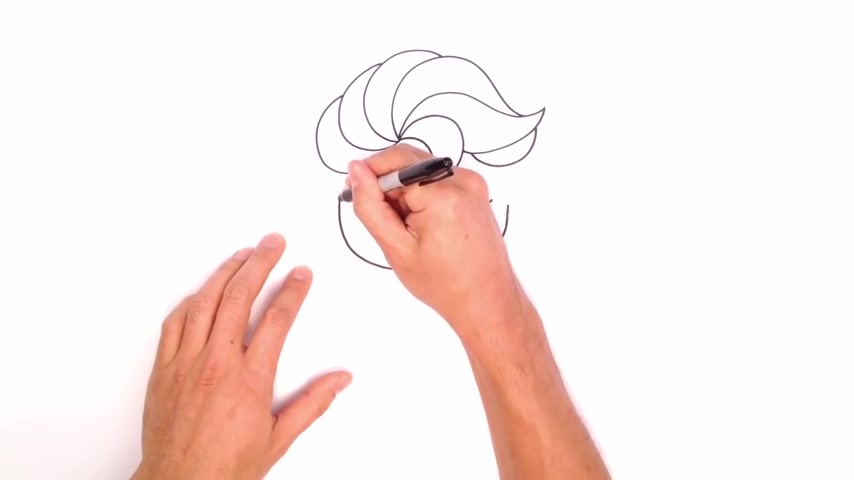
Now let's go ahead and bring these lines for the side of the head all the way up to the hair .
So going straight up the top .
Now from here , I'm gonna curve in the final part of the hair there and the final part of the hair on the right side , let's draw some little tiny ears .
So I'm gonna tuck this ear in behind the head and that hair .
So I'm just gonna do a curve like this .
And over here we'll draw the same size ear on the right .
Let's draw a little bit of detail in there .
So starting on the outside of the ear on the left , I just gonna do a little curve like that same thing on the right .
OK .
So we got the head .
Let's get into the body .
Let's draw the little color for the neck .
So starting on the left side , we're just gonna curve down and back up on the right side and now we're just gonna give her a little plump body .
So on the other side , I'm gonna come down a little bit and I'm just gonna curve down to her hips and on the right , we'll just curve down as well .
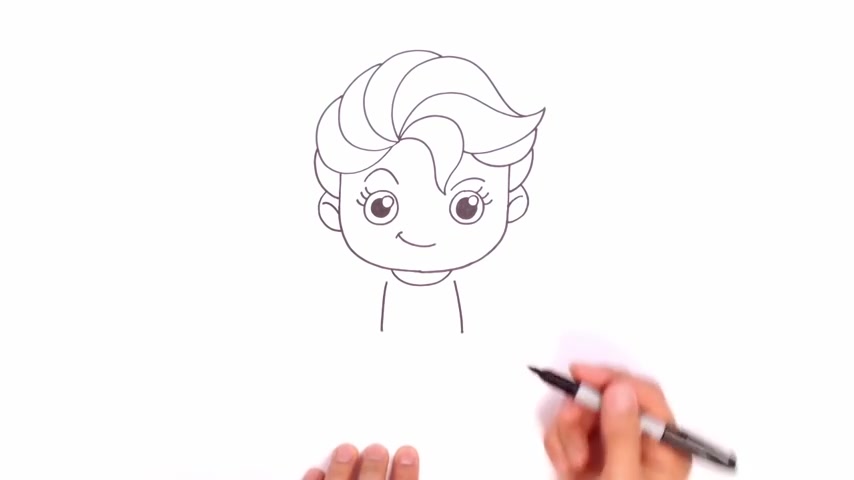
And here we're gonna draw the sides of the dress .
We're gonna come down to the bottom right about here where my fingers are .
So back at this corner here , we're gonna curve down and then curve out , curve down and curve out .
We're gonna connect these two points with a little curve goes around like this .
I'm gonna show a little bit of leg .
So what we're gonna do is we're gonna go up to this one side here .
I care down like this .
Now , let's draw on the legs .
So from here we're gonna come down a bit , draw her thigh , we're gonna draw a curve down to her toe and I'm gonna round this out back in underneath that skirt and just for a little bit of the shoe , we're just gonna draw a curve like that , draw a little bit of detail of the dress .
So from the middle here underneath and that , I'm gonna draw a little point from here , I'm just gonna curve out to the side of her dress and then up to the left , let's draw a little bit more in detail down here .
So we're gonna come straight down right here .
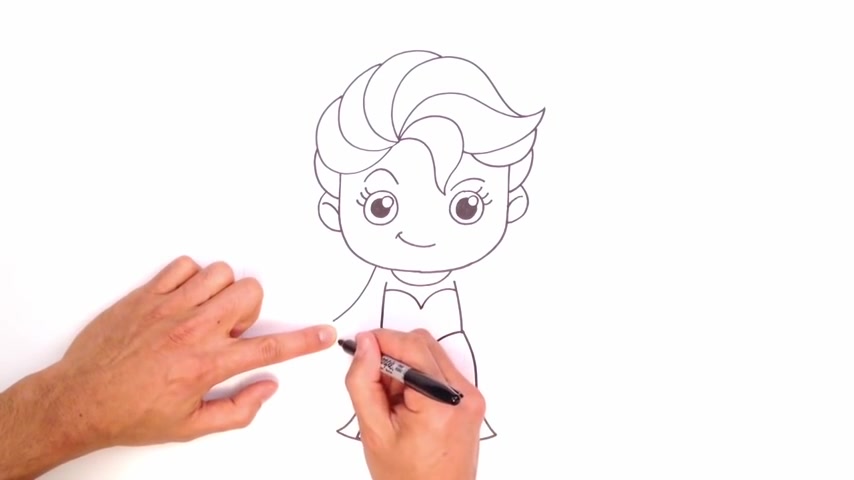
Draw another point , take that point and curve to the side of our hips and stay on the left side .
Let's draw some arms .
So we're gonna have our arms kind of coming out this way .
So up here , let's draw the tops of our arms first .
So curving out to the tops of our hand , we're gonna locate the wrist right about here .
So what I'm gonna do is I'm gonna come back in underneath the body .
Let's go to the right side and do the same thing just to balance this out .
So starting at the same spot , we'll come down to the wrist right about here .
This and then into the rest like so is drawing some fingers .
So I'm gonna have three fingers .
So starting at this point , I'm gonna curve one finger like this , we'll do an overlap and draw another finger , draw one more overlap , draw the third finger .
And from here , I'm just gonna curve this right into that wrist .
And here I'm just gonna draw a thumb that looks kind of like that little curve for the sleeve .
I'm just gonna draw a little curve just to separate the arm there .
Let's draw the other hand on this side .
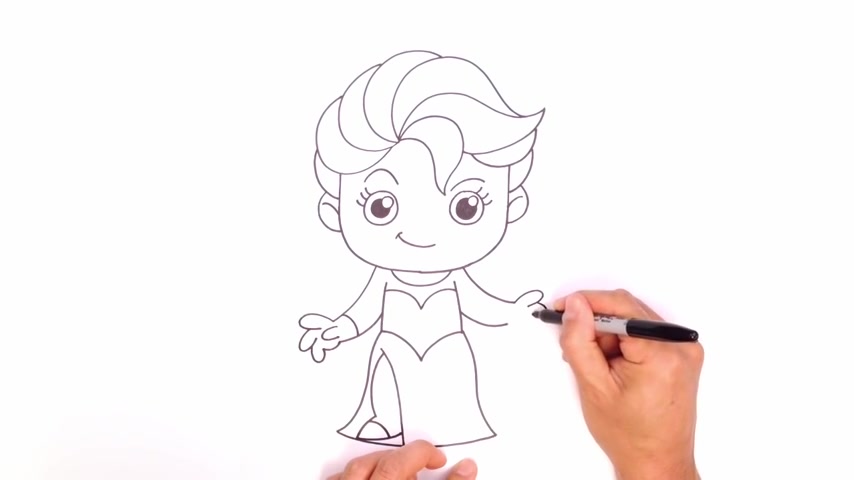
I'm gonna draw one finger like so do an overlap with the second finger and then the final finger like this curve that right into the wrist , draw one thumb , little curve like that .
Now we want to draw a little braid .
Oh , almost forgot her sleeve .
So let's draw that sleeve first .
We're gonna draw the braid coming around her head around this hand here .
So what I'm gonna do to do a simple braid starting underneath this ear , I'm gonna draw a curve like this sort of a backwards S I'm gonna go back up here and curve and do another backwards s so I'm just connecting with that point there .
Go back up here and then just come right into that point up here .
I'm gonna come in up here .
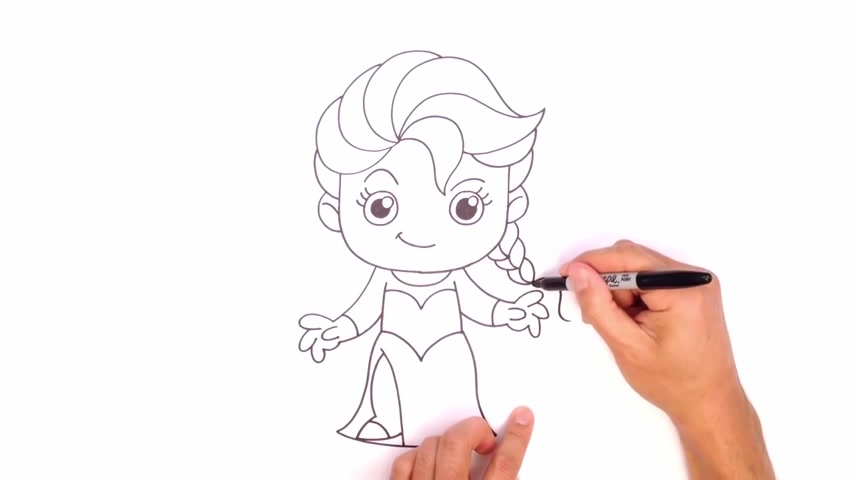
I'm just gonna curve into that intersection there , come up into that intersection and up here , I'm just gonna come right into that end point there and then simply curving around like this for the tip of the hair and this is gonna actually have to go behind this hand .
So I'm just gonna curve this in like this curve it around like that do a little curb like that just to finish that off .
But that's pretty much it .
There we have it .
There is Queen Elsa from Frozen .
I hope you enjoyed this lesson .
Please give us a like and share this with your friends .
Thanks for watching and we'll see you again soon .
Are you looking for a way to reach a wider audience and get more views on your videos?
Our innovative video to text transcribing service can help you do just that.
We provide accurate transcriptions of your videos along with visual content that will help you attract new viewers and keep them engaged. Plus, our data analytics and ad campaign tools can help you monetize your content and maximize your revenue.
Let's partner up and take your video content to the next level!
Contact us today to learn more.