https://www.youtube.com/watch?v=G3Vs6InK0co
How to Restore Skins on Cracked Minecraft Servers - Minecraft Java
Hello .
This is Kieran from server pro .
And today I'm gonna be teaching you how to restore skins on offline or cracked Minecraft servers .
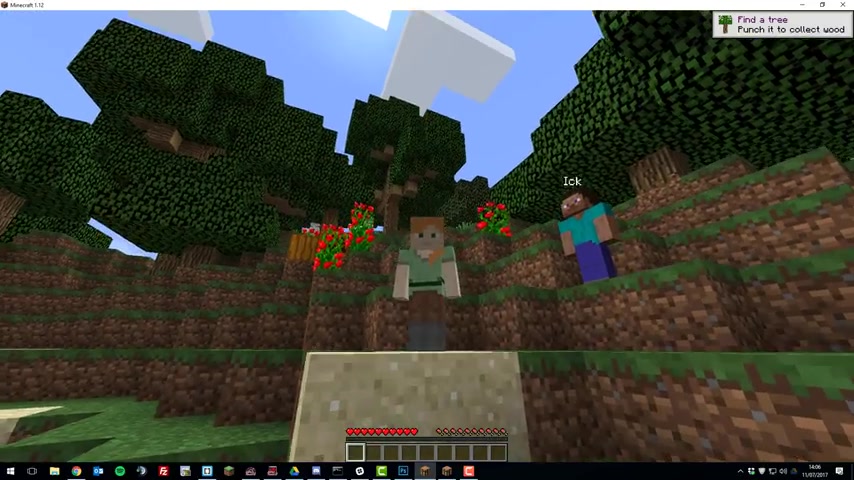
As you can see here , I'm on a cracked or offline Minecraft server , and I don't have my skin .
And neither does my friend I .
So we're going to be restoring the skins with a plug-in called skin restorer , which is a really helpful plug-in that allows premium Minecraft clients that have purchased the Minecraft game that join cracked servers to have the skin that they usually have .
So let's go ahead and install this and take a look at it .
So the first thing that you'll need to do is go to the control panel for your Minecraft server .
Once you're here , you'll need to make sure you're running , running spigots , and this , um , plug in is compatible with most versions of Minecraft all the way down to 1.8 .
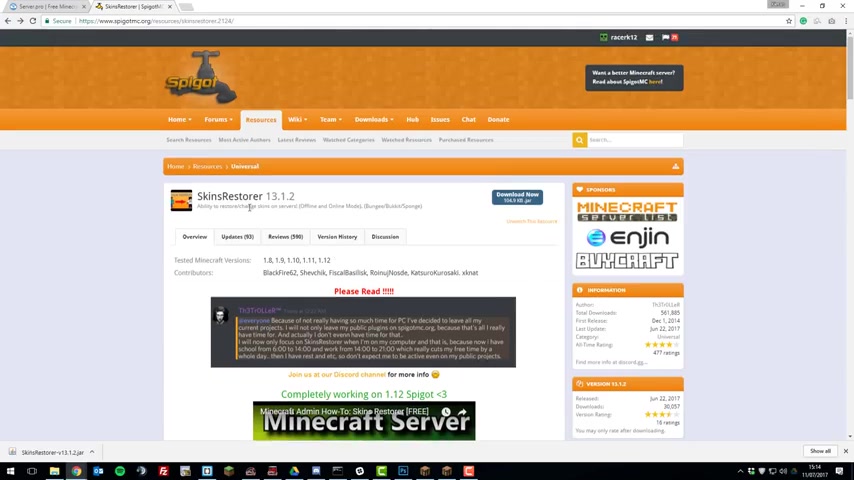
So just make sure you're running a compatible version , and then , once you are , go to the Plugins Spigot page , which will be linked down in the description below .
Then click download .
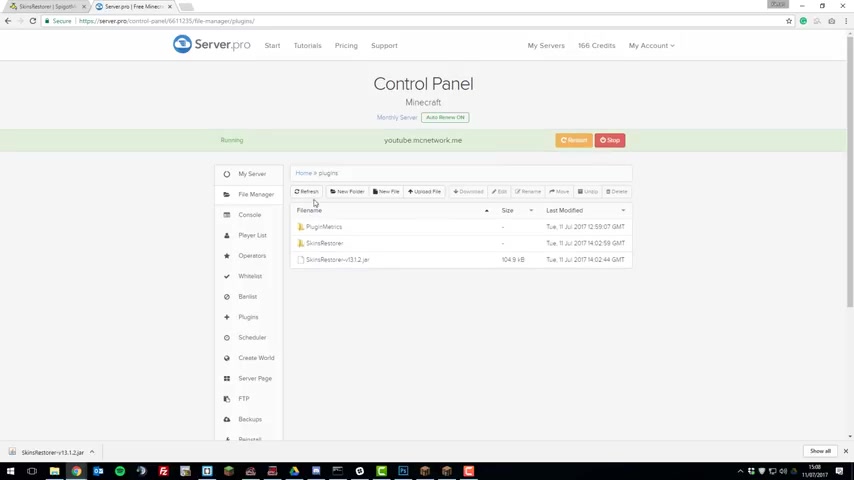
Now click Save into your Downloads folder , Then , once you've downloaded it , go back to the control panel , go to the file manager , go to the Plugins folder , click upload file , choose files , and then choose the skin restorer dot jar that you just downloaded and click upload from computer .
Then , once it's uploaded , click restart and you should be able to join your server , and it should be working .
So once your server has started off , if you click this refresh button , you should see the skin restorer folder appear .
And then , once that's appeared , you should be able to join your Minecraft server and see that skins are working .
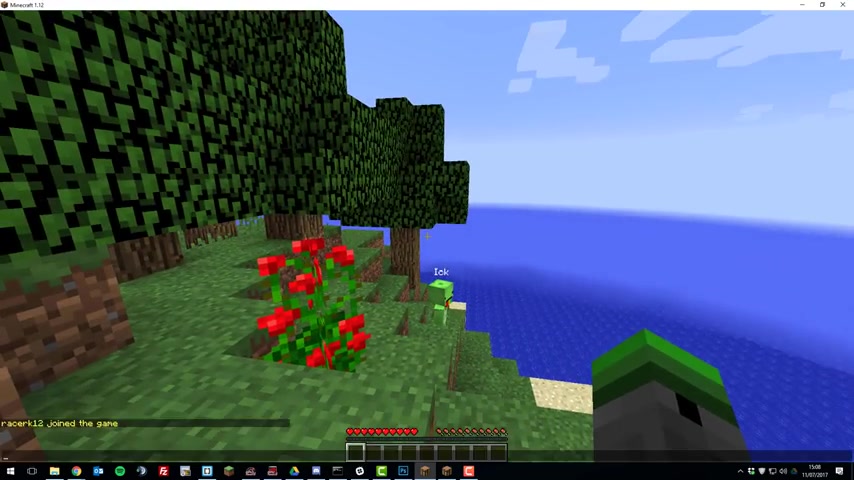
So as you can see , I've just joined my server and my friend ick is also on the server , and as you can see , the skin is now working for him .
And also , if I go into F five mode , you can see that my skin is working , too .
So this plug in actually has a couple of cool commands in game , which you may not know about .
So if you type slash skins , it will bring up a GY of all the people that are on the server .
And if a player has permission to do this , um , you can select different skins .
So if I selected my friend's skin ick , you can see that I have now got the skin , um , of my friend .
So there are also some other commands .
So if we just go back into the normal mode and then if I type slash skin and let's say skin notch , I would change to notch your skin as you can see here , and I now look like notch and I will look like notch to everyone else on the server as well .
Um , and you can do this for any skin .
So if there's a premium Minecraft account that you know about , you can change to that skin .
Um , with that command , and you can .
Also , if you have the permission to again , you can type slash SR , which stands for skin restore set player names .
So let's say I wanted to set .
I use , um , skin to something else .
I type set I and then type notch again , and it would change .
I skin to notch .
And then I could also change his skin to , let's say , my skin , which is race a K 12 , and it would keep doing that .
So there are some other commands , but you can take a look at them on the skin restorer plug in page .
But that's just some of the basic ones for this plug in .
So let's go ahead and take a look at the configuration files for this plug in .
So if you go back to the control panel and then go to the Skin Restorer folder , you should see some files and different folders here .
So let's take a look at the config dot YML file .
Here are all the basic settings for the skin restorer plug in , so the first setting is disable ono skins .
So basically what that means is when a player joins a server .
If you set this to false , um , they will have the normal skin , which is assigned to their Minecraft account .
Um , but if you set this to true , it means they will only be given a skin when they type the slash skin or skins command .
Um , but I'm going to leave this as false as I believe that's a better way of managing the server .
Then there's also skin without permits .
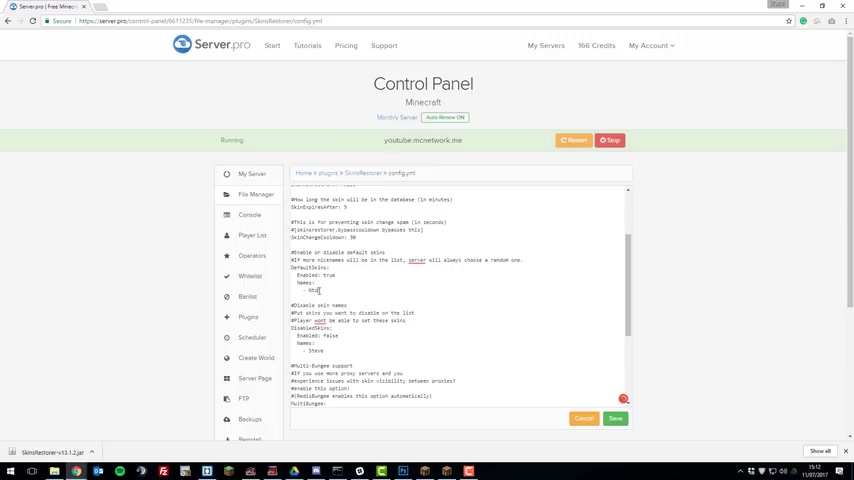
So if you set this to , um , false , basically people will have to have permission to run the slash skin command .
If you set it to true , they don't have to have permission .
Skin expires after .
So this setting refers to how long the skin will be in the database for as it says above .
Um , and you can set this to whatever you want and basically means how how long the skin will be requested from the Minecraft server , Um , or the Mojang server .
Sorry .
So say if someone changes their skin and they join the server , they'll have to wait five minutes before that skin updates .
The next setting is skin change .
Cool down .
So basically , this is the cool down that players have between changing the skins .
So by default , they can't change skins for 30 seconds .
Unless you're an operator , Um , or have the bypass cool down permission ?
Um , I'm gonna leave that as 30 as I believe .
That's in a reasonable amount of time .
The next one is default skins .
So this is one that you may want to change .
So when a player joins a server and they can be assigned a default skin , so if you say this is true , um , and you change the first name to , Let's say notch .
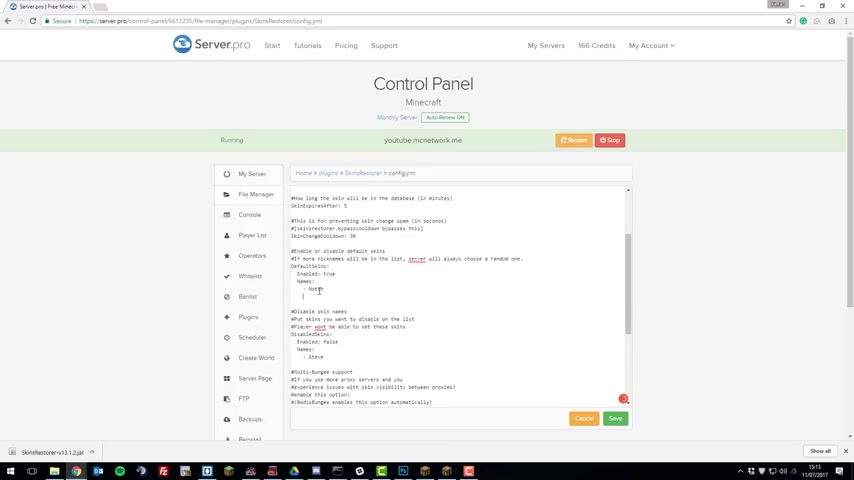
People who join the server now will always be given this skin notch by default , and you could also add different ones here .
So let's say I wanted to add my skin and players will be randomly given even notch or my skin .
Um , so again , you can configure this to how you want to do that .
The next setting is disabled skins , so here you can basically disable certain skins from being used .
So if you set this to true and then change the name , so let's say we wanted it to be not .
That means that players cannot use notches skin as it will be disabled .
And again , you can add multiple names to this list so I could add mine .
I could add X as well .
I could add as many as I want .
You just list the ones that you want to be disabled .
So that's basically all we're going to be looking at in this file .
There are a couple of further settings for bungee cord and my QL , but we're not going to be covering them .
So once you've made all the changes , you want to make click , save and Then let's take a look at the messages dot YML file .
So in here , you can basically edit all the messages that are displayed for this plug in , um , such as error messages , um , command messages and so on .
You can just go ahead and edit it to however you wish .
Add different colour codes .
Um and yeah .
So I'm not really going to edit this as I like the way a skin restore is displayed already .
Um , but feel free to edit it .
How you want .
You can also change it to your language .
Um , so feel free to translate this into a different language .
Um , for your server , say , if you have a Spanish server So once you made all the changes , click save and then restart your server .
So that's basically all you need to know about the skin restorer Plug in .
If you have any questions , feel free to contact our support .
There'll be a link to where you can comment .
Put them down in the description below and feel free to suggest any other tutorials that you'd like to see in the comments down below .
Thank you for watching .
Have a great day
Are you looking for a way to reach a wider audience and get more views on your videos?
Our innovative video to text transcribing service can help you do just that.
We provide accurate transcriptions of your videos along with visual content that will help you attract new viewers and keep them engaged. Plus, our data analytics and ad campaign tools can help you monetize your content and maximize your revenue.
Let's partner up and take your video content to the next level!
Contact us today to learn more.