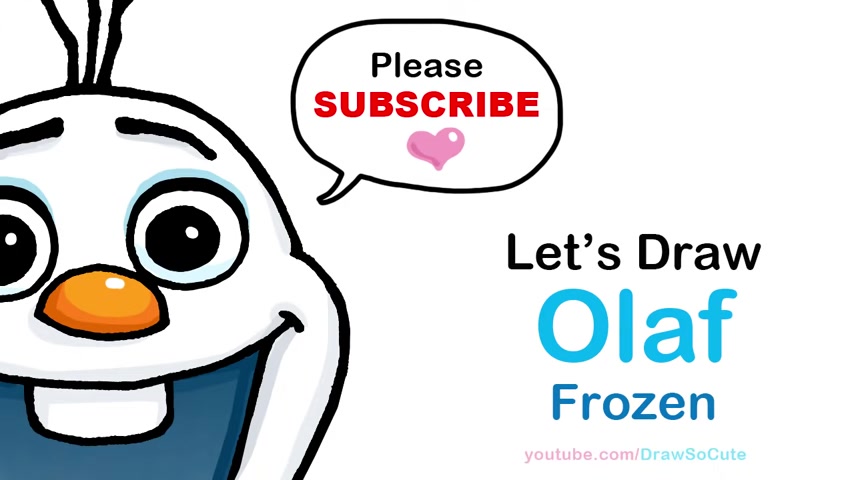
https://www.youtube.com/watch?v=Qob1YHJQlX4
How to Draw Olaf _ Disney Frozen
Hi , Jurassic Cutie is waiting here today .
We're gonna drop Ola from Disney's frozen .
So let's get started to drop off .
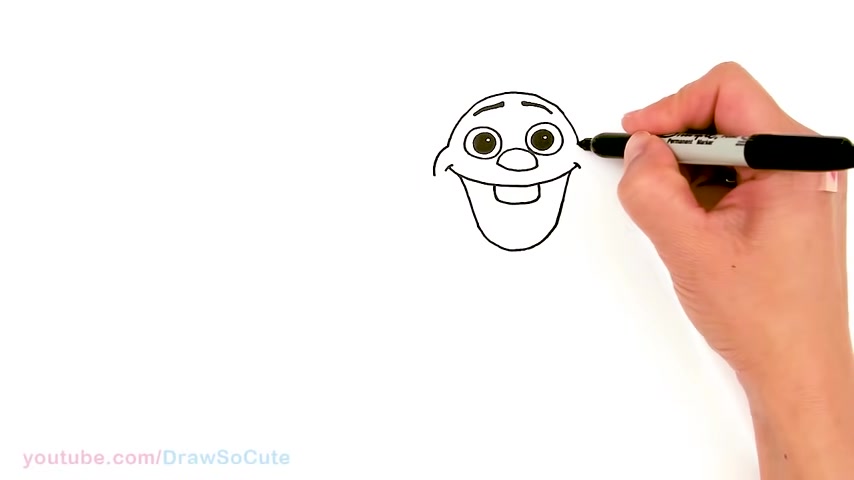
Let's start by drawing his carrot nose .
So I'm gonna come right here in the center and I'm gonna draw a curve .
So the trick is to make it look like a carrot even though it's straight on .
So by drawing this curve , bring this down just slightly more on this side and then from here , we're just going to go ahead and connect it .
So come down here and connected .
So you're giving a slight point right there from there .
Let's go ahead and draw the eyes .
So I'm gonna come above this carrot nose and just um right above it , touching it .
I'm gonna draw a circle .
So come here and just drop big circle for his eyes and same thing on this side .
OK .
So I have the two circles right next to the nose .
Then let's come inside and we're gonna draw another circle and same thing on this side .
And let's come in here .
I'm gonna give it another small circle for a highlight and then shade the rest in .
If you love Disney frozen , please make sure to check out the newest Elsa that I just drew and I definitely plan to draw Anna and more characters from the movie .
Ok .
So now we have the eyes in then let's come .
Um Let's see here .
Let's , let's make it a little bit easier .
I'm gonna come right up where we start the eye .
So let's say , um but right here at the center of this eye , I'm gonna come out , just give myself a point on both sides .
So I kinda the center and we're just gonna draw a curve above the eyes .
So come about right here , just kind of kind of draw a dome and not too high .
So I'll say about this much and I'm just gonna go ahead and curve it in .
So then from there that we have this , let's come to the top right here , we're gonna draw his eyebrows .
So they're kind of uh slanted down .
So let's say about right here .
I'm going to slant down their brow and I'm just gonna come in here and thicken it up .
So same thing on this side , starting down and thicken it up there .
OK .
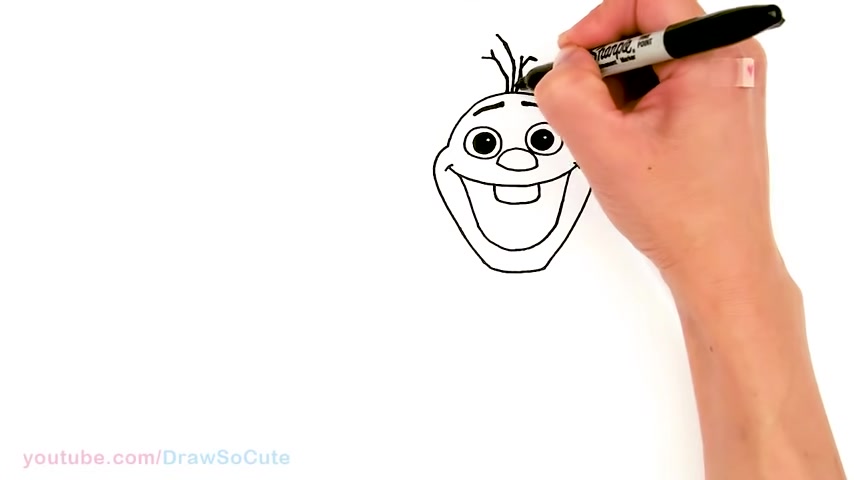
So then now let's come underneath his nose and we're gonna draw his big smile .
So I'm just gonna draw big curves .
I'm gonna go beyond his eyes .

So about right here , kind of like where you started with this curve on both sides .
So on the other side , about right here I'm just giving myself points .
So it's easier for me to draw since it's so big .
And I'm just gonna drag a curve right across and then I'm gonna come right here and just put a little curve on each side to cap it off .
And then I'm going to come in a little bit and then draw a very deep curve on both sides .
So go ahead and connect your curve and then let's come inside and we're gonna draw his little tooth .
It's big too far .
You just kind of round it off , nice and round and connect it starting to look like him now , right ?
OK .
So then from where you start right here , let's draw a curve around our smile .
So it's the same thing over here .
Just draw a curve around this and then we're just gonna kind of draw in an angle to finish off his hair .
We're going to get close to his smile and same thing here .
And as you come down here , just be a little bit more .
So it kind of looks like a neck and then connected with a curve there .
OK .
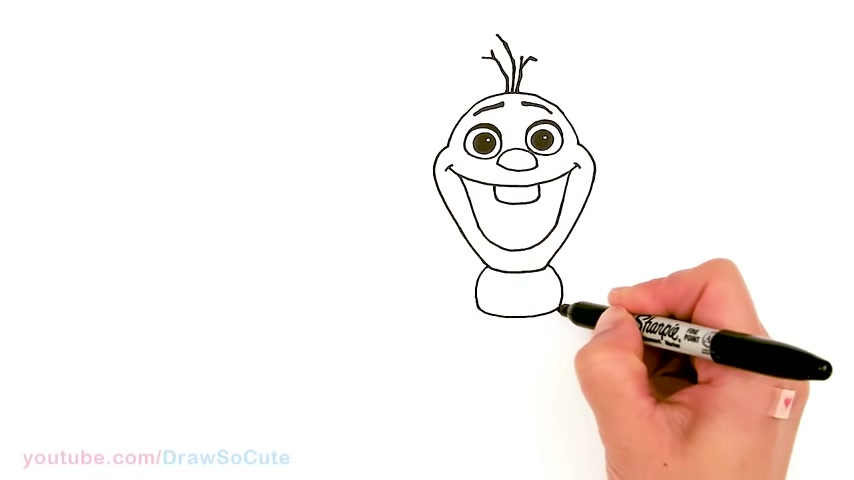
So then before I forget , let's come back up here and we're gonna draw the branches of sticking on top of his head .
So I'm just gonna come right here , give it some angles because they are branches and draw another one .
So there's three main branches I'm gonna draw and then you can just come in here and thicken it up here and there .
So it's not so stiff .
It looks like branches there .
OK .
Cute little Olaf .
Right .
Oh And then before I forget right above his eye , we're gonna make it thicker to give him that look on his eyes .
It's thicker up here .
So just come in here when you're coloring or with your sharpie , I just make it thicker at the top there .
Now it's complete .
OK ?
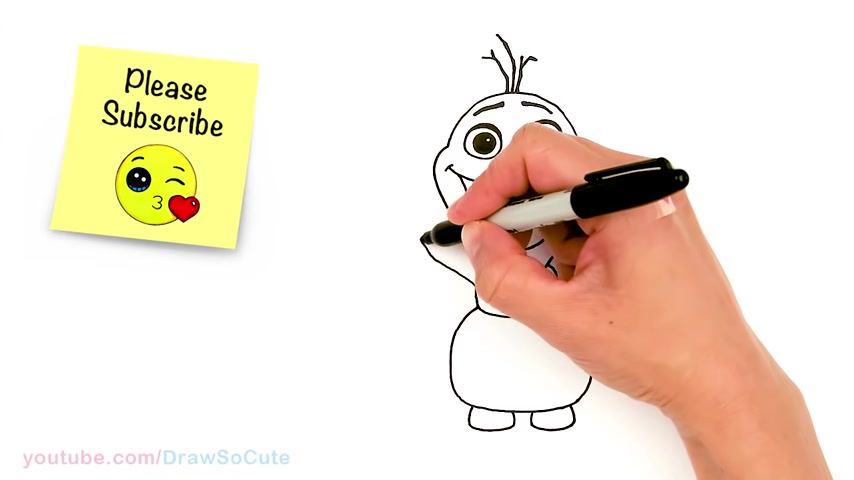
Now let's draw his body .
So we're gonna come around where his neck is and just come about right here and draw a curve for the first layer .
I bring it down a little bit more and about right there .
I'm gonna go ahead and connect it with a curve and then one more layer .
So come out right here and this layer is gonna be bigger .
So it's come out and come in all right there and then I'm gonna go ahead and connect it with a flatter curve and then since we're down here , let's draw his feet .
So I'm gonna center them .
So two curves right in the center and come over here and connect it .
Same thing here .
If I'm going too fast , please pause the video .
I hope I'm not .
OK .
So now that we have that part and let's draw his um stick arms .
So I'm gonna stick one out here and he's kind of waving .
So um I'm gonna kind of try my best because uh to draw it so that you can still color it in brown .
So I'm just gonna kind of give it an outline rather than doing it black .
So I'm just kind of wobbling a little bit here and there and then to make it still look like a branch .
So one thumb and the three fingers there .
If you're not comfortable doing that , you can always just draw it with uh just a line and then go in there and thicken it up .
OK ?
So the other hand is gonna be about right here .
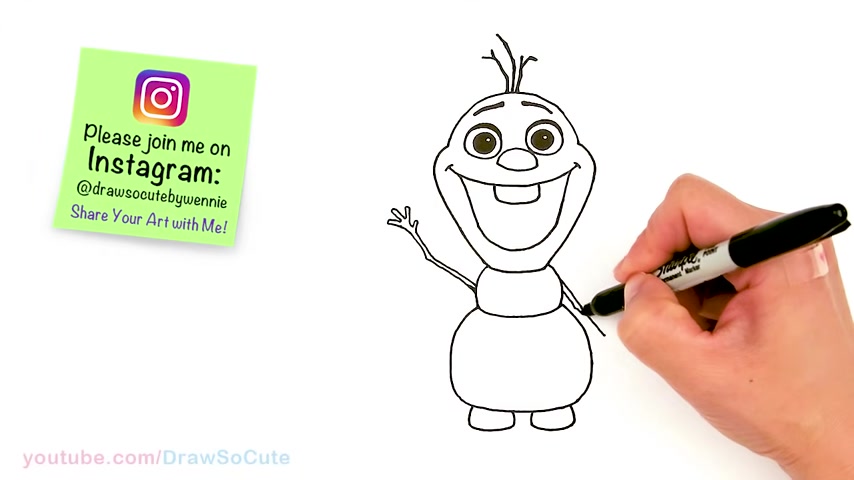
And so same thing , I'm just gonna have it come out here and there , maybe give a little angle , a little wobble and let's see here .
I'm gonna give it a thumb and then three fingers .
So two fingers that kind of come out there and of course his little rock buttons .
So right in the center , we're just gonna angle out some a uh rock right here using angles .
So same thing here , then one more right here and then I'm just gonna come in here since I have a sharpie and it's black .
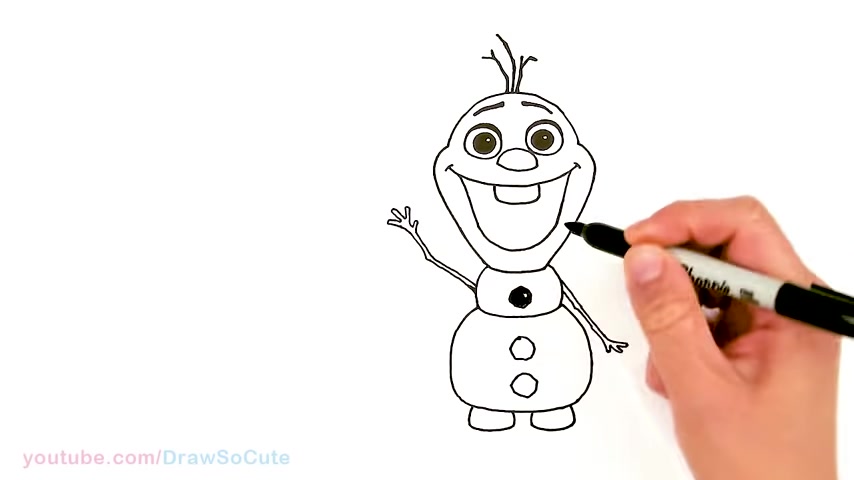
I'm just gonna go ahead and shade it in and give you a little highlight and one more .
So once again , please make sure to check out my Elsa newest Elsa drawing that I just posted and um I will definitely be drawing more characters from frozen two like the salamander and Anna , of course , ok ?
So then we have that in and if you wanna give Olaf a um background here , you can come right here where his legs are and just draw some curves to ground him .
We put it in some snow there .
So that's pretty much it for my draw set .

Cute version of Ola .
Hope I made it easy for you to follow along and it inspires you to draw it too .
Thanks so much for watching and if you loved it , please make sure to subscribe so you won't miss any new draw cut videos .
See you later .
Are you looking for a way to reach a wider audience and get more views on your videos?
Our innovative video to text transcribing service can help you do just that.
We provide accurate transcriptions of your videos along with visual content that will help you attract new viewers and keep them engaged. Plus, our data analytics and ad campaign tools can help you monetize your content and maximize your revenue.
Let's partner up and take your video content to the next level!
Contact us today to learn more.