https://www.youtube.com/watch?v=XxnntE_0T5Y
Easiest Origami Rose Ever! - How to Fold - Valentine's Day Gift
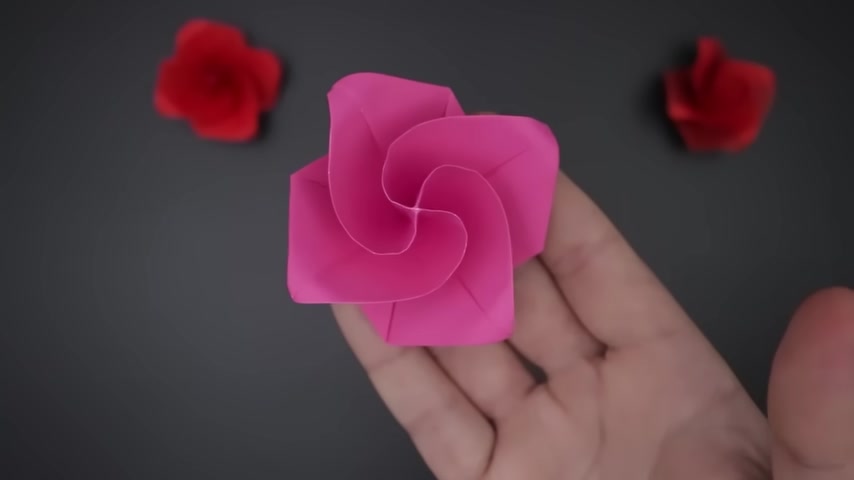
Hello , everybody .
Welcome to another video today .
I'm gonna teach you how to make an just like this one .
This is probably the easiest model that I've ever come across .
And not only it's easy , but it also has an amazing result .
The only material needed is a square of paper .
If you want , you can use two colors like in this example here .
But for a better result , I recommend using one that has the same color on both sides in this bit .
I'm going to use 20 by 20 centimeters .
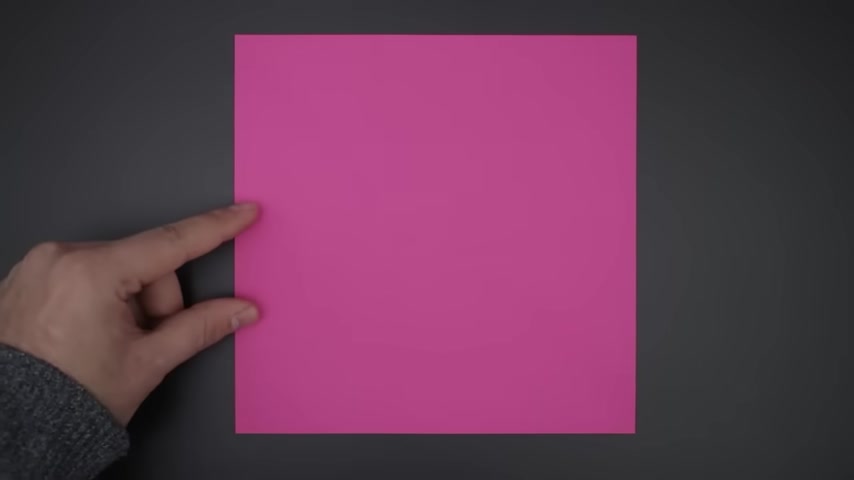
Our first steps to folding half along both diagonals , making something like a next , just follow the one car to the other , make a chris unfold and do the opposite .
Now , we can turn it over and folding half dividing into two .
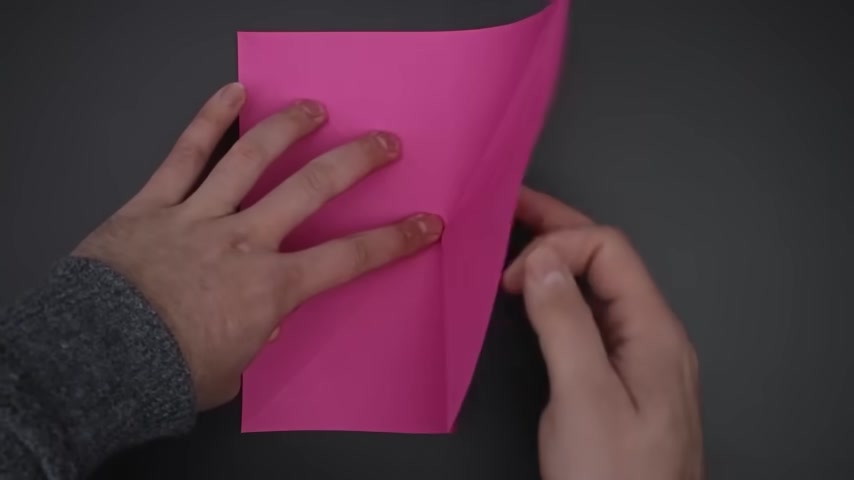
So bring the right side to the left , make a and unfold .
Now , let's divide the paper into four by bringing both sides to the middle .
The paper is dividing 24 in this position .
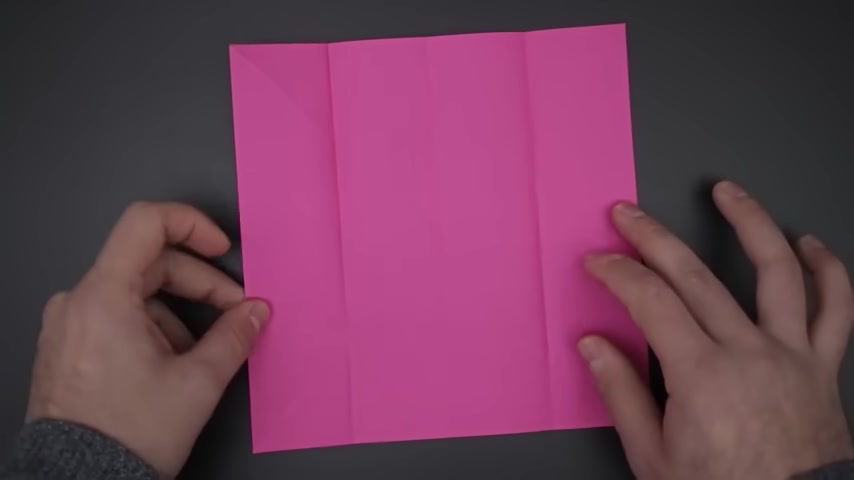
For the next step , we'll have to rotate and repeat the same logic dividing into 41 more time with that , the paper will be divided into 16 small squares at this point , we will have to fold diagonally , the four squares of the corners .
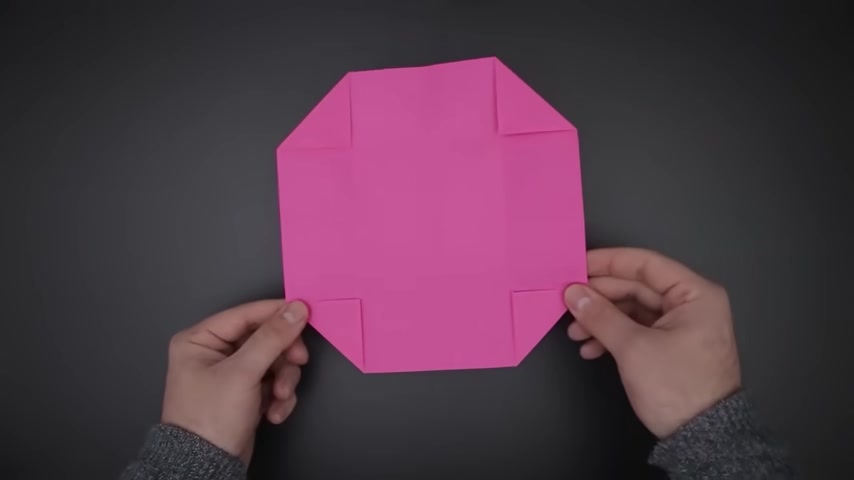
Now pay close attention to the next step , we will need to close the paper using these for diagonal folds to make it easier .
You can close the corners first like this .
Then just bring the four sides to the middle .
Keeping the paper in this position down here , we have these two squares , we're going to fold them both in half diagonally .
We can start on the right side , just bring the match to the middle and rain forest .
Now repeat on the other side .
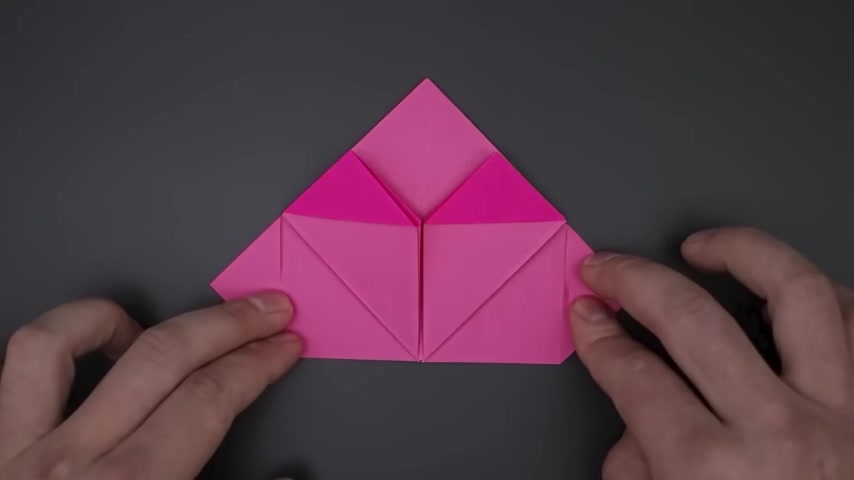
Next , we're going to bring down those wrangles that are on top unfold .
Now using the marks we just made , let's open one of the flaps and flatten creating something like this .
Now repeat on the other side , let's fold the remaining garden in the middle up .
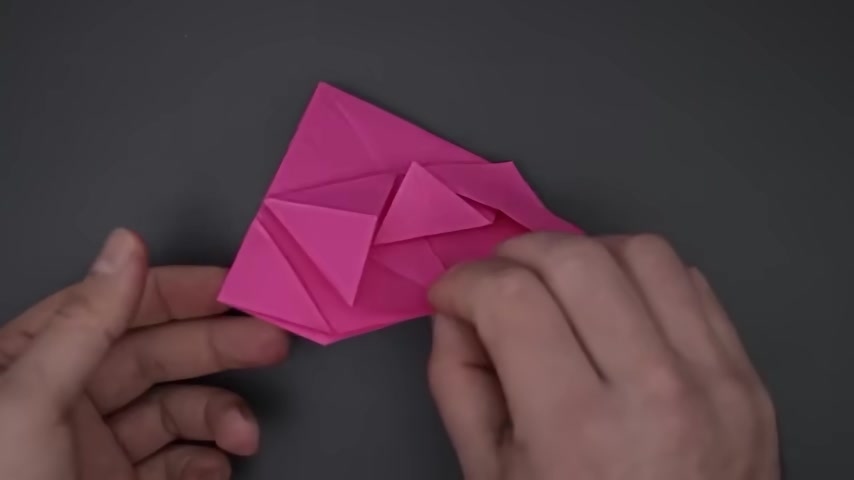
And for now this side is ready , let's turn it over and repeat the same on the other .
First , we fold the two squares then bring the corners down open and flatten .
Lastly , we just need to fold the middle card up .
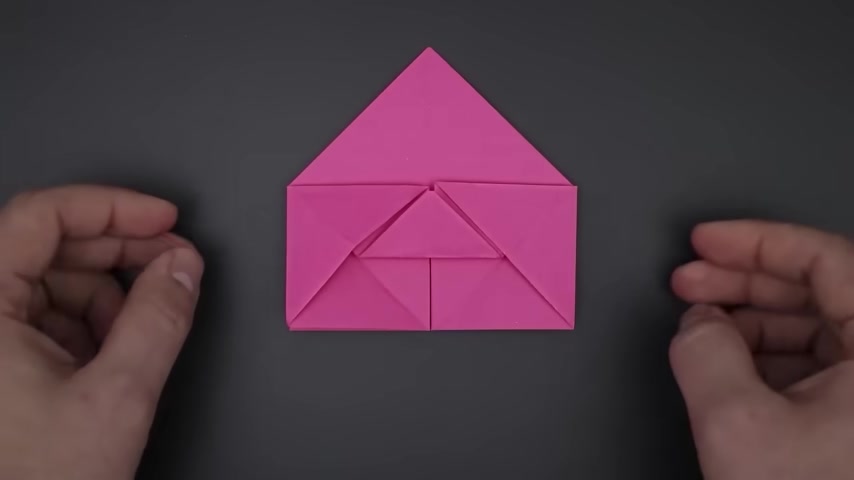
This side is also ready to make the other two .
Let's first close the front and back sides and now with these sides open , let's again , fold these squares in half diagonally and then fold the remaining corner up .
Let's turn it over again and repeat with the last one .
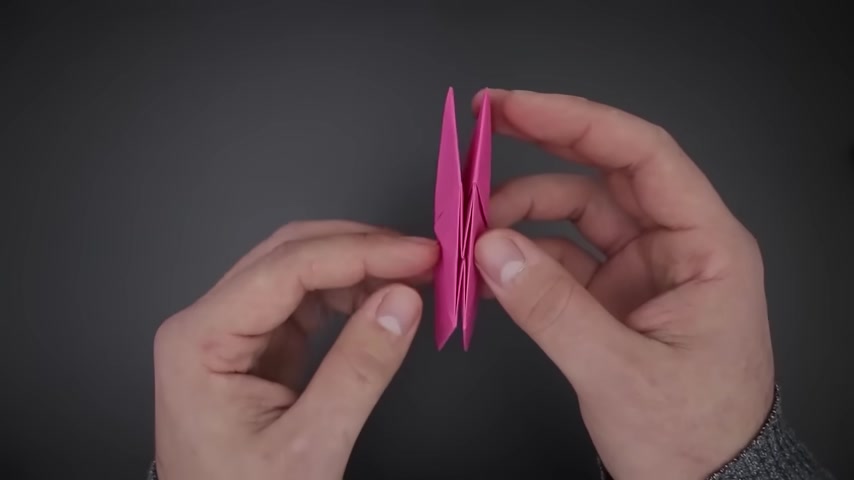
Now for the next step again , pay close attention .
If you did everything correctly .
You should have something like this down here .
We have this small space .
We'll have to open the same space by pulling the sides of the paper .
We put the top and bottom side together too and mark the middle part very well shaping the triangles .
Now , going back to the other side , we have these four flaps , we'll have to open them leaving each 1 to 1 side , something like a propeller or a ninja star .
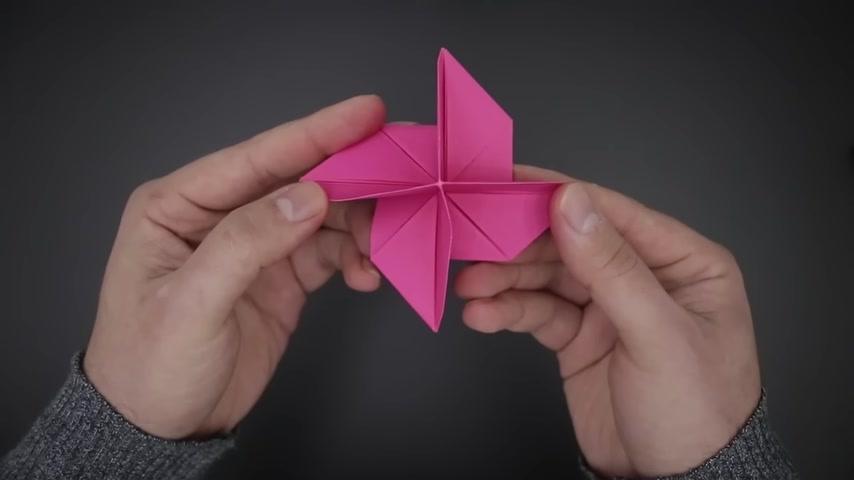
Now , to make the first details of the rows , we're going to have to rotate the paper in the middle , creating something like a spiral , just bend each side following the same direction of the previous step .
After releasing , this is the result to make it even more beautiful .
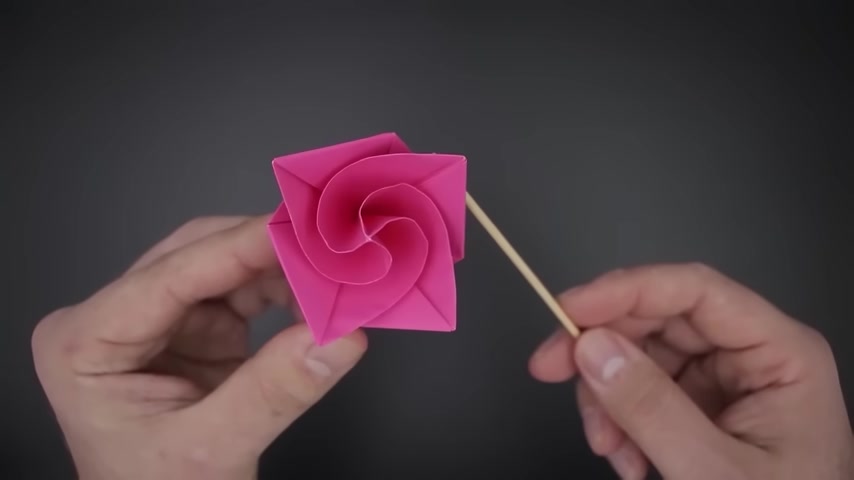
We can also bend the corners of the peels and now Oregon Rose , he's ready .
I really hope you enjoyed this video .
If yes , remember to click like and also subscribe to my channel .
Thank you very much for watching .
See you next time .
Are you looking for a way to reach a wider audience and get more views on your videos?
Our innovative video to text transcribing service can help you do just that.
We provide accurate transcriptions of your videos along with visual content that will help you attract new viewers and keep them engaged. Plus, our data analytics and ad campaign tools can help you monetize your content and maximize your revenue.
Let's partner up and take your video content to the next level!
Contact us today to learn more.