https://www.youtube.com/watch?v=f3YEhckBjew
How To Make Fishbowl Slime, Butter Slime And Bubblegum Slime! Easy DIY Slime Tutorial And Recipes

Hi , guys .
Today's video is going to be on how to make three different types of slime , and I really hope that you enjoy it .
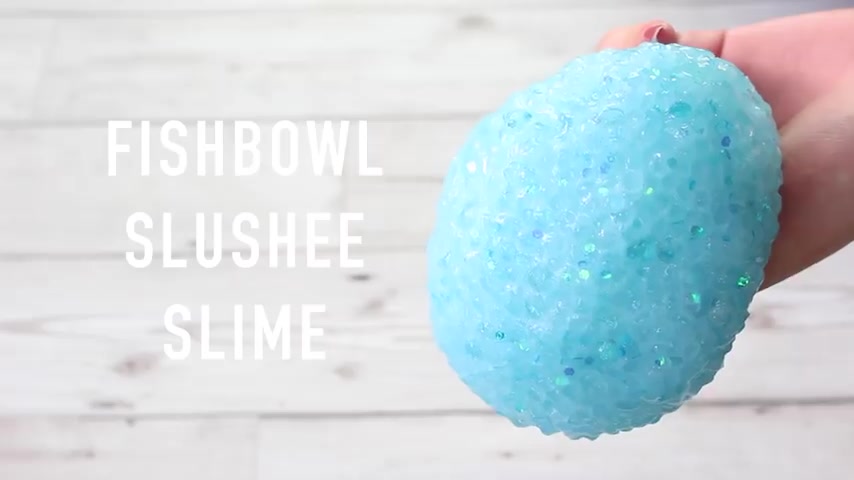
The first slime I'm going to be showing you how to make is fish bowl slushy slime .
All you're going to need is some clear glue , but I recommend using some food colouring and also some glitter just to make it super pretty .
After you've stir that all in , you can start adding your activator , and we don't want to fully activate it because we want it to be super super sticky .
I actually kind of like my semi like a glue .
Still , when I'm adding my beads just so it holds it really , really firmly , and I know my beads won't fall out when I fully activated it .
So I start by adding my fish bowl beads and then start adding my slushy beads very gradually .
And as you can see here , my slime actually stayed a bit sticky .
So after I stirred it all in , I added a tiny , tiny bit of activator just to lose the stickiness , and I ended up with such a good crunch .
The next slime we're going to be making is butter slime , and for this we're going to need a really basic slime recipe .

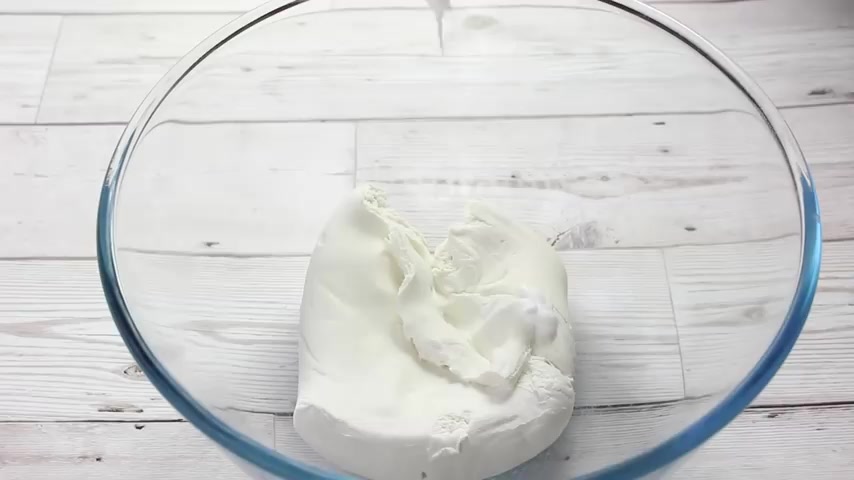
The recipe I like using has P VA glue in it , eight pumps of lotion , 10 pumps of foaming hand wash and about a cup of shaving foam .
After we've added all those ingredients , we can go ahead and stir it in .
And once we've got that all stirred in into a really even consistency , we can go with our paint or food colouring .
I like using the CRA or washables in yellow for this method , and I stir it in , and after I do that , I just activate it until it becomes a really nice sticky texture .
I like to activate it fully , but if it's a bit sticky that works really well as well , then the next ingredient we're going to need is our Cray and model Magic Clay .
I like to add loads and loads of lotion to this to really soften it up .
And as you can see here , it's super super tough , and when you add the lotion , it does fall apart a bit .
But if you keep needing it , it becomes really , really soft and such a nice texture .
When it gets to the stage , we can go ahead and add it to one regular sign that we made earlier , and this did take me a while to need it in probably about five minutes .
It's just because the clay is so , so thick , but once it's needed in , it's such a nice texture .
And if you didn't add enough lotion to your model magic , your slime might be a bit rubbery .

But you can fix this just by adding lotion to the regular slime , and it will be super smooth .
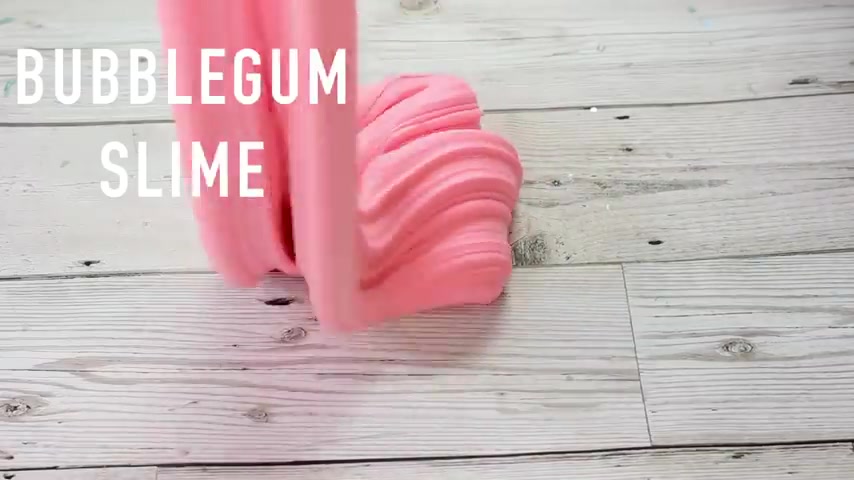
Last but not least , you have our bubble gum slime , and for this we're going to need some P VA glue , two cups of shaving foam , 10 pumps of foaming hand wash , five pumps of lotion and about seven pumps of foaming facial cleanser .
You can just use those ingredients , but personally , I like to add about four tablespoon of baby powder and three tablespoons of corn starch , just to make it a bit thicker when it's fully activated .
Then when you have mixed it all in , you can go ahead and add whatever colour you want , but to stay tuned to the bubble gum colour I added some pink .
I then went ahead and activated it , and it didn't take very long because of how much shaving foam I put in and when it came out and you play with it for a while .
It was just such a nice texture .
It was so thick and fun to play with .
I really hope that you enjoyed this video , and if you did , don't forget to give it a thumbs up and also subscribe .
See you next week .
Are you looking for a way to reach a wider audience and get more views on your videos?
Our innovative video to text transcribing service can help you do just that.
We provide accurate transcriptions of your videos along with visual content that will help you attract new viewers and keep them engaged. Plus, our data analytics and ad campaign tools can help you monetize your content and maximize your revenue.
Let's partner up and take your video content to the next level!
Contact us today to learn more.