https://www.youtube.com/watch?v=yvsdHxZnrM8
How to build a waterfall coffee table
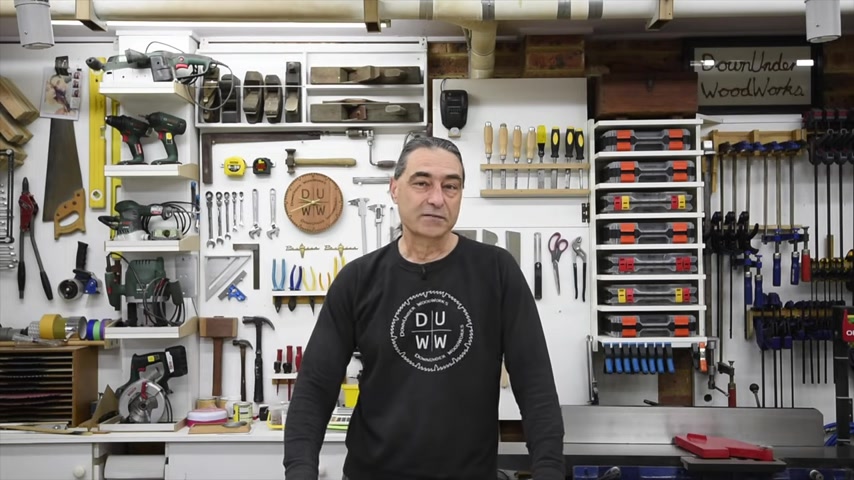
Good day .
Welcome down in the woodworks in today's video .
I'm gonna show you how I turn this into this .
Just a quick word before we get into the BUILD video .
If you're watching along as a non subscriber , then please consider becoming a subscriber and helping me out with that .
I had quite a bit more of this reclaimed hardwood decking handrail left that I used for the Ed coffee table build , but it was a bit deceiving because after going through it and cutting out the good sections , I only just had enough for this table .
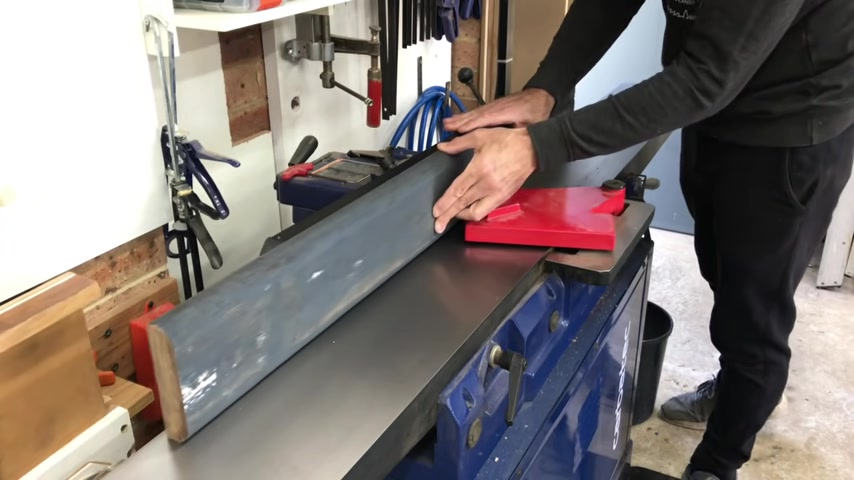
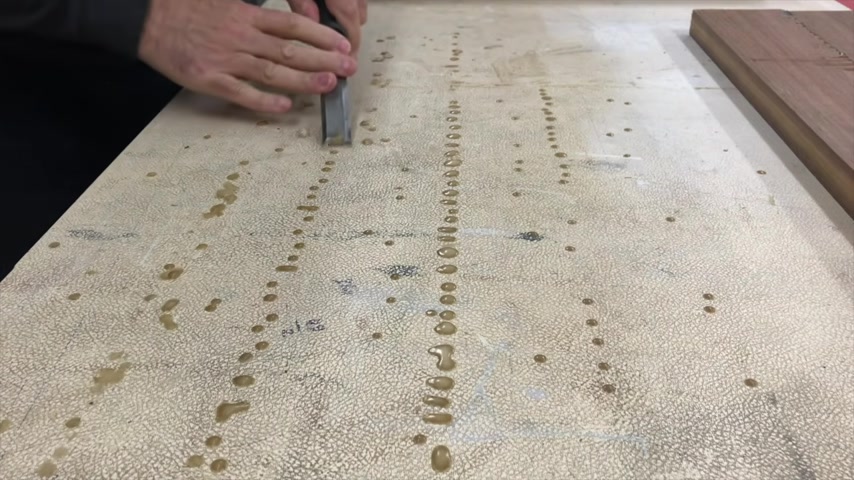
I put the timber through the usual milling process which starts at the joiner to get one flat surface .
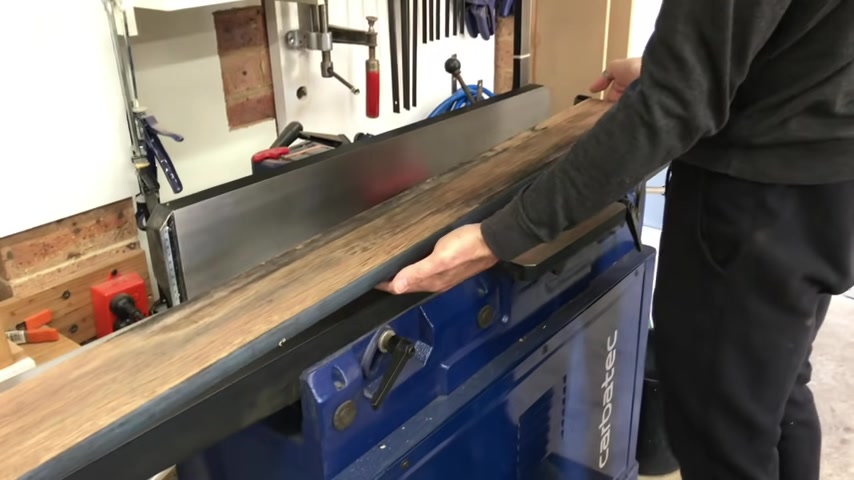
It's almost impossible to see the grain direction on old timber that looks like this .
So after a first light pass , you can see me here stroking the cat to check if I was going in the right direction , which is with the grain and not against it .
I was lucky with these boards cos they're all pretty straight with no cuing or twisting .
So they didn't need many passes to get a flat face .
How good does that timber look ?
Unfortunately , I don't know what species it is .
Maybe someone can tell me in the comments .
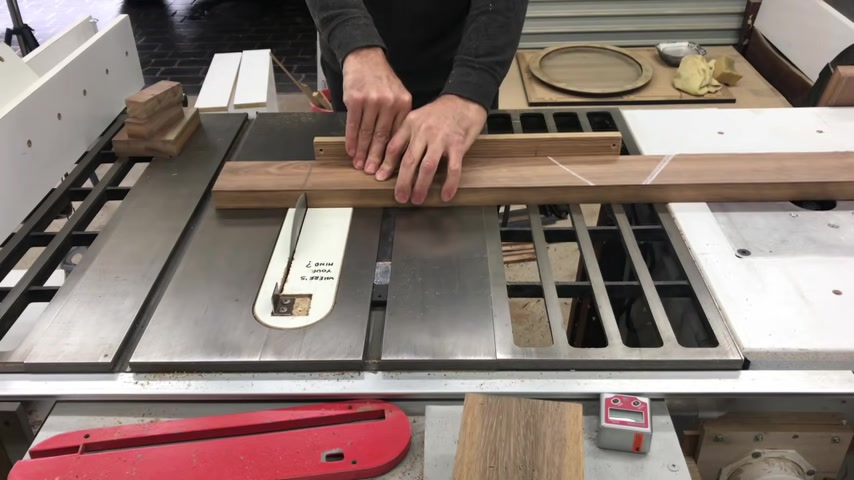
Next , I milled a flat 90 degree edge on each board to use as a reference against the table saw fence to remove the bullnose profiles and to rip them to their final width , which was about 90 mil , then it was through the thickness .
So to clean up the opposite face and get each board to their final thickness , I took a bit of time to mix and match these boards before deciding on a final layout .
The boards were initially left much longer than they needed to be .
So it was time to trim them down very close to their final length .
Their final length will actually be determined once they're glued up into panels and have M cut on each end time to go up the top , which went pretty smoothly actually .
Mhm .
I added a few heavy duty calls to the top just to make sure it stayed nice and flat and called it a night .
The next day I took the panel out of the clamps , cleaned up the glue , squeeze out on the bench and gave the top a quick sand with 60 grip paper .
Just to remove any squeeze out .
I might have missed and get a better look at how it went together .
Very happy .
The sides or legs of the table were then glued up exactly the same way as the top .
Despite all my best efforts .
The top was still wanting to cup slightly .
So I was keeping it in those calls , but I needed something less obstructive so I could keep working on it .
I screwed on these heavy duty temporary braces to the underside of the top being on the underside .
The screw holes wouldn't be seen when the brace was removed with the three panels .
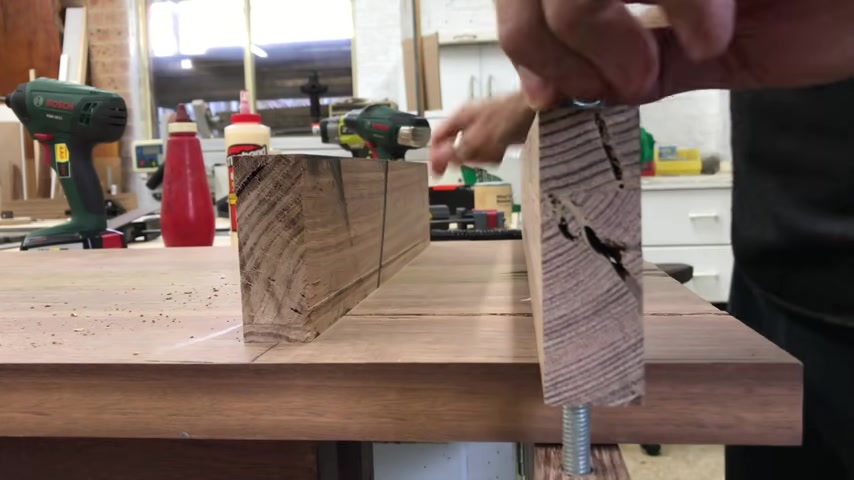
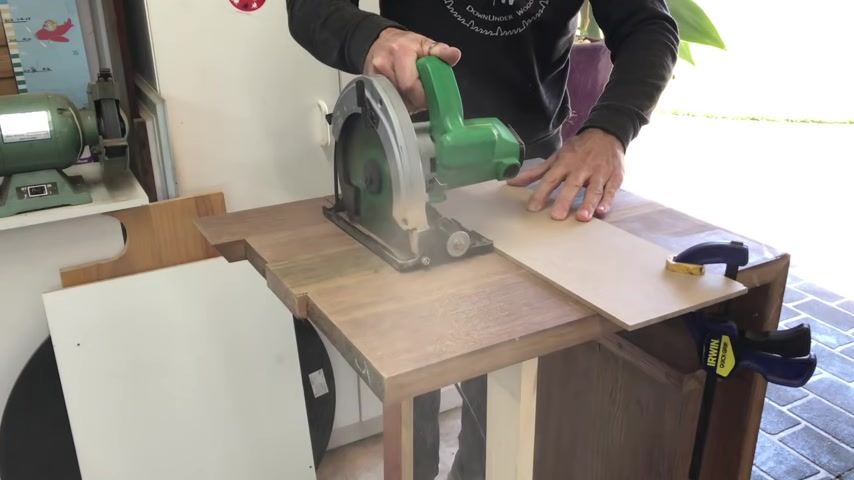
Now done , it was time to cut the miners .
I made up a quick crosscut sled just for this process because I didn't want to cut a 45 degree curve in my good sled .
This old hardwood is very prone to splintering .
So I use the back aboard on the top to minimize tear out .
And you'll see that it made quite a difference .
This old hardwood is super tough .
So I decided to cut the miners with about four or five shallow cuts rather than one full thickness cut .
This made it much easier on my saw and eliminated any burning on the cut face .
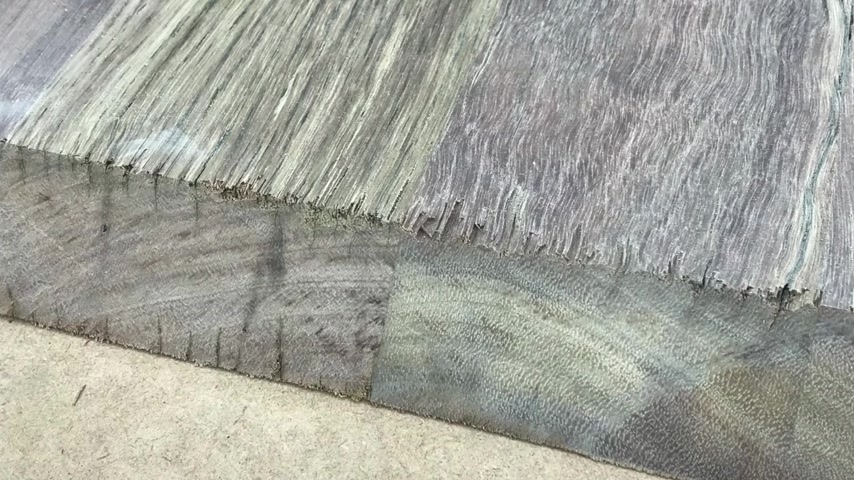
This is with the backer board in place and this was the first cut I did without one .
I recut that first and it was all good .
I can't tell you how much I wanted a panel saw when I was having to push this top across my table saw it was pretty heavy and a bit of a struggle .
The miners on this table needed a lot more strength than just a glue joint .
So I visited my mate Lewis to use his domino .
But after a bit of a discussion , I decided to use the D max system instead .
This is a great system and I was impressed enough by its functionality and super high quality that I now have my own and it's way cheaper than a domino .
Yeah .
Yeah .
Right .
Mhm .
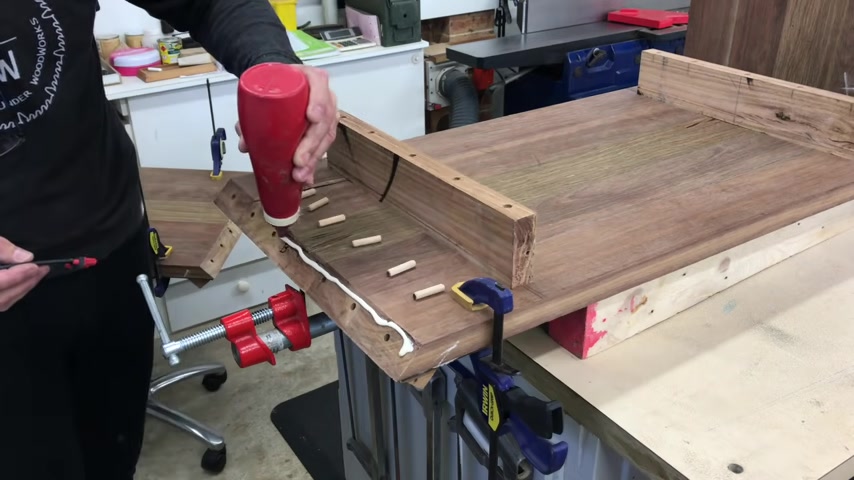
After doing a dry fit and confirming there were no issues with the joint , it was time to commit and glue up the table .
I was surprised at how few clamps I needed to bring this joint together .
I use my reusable M clamping blocks at the ends and a single clamp in each direction in the center .
Mhm .
Once the joints had set , I trimmed the sides to final height which was 450 mil .
Again , I used a few shallow cuts rather than a single full depth cut .
The temporary braces were also removed now that the minor joints were set , the table got a final sanding first with a random orbit sander and then as always hand sanded with the grain I shamp for the outside edges of the top and sides to get rid of that sharp corner .
And it was important to read the grain on these pieces and make sure to route downhill because as I said , this old hardwood is very prone to splintering .
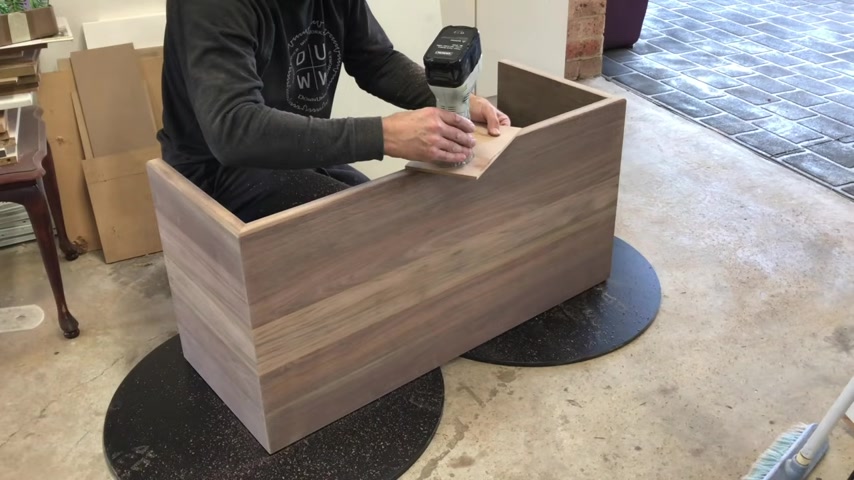
As you'll see here , I was able to place the router on top of the table to share it for one side .
But on the other side , I had to have the router placed on the edge to make sure I was cutting with the grain and not against it .
The final touch was to attach my logo and then it was time for finish .
Well , I gotta say I never get tired of seeing the transformation of rough looking old Aussie hardwood into a beautiful piece of furniture .
I hope you agree that the table looks amazing .
Anyway , that's it for another video .
If you wanna see what I'm up to in between videos as always , make sure you follow me on Instagram .
But in the meantime , you guys all have a great day .
Are you looking for a way to reach a wider audience and get more views on your videos?
Our innovative video to text transcribing service can help you do just that.
We provide accurate transcriptions of your videos along with visual content that will help you attract new viewers and keep them engaged. Plus, our data analytics and ad campaign tools can help you monetize your content and maximize your revenue.
Let's partner up and take your video content to the next level!
Contact us today to learn more.