
https://youtu.be/2fkMAhbvmuU?si=ecsPEVzC6wEqtz9o
Design of Sony Walkman WM-30 - a 1984 beauty

I had a suspicion that my friend the Japanese John Lennon would have some cool cassette players .
He didn't disappoint .
He lent me this collection of well loved players from the most recent like this 2003 , Sony TCMR 321 from the nineties , the 1997 Iowa JX 970 .
And from the eighties , this sharp JCR seven from 1985 a lovely eighties design that is packed to the Gills with an equalizer on the face and even a TV tuner .
This 1 may get its own video in the future .
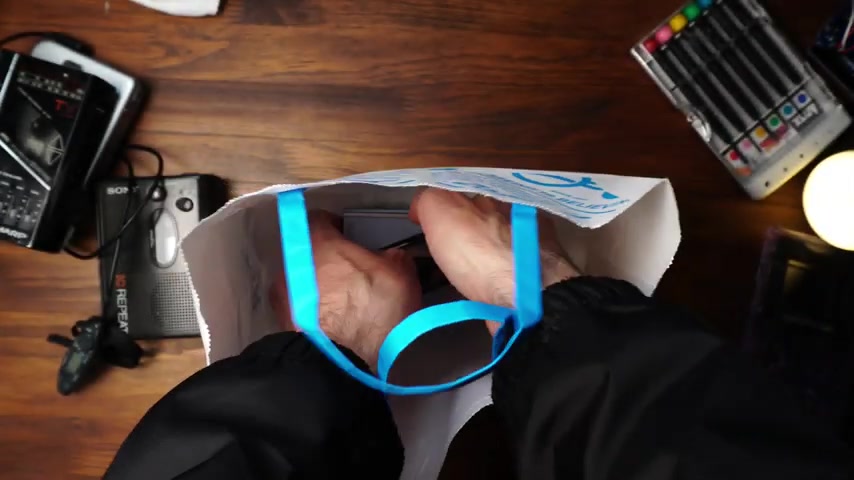
And finally , this gem my friend's favorite of the lot and the subject of today's episode design of things .
34 Sony Walkman .
WM 30 .
Today , let's do things a bit differently .
Let's go directly into looking at the beautiful design of this fellow .
After that , we'll take a look inside and look at how I completed some simple repairs to get it in working shape .
Again .
The first Walkman , the famous TPSL two which star Lord has brought into the modern popular culture is well known .
The introduction of the Walkman changed the world , not hyperbole .

Listen to the radio lab mixtape series for some excellent stories of how it did .
So Sony though , first out of the gates in the consumer realm soon had many competitors , Ia Sharp Panasonic and many more in the early eighties .
Sony needed something to set their players apart from the pack and that was design and this particular series of players so small , slim and sexy that when closed they were the size of a cassette tape itself .
J Pop Idol Matsuda Seko advertised it like this , Tony .
No , Tony .

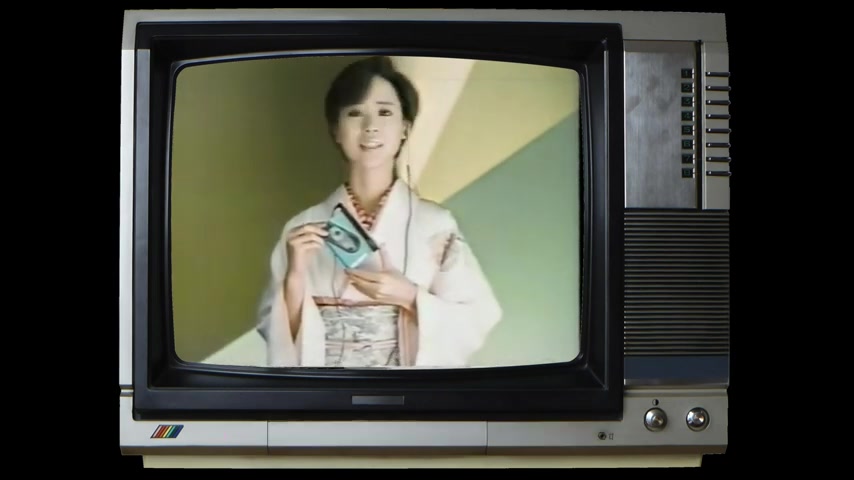
So yeah .
Ah Edie's goodness to get this small , we have this sweet sliding mechanism to expand the player and fit the tape in .
This is the headlining differentiating feature here .
Sure .
It's arguably unnecessary as most of the time you'll have a cassette in the player .
So it will be basically always expanded , but it is pretty cool .
Nonetheless , this expanding feature aside , the design is beautifully a product of its time .
Yet it appears futuristic even today .
It's really retro futurism at its finest .
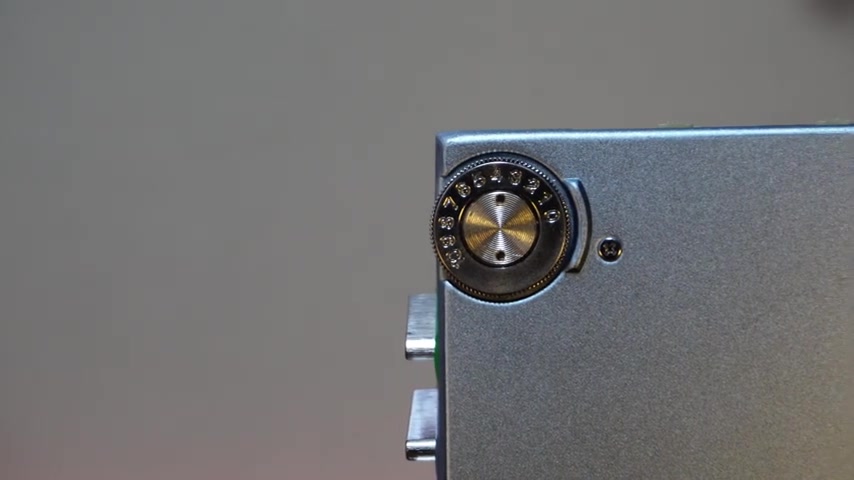
The beautifully angular industrial aluminum body feels solid and premium the construction fit and finish .
Showcasing Sony's unmatched eighties engineering and product design cred the screws are not even in set proudly protruding on the surface of the device , a clear touch of industrial design , but it is more than just angles .
The contrasting curves exemplified by the stadium shaped motif are proudly consistent throughout the design from the buttons to this front window that showcases the cassette spinning kind of like the visible innards of a high end Swiss watch .
Yes , it's functional , but it also showcases the mechanical tactile nature of the device wearing that function on its sleeve far from the boring solid state .
No moving part electronics of today .
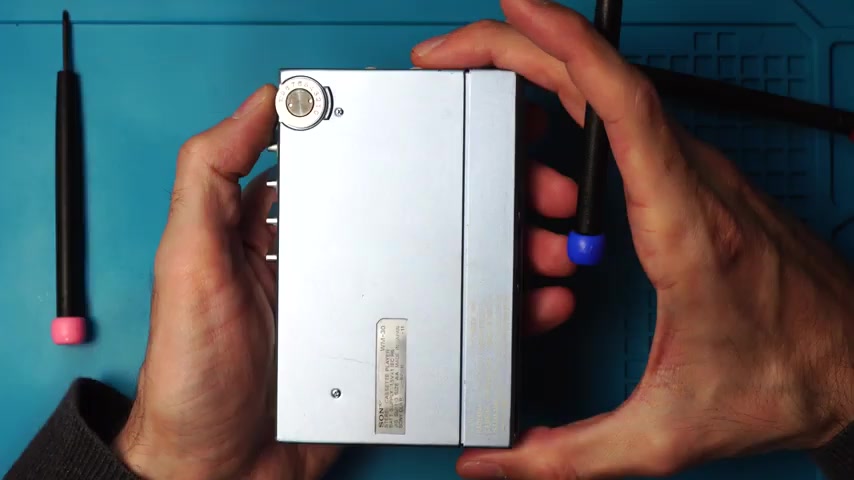
This is a device with many moving parts carefully put together into an impressive package .
There is also a tactile quality to the design that is often missing from today's devices from the travel of the buttons and the strong feedback they make when pressed to the volume dial , which has a nice resistance to it .
So it always stays in place so much better than digital plus and minus buttons on many other devices .
And there are so many other beautiful design touches and cues on the device from the iconic Walkman typography with the unique circle used in place of the a crossbar to the labels on the buttons and in the plastic viewing window .
While the Sony logo has endured decades with little change .

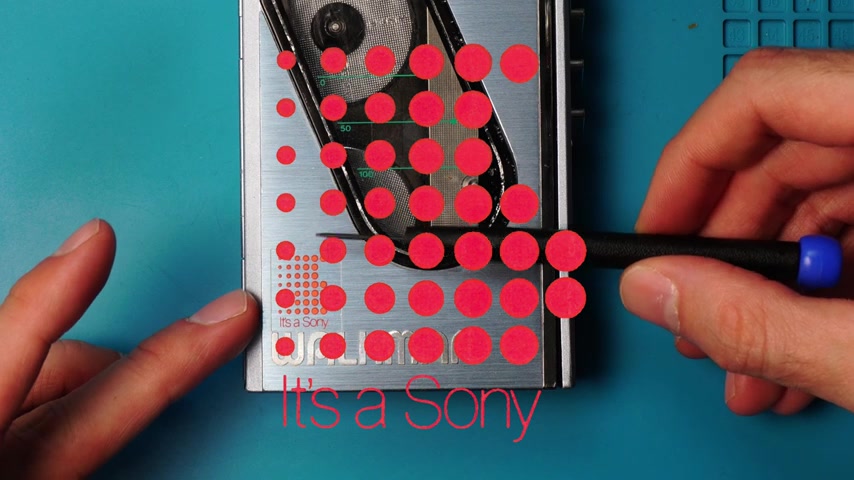
The it's a Sony arrogantly proclaims that the brand name is enough reason to get the product and that's a product of the time showing the supreme confidence of Sony which were riding high as the creators of the Walkman .
Let's go back to this little sliding mechanism again .
What a gimmick that I can't help loving .
This is beautiful .
It is excess at its finest .
Until next time on design of things .
Whoa whoa whoa hold the phone I said , I'd show how I repaired and got this guy working .
And as you know , sometimes the coolest design of devices can be found in the parts .
We weren't meant to see when I got the device .
There was one visible problem , the sliding mechanism was broken .
So I took care of that first , that was relatively easy .
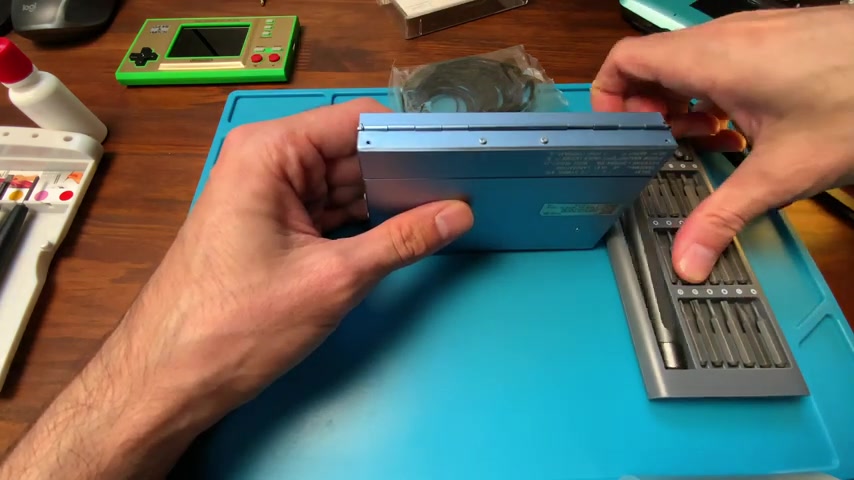
Then I went inside to see if the other problems that prevented it from functioning could be repaired .
So let's dive in .
Let's begin by removing the screws which hold the top cover together .
The ones here in the middle actually attach to the sliding mechanism .
Once that's done , we'll take off some screws from the back , which isn't really necessary right now , but it will help us in the long run .
The ones here on the side don't need to be removed and boom , the cover slides right off .
Next , we'll move the volume wheel here on the back .
This has to be done as the volume wheel is actually a screw that holds the thing together and boom there she is in all her glory .
And what's this ?
Yeah .
Yuck , liquidized rubber .
A sign of one of the major problems of the device .
And we can see here that we're completely missing a drive belt , it has melted .
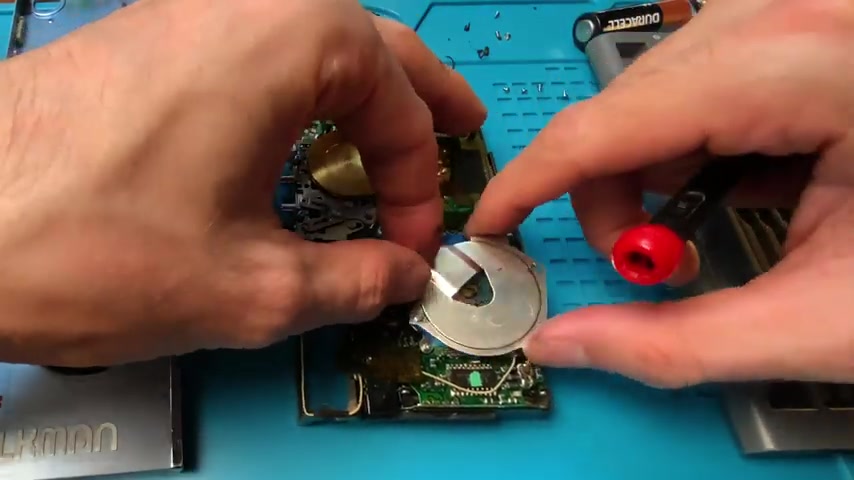
So we'll carefully scrape away all that nasty liquidized rubber , making sure to clean it very gently and very carefully as the drive wheels have to be perfect for it to function .
Well , we'll remove this PC B here to make sure we can go in and clean a little bit better and we'll clean it with some isopropyl alcohol .
Once that's done and she's clean , we can begin by installing the new belt .
This has to be either 0.7 millimeter or 0.5 millimeter width belt in order to function correctly .
Once the belt is installed , we'll give it a little spin and she's working perfectly .
There is one other problem which was the battery contact was corroded .
So , with a little scrubbing , we got that working perfectly .

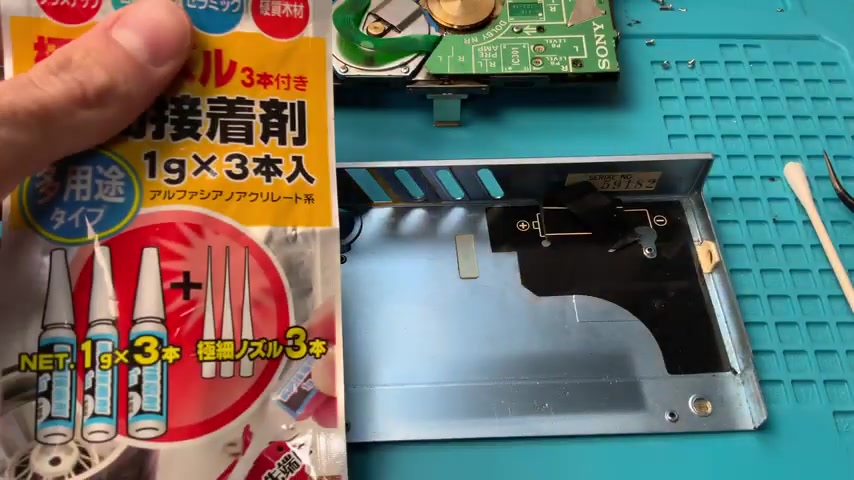
Finally , we're gonna repair a couple of small cosmetic problems using some metal superglue .
We'll fix here and then we'll fix under this little battery label which is coming unpeeled , then we can begin finally putting this guy back together .
So first we'll make sure that the buttons on the case align with the buttons on the in .
And once we have done that , we can slider in and we confirm that the buttons work correctly .
Yep .
There she is working well .
Now we'll install the screws on the back and put the volume wheel back in little plastic spacer and then we screw on .
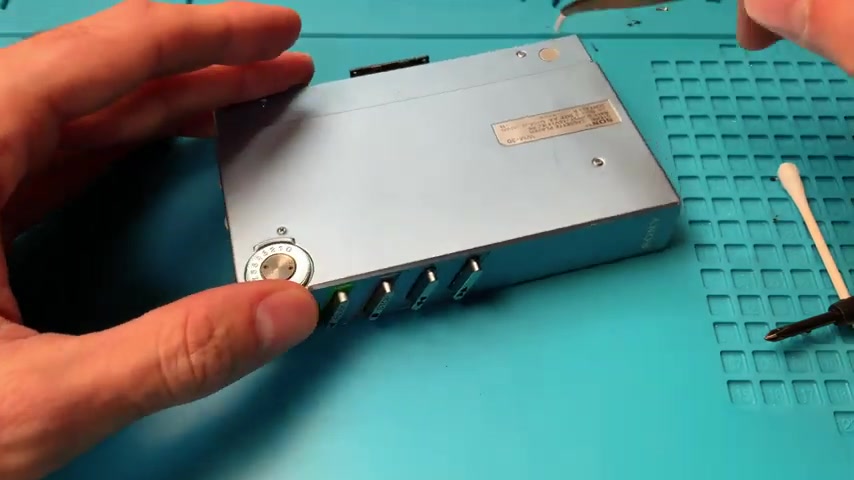
After we've hand tightened the volume wheel , we'll add a little extra pressure using these tweezers and there she goes .
So let's give her a little test .
Now , before we completely put it back together , first , a little clean , add the battery and we'll throw in a tape press play and there she goes , she's working perfectly , rewinding nice so we can put the top cover back on , carefully inserting it and finally tightening up the screws .
So as you can see , this baby was beautiful inside as well .
And it was a great project for me to learn a little bit more about design .
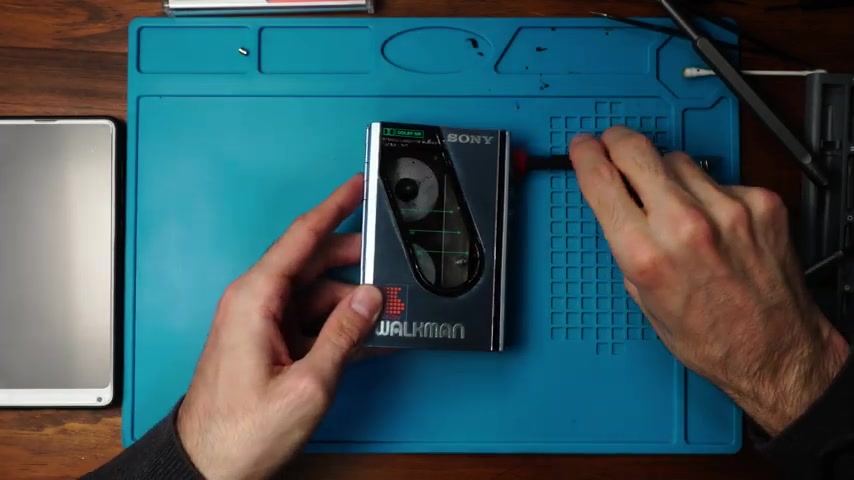
This is one of my favorite devices of all time .
The overall way the whole device comes together into something tactile and beautiful is just amazing .
Until next time on design of things .

Are you looking for a way to reach a wider audience and get more views on your videos?
Our innovative video to text transcribing service can help you do just that.
We provide accurate transcriptions of your videos along with visual content that will help you attract new viewers and keep them engaged. Plus, our data analytics and ad campaign tools can help you monetize your content and maximize your revenue.
Let's partner up and take your video content to the next level!
Contact us today to learn more.