
https://youtu.be/qGzgjNOd_4I?si=UTzStzC28-ggPssd
Design of the GameBoy Macro - Lessons Learned from Making 4!
Years ago at work , I found two broken Ds lights in the trash .
Instantly .
My first thought was , could I Frankenstein them together into a working one ?
Somehow .
My mad science venture didn't end in tragedy .
From this beginning .
A beautifully cobbled together DS things have come full circle with this quartet .
Items also made from DS lights designed by and yet not designed by Nintendo .
At the same time , design of things .
33 Game Boy Macro to get here .
We need a bit of history , history that will put this design in context .
2004 according to USA today , Facebook being founded was the most important event of this year who people , well , most importantly for our purposes , this is Nintendo Ds , the replacement of the legendary iconic Game Boy series .
A marked departure .
A bit of an oddity , a gamble on dual screens that turned out to be even more successful than the Game Boy Line .
When millions of devices are in the hands of millions of users , they get tested to the core and weaknesses are always found .
This is especially true for game consoles that easily receive thousands of hours of direct user contact , we grubby oily hands for the DS standing for dual screens .
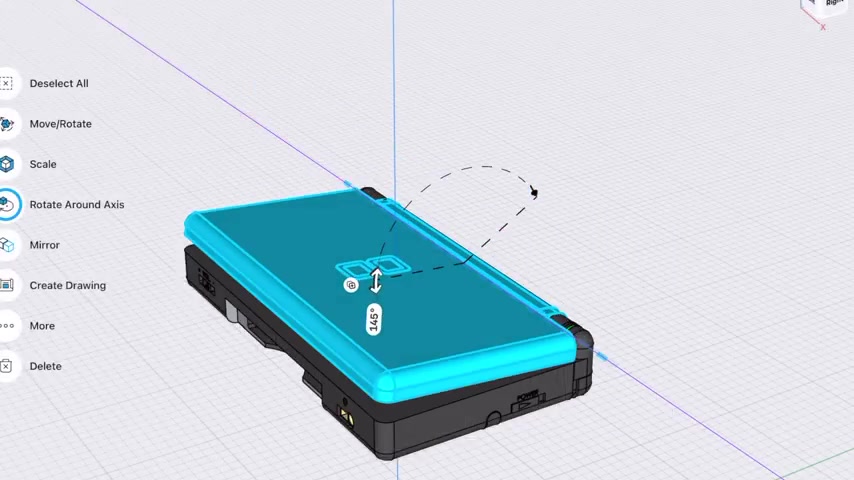
The screens hinge was the weak point making durable hinges is always difficult in the DS lights case , there are also fragile ribbon cables running up to the speakers and top screen .
The result .
Well , top screens often broke as I enjoy fixing things .
I amassed a bin full of DS lights with screen issues .
One awesome feature of the DS is its compatibility with Gameboy advanced games , which of course require only one screen .
Well , you see where I'm going the Gameboy Macro because it resembled the Game Boy micro , just a bit larger .
There are many guides online for making one of these .
So using my parts , I decided to create as many different Gameboy macros as I could each trying out some different techniques .

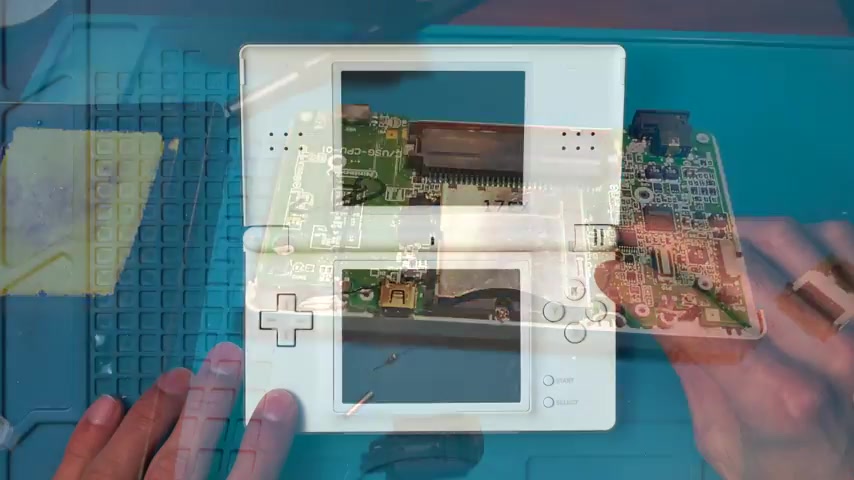
I started this learning process with the parts of about five different broken Nintendo Ds lites to make it possible to boot up the device with only a bottom screen .
The secret is to make the DS think it has an upper screen when the user turns the console on as part of its diagnostic checks .
The DS confirms that the upper L CD is drawing current .
If it detects this , it can pass the diagnostic check and boot up .
So we just solder in a 350 ohm resistor between these two points to trick the DS light into thinking it has an upper screen , the added resistance does the trick .
After that , we have two problems to solve .
One , there are no speakers in the bottom half .
So we need to solder one in then find a space for it .
In the case two , the other problem is mostly cosmetic .
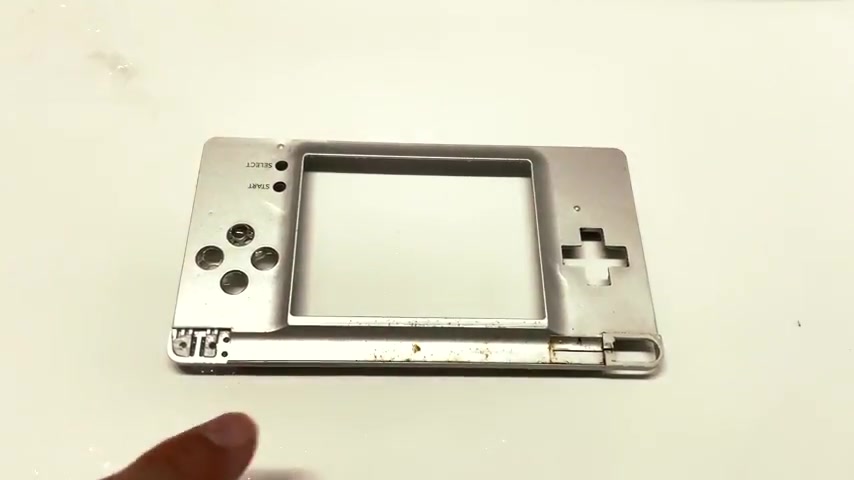
We now have this unseemly leftover hinge on the top to solve the latter .
I decided to play with some different methods .
The most simple was just cut sand down and paint , uh amateur spray paint job .
Aside , this seemed to work pretty well .
The color scheme is a lovely silver and light blue and because it is the original face plate , everything just fits together nicely .
I filled the holes with little 3D printed plugs here and on the back , the second involved a little filling with polyester putty sanding and painting .
It's nice overall .
Despite some rough edges , the hole in the left side , I filled with a little grill plug , the orange and blue U VA color scheme .
Wow , beautiful .
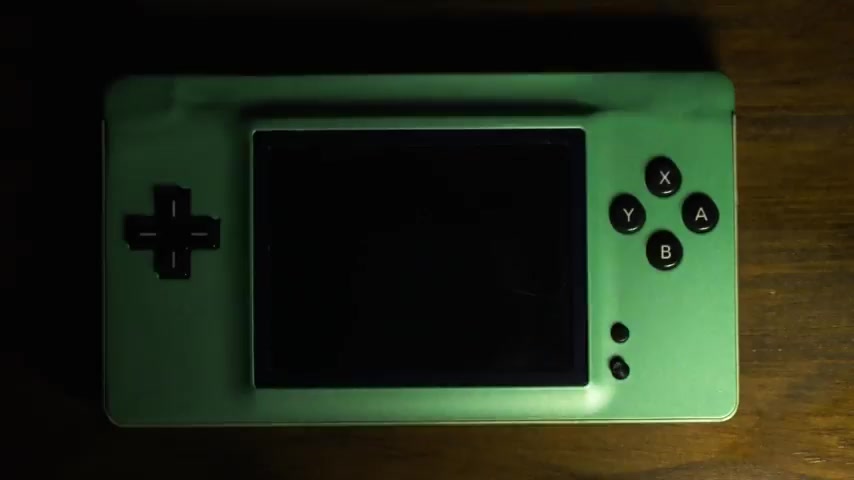
Next , I tried using the face plate again this time filling the whole top but ended up with this kind of lumpy gameboy , macro teal and black though , looks beautiful .
Lastly , I tried 3D printing a bunch of different versions .
As you can see , I went through a lot .
Some versions were designed to be cut using AC NC mill , not an inaccurate consumer grade cheap 3D printer , but the printer did a respectable job after some duds , one of which I used for much needed spray painting , practice abomination .
These two designs turned out to be my favorites .
It was really difficult to send out the layers made by the 3D printer .
In this case , I never really got it quite right .
Some deeper grooves were created by problems with the mesh of the 3D model .

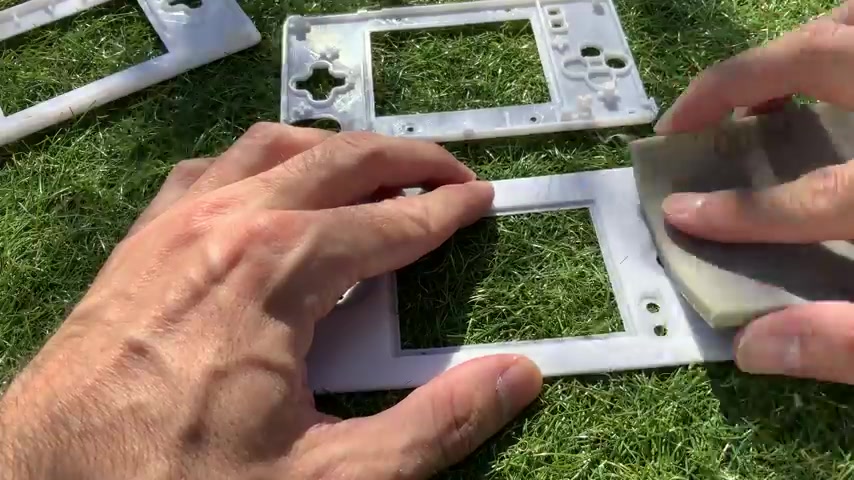
I'm not working on some new versions which I'll properly send and fill in .
One thing I learned through the process is just how precisely designed hardware really is small inaccuracies in the 3D models made it really hard to get a good fit between Nintendo made back and the 3D printed front panel .
No matter what model I used , it required a lot of sanding , cutting and modification .
One to get the buttons to fit and feel good and two to get the face plate to fit with the back for the best looking Gameboy Macro .
You could also pick up a face plate from boxy pixel , but at $50.50 dollars , it kind of defeats the purpose of the mod which is taking broken things and making something work at next to no cost anyways , it's time to take a look .
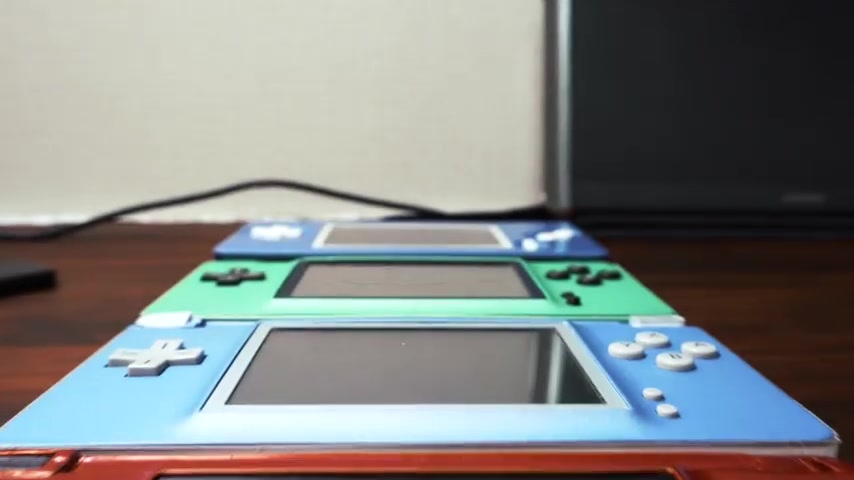
Now at the overall design , the design of a Nintendo console that Nintendo never designed no matter which version , the rounded back plate and slim body make it a joy to hold .
It's a great size as well .
Perfect for throwing into a bag or pocket .
The major upgrades here one , the rechargeable battery and two more important , the bright clear backlit L CD screen is incredible .
The only caveat here is that the full real estate of the DS screen isn't used as the DS screen has a different resolution from the Gameboy advance .
It's truly an impressive little device .
Yeah , there are little quirks mostly from my inexperience with modding , unseemly lumps holes , a sprinkling of jake .
But all the trial and error learning new skills , learning from failure made the project a lot of fun .
In the end .
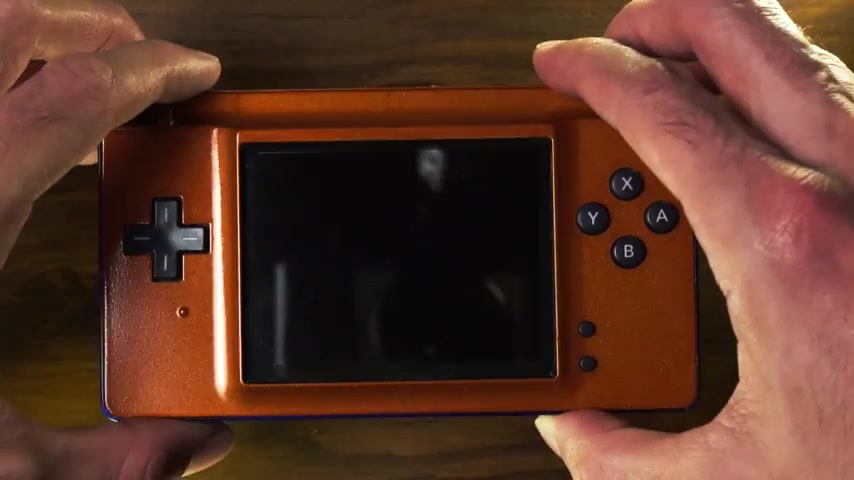
I have something truly custom wholly my own that cost at most a couple bucks for some paint and tiny resistors .
I also feel like I have a better understanding of the DS hardware and hardware in general .
It's awesome to see how everything was carefully engineered to fit together , make assembly easy and provide a good experience for the user .
Until next time on design of things .

Are you looking for a way to reach a wider audience and get more views on your videos?
Our innovative video to text transcribing service can help you do just that.
We provide accurate transcriptions of your videos along with visual content that will help you attract new viewers and keep them engaged. Plus, our data analytics and ad campaign tools can help you monetize your content and maximize your revenue.
Let's partner up and take your video content to the next level!
Contact us today to learn more.