https://www.youtube.com/watch?v=T_4eB2RWlaQ
2023-07-11 07:12:51
Crispy Sub Baguette, You'll never buy a baguette again
Hi , everyone .
My name's John .
I'm a retired cook from the northeast of England and the UK and welcome to my 63rd bread recipe .
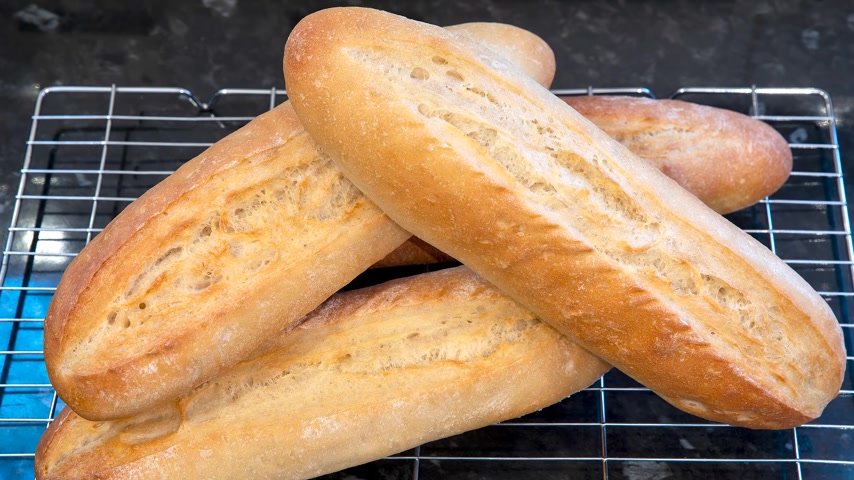
And in this one , I'll be making these absolutely delicious and relatively quick crispy sandwich baguettes .
And if you like your homemade sub sandwiches , but with a crispy bucket bun instead , then this recipe is perfect for you .
You can view the ingredients list and full written method for this recipe on the recipe page on the channel's website .
I'll leave a link in the description under the video or you can click on the eye icon top right of the screen to take you directly to the recipe page .
And I'd like to thank the Patreon and paypal supporters for their very kind help .
I'll be doing the shout out and name splash a little later in the video .
OK .
Let's get on with today's recipe .
First job is to make sure your yeast is OK .
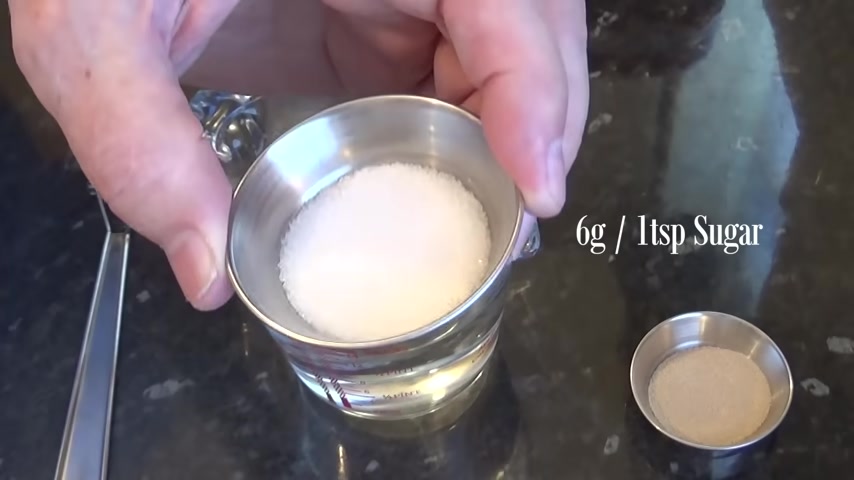
Heat your water up to approximately 40 degrees Celsius .
That's 100 and four F , add the sugar to the warm water and give it a good stir once dissolved , add the yeast and whisk it in and allow it to sit in a warm spot for 10 minutes .
If there's no activity after 10 minutes , your yeast must be dead and it needs replacing .
Ok .
On to the needing .
Now , I know a lot of you out there don't have a stand mixer , but because of my wonky hand , I'll have to use my machine to do mine .
But you can easily need this door by hand .
If you don't have a machine , I do go into quite a bit of detail in my sandwich bread and cottage law videos on needing techniques .
I leave links in the description box to those videos .
OK .

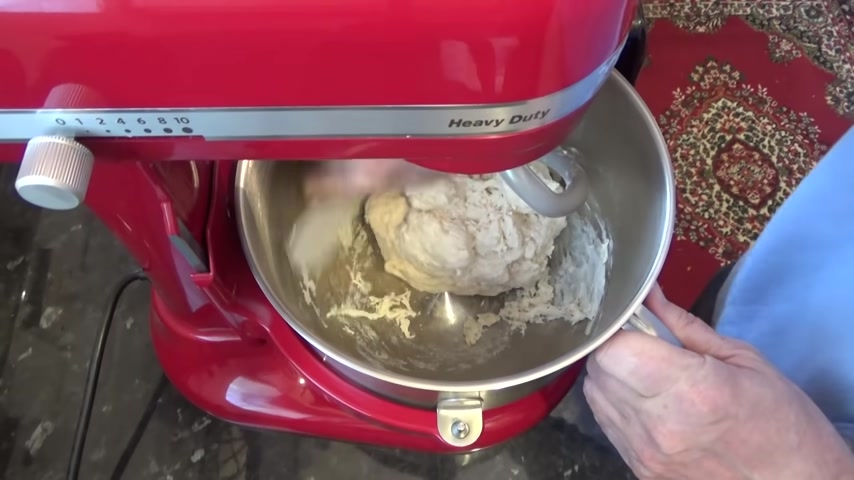
Add the salt to the flour and mix it in once you're happy that your yeast is alive and kicking .
Add it to the ball .
Make sure you get it all out of the jug and now add the flour to the ball with the door hook attached mix until it all comes together .
This should take about a minute or so .
No .
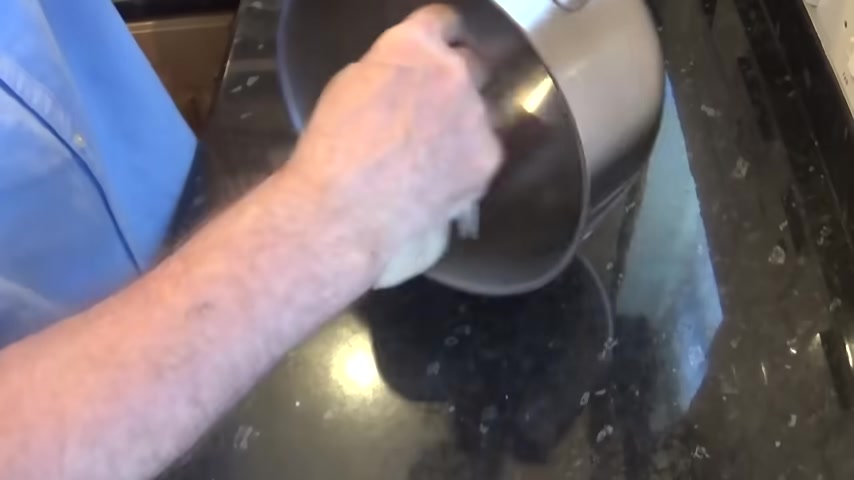
Using your bowl scraper clean down the sides of the bowl .
This will just make sure that all the ingredients are incorporated into the dough .
Yes .
Right .
Set your machine away for 10 minutes .
If you hand needing , it's also 10 minutes while that's mixing grease , a large ball with a little oil , about a half teaspoon of whatever oil you've got and set it aside .
And this is what it looks like after five minutes and that's it .
The 10 minutes are up , whether you use a machine or hand needed .
You should now have a nice smooth door .
Right .
Turn it out onto a flower free bench and form it into a bowl .
Yeah .
Now stretch the outer skin of the dough by shone .
Now , get it into the grease bowl and you'll be pleased to hear .
This is its one and only rise in the bowl .
I'll swirl the dough around like I'm doing to coat it in a little of the oil and now cover the bowl .
I like to use the shower cups for this .
And these are available in the website shop .
If you want one , we have white or red .
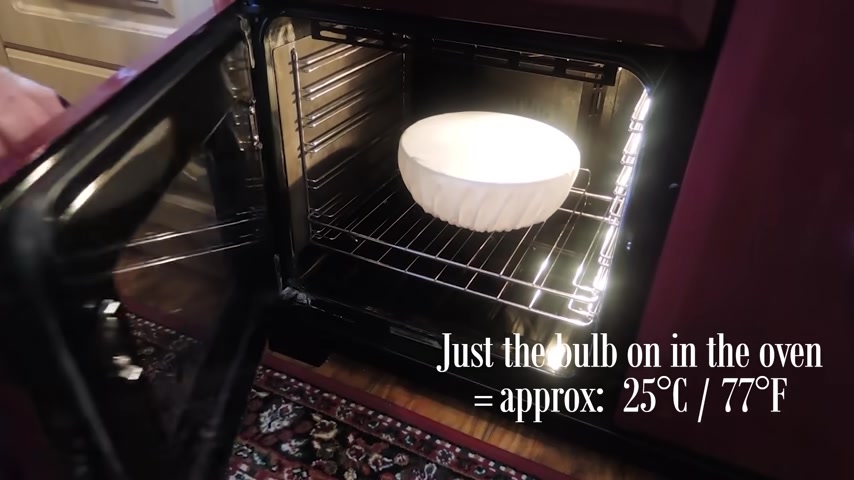
Now get it into a nice warm draft free spot .
I like to use my oven with just the light bulb on for this .
Now , set your timer for one hour , right ?
While that's proofing , you'll need to oil strip of cling film or plastic wrap about 45 centimeters .
That's 18 inches long .
I'm using vegetable oil , but any oil will do right .
I'll set that aside for now .
Ok .
Time's up on the first proof .
And as you can see , it's well risen .
If yours are still a bit low , just give it a bit more time proofing times vary depending on what temperature they're in .
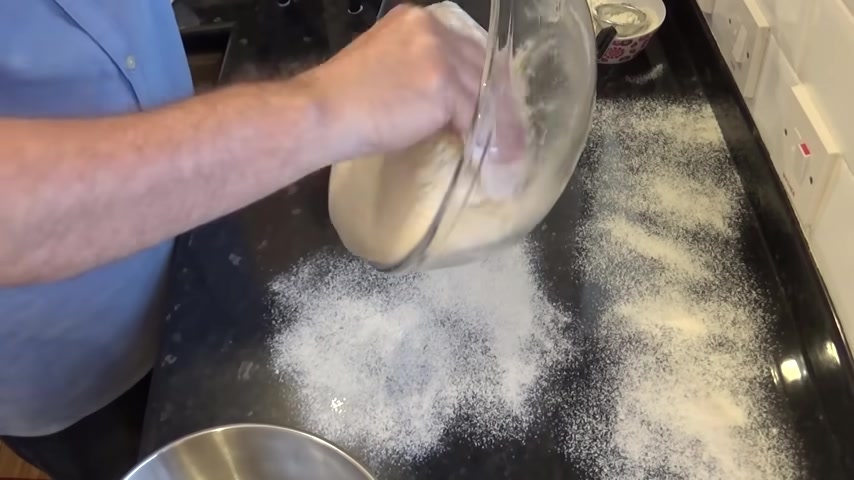
Now , Sprinkle some flour on the worktop as shown , turn out the door and dust with a little more flour .
Now , knock the door back that simply means get all of the gas out of it .
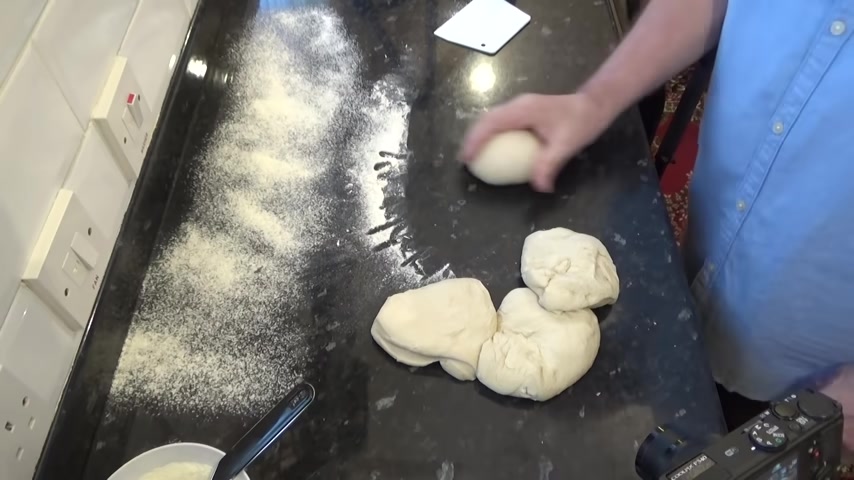
Now , using your dough or bench scraper this time equally divide the dough into four pieces .
And if your measurements were correct at the beginning , each piece should work out at 250 g each .
If you're working in ounces , that's 8.8 ounces much easier to work in grams .
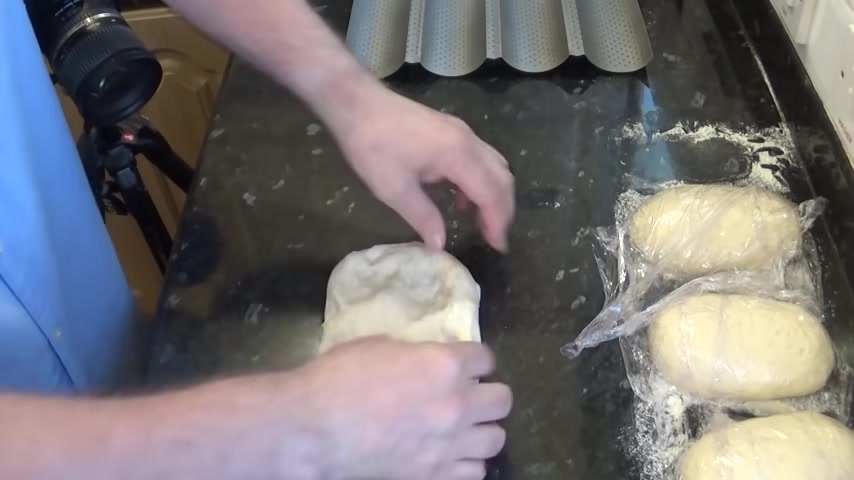
Guys not preaching , just saying we now need to make what's known as the pre shapes for these baguettes .
Once you have your four pieces , form each one into a bowl , then into a fat sausage shape as shown , I'll just quickly do one more .
I go into a lot more detail in forming these doorbells in my dinner roll video .
If you want to have a look at that one , I'll leave a link for that video in the description too .
Once all four is done and in a line , don't add any flour to these .
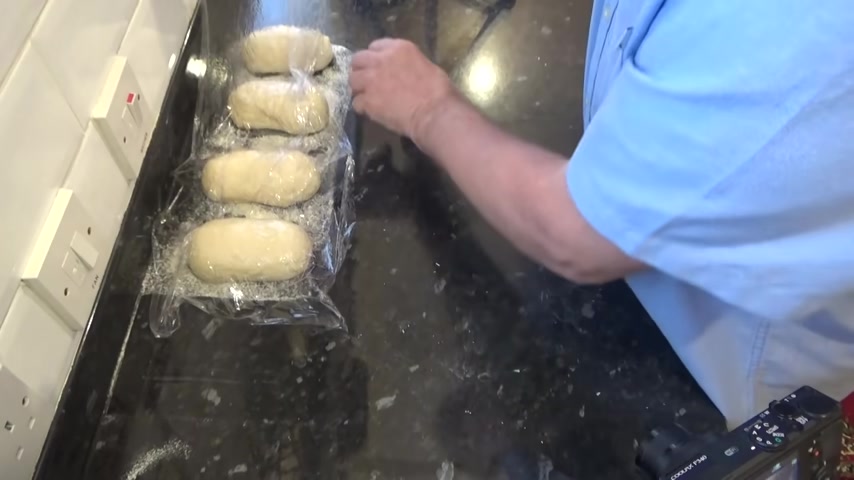
Just place your oiled cling film over the top as shown and set your timer for 10 minutes .
This rest period is very important as it allows the door to relax and it makes the final shaping of these baguettes much easier .
And at this point , I hope you don't mind if I give my two recipe books a bit of a plug .
The books have lots of our favorite , easy to follow recipes from our work kitchens in them .
Both books are available in the website shop along with lots of other equipment I use in the videos and by popular demand , the skeleton style oven gloves are now available too .
Just click on the eye icon , top right of your screen and that will take you directly to the website shop .
Now you can use an ordinary flat baking tray to make these on , but I'll be baking my buggs on this baguette tray .
They do make life a lot easier when making this kind of bread .
I'll leave a link in the description for this one .
They are very cheap too and well worth investing in one .
OK .
On to the final shaping .
Take one of your pre shapes and place it on a flower free bench .
Turn it over so the oily sticky side is now facing down now gently flatten it with your fingers into a rectangle .
Now roll it towards you tucking in the ends as you go right now .
It's important to close the seam properly or it will pop open in the oven .
Try to copy how I do it in the video starting by tapping it gently with the heel of your thumb .
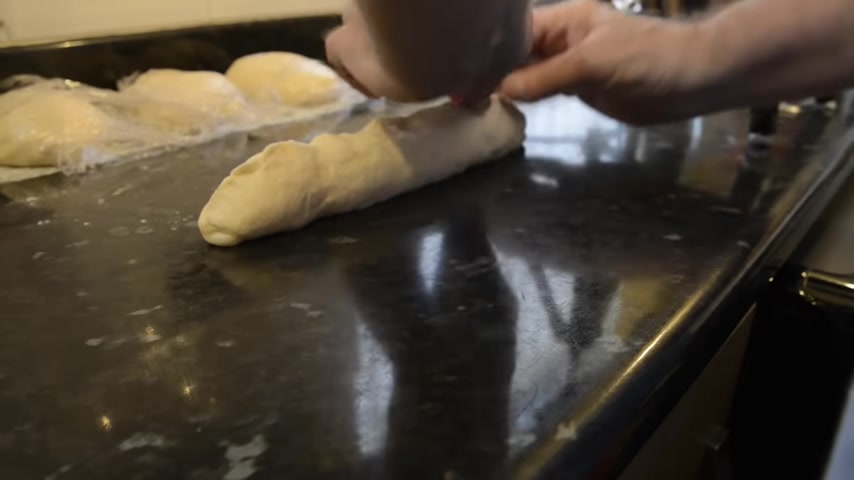
Once that's done , turn it so the sea is pointing upwards and pinch it together as shown once you're happy with it , place it on the baguette tray or if you're using them on a baking tray and make sure that the seam is on the bottom .
I'll quickly go through one more once all four are on the tree .
Give them a light dusting with flour .
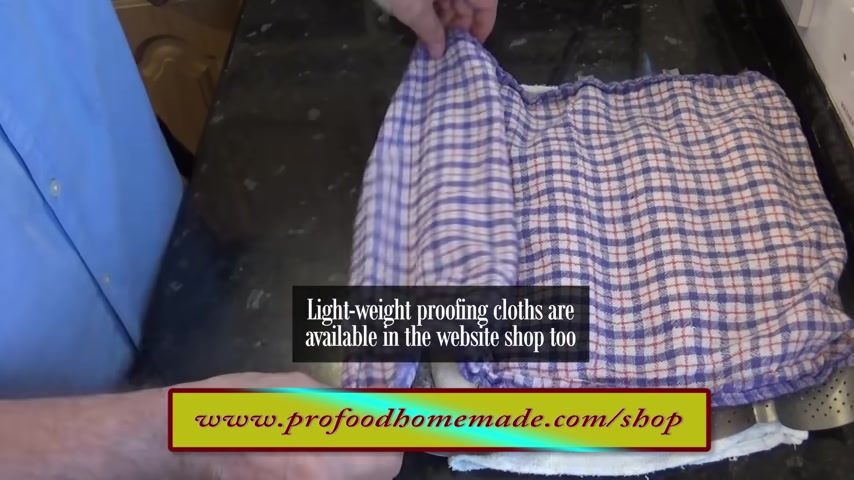
Don't worry about them being a bit wrinkly at this stage that will smooth out as they rise .
Right cover with a lightweight dry cloth and allow them to rise for 45 minutes .
Ok .
With 10 minutes to go on that rise , you'll need to preheat your oven .
Now , before I do that , I'll add a pan of hot water on the bottom of the oven and then I'll set the oven temperature to 200 degrees Celsius .
That's 3 90 F or gas mark six .
Ok .
Time's up on the final rise and it's time to bake these beauties , but first we have to score them .
So take your or raise a blade scorer .
Now , these are available in the website shop too .
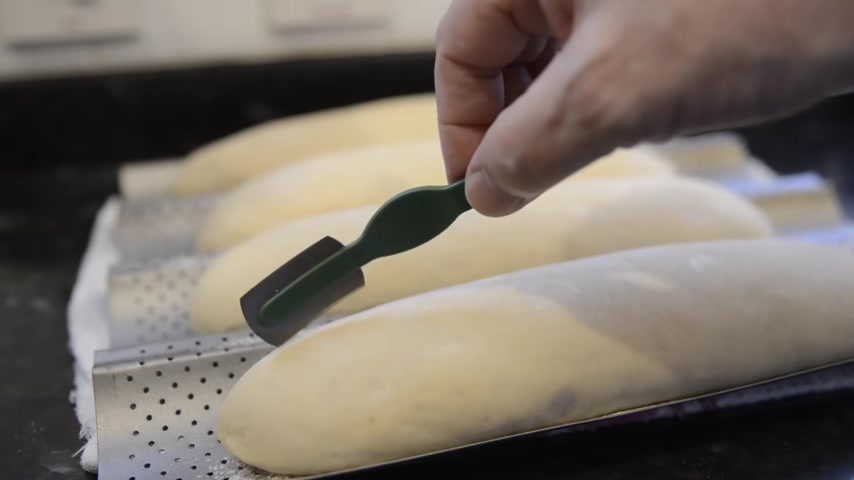
Now , just cutting with the front of the blade and keeping the back of the blade up in the air .
Gently cut a line down the middle of the bucket .
I'll show you a different angle of that first cut .
Now , carefully and gently go over it two or three times until you're about 13 millimeters or half an inch deep .
Right .
I'll quickly go through the rest of them and once that's done , get them into the preheated oven .
Yeah , once they're in , give the oven a few squirts with water .
This will create a bit more steam and it's the steam created in the oven that makes your bread crispy .
Now , set your timer for 16 minutes and for the very first time I'll attempt to show you these baking through the glass and there you go , 16 minutes baking in a few seconds .
Right .
Time's up .
So I'll get them out , but I'm not finished yet .
I want to turn them over and give the bottoms a further three minutes to crisp up some more .
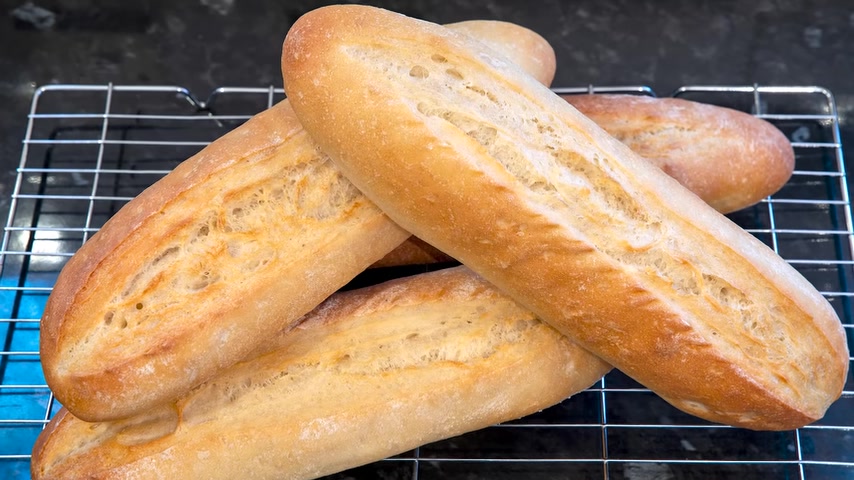
Ok .

That's them done and just listen to how crispy they are .
So I'll allow them to cool for a while on a wire rack and then I'll come back later to show you the insides and of course , have a taste and a glimpse at how I build up my filet steak and blue cheese sandwich .
Ok .
Time to cut one open and by the way , the smell in my house is absolutely fantastic .
Nice and crispy as you can hear .
And as you can see , it's got quite a close crumb for a baguette , but it is soft and very light ideal for making sub sandwiches .
I'll try a little with some of my homemade butter on and they really are absolutely fantastic .
You couldn't buy a better sub sandwich baguette .
The taste is simply amazing .
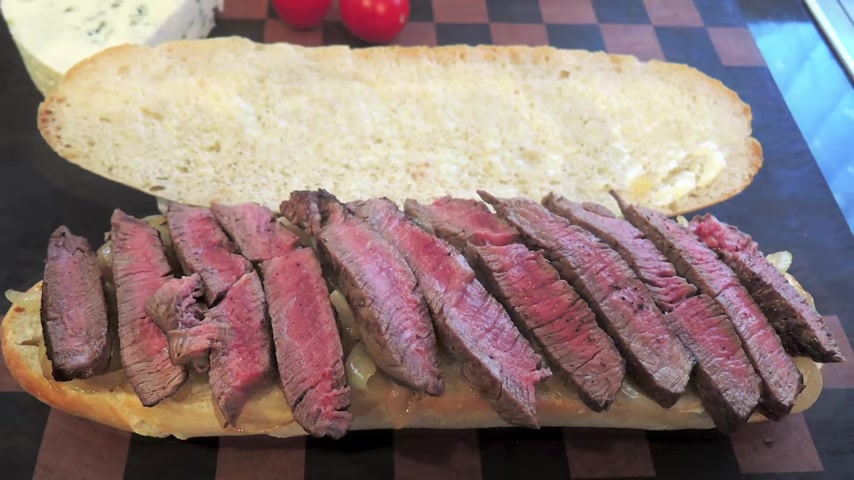
Now , as promised , I'll quickly go through our customer's favorite sandwich .
First is a generous layer of caramelized onions cooked with a dash of aged balsamic vinegar .
Next , a small medium rare filet steak sliced and a good helping of my homemade blue cheese sauce .
Finally , a few thin slices of a good quality danish blue cheese .
Absolutely delicious .
A sandwich fit for a king or a queen .
Definitely warrants a big thumbs up .
And as promised at the beginning here is the latest list of my Patreon and paypal supporters .
And they are three Rahe you David Boyce Doc Eldridge , Trinity , Nov , Kenneth Hunter , Rebecca Lindley P FOOT , Preston mccoy and the Egg Factory .
And there's also two who wish to remain anonymous .
Thanks very much guys .
I really do appreciate all that you do in supporting the channel .
Well , thank you again for watching .
Please like share , comment and subscribe by hitting the circle above if you do subscribe , activate the bell icon next to the subscribe button on my channel page .
And by doing that , you'll be automatically notified every time I upload a new video .
And in the meantime , here's a few of my other videos and playlists that you may want to watch .
So until the next time , be safe in your kitchen and bye for now .
Partnership
Are you looking for a way to reach a wider audience and get more views on your videos?
Our innovative video to text transcribing service can help you do just that.
We provide accurate transcriptions of your videos along with visual content that will help you attract new viewers and keep them engaged. Plus, our data analytics and ad campaign tools can help you monetize your content and maximize your revenue.
Let's partner up and take your video content to the next level!
Contact us today to learn more.