https://www.youtube.com/watch?v=EL1-uMt2oD8
The Best Pie - a New Zealand Steak and Cheese Pie
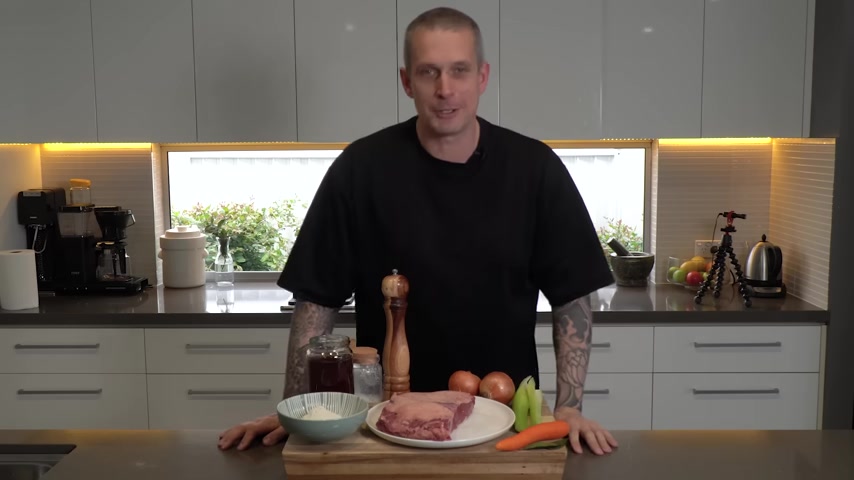
Welcome to Danny Cooks today .
We're talking about pies .
So the age old debate who makes the best pies ?
I did a bit of a poll on this on Instagram .
You can see here and as you can see , it's not really unanimous .
Now , I've lived in England , New Zealand and Australia and I guess I'm biased , but I think that New Zealand makes the best pies .
So we're gonna make a kiwi style pie today and one of my absolute favorites growing up the steak and cheese .
So steak and cheese pie is very much a kiwi thing .
Not sure where the idea came from , but it's a great one .
So we're gonna run with it .
So normally this comes in like your traveler style individual pie .
We're gonna make it more of a family shaped pie today , but you can kind of make whatever .
So let's get stuck in .
This is what you're gonna need before we do that though .
If you give me a favor , just smash that like button , subscribe if you're not cos it helps me out .
Heaps .
Let's get stuck in .
So what are you gonna need first things first ?
You're gonna need beef So I've got some brisket here .
Brisket works really well .
Or chuck steak works really well .
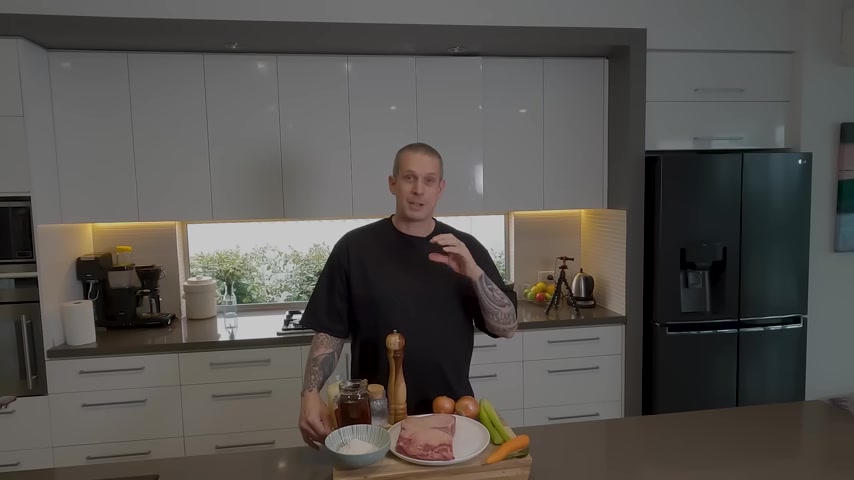
Any kind of stewing steak is gonna make a good , great pie .
You're gonna cook this for a couple of hours .
So you need something with some connective tissue and that can develop in flavors and break down and give you that gelatinous texture that you're kind of looking for , to flavor that classic carrots , onion celery and a couple of bay leaves .
I go easy on the carrots and celery .
I might only be even use one stick of celery and just definitely that one carrot .
But I do go pretty hard on the onions .
So I've got two onions .
So I really think that savory onion flavor comes through really well , you're gonna need cheese .
So cheddar works really well .
I like a sharp cheddar like this one here from King Island .
Dairy , delicious stuff .
A little bit of all purpose flour or plain flour just to dust your beef and also helps to thicken your sauce a little bit .
Some beef stock , salt and pepper .
You can probably throw on some hard herbs in here as well if you've got some time with some rosemary cooking around .
But I don't think it's actually all that necessary .
I think that classic kind of very beefy flavor works really well with the sharp cheddar .
But by all means if you've got a bit of rosemary , chuck it in there and then the pastry So this is most definitely not a sponsored post .
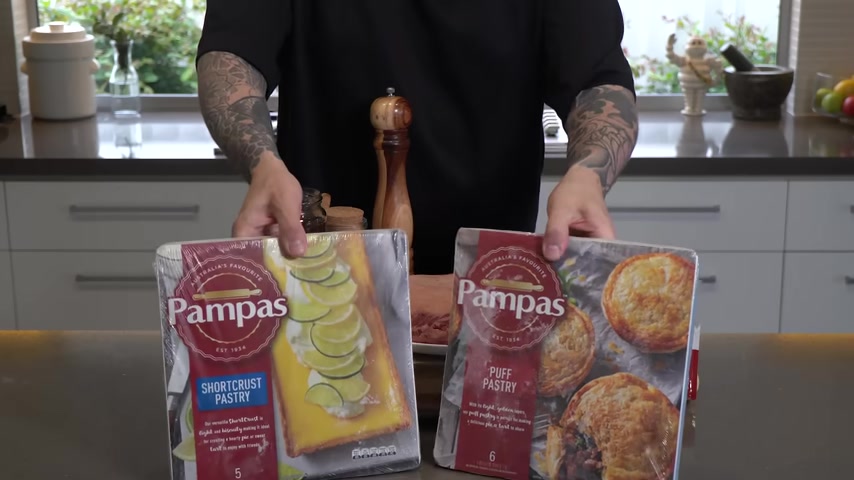
This is just the one that I had at my local supermarket .
But with pies , I really think you need to use two types of pastry short crust on the bottom and puff pastry on the top .
And for that reason , and not only that reason , I think in general , I think you just buy pastry , right by all means , if you are a confident pastry cook and you're , you're comfortable making pastry , then make your own .
There's nothing wrong with that at all .
So long story short , if you're comfortable making pastry and you wanna make your own pastry go for it , but I suggest that you don't bother and just buy it right .
First things up , let's start attacking this beef .
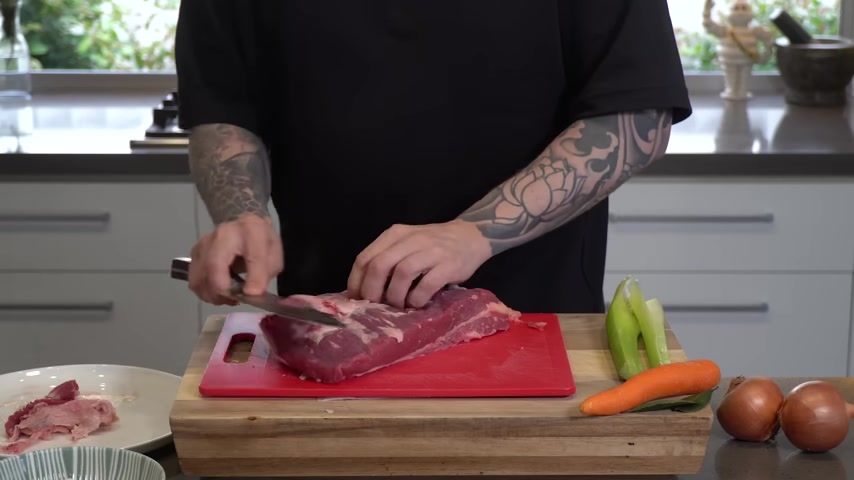
So with your beef , all we're gonna do is dice this .
Now , the only thing you do need to check is just to make sure you don't have heaps of hard fat on the top .
Also make sure you haven't got too much silver skin under here .
Uh This stuff will break down over really long periods .
Probably should be using a bony knife for this , but I don't have one handy , but it's probably easier just to pull it off to take any of the silver skin off .
I'm Joey with Red Meat Lover .
And today we're making filet mignon and a cast iron skillet .
I'll show you how this versatile pan can be used on the stove and in the oven to make a perfectly cooked steak .
Now , let's get ready to sizzle .
Today , we're combining one of the most desirable cuts of beef available .
The filet mignon with one of the most versatile pans in the kitchen .
The cast iron skillet , the cast iron is so versatile because it can be used on any number of heat sources , everything from the campfire to the grill to the stove into the oven .
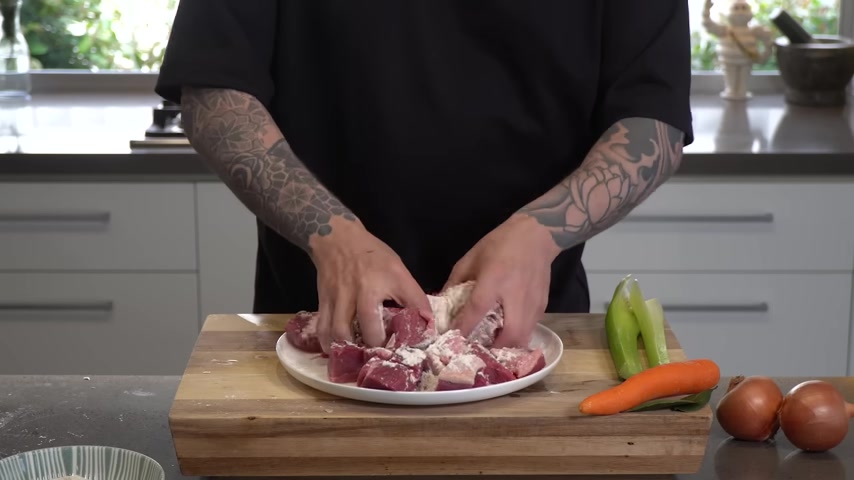
Uh I don't like putting pepper on meat cos I find uh when you're sealing it , it burns or you know , go a little bitter and then flour and we don't need like heaps of flour .
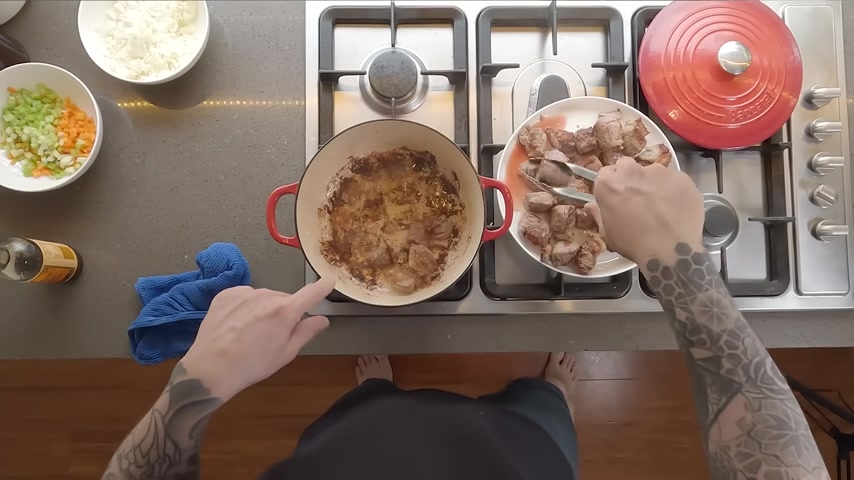
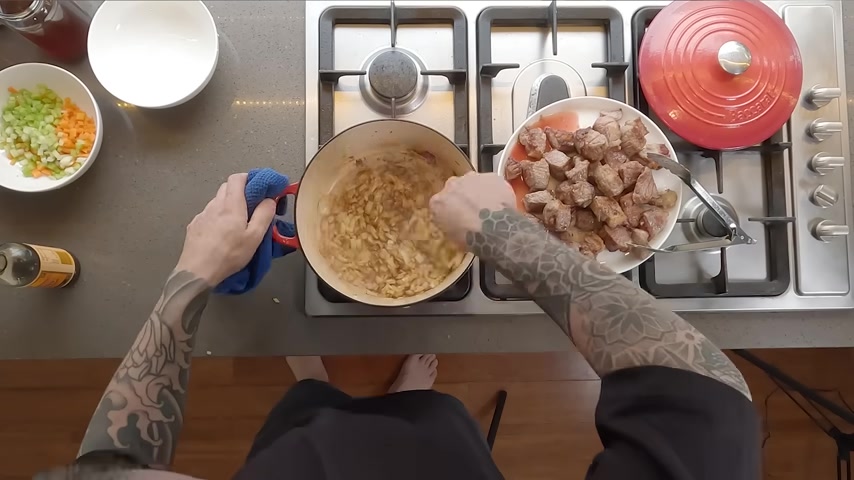
You just want enough to just coat the outside , give that a toss around and then we'll put this to one side and we'll cut up our veg and then we'll start cooking .
Alright .
Veg .
Now with the carrot , you really don't need to peel it um can if you want , but carrots have definitely don't have the thick skin that they used to have .
So you want a relatively small dice for this pie ?
I think I don't think you want like big chunks .
Uh , and another trick to do this if you're kind of in a hurry or if you've got little ones that aren't sort of into eating veg , just grate it even .
It certainly is a lot faster and kind of the , the grated veg kind of just disappear or dissolve into the sauce .
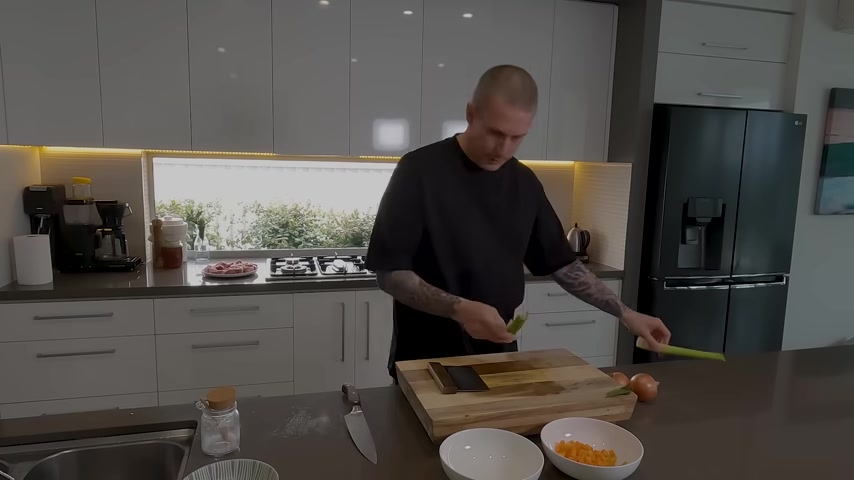
Trusty dough scraper into a bowl celery .
Like I said , in the start , I'm actually only gonna use one piece of celery , just dice it to the same size that you diced your carrot .
Now we grew up eating pies .
Um They were a staple in the school tuck shop or the school canteen .
We call it the tuck shop and I would hate to think what was in them , to be perfectly honest , but they're like a highly eaten thing in New Zealand .
From the trade , the school kids to , to everyone .
And there's a few kind of companies like big companies that make them , you can get them at most service stations .
Most service stations have a pie , warm up full of hot pies and they're pretty cheap .
There was a thing that he used to do as well called a pie sandwich .
So you'd get white bread , butter or white bread , put two slices of bread around the pie .
That was pretty good .
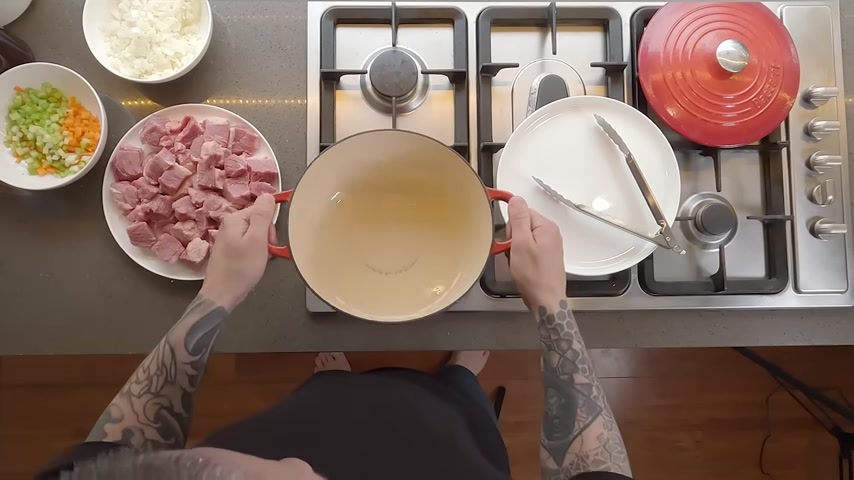
And as a matter of fact , we'll be using both the stove and the oven to cook this steak perfectly today , as I've said before , if you don't already own a cast iron skillet , well , you should pause this video right now and go buy one from our store at red Meat lover dot com .
You'll be glad you did if you don't know what a flame mignon is while you've really been missing out .
It's one of the most tender steaks available , like melt in your mouth tender .
It's so tender .
The filet comes from a larger cut known as the tenderloin , which is a pretty creative name , right ?
It's also a very lean steak .
There's not a lot of fat or marbling , but remember that's where steak gets its flavor .
So if you buy this steak at a restaurant , it's not uncommon to see it served with a sauce or gravy to promote some additional flavor .
If you buy it at the store , like I did , it's not uncommon to see the steak wrapped in bacon like it is right here and that bacon fat will help promote some additional flavor as the steaks .
We've talked about the flame mignon before in our porterhouse video .
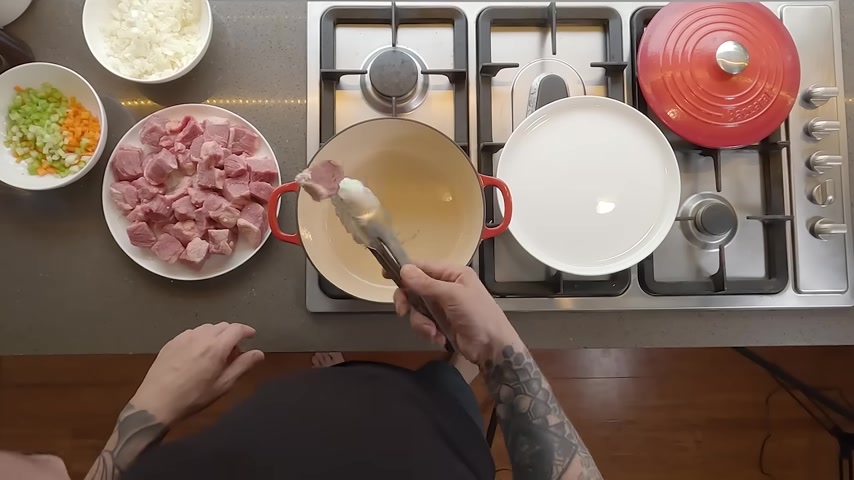
As you'll remember , the flag portion comprises one side of a porterhouse or a T bone steak .
This side right here .
As a matter of fact , the only difference between a porter house and a T bone steak is that the porterhouse has a noticeably larger filet portion .
This filet mignon is simply this part of the steak cut away from the bone .
Now , before we get started , there's a couple other tips to remember about cooking your steak one .
I say every single video be sure to let your steak rest for at least 20 to 30 minutes at room temperature prior to cooking .
And guys , this is such an easy step .
Literally takes no work .
There's no reason why you should skip it , allowing your steak to rest will promote an evenly cooked steak that will provide more predictable and consistent results every time you cook .
The other thing is uh about seasoning today , we're gonna go ahead and season this steak with our big tasty steak rub .
Our big tasty steak rub is a simple combination of spices commonly found in most kitchens including garlic and onion powder , kosher salt , coarse ground pepper .
Um some paprika and even some beef boon , which will promote some additional flavor as this steak cooks , not only will it add some additional flavor , but this seasoning will help promote a brown crusted and tasty exterior as this steak Sears in the cast iron skillet .
So now that we've explained what the flame mignon is , we're ready to cook .
The very first thing you need to do is preheat your oven to 435 degrees and let that achieve temperature before starting anything else .
As I said , we're going to use both the cast iron on the stove and then we're gonna transfer it to the oven to let it cook .
The next thing that you need to do is add a tablespoon of oil to your pan and let that get nice and hot .
If you bought your steak bacon wrapped as I did , what you can do is you can remove the bacon and let it cook first and then use the remaining lard that's in there to sear the steak in that instead of using the oil , either way , I don't cook my steak with the bacon on .
And the reason I don't is because I like crispy bacon .
I've tried cooking this enough with the bacon on to know that it will just never get crispy .
So , what I'm going to do is I'm gonna cook the bacon first .
I'm actually gonna reserve that bacon to make a compound butter for the steak , which I'll show you in a different video .
Let's get started .
All right , while this bacon is cooking , I'm gonna go ahead and season the steak .
First of all , there's no need for this toothpick anymore .
Now that the bacon is in the skillet and next , we're just gonna go ahead and season this liberally on both sides .
Again , the seasoning , the liberal seasoning will help promote a nice brown crusted and tasty exterior as this steak cooks .
So what we're gonna do for really thick steaks is again , put them on the stovetop and move them to the oven .
This method works really well with filets like we're cooking today , porterhouse T bones and rib eyes just to name a few .
Right .
So we're going to pull the steak out .
This steak has been in the oven for about 10 minutes .
If you're comfortable with the field method , you can try using that or you can never go wrong with an instant reid thermometer .
I suggest pulling the steak out of here at about 140 degrees .
And once you remove the steak , you let it cool for about 5 to 10 minutes or let it rest during that resting period , the temperature of the steak will actually rise an additional 5 to 10 degrees before I put the steak in the oven .
I thought it might take 6 to 8 minutes .
But you need to know at home that not all ovens cook at the same temperature , even if they say the same degree on the outside .
So this steak took a little bit longer than what I anticipated , but we'll be back in about five minutes and we'll cut it open and see how it looks .
Ok .
So this steak is now cooled for five minutes .
Let's cut it open and take , see what it looks like .
Look at that right there .
It's a perfectly cooked , medium to medium rare color , as I've said before .
There's absolutely no need to spend $50 at a steakhouse when you can make this right in your own kitchen .
Our motto at Red Meat Lover is any kind of meat , any type of heat which reflects our belief that there are many , many right ways to cook and prepare meat .
We would love your feedback in the comments right below this video or send them to me at Joey at red meat lover dot com .
If you liked our video , please give us a thumbs up like or subscribe to our youtube channel for future updates .
You know , since I make a lot of cooking related videos , people often ask me how I like my steak .
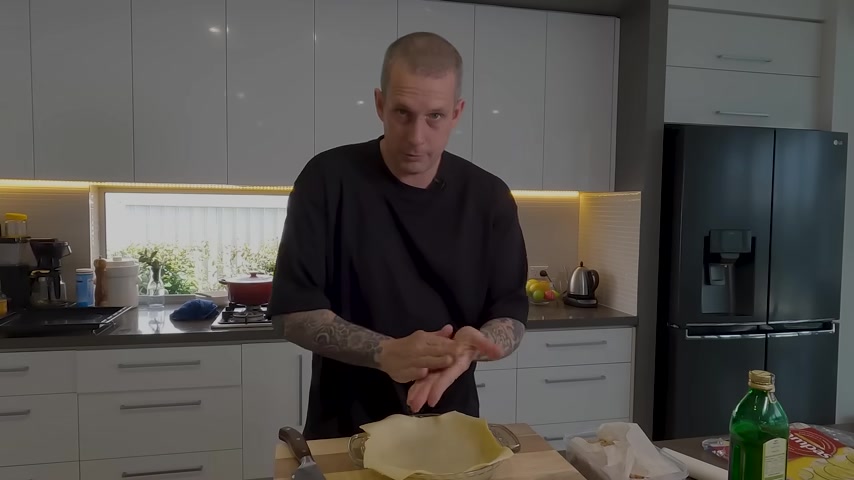
And my answer is always right next to my other steak .
I'll see you next time .
Thanks guys .
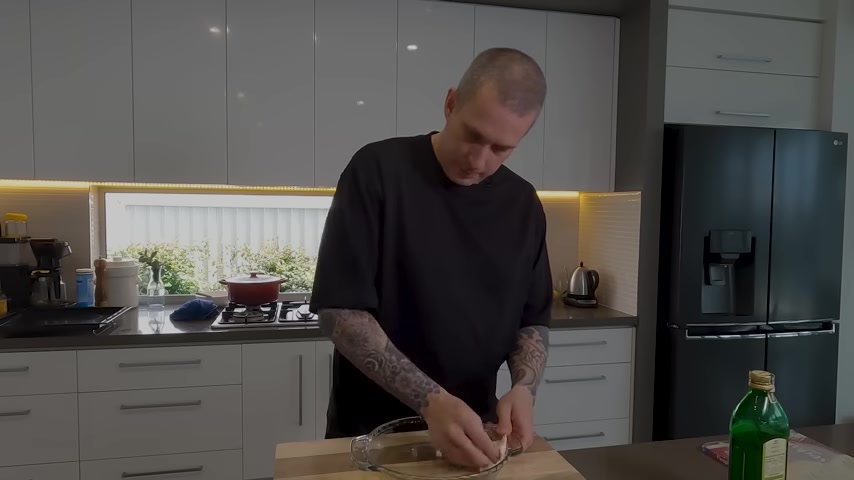
Alright 15 minutes up and we have a cooked base .
So we're gonna let this cool completely before we put anything in it .
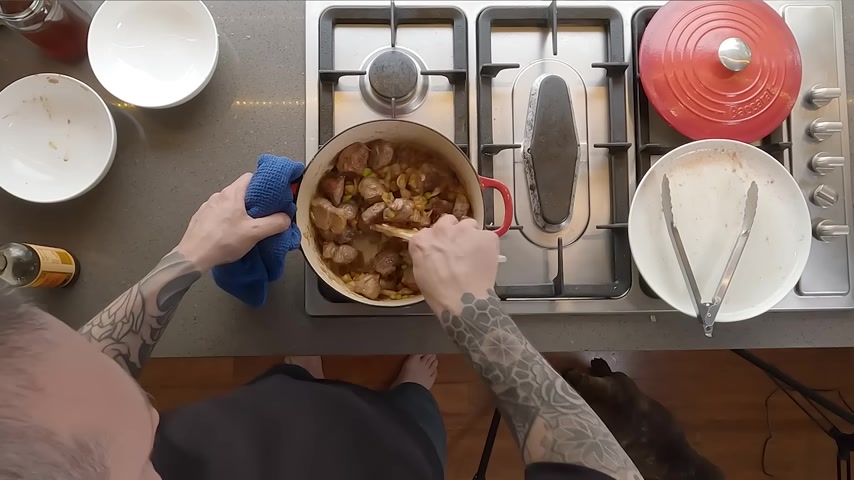
So we're about 2.5 hours actually probably more like two hours and 45 minutes since we put this on and it's coming along nicely .
Flavors are nice develops uh the beef's holding together but as you can see , you can kind of push through it and it's kind of reduced pretty close to enough as far as the sauce to meat consistency .
It's probably not quite thick enough though .
I think it's quite important to have a thick gravy uh especially if you're doing individual pies that you're gonna eat kind of with your hands .
So at this point , take your bay leaves out .
There's two in there .
I already took one out .
No sure it's all not stuck to the bottom at all .
One last mix .
And then in here I got three heaped tablespoons of corn flour and a bit of cold water and this will thicken this up really well and it will also give it a nice gloss and that goes stir that around over the heat .
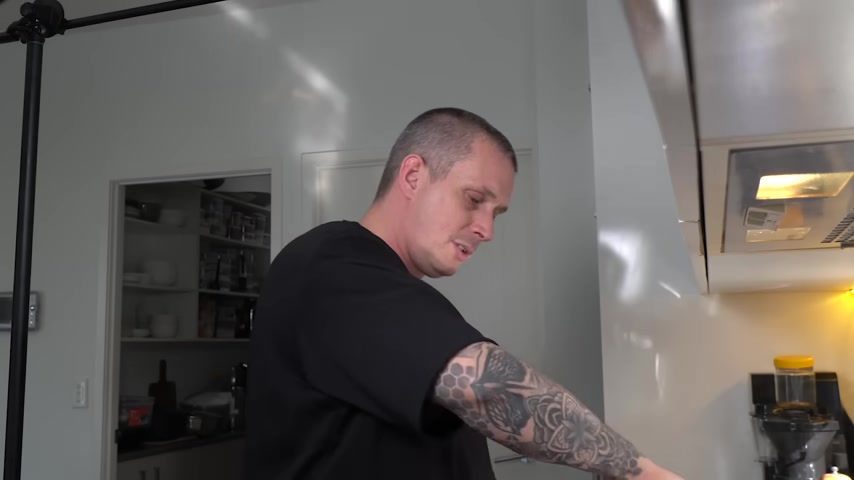
You can see that instantly just thicken it right up .
So you do wanna cook that out for a little bit , not , not long like 1 to 2 minutes and then we're gonna , you need this to be cool .
We don't need to be like fridge cold but you kind of need it to be cool .
So we're gonna get it onto a tray , get into the fridge and then we can assemble our pie .
Alright , so I'm happy with that .
I've already tasted the seasoning .
I'm happy with that .
I did put a bunch of black pepper in off camera as well .
I forgot to put it in in the first instance but we're good to go time to get it out and get it cooled down .
Trail out .
This is pretty good .
We'll get it in the fridge .
Alright , so we're almost ready to fill our pie just gonna grate some cheese so you can either grate this or just have slices of it .
Whatever you do don't skimp on the cheese either by all means if you're not into cheese and pies and just leave the step out .
But uh if you haven't tried it , I highly recommend it .
So I reckon you're gonna want about in a family size pie about you know , at least 100 g , if not 100 and 20 .
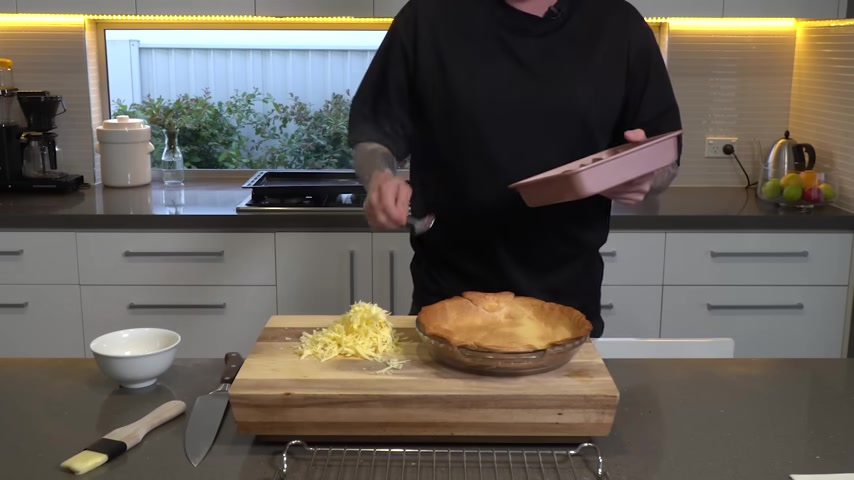
Uh in an individual pie , 30 to 40 50 .
If you're feeling really adventurous , our is pretty much completely cold , get it into the case , make sure you fill it right out and the meat is nice and evenly distributed .
Alright , pretty happy with that time for cheese laughing .
So we use short crust on the bottom , we use puff on the top .
So with the egg wash just one egg Beeton .
Now you don't need to go too aggressive but just make sure the edge of that uh short crust base is a little bit damp and it will just help it stick to it a bit better on with the pastry .
Just push it down around .
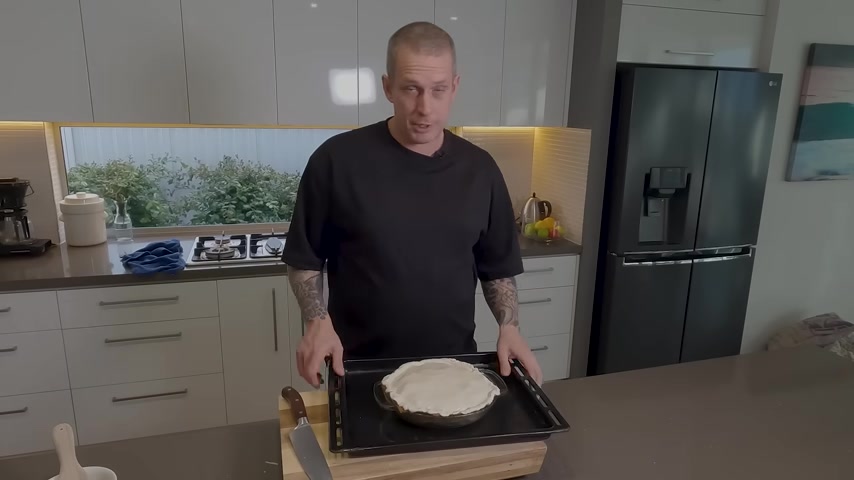
Now you wanna cut the excess off these corners , it's just a bit much and then just push it into the short crust bottom and you can get as fancy with this as you want or leave it as rustic as you want really ?
But just make sure and it should stick pretty easily , but just yeah , try and make sure that that pastry sticks nicely .
Give it an egg wash over the top .
So we get a nice golden color .
We're ready for the oven .
So 100 and 80 grab and we'll start for 20 minutes and see how it's looking .
Alright , so that was 40 minutes in total .
Let's leave it on that right .
We're just gonna let this chill for a minute cos it's gonna be nuclear hot in there and then we're gonna try and turn it out and see what happens .
Alright , let's try and get this thing out of here in one piece .
Can he do it ?
Try this technique so far ?
So good .
Yep .
I got this top .
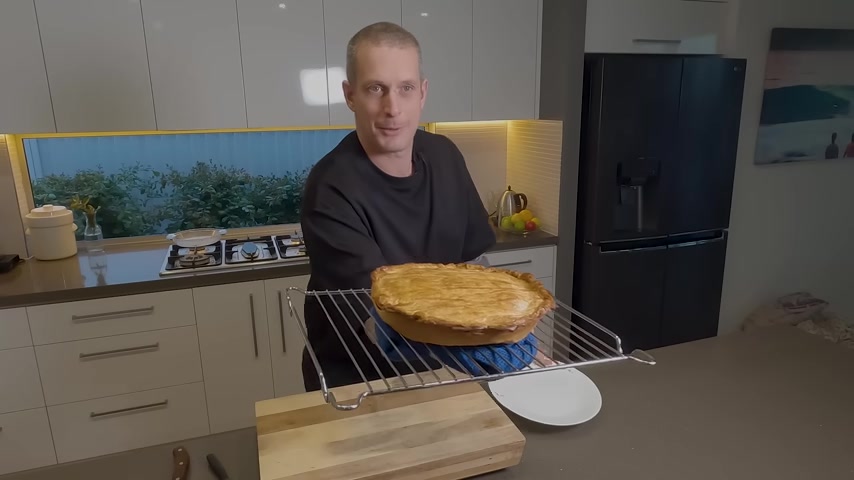
Look at that on a view .
I guess we better cut a piece .
Oh , that's what you want that flaky pastry and all holding together all the cheese on the top .
Beautiful .
Alright .
Olive sounds impressed .
So there it is .
You got really nice crumbly pastry .
The cheesy part at the top and the meat that's holding together .
I think that's really important that meat that kind of holds together .
Now it wouldn't be a pie unless it had Tommy sauce .
What ?
That was so good .
It was super savory beef .
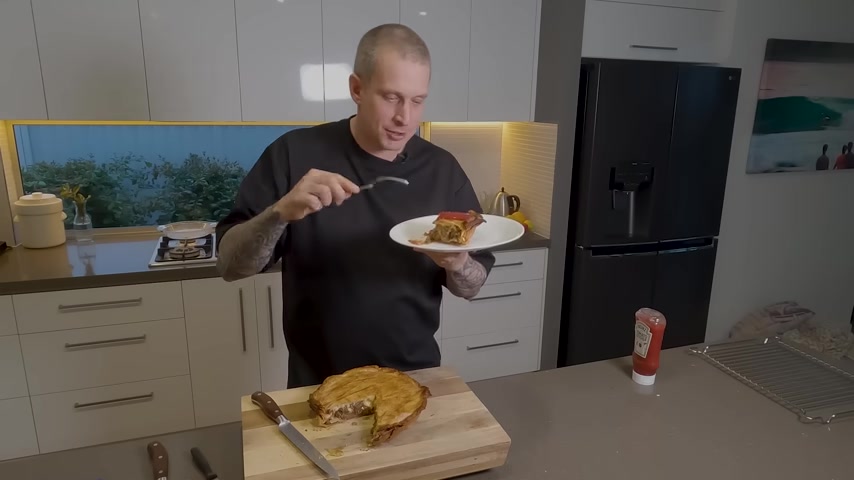
This nice sharp cheesiness , flaky pastry , that kind of sweet tomato sauce .
Oh , it doesn't get much better than this .
Um Anyway , thanks for watching Legends .
I really appreciate it .
Please .
Chuck a like on this video if you enjoyed it .
Subscribe if you're not and we'll see you next week for another rest week , please .
Are you looking for a way to reach a wider audience and get more views on your videos?
Our innovative video to text transcribing service can help you do just that.
We provide accurate transcriptions of your videos along with visual content that will help you attract new viewers and keep them engaged. Plus, our data analytics and ad campaign tools can help you monetize your content and maximize your revenue.
Let's partner up and take your video content to the next level!
Contact us today to learn more.