https://www.youtube.com/watch?v=PqCU4jQC4H0
I made a whole chess set from scratch because I'm insane
Chess .
It's a fun game , but I'm bad at it .
So I'll make a sculpture instead .
But buying a chess set for this would be too easy .
So I'm making my own that won't take long .
Right , right .
To start off .
I am sculpting the board with clay .
I'm using a thick cardboard for the base , but it got a little warped .
So I'll remove it later .
Chess boards are usually very smooth , but that will be tortured to paint later .
So instead I'm going for a textured stone slab look this way .
It looks more interesting and provides me with a little coloring book where I can stay within the lines to add the stone texture .
I'm going over the clay with foil .
Real rocks are also great for this , but my rock was not rocklike enough .
So it didn't work .
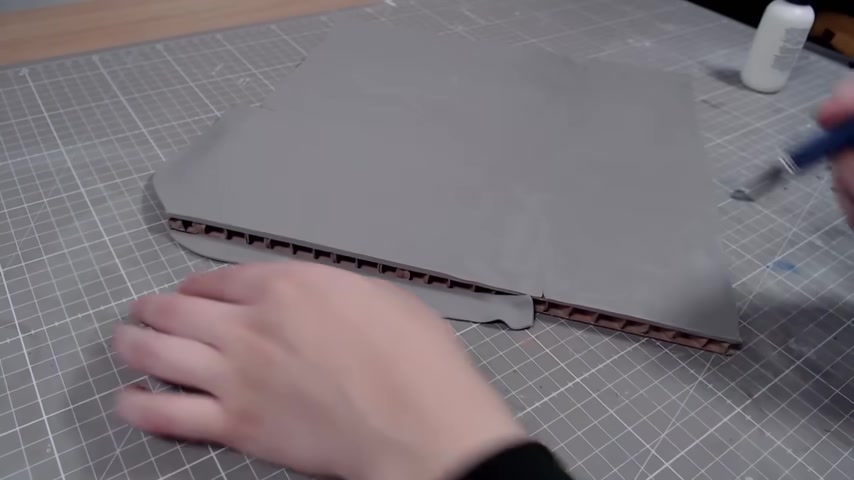
After baking , I removed the cardboard and replaced it with a piece of foam , cardboard , clay and foam .
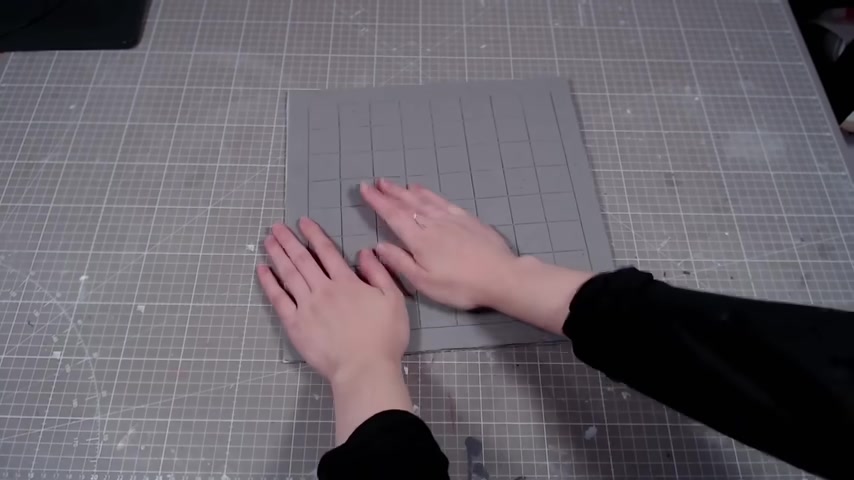
Don't go together that well .
So I'm using contact cement spray to attach them .
You spray it on both surfaces , press them together and it's instantly bonded forever to hide the seams .
And my poor phone cutting skills , I'm going over the edges with wall filler , mixed with glue .
This then gets sanded but I left it pretty messy because it helps with the rock look to make the chess pieces .
I started with 32 bases .
The base is made with super sculpey , but the rest is sculpted with cos clay .
I won't bore you with making every piece and just show you a few .
Most of them start with a base that looks just like this and only the top changes .
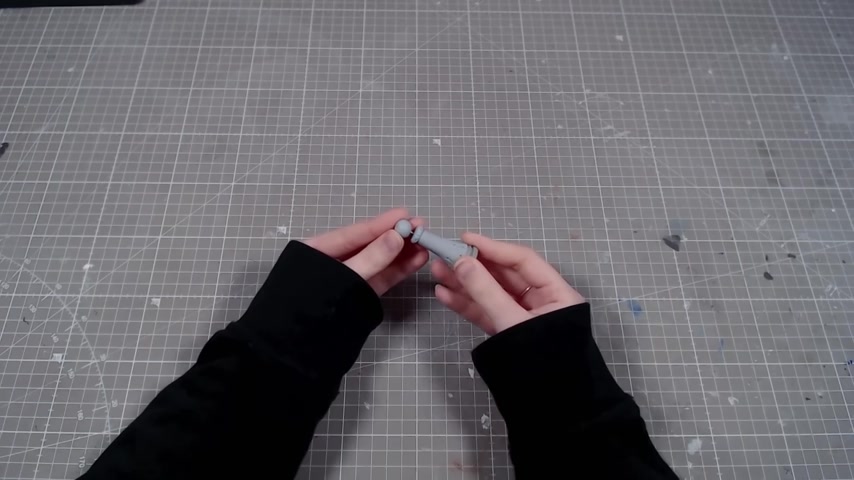
This is a queen .
So I'm giving her a little crown .
Ok .
The most different piece is of course , the horse .
It was quite a pain to make four of them because I have never liked making many of the same thing .
But that goes for the whole set .
The eyes have been pre baked to not smoosh them .
Then I added the main , I realized only after baking that I accidentally gave it a mohawk .
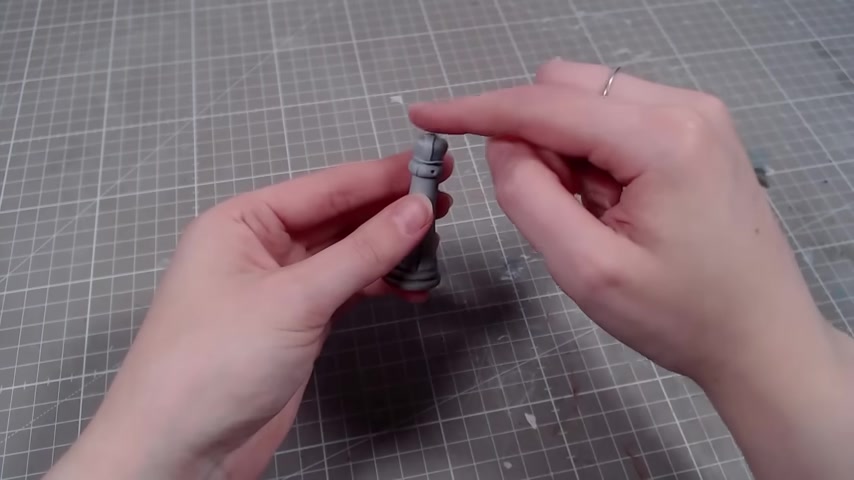
The king is made the same way as the queen only .
He gets a fancier crown and he's a little taller .
The whole process looks very quick and simple , but making the whole set look forever , especially getting the pieces to look .
The same half of the set gets painted black and the other half white .
I painted the black pieces by hand and was planning to do the same for the white .
But then I decided , I don't hate myself and bought some spray paint .
I still had to go over some imperfections by hand , but it saved me a lot of time .
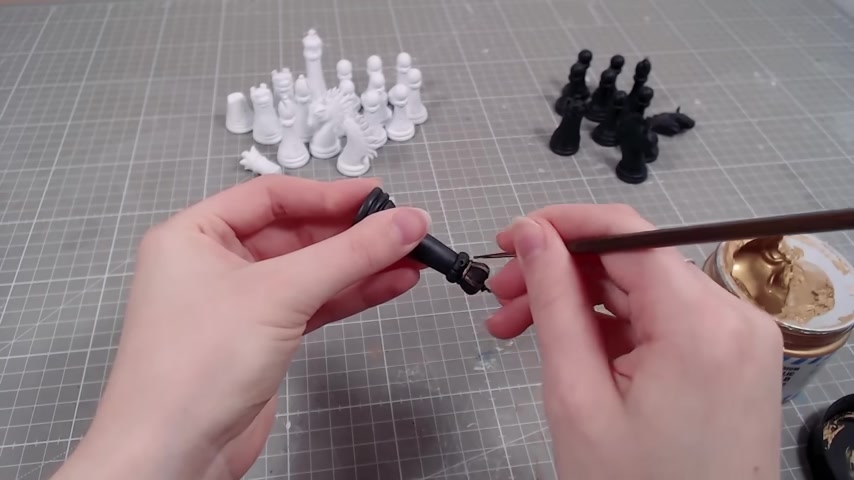
Then I went over some details with a gold highlight and all the little holes I made earlier get filled with super glue and some golden balls .
I have no idea where I got these .
I found them in my stuff and decided it's time to use them .
The color scheme for this project is not too exciting .
The board also gets painted black and white since it's stone , I went over the sides with gray and then different lighter dry brushes .
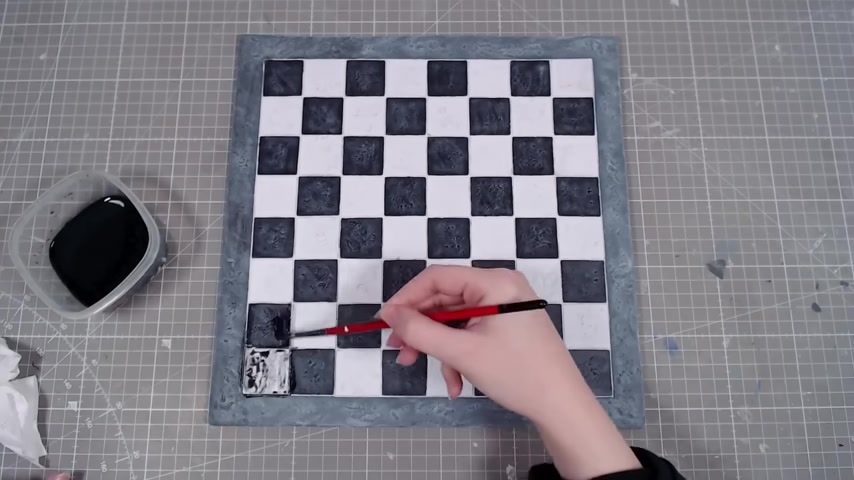
I also dry brush , the dark squares .
So it doesn't look so simple and I think it ended up looking a bit like marble .
Then I'm going over everything with a black wash .
This way , the light squares won't stand out so much for the main sculptures .
I'll start by mixing some epoxy sculpt .
You are supposed to wear gloves , but turns out I'm out .
So I took my kitchen gloves .
It kept sticking to the gloves though .
So it's not really the best option .
I'm putting it on the armatures and once it dries , I'll have a really sturdy base to work on .
I'm starting with the queen .
I spent a lot of time making her base body , but you can't even see almost any of it .
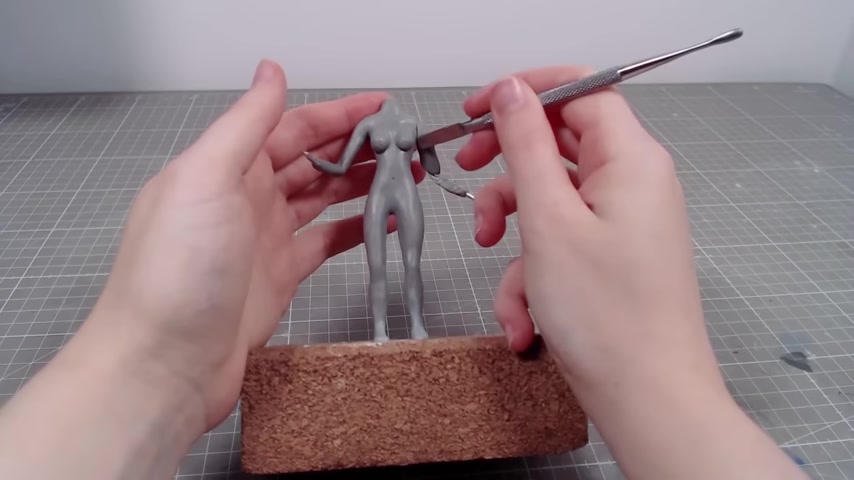
In the end result .
I pre baked her fingers and glued them on with super glue .
And of course , it's mandatory to glue your fingers as well .
At least once when working with superglue , I then covered the hands with more clay .
Her hands turned out extremely ugly , but I'll hide them later .
I'm using both clays here as well .
The darker one is scopy and the lighter one is cos clay .
I got both of them in medium firmness , but cos clay is way too soft for me .
So I kind of hated working with it , but it works really great for thinner details because it's more flexible so it bends instead of breaking .
After finishing this project , I ordered some extra firm cos clay and that one is perfect for me .
So I'll probably work with it more in the future , not sponsored by the way , but you know , feel free to hit me up .

I didn't intend to make her dress so fluffy , but it's actually really hard to roll out this really soft clay .
I then gave her a corset and added some details as well .
Nothing too fancy .
Her arms are also a little ugly .
So I'm hiding them on their braces , sculpting faces is what I'm worst at .
So I'm giving her a mask instead , but I think it fits pretty well because she is a chess piece and it makes her look a bit less human .
And then I added a crown .
I tried to make it look somewhat similar to the style of the actual chest piece .
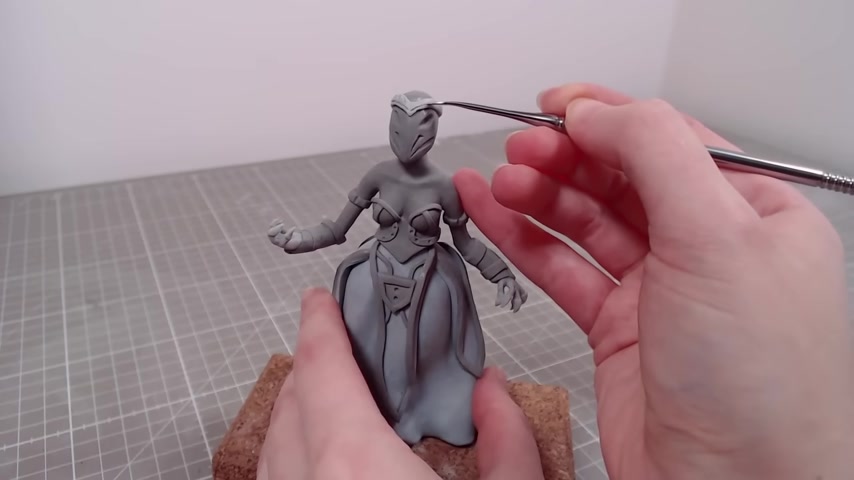
I wish I had that extra firm clay at this point in the process because working on the crown with soft clay was horrible .
Lastly , I gave her a short cape with a very high neck cover to hide her bald head .
Then I painted her white with golden details .
I think half of the time I've worked on this project has just been me trying to paint something white .
I think I will never make anything white again unless I get an airbrush .
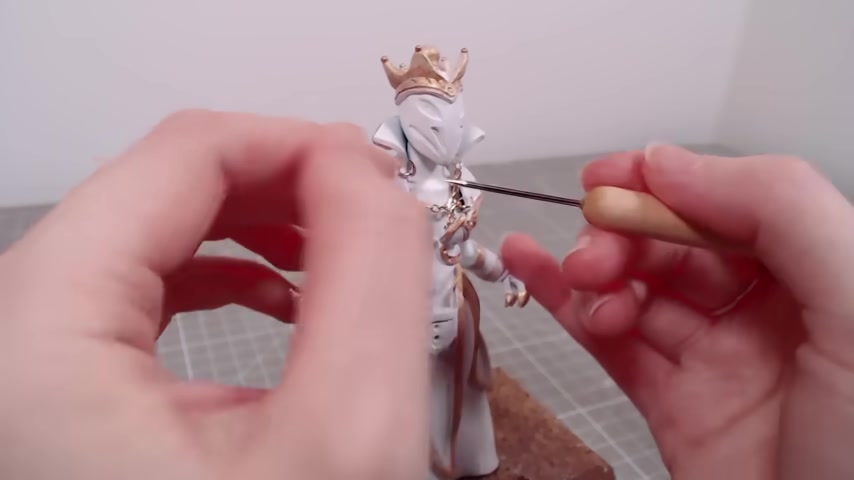
She also gets golden balls in her crown just like the chess piece .
I also added some chains to hold her cape .
But this was hard to film because it was even harder to do .
At one point I just gave up and did it off camera to hide her hideous fingers and to give her a weapon , I'm adding a chain to her hands and to hold it in place , I'll add a bit of super glue .
She is facing off against a horse , but it would be kind of weird to just make a regular horse .
So I'm making a horseman instead .
He also gets pre baked hand armatures .
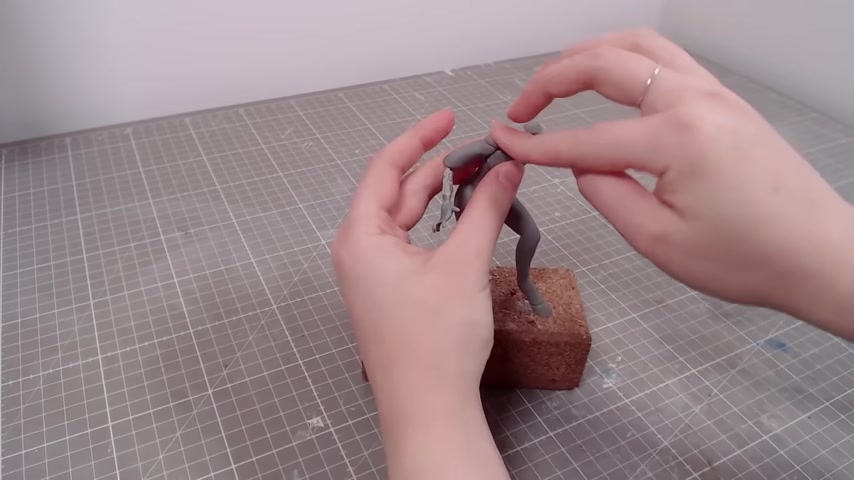
But this time without my DNA glued on as well , the body is pretty normal looking apart from the horse legs .
I tried a bit harder to make his fingers since I can't hide them .
So if they're ugly , they're ugly .
I'm texturing the legs before adding the head .
So it doesn't get in the way , then some eyeballs and a bit of clay later , we've got a pretty good looking lizard man .
Not really what I'm going for though .
So adding some ears and a mane will help shape it into a horse .
I should have made the head a bit larger though .
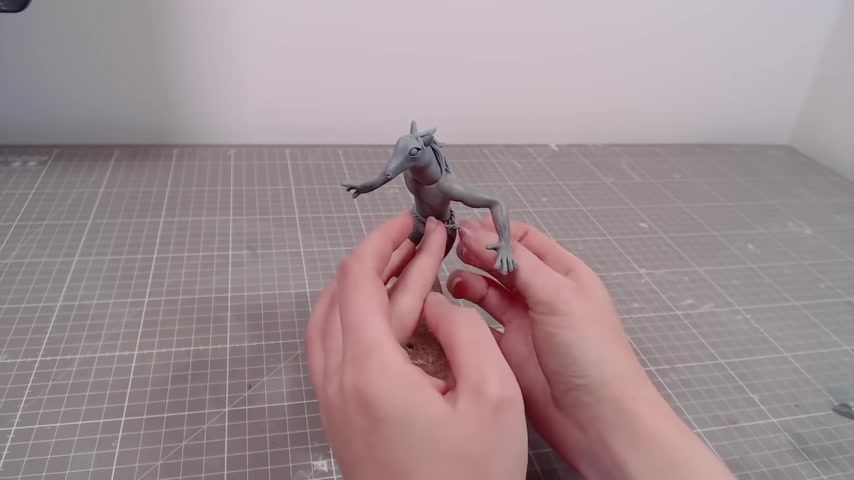
He is looking a bit naked , so I'll cover him up with some cloth and add some strips around his arms .
Lastly , he gets claws .
It doesn't really make sense , but neither does a horse having hands at all .
So I think it's ok .
Then a quick layer of black paint and golden details .
All that's left is to put everything together and that's it .
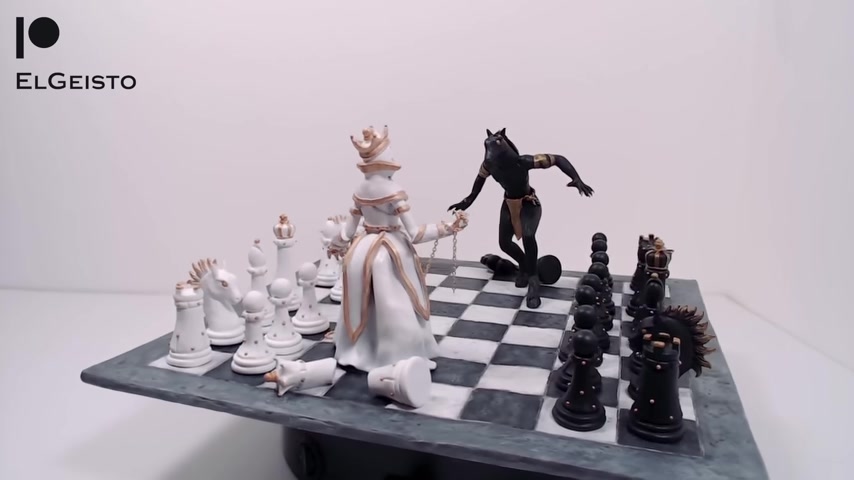
Thank you for the support over on Patreon and thanks for watching .
I'll see you next time .
Bye .
Are you looking for a way to reach a wider audience and get more views on your videos?
Our innovative video to text transcribing service can help you do just that.
We provide accurate transcriptions of your videos along with visual content that will help you attract new viewers and keep them engaged. Plus, our data analytics and ad campaign tools can help you monetize your content and maximize your revenue.
Let's partner up and take your video content to the next level!
Contact us today to learn more.