https://www.youtube.com/watch?v=LlN2yrFQKzY
How to Read Guitar Chord Charts

Hey , how you doing , Justin ?
Here today we're gonna check out how to read a chord diagram something you're gonna find very helpful on your guitar journey .
I can assure you so let's start by having a look at a chord diagram for a decor , which is the first chord we're gonna learn today .
So let's get one of those up .
There we go .
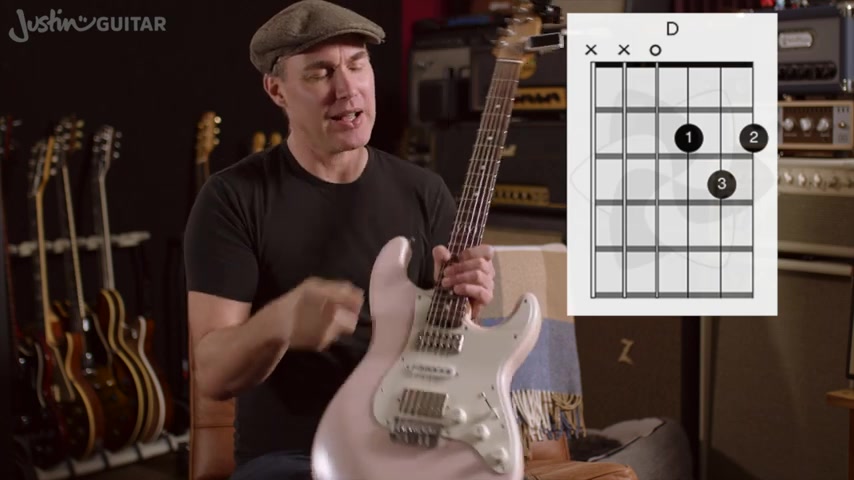
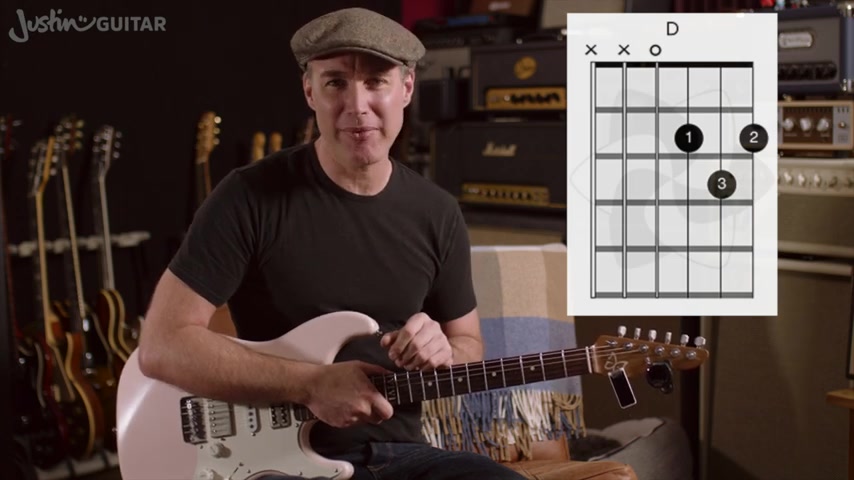
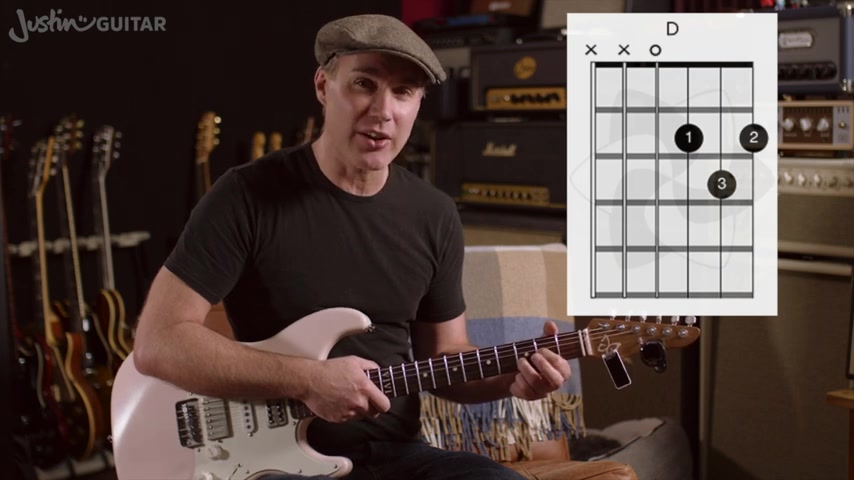
Now you'll see that there are six vertical lines and these represent the six strings on the guitar .
OK , I often think like if I'm holding a guitar up like this , you'll see that we've got the thickest string on this side and the thinner string on the other side of the chord box .
Now , some chord boxes have a thicker line for the thickest string and a thinner line for the thinner string .
That's not always the case .
Sometimes the lines are gonna be exactly the same thickness all the time .
Now the horizontal lines represent the frets on the guitar .
OK , so you'll often see here .
These are the frets going along like this now , at the top of the guitar , particularly for beginners .
You're gonna see this thing .

This is called the nut of the guitar .
Now this is either represented by a different coloured line .
Sometimes you like a black line or a darker line .
Sometimes it's a a double line .
Uh , sometimes there's nothing really there that indicates that it's the nut at all .
So a little bit it depends on which diagrams that you see , I tend to favour the thick black line , uh , to represent the nut in the diagrams that you'll see on my website on the neck diagram .
You're going to see some dots and these represent where to put your fingers .
Yeah , you'll very commonly see a number next to these dots or inside the dots .
And these tell you which fingers are gonna press down where ?
On the guitar neck .
Now , we don't tend to use the thumb very much on the guitar .
If you do use it later on , you're gonna see it notated with a T for thumb .
Surprise Finger one is our index finger Finger two is your driving finger finger .

Three is your ring finger and finger .
Four .
Is your pinky OK , so 1234 and T for thumb .
But you're not gonna worry about using the thumb in those early beginner stages for sure .
If you've ever learned piano before , make sure that you don't get confused .
Cos with piano , they called Thumb the first finger .
Confusingly , it's not a finger , it's a thumb's T .
So at the top of the diagram , you'll also see some Xs and some zeros .
Now , an X at the top of a string means that you won't play that string .
Now you notice here with the D cord , we've got two Xs on the thickest two strings .
So we're not gonna play the thickest two strings at all , and then we've got a zero , Which will mean that we play that string open with that me and playing a string open means that we're gonna play the string with no fingers on it Now on the decor .

Then you'll see that we've got our first finger down in the second front of the third string , the third finger down in the third front of the second string and the second finger down in the second front of the thinner string .
Don't worry about that .
We're gonna go through that in a whole lot more detail in just a second .
But that's the basic idea of learning to read a core diagram , and we're gonna be using those right through this course
Are you looking for a way to reach a wider audience and get more views on your videos?
Our innovative video to text transcribing service can help you do just that.
We provide accurate transcriptions of your videos along with visual content that will help you attract new viewers and keep them engaged. Plus, our data analytics and ad campaign tools can help you monetize your content and maximize your revenue.
Let's partner up and take your video content to the next level!
Contact us today to learn more.