https://www.youtube.com/watch?v=zatpgpkSL2E
2023-07-11 07:12:11
EASY French Bread under 10 MINUTES for 30 CENTS
Hi , I'm Brad with Big Family homestead dot com .
And today I have an amazing video for you .
I'm going to show you how you can make homemade delicious French bread with only 10 minutes of active working time .
Total time .
Start to finish is about an hour and a half .
So let's get cooking right now .
So there are very few things that are as homey and awesome and just great memories as baking fresh bread , that smell and the taste of it as it comes out of the oven .
And so today , my challenge is to show you how you can make French bread from start to finish with only about 10 minutes active working time and then from start to finish , you're only going to actually be , you know , from the time we get going till the time you have bread in hand is only taking about an hour and a half or maybe even less .
So here's how this is gonna work .
I'm gonna show you the ingredient list .
We're gonna put it together , we're going to get it in an oven and then we're gonna get it out , show you how it's all done .
10 minutes , active working time , ready .
Here we go .
Ok .
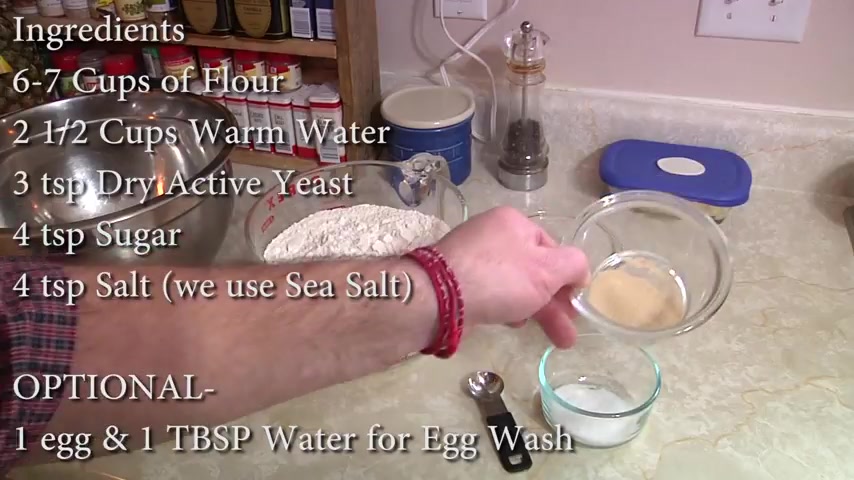
So the ingredients can be much more basic .
There's just really , really simple stuff in here .
No crazy chemicals .
What we basically got here is four teaspoons of regular old white sugar .
We have four teaspoons of sea salt .
You can use regular salt .
We prefer sea salt .
And then over here we've got three teaspoons of active dry yeast and here just regular old all purpose flour or you can use bread flour , but this is 6 to 7 cups of flour .
And the reason why that is not a specific number is because if your dough is sticky , you may need to add a little more .
Uh If it's on the dry side , you may not need as much .
So it's , you'll see that it comes together nicely .
Now , one last ingredient and that is 2.5 cups , warm water .
Now , you want this water to be almost to the point that you don't want to touch it .
It needs to be warm , not scalding hot .
If you make it too hot , then basically it will kill off your yeast and you don't want too cold , the yeast won't activate , right ?
Yada yada yada .
Here's my lovely wife , Krista , isn't she just the amazing wave of a bread baking queen of the yeast ?
So , here we go first things first .
What are we gonna do ?
We're gonna get our water and we're gonna put our water into the bowl .
This is our hot water , not hot , warm , almost too hot to the touch .
Next thing that's going in is gonna be our sugar and you want to mix that up .
So it's pretty much dissolved in the water .
And once that happens , we're gonna add our wee beasty yeasty .
The yeast goes in and they will start and munch a bunch in on that sugar and that is what's going to actually create the rise .
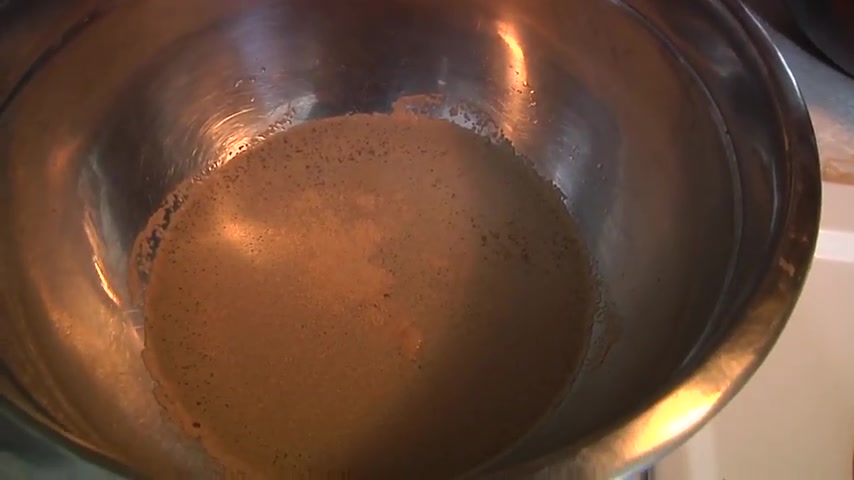
So now the yeast is in there and we're gonna let that sit for just a second and it should start foaming up , which is proof that the yeast is active and alive .
All right .
So we've let this sit for only 30 seconds to a minute , but it's starting to foam up and that is proof positive proof that the yeast is alive .
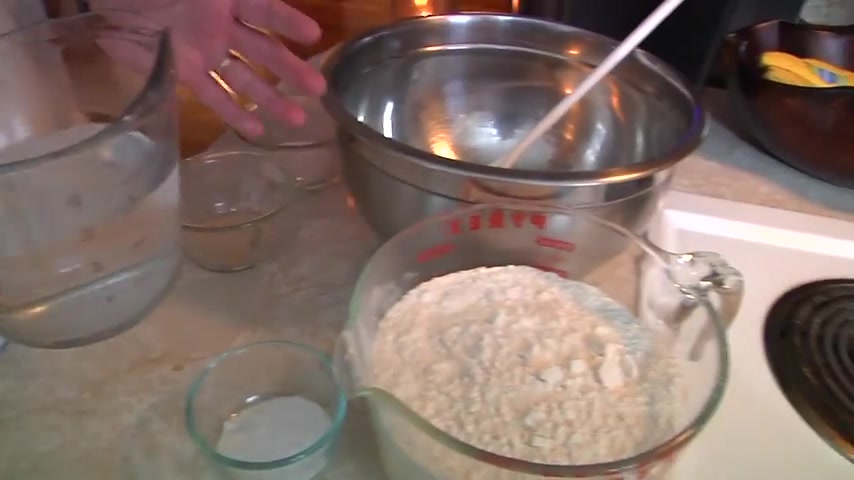
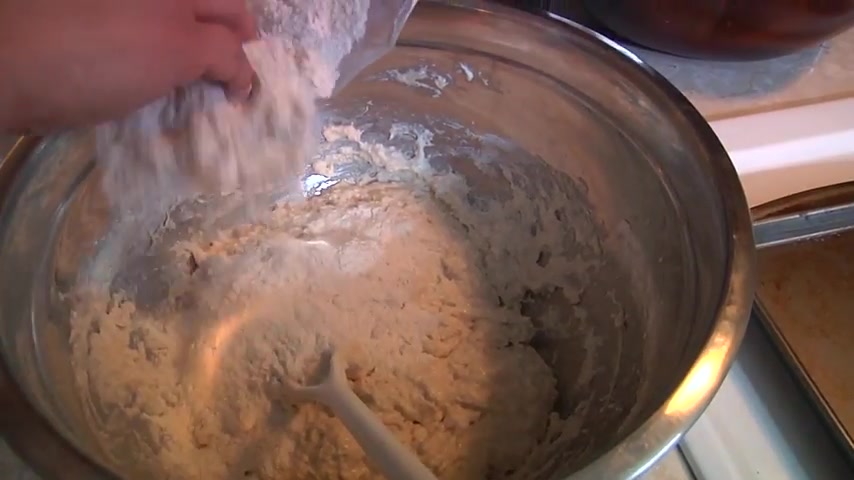
Next up , we're going to basically take about three quarters of our flour .
We're going to get that into our yeast and water and sugar .
And , and the reason why we're doing about three quarters is because we want to make sure that it's not too sticky but it's not too dry .
So we want to get that incorporated and then next in goes our salt .
You want to do this last because the salt and the yeast don't play nice together sometimes , but bread without salt kind of gets funky .
So here we are , we're gonna mix this up and I'll show you what's next in just a second .
So now the dough is mixed up a little bit , but it's still a little wet , still a little too sticky .
So , in goes a little bit more flour .
Now , this is the kind of thing that you're gonna have to kind of feel out for yourself when it's done , it'll kind of have a little bounce .
It won't be sticky and it won't be too dry , it won't be like a brick .
So we'll show you what that's like when we get this flour mixed in .
All right .
So now we've got that flour Incorporated .
Next thing we're gonna do is we're gonna turn it out onto the counter to begin the kneading .
So we add a little bit more flour and now the kneading begins .
What you're trying to find is you got to make sure that everything is incorporated and you want your dough to be nice and spongy where you can touch it and it pushes back a little bit , kind of like a sponge .
You don't want it to be sticky , but you also don't want it to be like a brick .
So this will take only a couple of minutes .
All right .
So she's been kneading away here for just about a minute or two and let me show you the spongy sponge .
We got , look at this coming back .
It's alive .
OK .
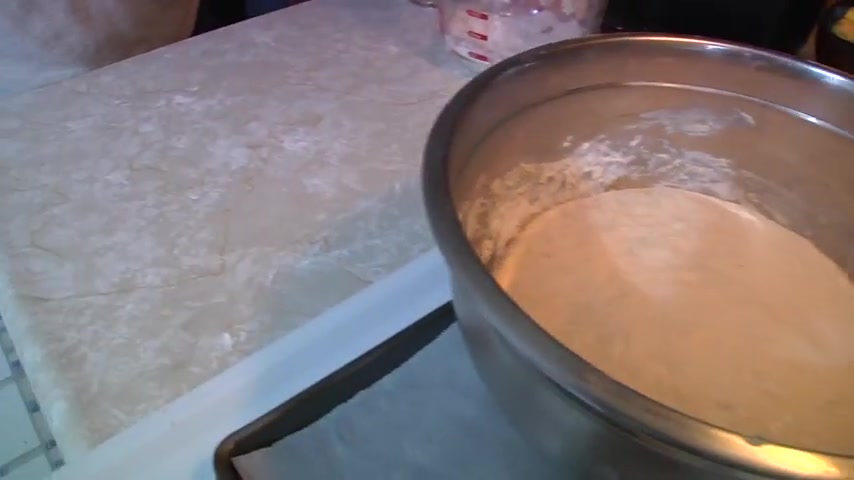
So now it goes back into our mixing bucket bowl container and you basically just cover it up and then you let it rise for 20 to 30 minutes .
Ok .
So we've waited our 30 minutes and look at that risen dough .
Now we're going to roll this out , basically flour up our work area .
So it doesn't stick .
The , the dough is going to come out and we're going to roll it out and cut it into the appropriate size loaves , which for us , you can make one big loaf , but we're gonna make two smaller loaves .
It just works better for us .
Oh , just thinking of delicious warm bread .
OK .
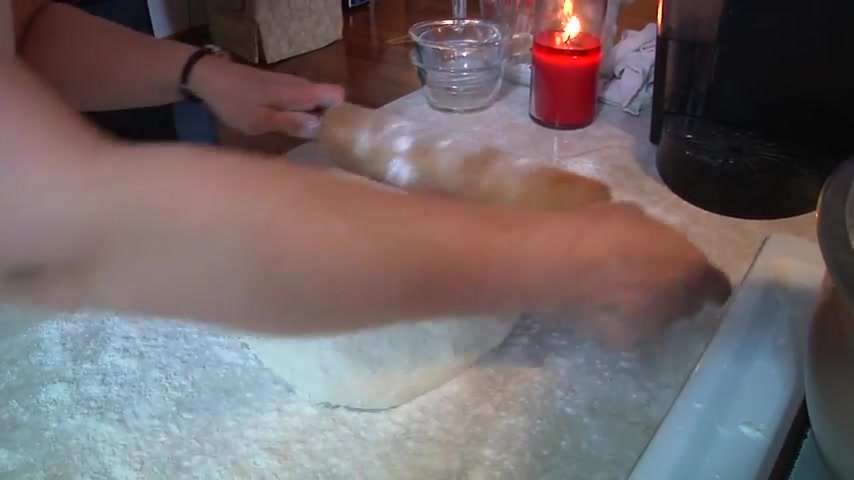
Here we go a little bit of flour on top to keep it from sticking , get your rolling pin or whatever it is you want to roll it out with .
But we like the rolling pin works very well .
Check that out .
That is a lot of dough .
Yet another reason why we make the two loaves instead of one massive loaf .
Now , one cool little thing you see that Gizmo that she's got there .
Show me that honey , this is a paint scraper .
You can get that from Home Depot , basically get all the paint out of your buckets and then she's gonna roll this up just like that easy as you please .

Now , this is gonna go on to our cookie sheet that has our parchment paper on it .
We're going to roll up the second one .
Notice the curling in finger motion there that is employed nimble fingers .
She tucks that bottom end in there just to make it nice on the , on the tray .
Now , that is pretty much it .
We are now going to let this rise another 20 ish to 30 ish minutes while that's going on .
I'm gonna go ahead and get the oven preheated and we will be off to the races .
Now , while we've got this going on , we're going to go ahead and get our oven preheated to 375 degrees .

OK .
So we've waited our twentyish minutes and look at that delightful deliciousness , waiting to be baked .
Now , one more thing before this bread gets into that oven and it's an optional step , which is why I didn't put it in the initial ingredients and all that .
But if you would like , you can take an egg wash and , and you just basically base it over the top of the bread right before it goes in the oven and that will create a really nice golden brown crust .
It is optional , like I said , but all this is is one egg to one tablespoon of water .
You get it mixed up real nice , base it on there right before it goes in the oven and that'll make that nice dark brown , rich brown crust .
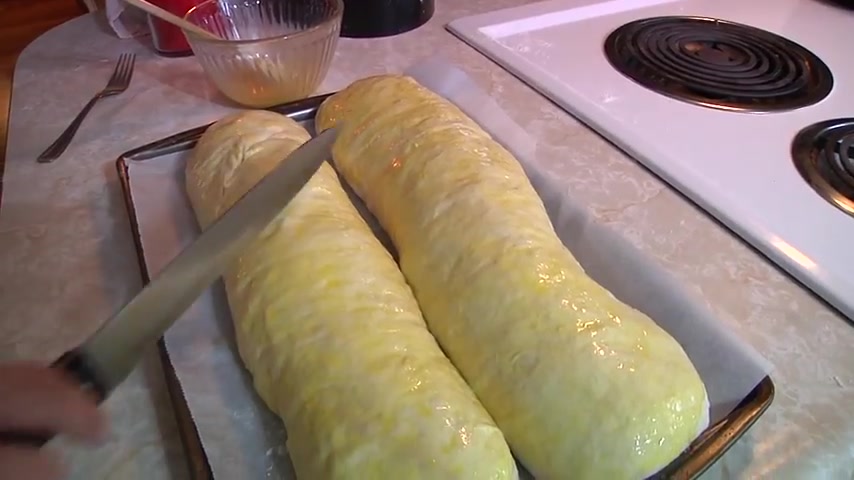
And here is the aforementioned egg wash going right on to those lovely , lovely loaves .
Yes , I am a goofball .
OK ?
One last little tip that uh that is not , it's not , I mean , you want to basically cut these things give it a little slash to the loaves and it's not merely just decorative .
These things are going to continue to rise a little bit as they get in that oven and get warm .
And so you don't want them to crack and , and look ugly , but it gives it a little relief to have those little cuts .
And , uh , now we are ready for the baking .
Ok .
So now it's ready to go into the oven .
We were already preheated at 3 75 in .
You go and all we do is wait our 20 minutes and we will be in delightful bread .
Heaven t minus 54321 bread time there .
Yummy .
Yeah .
Look at that delightful .
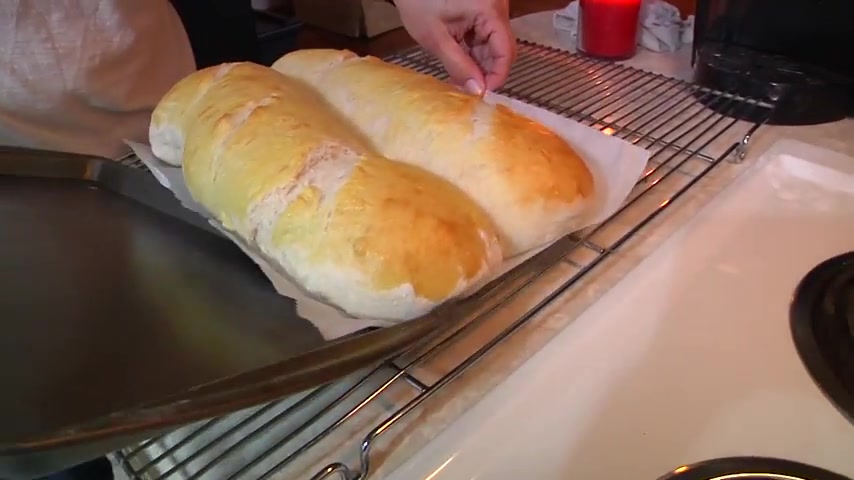
Now we got to pull it onto the cooling rack and now if you have the willpower , the intestinal fortitude , you'll wait for at least a couple of minutes .
So , biting into this delicious bread will not burn the stew out of you .
All right .
One little little caveat here .
We actually got these loaves of bread out just a second ago .
And uh my wife tested them as she's going to show you right now a little tip which you do flip them over and you give them a thump on the , on the back side .
And if they sound hollow , they're done , well , we took them out and tested them before with the shot that you saw with them less brown and they weren't ready So we put them in for another four minutes , five minutes and now they're delicious .
I'm gonna try my best to wait to taste it .
So I don't burn myself , but I think it's unlikely .
Ok .
Who am I kidding ?
I know .
I'm not gonna be able to wait the full amount of time .

You're really supposed to let the loaves truly cool down because if you go to cut it , it'll kind of get a little smooshy right in there .
And that's just , well , you can see this is the voice or the face rather of concern .
Oh .
Happy dance time .
Now , check this out .
You saw how much bread that made .
If you were at the store , those would be easily $2 to $3 loaves of bread .
Each .
This thing cost us almost , maybe 30 cents for all of it .
Delicious bread .
Yay .
So there you have it .
It's really just that easy , fresh , delicious homemade bread with no crazy chemicals with only 10 minutes of active working time .
Hour and a half .
Start to finish .
It's awesome .
You just gotta try it .
I am Brad with Big Family Homestead and you have yourself an amazing day .
Partnership
Are you looking for a way to reach a wider audience and get more views on your videos?
Our innovative video to text transcribing service can help you do just that.
We provide accurate transcriptions of your videos along with visual content that will help you attract new viewers and keep them engaged. Plus, our data analytics and ad campaign tools can help you monetize your content and maximize your revenue.
Let's partner up and take your video content to the next level!
Contact us today to learn more.