https://www.youtube.com/watch?v=Xw_NgS8iqhU
2023-07-11 07:15:56
Easy Artisan Bread Recipe _ No Kneading!
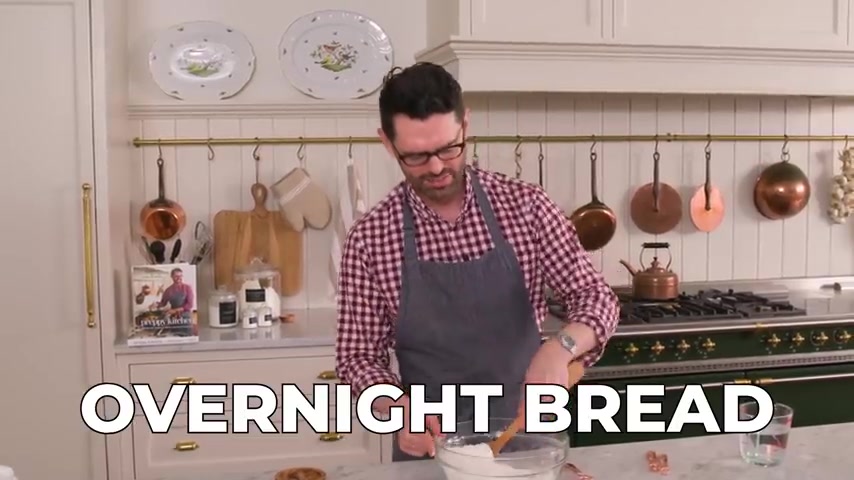
Hey , I'm John Connell .
And today on Preppy kitchen , we're making an easy , amazing artisan bread .
So let's get started .
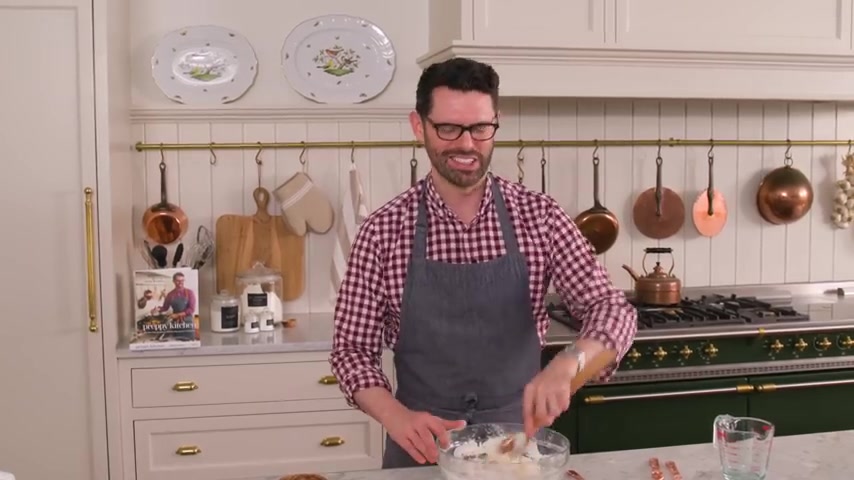
First off , grab a big bowl and we're gonna use some bread .
Flour has a higher protein content and it gives us a better chew .
I want three and three quarter cups or 450 g of bread flour .
And if you're wondering , yes , you could make this with all purpose flour .
It'll just be like a little bit softer and have less of that artisanal characteristic that you might want from artisan bread .
I'm also gonna use some instant yeast here , one packet or two and a quarter teaspoons .
If you're measuring it out from a big container , I'm also adding in one and three quarter teaspoons of kosher salt , the salt has a little bit bigger of a grain size .
Grab a wooden spoon and I'm just gonna stir this together and tell you one important thing , you can make this bread in two different ways .
I'm making it as an overnight bread because I love to just like give this a mix at the end of the day , pop that into the fridge and come back to it in the morning and you can have like fresh baked bread for breakfast , brunch or lunch .
But you can also make this in one day .
It's really easy to .
I'll tell you how they're different later on .
This is all stirred up .
Now , I'm adding 1.5 cups of warm water .
It's about 100 and 20 degrees and I'm gonna pour this in as I stir .
This is one of the easiest breads ever .
And I know a lot of you might be intimidated by bread making special .
The cult of sour dough , which is a big thing like sourdough .
I'm not gonna lie to you is a little bit more difficult .
You definitely have to get the hang of it and you can let me know if you want a sourdough video in the comments .
This artisan bread has like a wonderful chew .
It's like great on the inside crusty on the outside .
It's like a win , win , win , but it's just so easy .
It also makes a great sandwich bread .
So right now I'm gonna stir the dough in and also like kind of smush it around because that water takes a little bit of time to seep out and hydrate the flour .
So don't think , oh , it's dry , like it's kind of dry on the outside .
It'll work out .
Don't worry if you want , you could definitely add some extra flavorings to this .
This is just like a nice white bread but you wanna add some herbs , some rosemary .
You have so many options here and you can let me know in the comments what you would add .
I might go crazy and add some delicious kalamata olives .
Mm And some caramelized onion .
I basically just stirred this for a few minutes .
It really did come together .
I just wanna tell you don't panic because you take a look and you're like , gosh , there's a lot of flour .
This is not mixing in .
Just be a little bit of patient .
Keep moving it around and eventually you get like a big of dough .
That's what this is called , plop that in .
We're gonna cover this up .
You could either let this rise up and double in size 1.5 to 2 hours .
Just put in a nice cozy place covering that up with paper .
There we go .
So the paper makes it airtight and the bonnet just keeps it sealed down .
This is gonna go into the fridge eight hours .
But up to 24 if you want to basically overnight , I got up this morning .
The kids had breakfast .
My dough has been in that fridge overnight and I preheated my oven to 450 F .
So hot .
The key to getting a wonderful crust for the bread is to have the hottest vessel possible .
So I'm taking my Dutch oven , cast iron pot and popping this into the oven for half an hour .
But there is a catch that's so important and I would have to share this with you .
This is dark on the inside .
It's dark on the outside .
It's actually one of my favorite pots .
But if you're using like a lavender dutch oven that's white on the inside and it's like , oh my God , all the feelings , I love this pot so much .
Maybe don't use it for this recipe because it will get scorched and it looks permanently gonna have some marks on it .
Use one that you don't care about that .
You got at a garage sale or use one that's dark on the inside like this because that heat will do some damage .
This guy goes into the oven half an hour .
So my pot has been in the oven for almost 20 minutes .
It's time to get our dough out of the fridge .
If you're making this just straight through and you're not doing the overnight method , you can skip this .
But if it was in the fridge , just let it come to room temperature a bit .
So give it like 10 to 15 minutes on the counter to warm up before you shape it .
And so important for you to grab a trivet because you do not want to put , put a 452 degree pot on your counter .
That's a recipe for cracks and disaster pot still in the oven .
But this has been on the counter for like 10 to 15 minutes .
So take a look and you're like , oh , it's so disappointing .
I don't like it , but it's gonna get fixed .
It smells delicious though .
First off , I'm just going to kind of use a little spatula and make sure this dough is nice and free .
Now , here's the deal .
We're gonna do almost all the work in the bowl and it's so easy .
You take one end and you flip it over to the other .
Rotate the bowl , 90 degrees .
Repeat the process , rotate the bowl flip three .
So as you continue to do this , you're shaping the dough and it's gonna take on a nicer smoother finish .
It'll look more appropriate .
You'll see 90 degrees 4 , 90 degrees five , 90 degrees , 6 , 90 degrees 70 come take a look , see it's already looking so much smoother .
So see , it looks so much smoother already .
So 90 degrees 8 , 90 degrees nine , I'm at nine rotations , nine flips .
So I'm gonna put this onto a lightly flowered surface and lightly flower my hands too and finish the job up .
I wanted it to release gently because it's looking so much nicer .
Now , here , I'm just gonna gather this up like one giant dinner roll .
Your dough should be holding its shape into a little loaf and you can just shape it .
So it's nice and round transferring this onto a sheet of parchment paper .
I'm gonna let this just sit covered for about 10 minutes .

I just want the dough to relax a bit so that it can really open up and have a nice structure .
This pot can stay in the oven for longer than 30 minutes .
So , don't worry if you're running behind and think you have to rush , it can get really nice and hot .
It's only gonna make things better .
So my dough has been resting for about 10 minutes .
It can rest up to 30 if you're busy .
So don't worry if you think it needs to be totally exact .
You're just letting the gluten relax a bit because we're gonna cut a beautiful slit in there to control the baking .
I don't have the special bread knife that you use to cut dough .
It's called a bread lame .
I should buy one though , but I do have utility knives for my various home improvement projects and they work just fine .
You could also use any super sharp knife you have at home .
So we're gonna cut a one quarter inch deep slit over the top and it doesn't have to look beautiful .
It sits there to let the bread expand nicely during the bake .
The only nerve wracking part of the recipe is this .
So that is very hot .
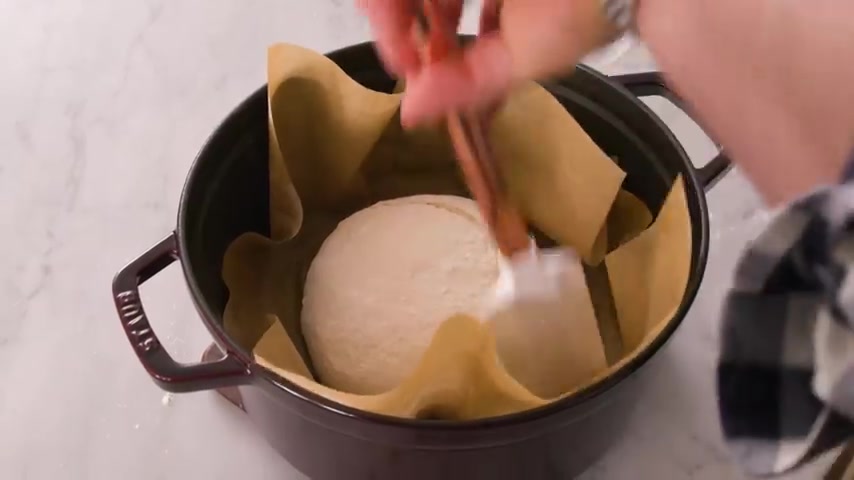
Do not burn yourself , get your oven mitts out or whatever you have .
OK .
So we're gonna carefully plop this right into our pots .
Oh It's hot in there .
This is hot , don't forget .
OK .
This is going into the oven .
450 F for half an hour .
Then we're gonna remove the lid .
Bake it up until it is gold and brown .
Around 15 minutes .
Maybe 13 , maybe 17 .
Really depends .
Right now , this is gonna cool down for a few minutes .
Then we'll carefully remove it and give it a cut once your bread is cool .
Transfer it over .
Look how beautiful that is .
And this was so easy too .
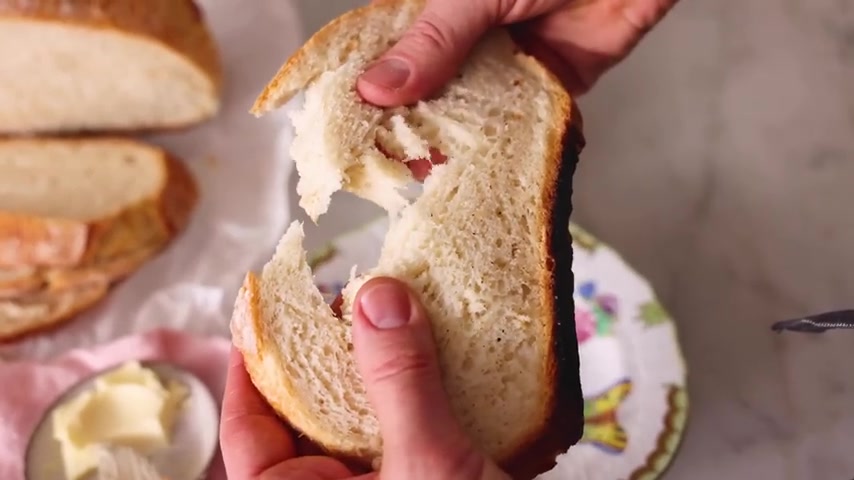
The test is in cutting it open and seeing what's inside .
Look at this .
You heard how crispy that was on the outside .
So soft and it smells amazing and we made it ourselves .
The boys are gonna tear into this but I get the first bite .
Mm That is just delicious bread .
It's freshly baked .
No preservatives made with love so soft on the inside and crisp on the outside .
I hope you had a chance to make this recipe .
And if you like this video , check out my bread playlist .
Partnership
Are you looking for a way to reach a wider audience and get more views on your videos?
Our innovative video to text transcribing service can help you do just that.
We provide accurate transcriptions of your videos along with visual content that will help you attract new viewers and keep them engaged. Plus, our data analytics and ad campaign tools can help you monetize your content and maximize your revenue.
Let's partner up and take your video content to the next level!
Contact us today to learn more.