https://www.youtube.com/watch?v=7W3TwaIAlLo
2023-07-11 07:11:46
TWO reasons your sourdough doesn't SPRING like this 👆

All right .
So two days of the sourdough process has led up to this moment , the most exciting part of baking sourdough , the oven spring where dreams are made and dreams are also crushed .
So let's take a look at what's going on under this lid .
Oh , yes .
Oh , yes .
Beautiful oven spring , nice and light and fluffy .
Turn that off .
Now a lot of first time bakers beginner bakers , their bread might not look like this .
And I know that because thousands of people have sent me in their bread photos especially early on in their journey and their bread just isn't perfect .
It's decent , but it's not great .
And they're looking to take it to the next level .
And I always recommend two things , two things that I've learned over the years that once corrected really enhances your bread from good to great .
And that's what this video is about .

I'm gonna be taking you through the entire sourdough bread baking journey , but I'm gonna be isolating two main steps , breaking them down in depth , talking about the proper techniques .
You need to really take your bread from decent to fantastic sourdough at home .
Now , back in the oven to get nice and crusty .
So , a few years ago , I apprenticed at a bakery in Brooklyn and I learned a lot about sourdough bread baking .
And when I was done , they gave me some of their starter that they had been feeding every day and cultivating for years .
And I went home and baked bread with it and it turned out incredible , tasted just like the bread that I had in the bakery .
And I realized in that moment how important having a really well fed active sourdough starter is and to help you who really understand why that is so critical .
I'm gonna break down some very simple sourdough starter science .

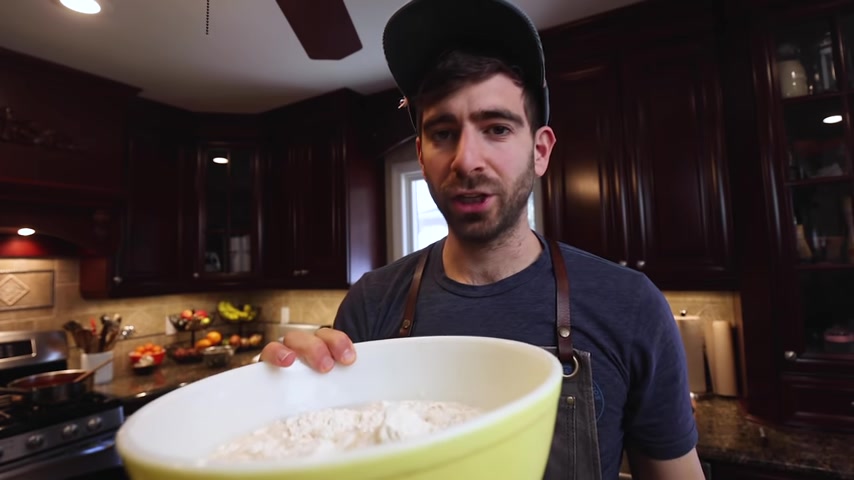
So this right here is my sourdough starter and it's just flour and water mixed together to create a colony filled with yeast and bacteria which will naturally leaven our bread .
So to make it well , we start off with a vessel of some sort .
And like I said before , we've got water and we have flour coming together .
These are the only two ingredients you need .
Now , we mix these together in equal parts and we get a dough just like this , but we don't have much activation in here just yet .
So what's crazy about living here on earth is we have these micro organisms that are hanging out just everywhere in the air , in the flour .
And what we're doing with this sourdough starter is by mixing the flour and water , we're creating the perfect environment for two of them to really thrive .
We have yeast here and we have bacteria .

And the reason they love this environment is because when we water and flour together , the yeast and the bacteria , well , they can feed off the sugars that are available in the starch , they munch up on those sugars and the byproduct that they release .
Basically , their farts are co two , that's the gas that's released , which gives our bread air .
But also as they eat the sugars , they replicate .
So when we keep feeding every day , flour and water , we start to bring in more of these yeasts , more of these bacteria and our environment gets a little more active and then the yeast and bacteria run out of food .
We feed them more flour and water .
They feed off the sugars , more action .
They start to multiply and our colony gets a little bit more active .
And this is the reason why we have to be disciplined with our starter .
When we're making bread , we have to keep feeding these micro organisms that flour and water every day .

So they get their food so they can thrive just like humans .
We're creating the perfect environment for them to really thrive and multiply to the point where your sourdough starter is nice and bubbly .
You're getting a great rise and it's pretty much overflowing out of your vessel .
So , constant feeding of your sourdough starter every day , really keeping up with it is what's going to give you that nice active colony of yeast and bacteria , which will then lead to really good bread .
But if you're starting completely from scratch or you're just struggling getting a nice active sourdough starter , you can click this link right here and download my free PDF of my ultimate sourdough starter guide , which really holds your hand through the entire process .
So now that we understand a sourdough starter , I have to feed mine to get it active to make some bread .
So I'm going to take 85 g of my sourdough starter and feed it 100 g of all purpose bread , flour and 100 g of water .

Now , I'm not super picky on getting exact water temps when it comes to making bread , but it is worth having an awareness of the temperature of your water because it can dramatically affect your fermenting time .
So generally I'll just go by feel and something around room temperature is a nice controlled sample for me .
Now , my sour dough starter mixer of choice is an oversized chopstick .
This thing gets the job done and once it's well incorporated , it should look something like this .
Almost a thick cake batter which is a one 100% hydration sourdough starter .
And I'll just use that chopstick to really scrape down the sides .
So I have a nice window into the activation process .
So my starter is fully activated .
You can see it's slightly rounded on the edges .
Can you see that ?
There's a bit of an ellipse there .

You don't want a concave , that means you've run out of fuel , you want it just at the top and I started it at 7 a.m. and now it's 11 30 .
So it's been about 4.5 hours .
But just remember your starter might activate completely different , depending on how powerful it is .
And also the temperature of your house , the time temperature of your water , there's a lot of variables to keep in mind .
But we are ready to make some dough .
You can do this by feel .
Of course , I'm gonna use a scale to give you a better understanding of measurements .
And I will tar that with this bowl on top and I'm gonna start off with some whole wheat flour .
This is gonna be a predominantly a white flour loaf .
So it's gonna be nice and fluffy .
But I do like a little bit of whole wheat in there just for fla flavor .
So I'm just gonna do 100 g of that .
And then I'm gonna go in with bread flour .
Now this is white all purpose bread flour .

And I'm gonna take that measurement up to 700 g because I know that 700 g is what two of my proofing baskets can handle since I've baked with these ratios before .
Now , the beautiful thing about using a scale is that once you have this flour measurement all I have to do is pick my high levels , which I'm gonna go at about 80% hydration .
So , if I take that 700 multiply it by 0.8 0 560 g is the amount of water .
I need to get me to an 80% hydration .
Dough .
Oops , I didn't tar that .
So 700 plus 5 60 .
All right .
I need to get to 12 60 since I didn't tar that .
I'm actually stopping just a little before 80% hydration because this is 100 percent hydration , the starter .
So that will increase the percentage just a little bit .
All right , one quick thing I want to cover is Auto Lease , which you've seen me do if you've watched any other sourdough videos .
Now , auto lease is the process of mixing these two ingredients together without your yeast yet and just letting them sit .
And what happens is once the h2o hits the flour , those gluten bonds start to develop and you're giving this dough a head start before the yeast goes in .
But to be honest , I've been making los recently without auto leasing and they've been coming out great .
So I'm gonna skip that step right now and go straight in with the sourdough starter .
I'll tar that .
I will just add a big old gloop of this .
We'll see how much it comes out to anywhere from 10 to 20% sourdough starter .
That's 100 and 60 g , that's totally fine , 10 to 20% of this number right here , everything goes off that top number , the 700 g .
Now , finally your last ingredient is your salt .
Actually , I'm gonna use a better salt for this .
I do prefer using a fine sea salt .
It's just gonna have a much better time incorporating into this dough compared to a coarse crystallized salt like this .
And to get the salt ratio , the salt is always around 2% of your flour .
Again , everything going off that flour .
So I'm gonna take 700 multiply it by 0.2 zero , 14 g of salt .
Oops went a little over .
That's totally fine .
I did 18 g and there your baker percentages right there .
It's gonna give me two loaves .
You can follow this exact recipe or you can adjust it to your own liking right now .
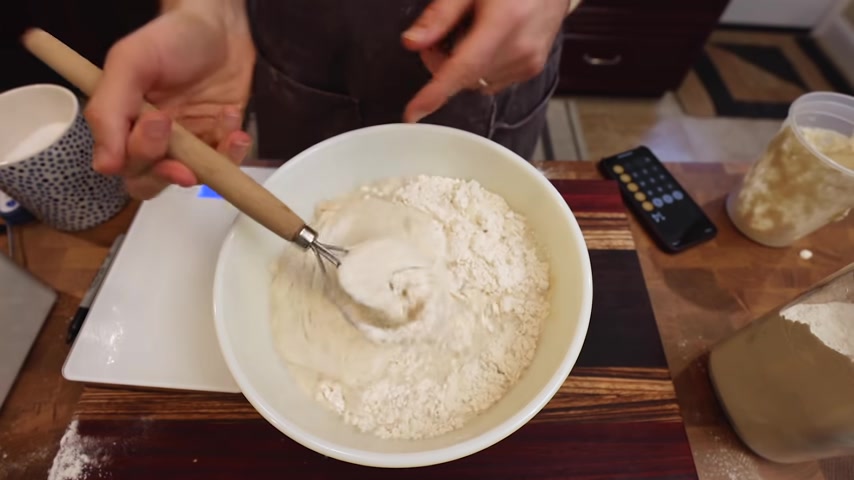
This is a dough whisk .
A lot of people ask what this is does a great job at just bringing this dough together .
You just wanna make sure all that water is hydrated into that dough .
So now that this is mixed together , I'm just gonna take a wet rag which I like using throughout this entire process to just keep the dough damp .

And I will leave that for about 10 minutes to just let everything relax .
Let all those glutens chill out for a bit , right ?
Because this dough is super sticky .
I'm gonna start off with just a few slap and folds and you'll see , I'll have this water bottle or water sprayer here .
It really creates a beautiful non stick surface on your hands where this really wet high hydration dough is not gonna stick too much to your hands .
I mean , you'll get some sticking .
But so I'll just give it a few slap and folds right now since it's super loose and that gluten has not done much bonding yet , but you can already tell it's starting to get smoother after just a few folds and some resting time .
So I'm just gonna let that sit , pop this on and I'll come back to it in 30 minutes from now on .
We're gonna be taking 30 minute intervals to work this dough .
30 minutes later .
You can see how much the dough has relaxed , gonna skirt my hands .

You can always give the dough a squirt too .
I'm not really gonna slap and fold .
I'm just gonna do some coil folds like that pretty much just wrapping the dough .
And you can see the , the structure is already getting better .
The dough is getting smoother and the dough after just a few fold overs will start to resist a bit .
You don't want to overstretch this dough .
You don't want to rip it once it starts resisting .
That's when you know you're good to go to just let it rest .
You see how quickly that dough transformed .
We're so used to needing dough and overworking dough from like standard pizza dough that it almost seems counterintuitive to be gentle with it .
But just time and a little bit of work will really transform this dough into something nice .
So I'm gonna give it another 30 minutes .
We'll check back in soon .
Right .
Spray .
You can see continuing to gain structure holding its shape just a little more every time .
And this might be the final folding that we need .
Let's see .
So you can see this dough is real , really smooth .
It hasn't gained much volume , hasn't really proved .
But the feel of it , the structure is coming along very nicely .
So we're ready for the next phase , which is the bulk rise , add a little bit of oil just to help it not sticking to the sides and then we'll just toss that right into the container .
So that brings me into the second biggest issue .
I see all the time with sourdough bakers , especially beginners when you're using a sourdough starter for the first time .
And you're getting used to it .
It takes time for this next process to really kick in which is the bulk Ries process .
A lot of people are used to things like instant yeast or rapid yeast .
So the bulk rice process is when they tell you to let the dough double in size and when you're using an instant yeast , that process happens really quickly .

So you can watch it and pretty much see it happening before your eyes .
So it's really easy to nail down .
It's why people love instant yeast .
It speeds up that process .
But while speeding up that process , of course , you're losing flavor , which is the beauty of slowing down that process .
But what I see is when people start getting into sourdough for the first time , they're just not used to that slow fermentation process and they end up under fermenting their dough , under proofing their dough .
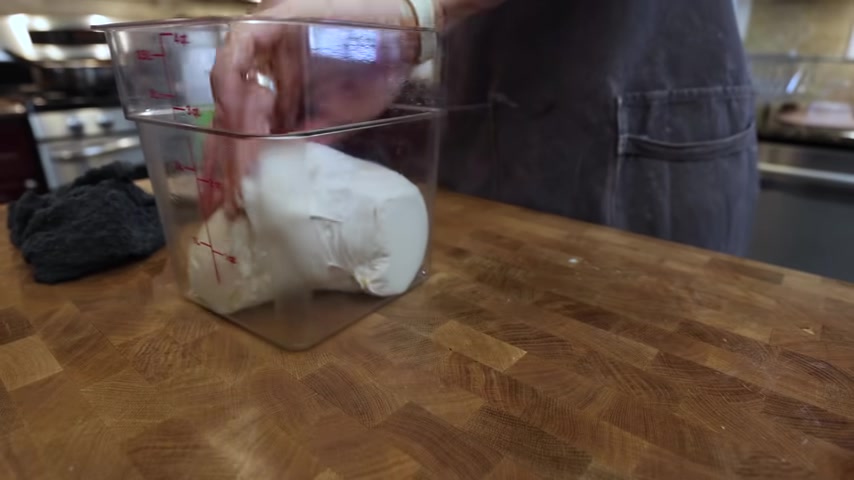
So having a container like this has completely revolutionized my sourdough baking .
Even for someone like me who's been baking forever , it's really nice to see exactly what's happening .
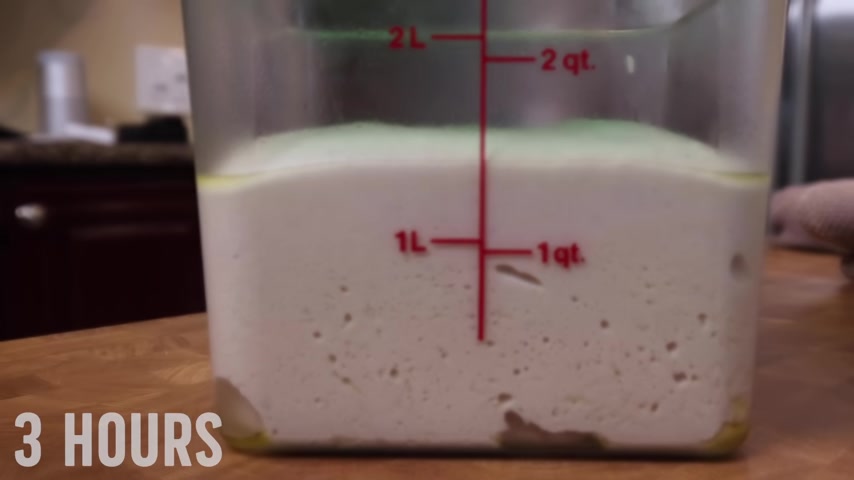
So when it goes from one liter , you can see the peak of it is just above that one liter mark .
When it's up around that two liter mark , the peak we know this thing has doubled in size and we can cut off this bulk rice .
So I don't know how long that's gonna take .
Again .
We've got variables , temperature of your dough temperature of your environment , activity in your starter .
So many things , that's why it's great to have a container like this , to deal with those variables .
So you can see , I didn't quite make it to the two liter mark , but that's totally fine .
Anywhere between that sort of 75% and 100% increase is gonna do you just fine and just like the starter , we still have a rounded top .
So it's still growing , leaving a little room for the next stage , the shaping and the proofing .
So you can see a lot of volume in this dough .
I'm gonna keep it wet for this stage .
I'm not adding any flour and I'll split this in two .
Now , what we're doing here is just to pre shape .

So I'm gonna kind of shape it out to rectangles and we'll do the same sort of coil folds and then we'll just fold over and link these together .
Just give these a rough shaping boom .
Now , that's just the pre shape , take a wet cloth and I'll let those sit for about 20 minutes and we'll do the final shaping , right .
So , notice that these are holding up pretty well .
They didn't completely sag and that's just on the pre shape .
So that's a good sign that's structurally .
I'm in good shape .
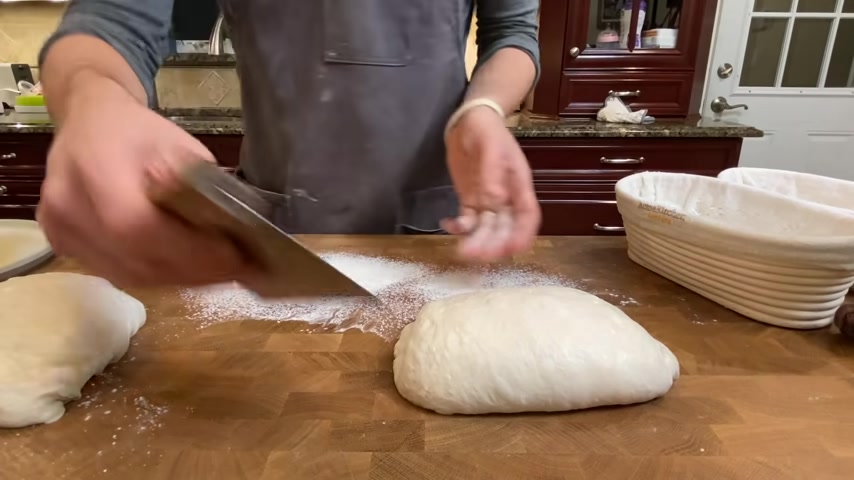
So this is the first time that I'll be incorporating some flour because these are gonna get shaped and go in these bans .
I have two , two batard shaped Banat , same size and they need to be floured up to make them not stick .
You can't put wet dough in here or you'll have a lot of issues .
So I'll just kind of Sprinkle some flour .
Now , I'll move on to the side .
I'm gonna not use that .
I'm gonna use a proper bench for this much better .
So , really , I'll do the same technique here , do one fold over one fold that way .
And now we've got a nice log .
We'll start doing some of these crossovers .
It's feeling nice and tight and then we will roll this up and tuck and start pulling with some tension and this is gonna take practice .
Of course , don't expect to get that on the first shot .
I'm still improving every time I make bread .
Now I'm just tucking in those seams .
So I have a nice rounded , we got some sesame seeds right here .
I'm gonna go seam down on that and then right into that .
So I put the seam down and then I'll go around with some flour .
This is really important .
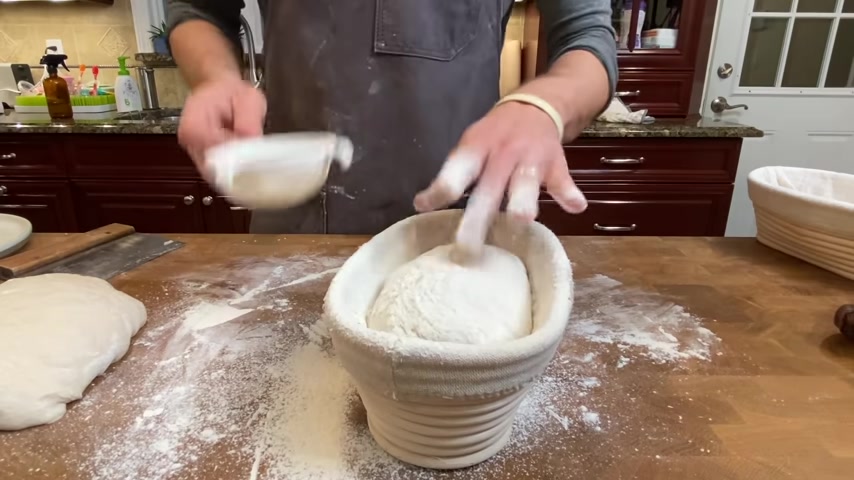
You wanna make sure because you can dust off this flour , but you wanna make sure that when this proofs out in the basket , it doesn't stick to the side .
That's a common mistake .
And when I push on this , it springs all the way back showing me of course that this is not proofed .
You can let those loaves sit out at room temperature and proof for 1 to 3 hours until they pass the proof test and then bake them .
But I like letting them sit in the fridge overnight for that long slow fermentation .
You're gonna gain a little extra flavor and also just baking bread in the morning .
Waking up to that is one of my favorite things to do .
So I will see those loaves in the morning .

As you can see , they proof nicely the best way to check if they're ready to go in the oven is a poke test .
So I'll poke in there and you see how it springs back , but still leaves a little dent .
Show you again over here , springs back just a little bit , but there's still a dent .
So our pan has been preheating for about 45 minutes .
Whoa .
Oops , we're ready to go .
I got some parchment pig there which makes it easy to transport to the pan .
Very easy .
Let's see what we got here .
Right .
See how it slips right out because I used all that flour .
But since there is a lot of excess flour , I'm gonna dust it off , do a little excavation process .
I always like this part .
Just those big clotted up chunks .
We're gonna dust off and then once you have the big chunks off , you don't want to bake that flour because it will burn .
Get it right off the parchment .

Now , I'm gonna bring in my pan .
It's just the bottom half .
Of course .
Now I'll pop this right on there rather than score it on the side .
I'm just gonna score it right down the center .
Since it's a high hydration , it's just easier to score right down the center , not the prettiest score , but it will do the job .
And then I'll pop the top on and into the oven and I'll set the timer for the first part of the baking for 20 minutes and then we'll remove the top .
This is what it's all about my friends .
Did we make good bread ?
The oven spring .
Uh , not bad .
Not bad .
Really good puff there .
Oh , look at that .
That's a nice puff .
So I'm gonna put that back in the oven and I'm going to turn the oven down .

I've been , I went at 4 75 recently for a little darker crust and I'll start that for 20 minutes .
I might go longer .
We will see .
All right , let's see where we are at 20 more minutes .
It's a beautiful looking loaf .
So color wise , I could go a little more on the toasty side , but I don't think I'm gonna pull it round two .
Oh , no , I left the lid cracked .
That's not good .
Oh my goodness .
All right .
Well , that's a mistake .
I've never made weird .
It puffed .

But like , I mean , I really don't think it would be sourdough bread baking at home without some type of , to be honest , it's just part of the game and it's kind of what makes the process so addicting .
I don't think I'm ever satisfied when I bake .
There's always something I can tinker with .
Obviously , this was a big , a big , big mess up on my end , but it does show you how important it is to have something like a dutch oven because without that steam locked in , look at the shaping of this and look at the color like , whoa , you really see the difference there .
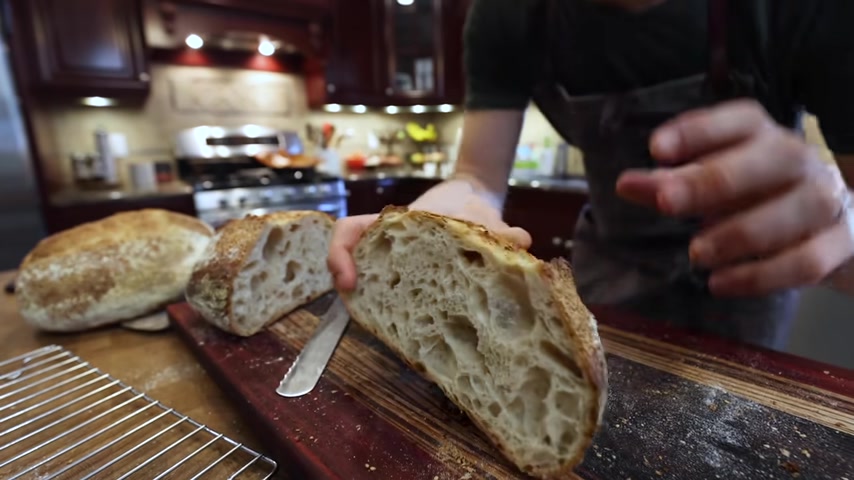
But let's slice into the good one and see what we have .
Crispy .
Crispy , crispy , crispy .
Oh , boy .
You can feel right when you slice into that .
We've got a treasure on the inside .
Beautiful stuff right there .
Super .
There's a moistness .
You don't wanna overcook your bread .
That's something I've really been focusing on recently .
I like a moist crumb and it will dry out the longer you keep it in the oven .
My friends , my friends , my friends , that's a moist crumb taste test and we'll get out of here .
Remember if you want to master your starter .
Download my free PDF right there .
Obviously , there's a lot of variables at play when it comes to making really good sourdough .
But the two I've highlighted today , they've definitely made the biggest difference from just troubleshooting so many loaves over the past few years from all of you and all of my students in sourdough .
U So hopefully this helps , let me know if it does help in the comments below and I'll see you in the next video .
Partnership
Are you looking for a way to reach a wider audience and get more views on your videos?
Our innovative video to text transcribing service can help you do just that.
We provide accurate transcriptions of your videos along with visual content that will help you attract new viewers and keep them engaged. Plus, our data analytics and ad campaign tools can help you monetize your content and maximize your revenue.
Let's partner up and take your video content to the next level!
Contact us today to learn more.