https://www.youtube.com/watch?v=9dCcTK7oJLA
2023-07-11 07:08:17
Easy Artisan Ciabatta Bread Recipe_Rustic Italian Bread_No Knead Rustic Bread
This chiba bread is one of the easiest breads that we can make at home to make this bread .
We need only four basic ingredients and we don't need any special equipments to make this bread .
And I've tried to simplify this recipe in such a way that we don't even need a proofing canvas which we usually don't have at home .
And process of making this bread is so relaxing and satisfying .
And the best result in bread is so good with that crispy crust and with that light and air soft crumb inside all that we make use in this recipe is a good technique and some time .
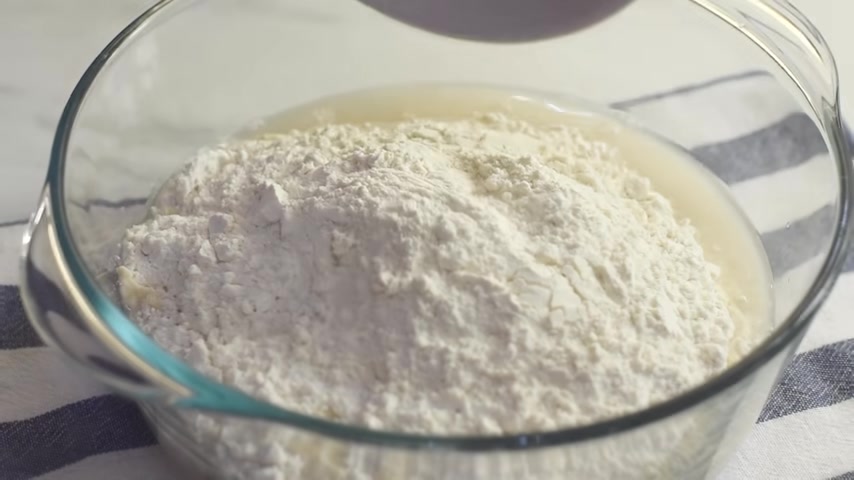
So let's see , have to make this rustic artisan Chipata bread in our own home kitchen , say let's start by preparing our bread dough into a bowl .
Add in the water .
Here , I used lukewarm water which is not called no heart but just slightly warm .
Then add in salt and yeast and mix until they get the salt and then add the flour and combine everything together .
Here , I'm using the very end of this Budden spoon to mix them together and that's it .
Our bread dough is now ready .
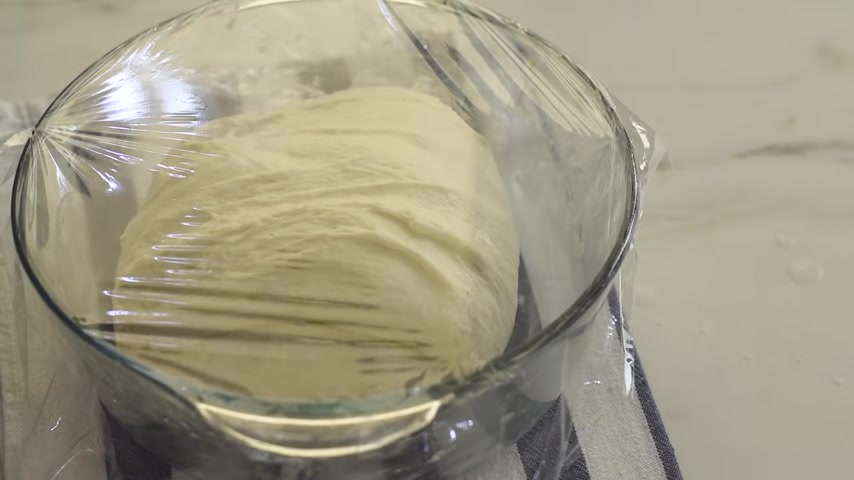
So we need to prove our bread dough for two hours .
So wrap it with a plastic film and keep it in a warm environment or on the countertop .
Usually to give more structure to our bread dough , we need to need the dough .
But as this is a high hydration dough , we can't meet the dough by hand .
But during this proofing time , we are going to do a magic which will transform our dough into a well structured dough .
So we are going to stretch and fold the dough in every half an hour , which is so satisfying to do .
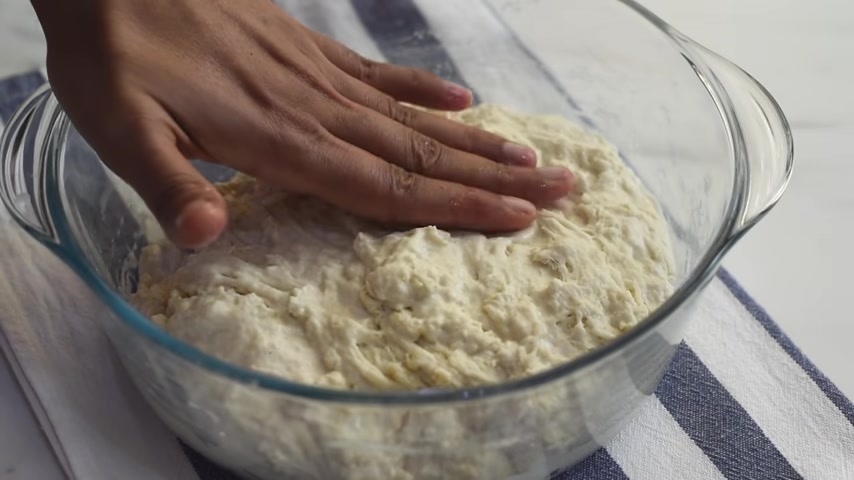
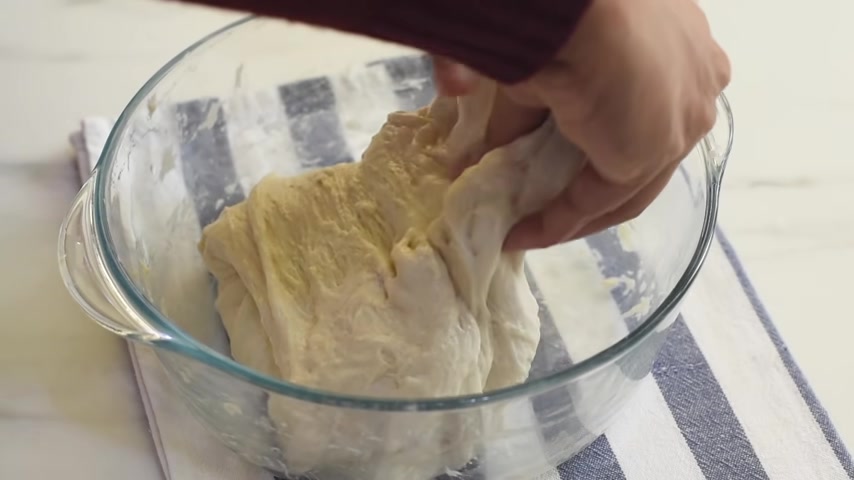
So , it's been half an hour and we are going to stretch and fold the dough to align the gluten strengths .
And now we can see if we touch the dough , it's too sticky to handle .
But here we have a simple trick .
When our hands are wet , the dough won't stick to your hands .
And it will make it easy for us to handle the dough .
Say don't forget to dip your hands in water before we do this stretch and fold .
So stretch the dough and fold it onto itself and turn the ball 90 degree and repeat the same on all the four sides .
And you may see the dough may tear at some parts , but that's OK .
It's because the gluten strands are not developed here .
I'm doing the same steps once again so that we are doing double folding in this first round and now cover it with a plastic film and keep it in a warm environment or on the counter top .
So it's been another half an hour and you can see a two has risen slightly and the gluten stands are now more uniform and more aligned .
And now we're going to stretch and fold it once again .
So we did our second round folding .
Let's wrap it again and leave it on the counter or in a warm environment for another half an hour .
And now it's the third folding or the final folding .
And now it's been another half an hour and the dough has risen well , and now let's transfer this dough onto a well flowered work surface .
And remember , our dough is still very sticky .
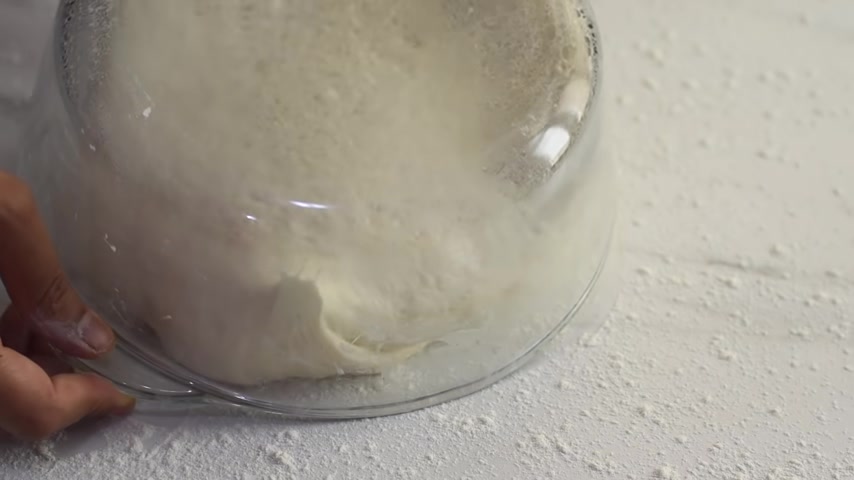
And at this point to prevent it from sticking to the surface , we need to test the work surface generously with flour and again , just the top of the dough with some more flour .
And now we need to stretch the dough from underneath and shape it into a rectangle .
And we need to take care not to deflate the air pockets completely .
And it's totally ok if we happen to digest a few air pockets here and there .
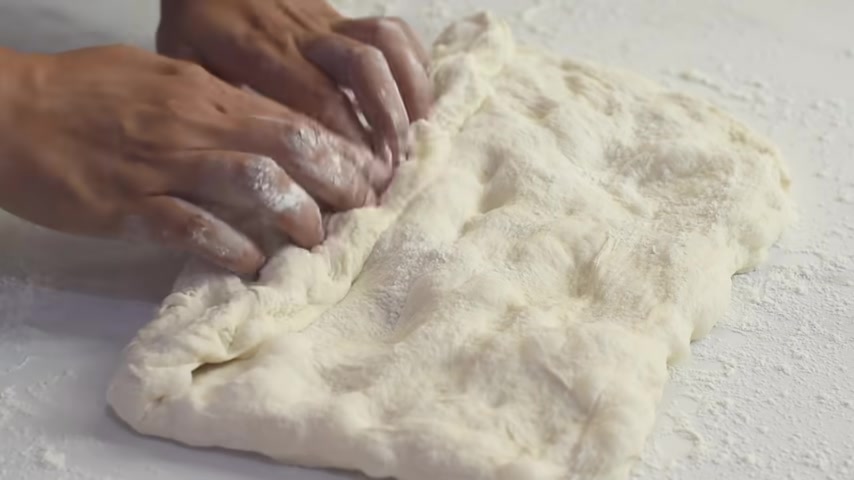
And now we need to roll it just as we roll her jelly roll and pinch the edges to seal .
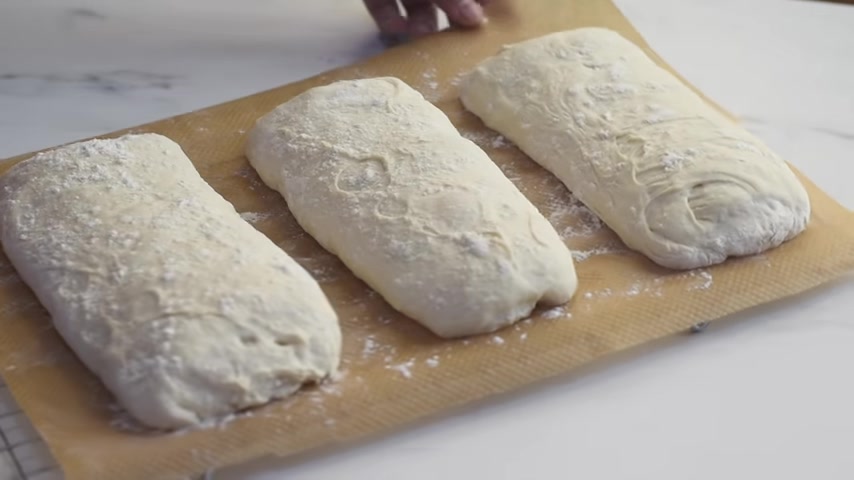
And now divide the two into three equal parts and transfer each portion into another well flowered work surface .
We need to give enough space between each dough as it will expand during this time and dust the top of the dough with some more flour so that it will not stick to the cling film .
And now we need to proof our shaped dough for 45 minutes , which is the final proofing .
And after the final proofing do has risen well and let stand with its own to a parchment paper .
And while transferring this door gently stretch the door to make it an elongated rectangular shape .
And now our dough is ready to go into the oven .
So carefully slide the parchment paper with the loaves onto the preheated baking stone .
If you have one or we can also use an inverted baking tray just as I've done here and immediately spray with some water and close the oven door and bake it 4 50 F preheated oven for 10 minutes and then reduce the temperature to 400 F and bake for another 12 to 15 minutes .
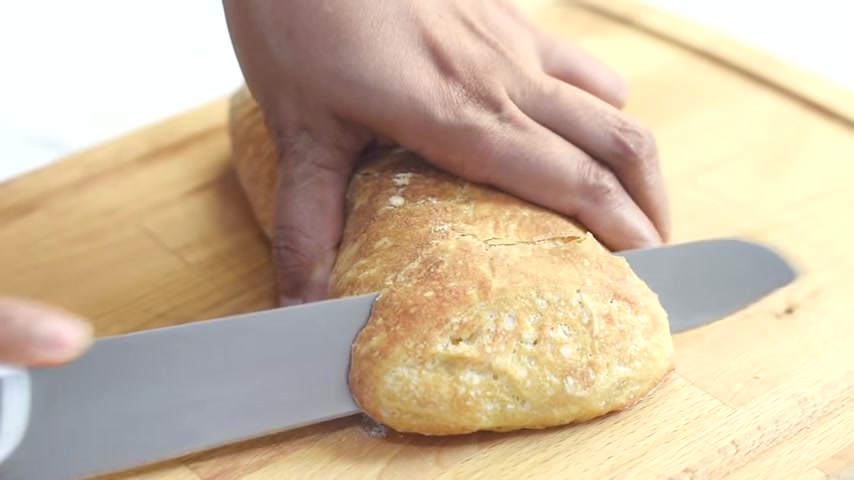
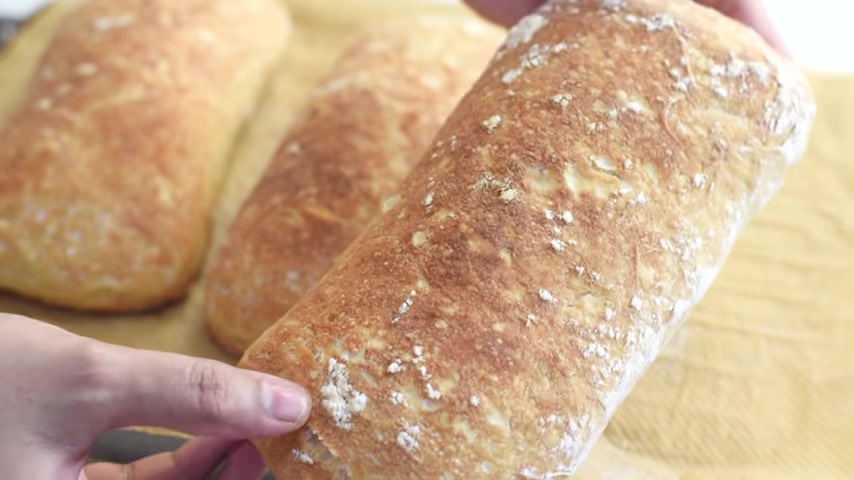
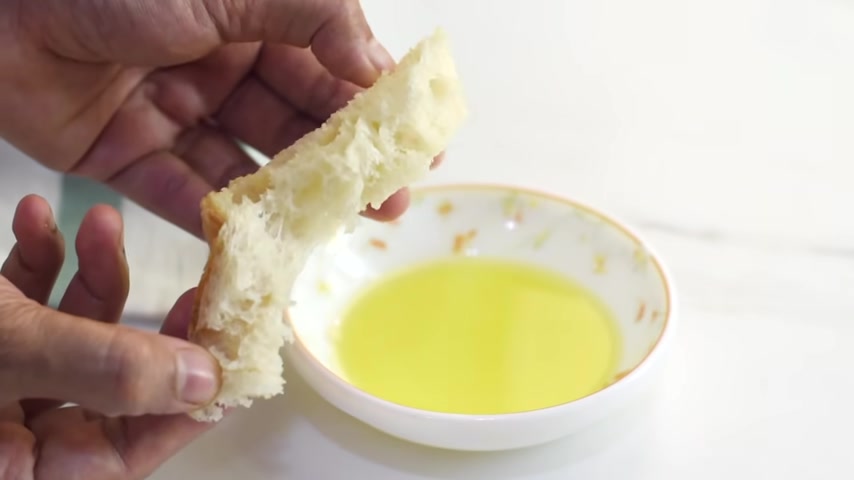
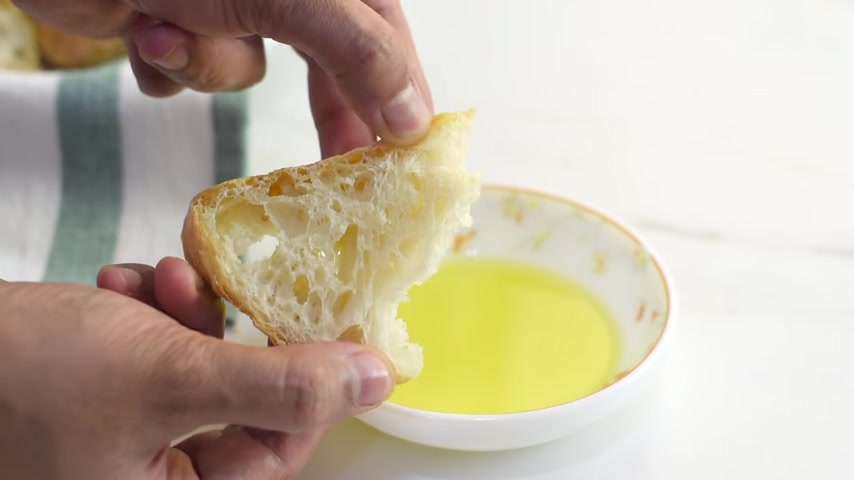
And after baking , we'll get beautiful Chipata bread , which is golden brown in color with that crispy crunchy crust and with that crumb which is super soft , full of air pockets .
And the bread is ultra light and airy and it's so good to slice them and to have them with some plain extra fu in olive oil or to slice horizontally and to make a sandwich .
And whichever way you decide to enjoy the bread , I'm sure you will love the texture and flavor of this bread .
And I hope you will make this at home and I hope you will not only enjoy the delicious bread but also the process of making it .
And if you like this video , please give your valuable thumbs up and please write to me your valuable comments and please don't forget to share this recipe with your friends and family who love baking bread at home .
And thank you so much for your love and support and thanks for watching this video .
See you next time .
Partnership
Are you looking for a way to reach a wider audience and get more views on your videos?
Our innovative video to text transcribing service can help you do just that.
We provide accurate transcriptions of your videos along with visual content that will help you attract new viewers and keep them engaged. Plus, our data analytics and ad campaign tools can help you monetize your content and maximize your revenue.
Let's partner up and take your video content to the next level!
Contact us today to learn more.