https://www.youtube.com/watch?v=GDknRmdjvTU
2023-07-11 07:10:25
Homemade Whole Wheat Bread - Bonita's Kitchen

Hi , welcome to Bonita's Kitchen and thank you for joining us .
What I'm going to be making today is all wheat bread .
Today's episode is a viewer request and not only one viewer , several viewers , I do have homemade bread on Bonita's Kitchen for white bread , cinnamon bread , a fruit Christmas bread and a sweet molasses bread .
I love making bread personally .
So this is a treat for me to do this today .
So we're gonna be making all wheat bread 100% no , half and half .
But if you wish half and half you can .
So what I'll do is tell you the ingredients and the amount as we go .
So let's get started .
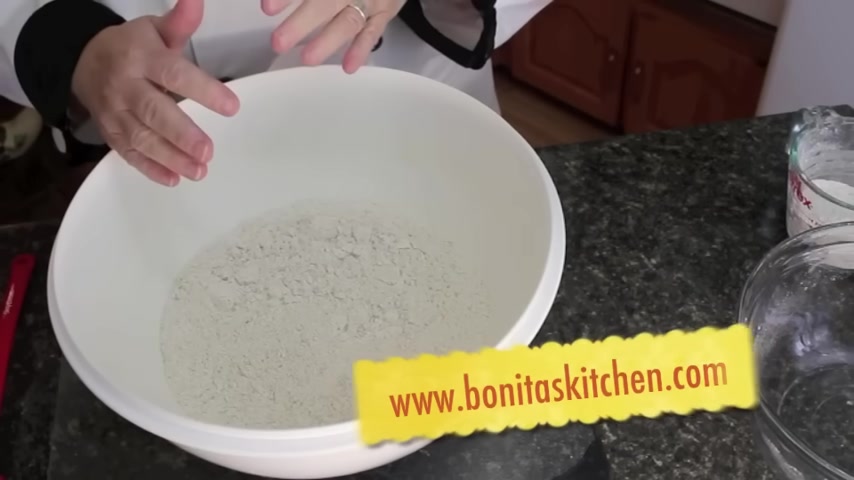
What I've got is 7.5 cups of old wheat flour .
I'm going to be putting seven cups of the old wheat flour into a big bowl .
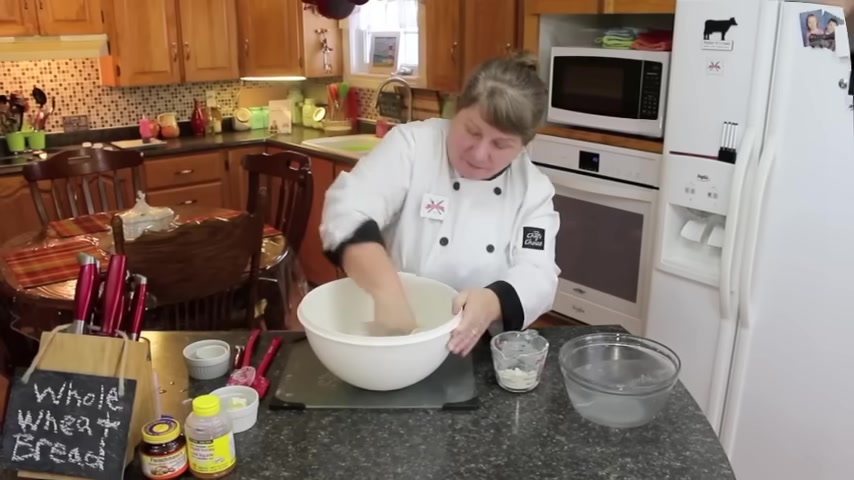
Now , for those of you that have got kitchenaid with a book , you could use that to make your bread .
But for those of you that have watched many of my videos , this is my kitchen , look my hands .
So I'm going to be making the bread by hand .
And that way if you want to um make this delicious bread along with me today , the ingredients I did post earlier on in um uh commercial that I posted earlier in the week .
But for now , we will do it by telling you the ingredients .
So that's seven cups of whole wheat flour in the bowl .
And this is a half a cup that I'm gonna keep to decide that I'm gonna use for blending it all together as we go .
So I'll start with that first ma'am , I'll make a little hole in the middle .
What you would need is three cups of warm water .
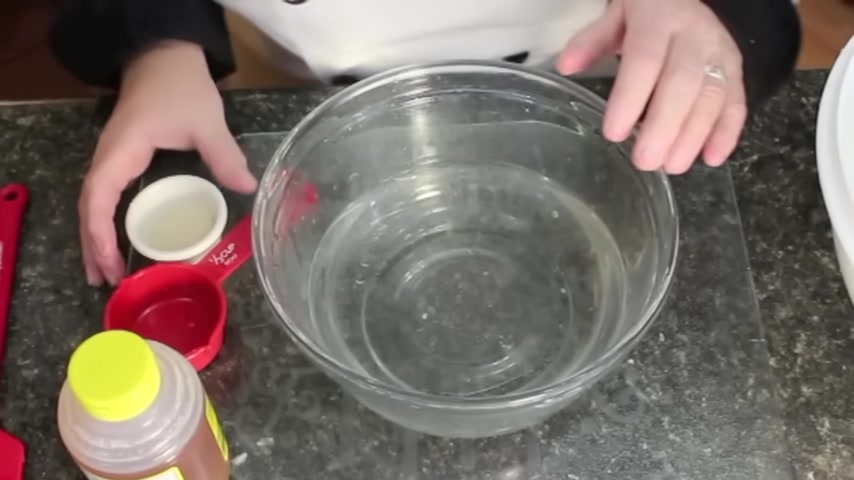
You could use tap water or you can boil it and then do a little bit of coal in which you're hot .
But it's got to be lukewarm , one tablespoon full of fast rising yeast or yeast of choice .
And you're going to toss that right on into the water and then we're going to stir it around .
What you will need now is one third of a cup of honey .
So you're just gonna pour that on in to measure it .
If you want to eyeball it , you can .
But that , that might mean that you would have a little bit extra honey and maybe too sweet for you .
So just pour this on into the bowl with your yeast and lukewarm water and then you're going to stir this around until it's all combined .
So , while you're waiting for the yeast to rise , just a little about five minutes .
5 , 5.5 minutes .
It doesn't matter while you're getting everything ready to go .
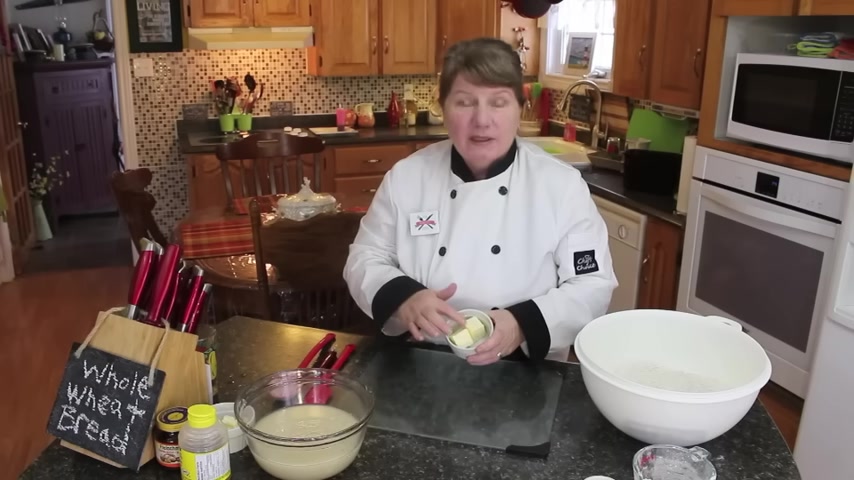
You're going to need two tablespoonfuls of butter or margarine and you will need it warm a little .
You can do that in a microwave or if you don't have a microwave , you could do it on the stovetop because you want it just about liquid because we're going to put this d directly into our flower .
So I'm just going to warm mine and I'll show you what's next .
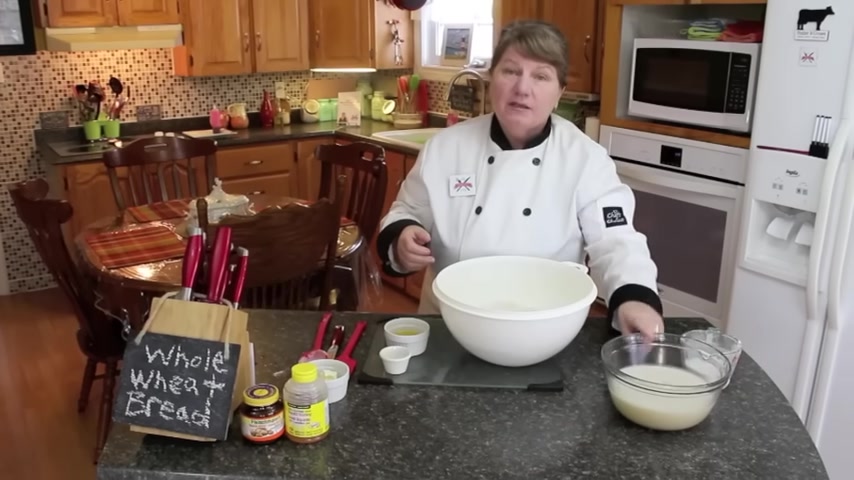
So I guess after you've melted your butter , you want for the to cool down just a little bit , you don't want it too hot , going into your flour .
So , what I'm going to do now is show you the next step after I have melted my butter , I got my salt ready to go in with my seven cups of flour .
I hope you're following along and , and maybe making this bread with me today and the yeast is coming along nice rising .
So I'm gonna show you what's next .
I'm gonna pour in the teaspoon full of sea salt and just pour it right on in there and I'm just gonna bring this on into the flour that's there .
So as you can see over it to the side , the yeast is starting to , to rise .
You don't need it much more on that .
Once your five minutes is up , six minutes , whatever .
Even if you forgot about it for a little bit longer .
It's fine .
What I'm going to do now is start adding this in to our flour first by putting in the warm melted butter right on in there .
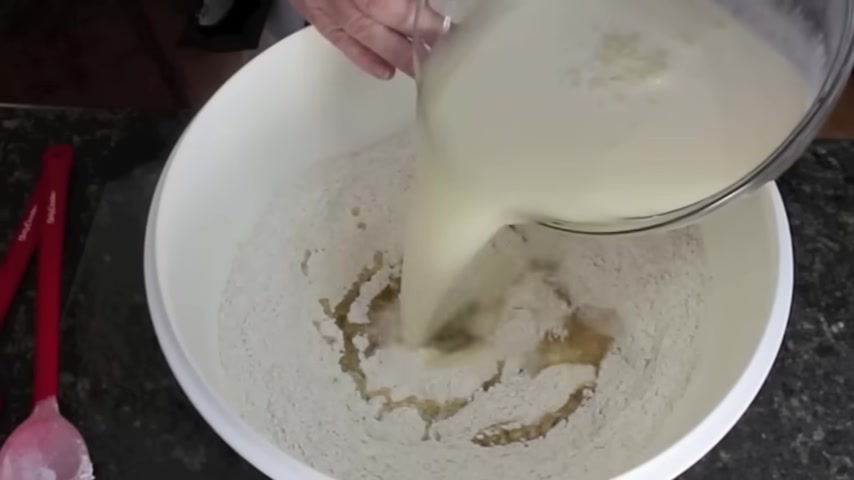
And then we're going to put in are yeast and honey and just pour it on through .
Now , if you are using a kitchen aid , you're gonna have your , your mixer going around there now and it's blending it in while you're pouring uh the yeast water and the honey .
And of course , the butter you've already poured in before .
So with a spoon , um you just stir it around and bringing in the flour each time you move the spoon until you get all of the liquid combined and the flour put in with the liquid .

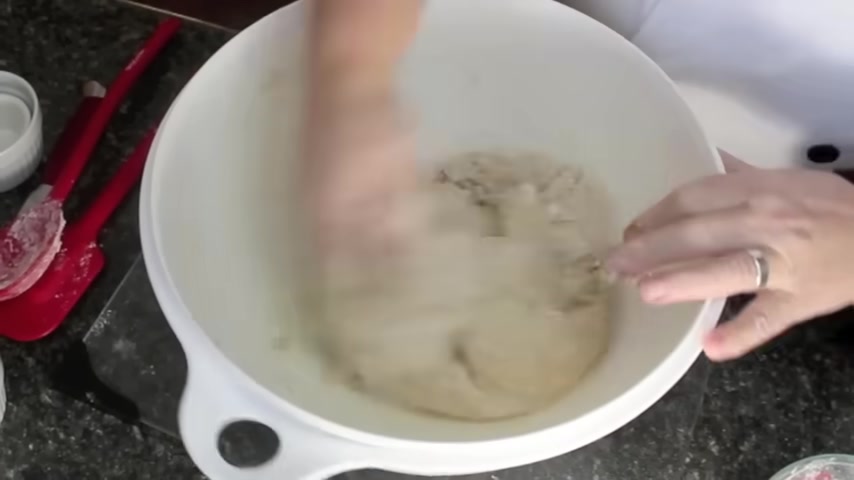
So as you go with your spoon and it starts to get too tough to mix around again , like you said , a Kitchenaid uh would be wonderful because that does the work for you .
But after it gets to the point where you can't stir anymore , you're going to use your hand and you're going to start bringing it all together .
And as the same as previous videos of making bread , working your dough is important because that's what activates the yeast and that's what makes your bread absolutely delicious .
So , as you can see , I'm working the dough in , flipping it over , pushing it down , taking anything off the sides and folding it in and good exercise .
Yes .
Right .
So as you can see you , you're just pushing the dough down , bringing it into the sides .
Now , this is where it starts to get sticky .
And you're going to say you're going to reach for your flour , your half a cup of flour that you've kept from , um , to the side , you're gonna Sprinkle it over the top .
You're going to knee it down , knee it down means pushing it with your fist downward and getting all the bread mixed together .
So you continue doing that , take any flour off your fingers .
Of course , before you start making your bread , um wash your hands good .
Um I know I didn't say it at the beginning but I just , I just think that everybody should know that before you handle food anyway and just continue doing that as you can see working the dough like this gives it that nice elasticity .
You can see how it pulls away like this and it makes it absolutely delicious and easier to work with .
So keep dousing it with flower and knee .
So I hope you're following along and you're excited to make this bread because with any dough that you're working with , it's supposed to be therapeutic .
You're supposed to enjoy it and working in your own kitchen and making bread for your family that is enjoyable .
So , pretty much all you're doing is you may not use the A cup , but just keep blending it in to your dough until it gets into a nice ball and I'm gonna show you what that looks like .
But moving the dough kneeing it , keeping that going activates that yeast and is going to make your bread amazing .
So I'm gonna continue doing this and then I'll tell you what's next .
So as you can see the dough is starting to come to get a nice and as I'm pulling it , it's staying in place .
So that's a really good sign that you don't need to do any more than that .
You're going to flip it over now .
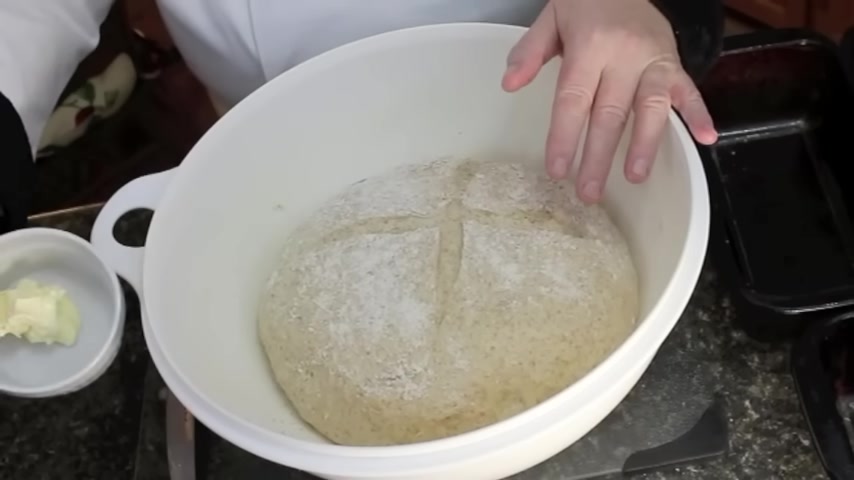
You probably know that I put the sign across on my bread , all of my bread .
And then after when I do that , that is optional for everyone .
But what's not optional ?
Just open your bread a little bit with a knife .
You can do it as a cross or you can do it as a happy face as whatever you want to put on there .
And as your bread starts to rise and it just needs to be about the same size as this uh in size again .
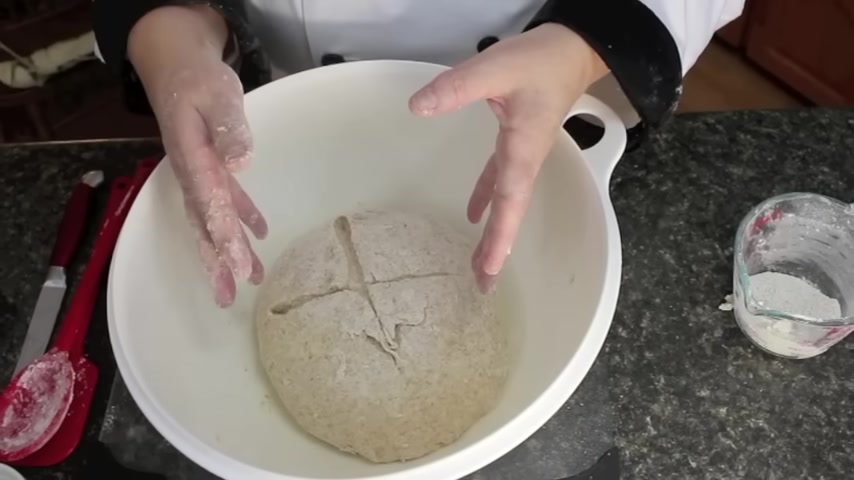
Um You'll see this opened up and you can see the texture of your bread as it's rising and you can tell that it's got all that nice textures and you can see the air between it .
So what you're going to do now um is cover the top of the bowl and I'm going to tell you how you're going to do that to keep your bread warm .
So after you got that done , you got your opening in the dough , you're going to need to cover it .
Now , I got a lid for this bowl .
If you don't have a lid for the bowl that you're using , put a plate over it or something , just to keep it covered .
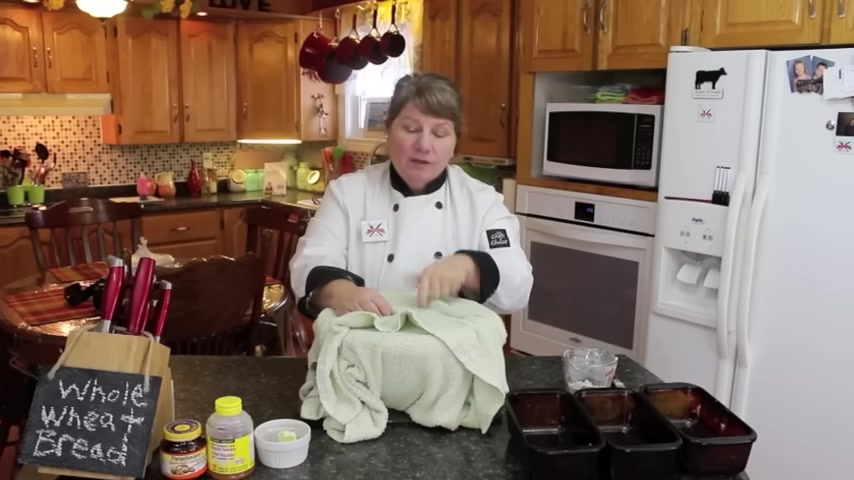
And then what you're going to need is a nice towel .
A big towel because you want to keep your dough warm .
The biggest thing to getting it to rise quicker is to have the dough warm .
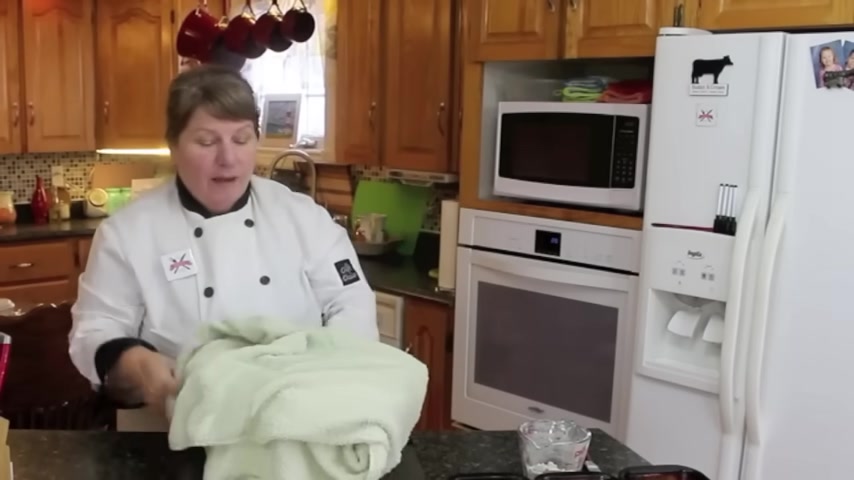
So what you're going to do is get a nice big towel , wrap it in like this and put it in a warm place in your kitchen , either by a window with the sun shining in or , or a light over the hood of your stove .
But keep it there like this , let it rise for about 20 minutes .
Then after the 20 minutes is up , I'll show you what that would look like and we're going to knee that down again and then we're going to wrap it one more time and let it rise again for another 20 minutes .
Now , some people , when they're making their bread , they'll only let it rise once but I like rising it twice because that means it's going to be twice as good .
And you've got all of that cracking in there .
You got the um air bubbles in through your bread and your bread is light .
This is a whole wheat bread .
And all wheat bread is usually heavy .
This is not heavy .
This is a very light and tasty bread .
So meet me back here in a few minutes when it's risen and I'll show you what it looks like .
So after 20 minutes , 2.5 an hour , of course , you take off the towel to your , your bowl and you're going to knee down your bread .
So I'm gonna show you what that looks like .
And as well , you're gonna need three bread pans and of any kind .
This is uh my husband's mom's bread pants .
So they've been with us for quite a few years .
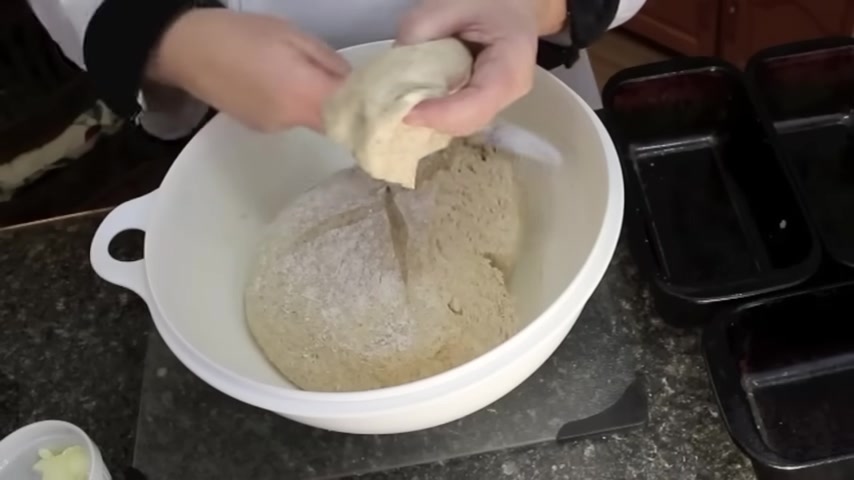
I'm going to show you now what our dough looks like .
So you're gonna take your lid off and of course to , to and this is what your dough is going to look like .
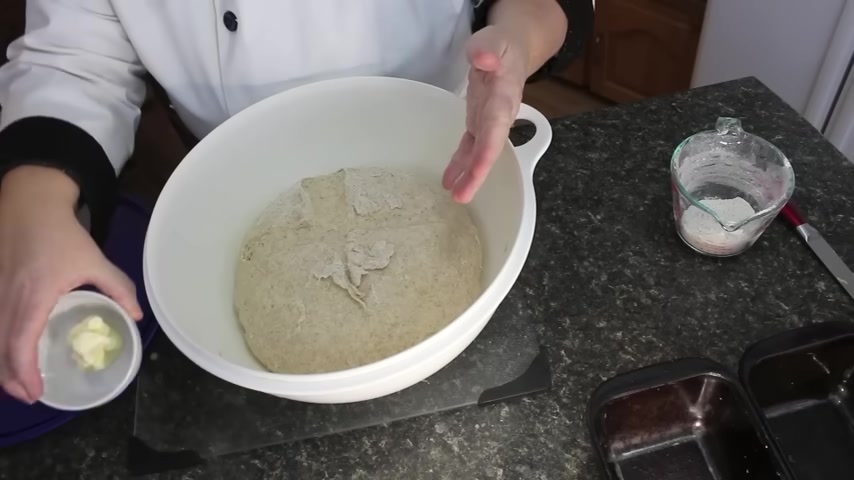
You can either start knee it without anything on your hands or you could take a little tiny bit of butter and just , you'd only need a small amount and then put on your hands like this and then start needing it and it just the oil on your hands , stops it from sticking .
So you're gonna need this down .
Just look how lovely and it's got cracking sounds .
So if I stop talking , so as you can hear what it sounds like um but it's got a little bit of cracking .
So you're just gonna knee it in like this .
If you need some more flour you know , you got the flour to the side that you add a little bit , you can just put a little bit over the top and again , take your knife and put a little cut in the middle .
So we're going to cover it again , let it sit for another 20 minutes or so .
And then the next portion is when we're going to be taking it and putting it into our baking pans .
All right , meet me back here when it's OK .
So the second stage of our rising of the dough is done .
So what I'm going to do now is show you what that looks like .
And um , then we're gonna oil our pans , our , our bread pans , we'll only need three and then let's get going .
OK .
So the big reveal again , this is what your dough is going to look like on the second rice .
So what you will do now is put a little bit of butter on your hands again .
And if you don't want to use butter , you could use flour and it's just pretty much just to hold your ends because now you're going to be making your dough , your , your small dough balls and you're just gonna lift up , you don't need at this time , you're just going to lift up the side of your bread and then you're going to cut off a portion .
So depending on the size of your bread pen , as you can see here , it's got lots of , you just look at the texture of this dough and you can see actually air olds in there .
This is the size of the ball that I need for the bread pens I got and you're going to make them like this by turning it in under .
So now what I need to do before I start layering this in my pen , I need to , to grease them .
So I'll just put this one on top there and we'll just all our pants .
So you're just going to put a little bit of butter or oil , it's up to you and just grease around each one of the pens and this helps it fall out nice .
You'll see that the bread will just pop right out when it's signed .
Now , this one here , they're old pants .
I don't even need to grease these here .
But if you got newer pens that um , is not glass , it's just a metal pen .
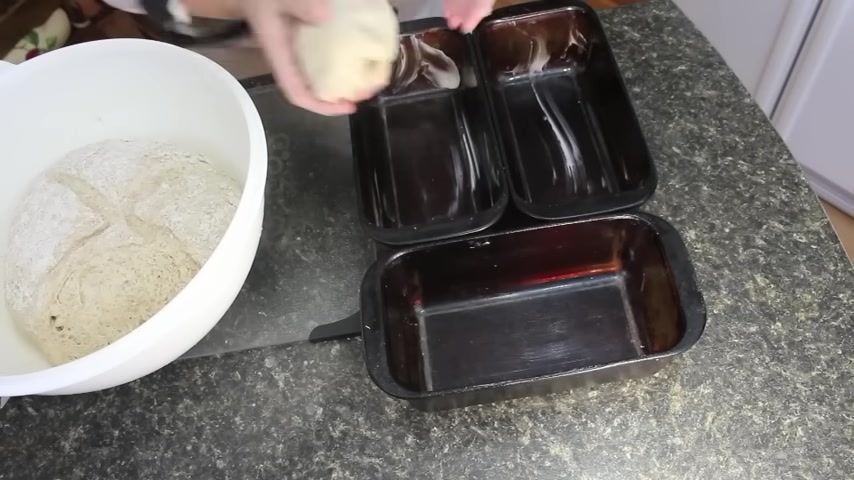
You will definitely need to grease them or put a little bit of parchment paper on the bottle .
So after you made that dough , that round dough ball , you'll just put it into your pan just like that there .
So now I'm gonna make a few more and show you what they look like .
OK , I'm going to put another little bit of butter on my hands and I'm just going to take the knife again , do a little cut of the dough about this much and again , depending on the size of your pens you're using or the , the , the bigness of the balls that you need to make your bread .
Like you might like your bread to be way up there and a slice of bread .
That's about this high .
We're pretty OK with the , the way that it been in previous videos .
If you had looked at it , it's just a nice loaf of bread .
OK .

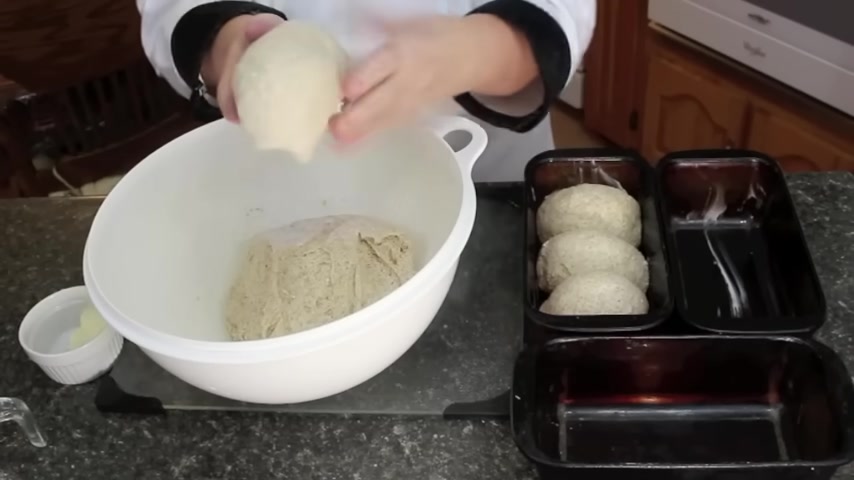
So just about this size and I'll show you now how to form a different way to make your bread and you make your balls like this .
So getting some more oil on my end and this is what your pan looks like over here with the three brown balls of dough .
So what I'm going to do now is actually get enough for one loaf .
So you're gonna take off a nice outing this time and you're going to judge it and if you need to cut a little bit more , just look how nice this dough looks there with all the , the ear ros in it .
It just look .
Isn't that beautiful ?
So now what you're going to do is go like this , you're going to make a big , you're gonna make it that it's going to fit into your pen and make one loaf of bread , not three balls .
So if you need to take another little bit , just cut it off , put it in under and form it and this will make the size that you need , then you're going to take it , put it over into your pan because when that starts to rise , you're going to see that it's going to look just as nice as this , but it's going to be all one shape .
So now I'm going to continue on and make three more pieces for this pan there and you can see the size there .
So I hope you're making yours today and making your bread along with , with me so that we both would have some delicious homemade bread at the end of this video .
So we're gonna last piece now and we're just gonna form this one into a bowl and put it directly into the pan .
So now this is for you three loaves of bread .
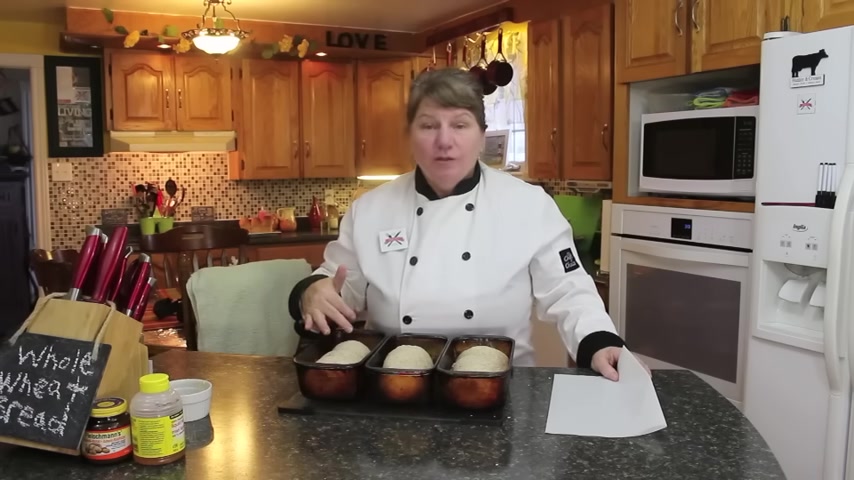
We're going to take this now and we're gonna cover it with the same towel , probably a piece of uh uh perch of paper first over the top .
So your towel don't stick to the dough and I'm gonna show you what that would look like .
What's so lovely making about making your own homemade bread ?
You , you don't have to worry about it being perfect .
Now , you've probably heard me say this in many videos you're making it for yourself .
And if anyone complains about how you made your bread , well , you don't have to give it to them , but if you want for it to be perfect , you can get yourself a little set of weights , you can weigh each piece of dough , put the dough go into it as each , each dough ball the same size and put it into your pan .
Then you know , when it rises , you're not going to have one bun that's up a little bit higher than the other one .
But to me that puts the character on your bread and as a baker for many years , I , I love that .
Look .
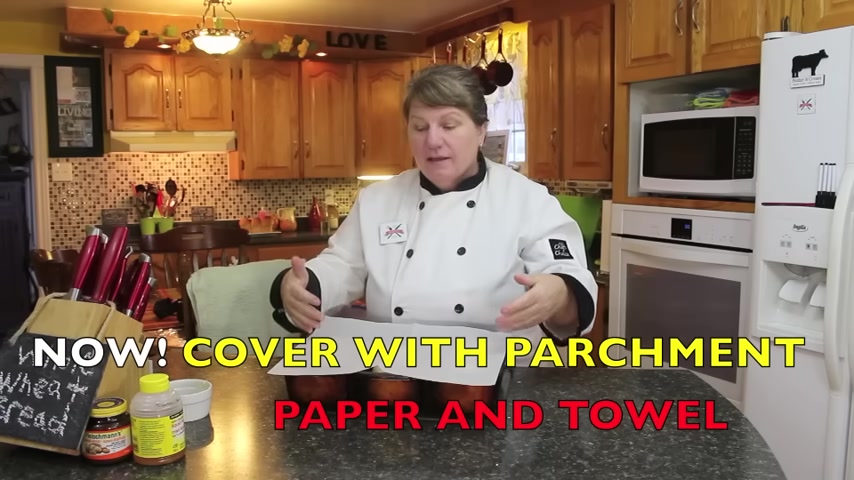
So now what you need to do is get a sheet of parchment paper or just rip it off the box and put over the top first because this is going to protect the bread as it rises from sticking to your towel .
Then you're going to take the same towel that you kept it warm while it was rising and you're gonna put it over the top like this and you're going to keep it like that for another 20 minutes to a half an hour just until it rises just a little bit above your pen because when you put it in the oven , it's going to rise that little bit more .
So meet me back here when it's finished and I'm gonna show you the final step of making your homemade whole wheat bread .
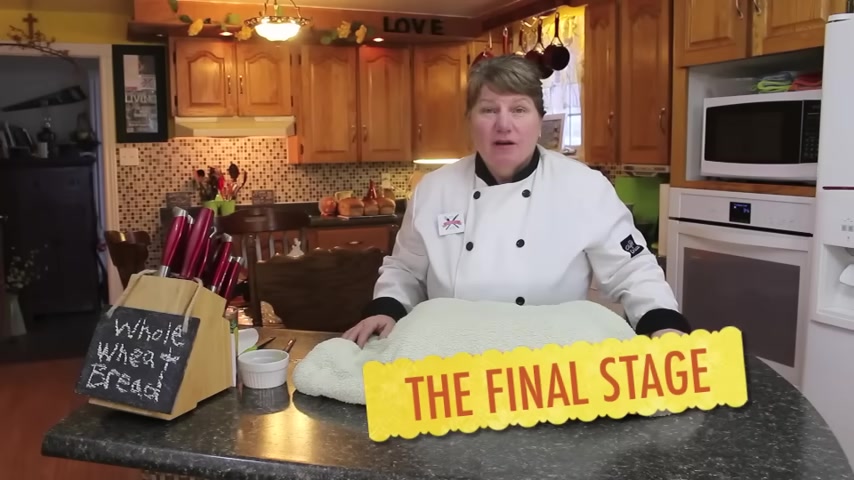
So now we're at the final stage of making our bread and getting it ready to go in the oven .
So now my bread is rose up enough now to get ready to put in the oven .
So you're just gonna take it out .
This is what it's gonna look like after it's risen .
Then when you put it in the oven , it's gonna come up a little bit higher .
You're gonna put it in a 3 50 degree oven for 30 minutes to 35 minutes until it's golden brown .
Then when it comes out , I'll show you what that looks like .
But now my oven is ready .
So I'm gonna put my bread in there and I'll show you what it looks like after .
Ok , so get mine on in there .
So from 30 to 35 minutes then when it comes out , I'll show you what it looks like .
Ok , I'm gonna take the bread out of the oven .
Now it's baked after 30 minutes and like you said , depending on your oven , it could be anywhere from 30 to 35 minutes and I'm gonna show you now what it looks like .
Ok , so now what I'm going to do is flip those set of the pens and show you what they look like on the inside .
All right , as you can see the nice golden brown and I'll do that with , oh , give yourself a little bit of counter space because they're hot , you know you kind of dealing with , of course , gets a little clumsy when you're using the other the .
Alright , so this is what your bread looks like .
So now what I'm going to do now and this is what you would do in your stage , you're going to glaze them now with a little bit of butter .
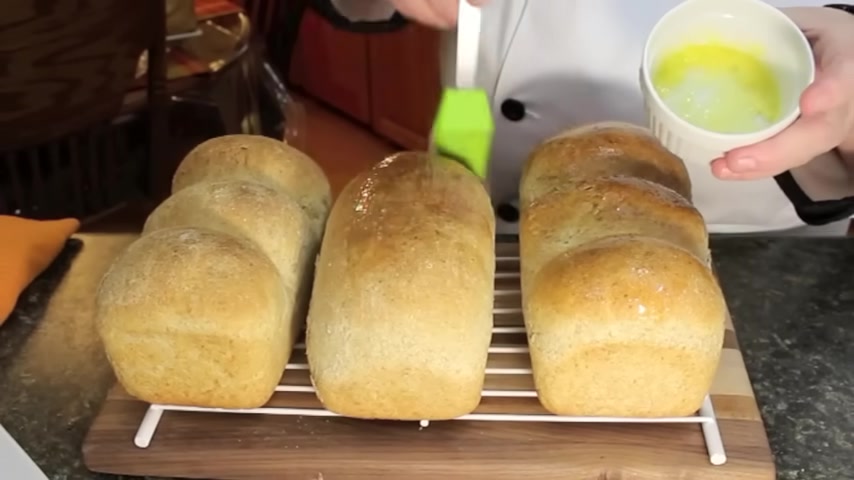
So , now what you would do is just take a little bit of melted butter or butter .
Um , it doesn't matter if it's melted or not because it's going to melt on the bread .
But you can see , I just got a little bit where I can brush it on and so brush it all around .
So it's got equal amount of butter on top .
And then what I'm going to do , I'm going to cover this then for a few minutes because if you leave it like this out in , in the open without it covered , your crust is going to get a little bit earned .
And you don't want that you want for that soft texture .
And I'm going to show you what that looks like because I got some that I had already baked actually yesterday and I'm going to show you what day old bread is just going to cover this here and they'll put another towel over the top and then just put it to the side for about 5 to 10 minutes .
Ok .
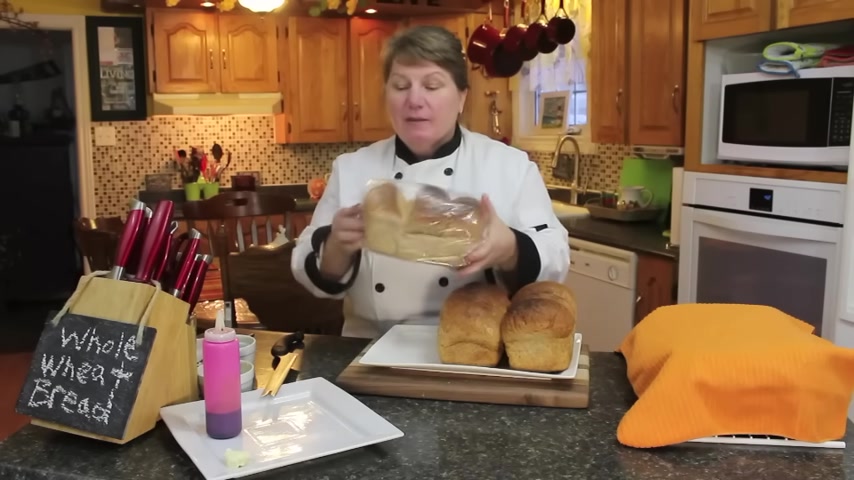
So this is the all wheat bread that I made yesterday .
And of course , when it goes to rub temperature and you're able to put it into a bag , you put it into a plastic bag like this date and put on what it is .
Of course , you know , it's all wheat bread , but just in case you got more than just one kind and this can go right in the freezer .
All wheat bread is good for a couple to three days and it won't get too stale .
But if you keep it in the fridge , after it came to room temperature , it'll keep it fresh for when you need it each time .
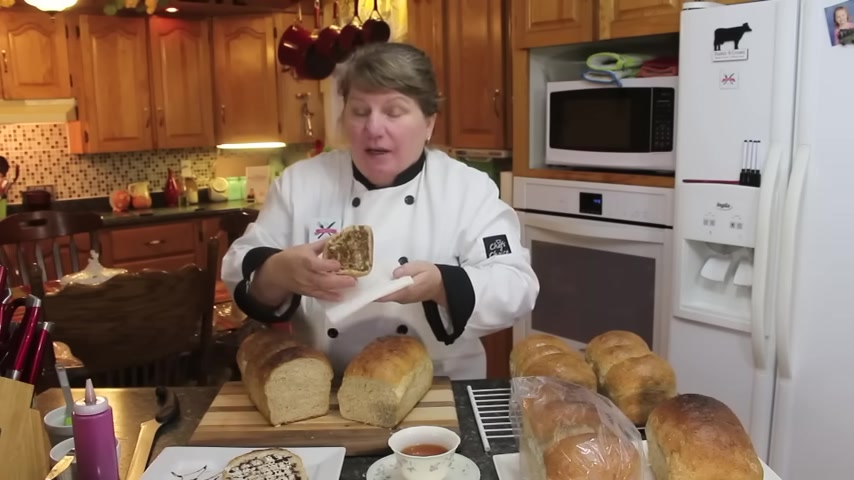
So , what I'm going to do is cut a piece of this day old bread and then I'm going to cut a piece of the fresh bread to show you what it looks like .
Now , of course , you can cut your bread a couple of different ways .
My husband likes to break away the bonn and cut it up from the inside .
I like to cut it this way .
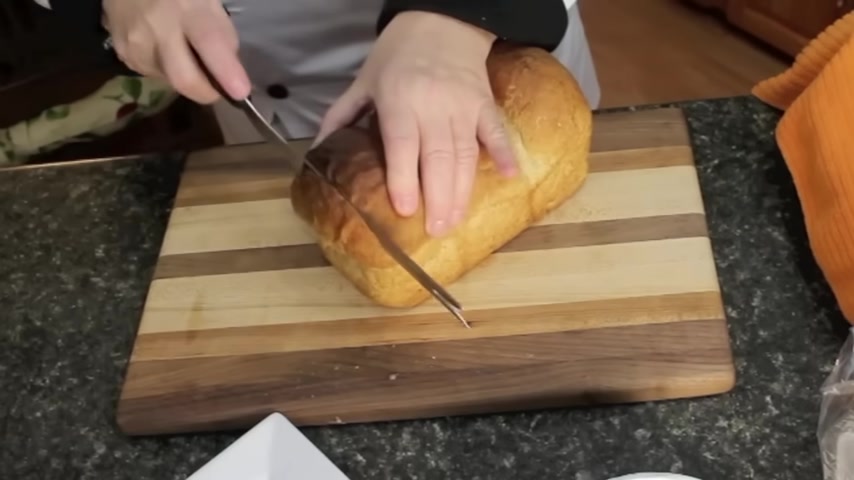
And that way you got the elder piece of bread , which is called the heel and that there is to me by far , probably the best piece of bread .
And as you can see , now this is a day old bread and you can see all the , the wheat in there .
But you can also see the , the pockets where the air is that , you know , for your bread is released .
And that was the cracking that you would hear when you are kneeing your bread .
So I'm going to put that to the side .
And now what I'm going to do , I'm going to cut a piece off the fresh bread and then I'm gonna show you what's next .
Now , what I love about this loaf of bread , as you can see is all one piece .
And when you make it , you're not certain if it's enough dough .
But you know , you can always make three balls and then put those together just to gauge what it is you need for this one .
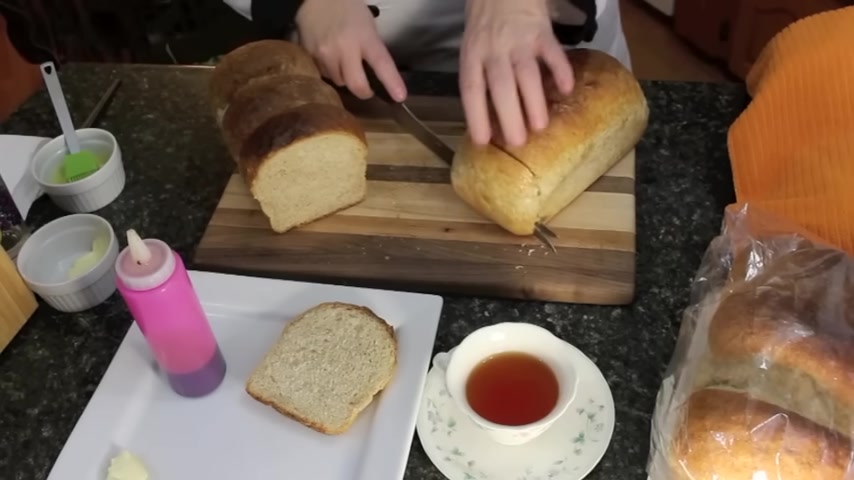
But I'm going to cut a piece off the end .
Now , this some people say , oh my gosh , don't do that .
This is blazing now it's so hot to the end .
I love cutting fresh bread .
And if my daughter in laws and sons were here , now they'll be standing there waiting for this bread to come out of the oven and have a piece .
Just look at the steam coming up from this bread .
You can see the inside and how beautiful it is .
What I'm going to do while it's piping up like this .
I'm gonna put a little bit of butter over it .
And here in Newfoundland , of course , we love our butter , but we also love molasses so you can take molasses and just squirt on the top like this .
And you have got yourself a feast .

So what I'm going to do now is take the to and the pressure , the paper off of this bread .
And as you can see the bread is nice and soft , all the buns are the same .
Even this one .
And it's only been , well , it , it wasn't an under the clock very long .
This one is still soft after a day .
So this is how quick and easy you could do your bread with , you could make it in all these steps .
But take a day that you're home , you've got lots of time .
And you can also notice there the bread that was warm and I put the molasses on it , sinked on and through and the bread that's at room temperature .
You can see the lines of the molasses just absolutely delicious .
I can't wait to have taste .
And for those of you that's baking along with me today while I'm making this all wheat bread .
I hope yours is turning out just as amazing .
I'm going to have a taste of a warm bread .
I've been waiting .
Mm So soft .
The flavor you can taste the honey even though I get the molasses on there .
Mm So delicious .
Two thumbs up by kitchen .
I just want to have a little sip of my tea before I start talking again .
So I hope you found this episode of all wheat bread .
I'm in this kitchen out for few .
These steps are meant to make it easy for you and it's not made with no machines .
It's all done by your hands and it's absolutely amazing working with dough and if you haven't done so I hope I've convinced you .
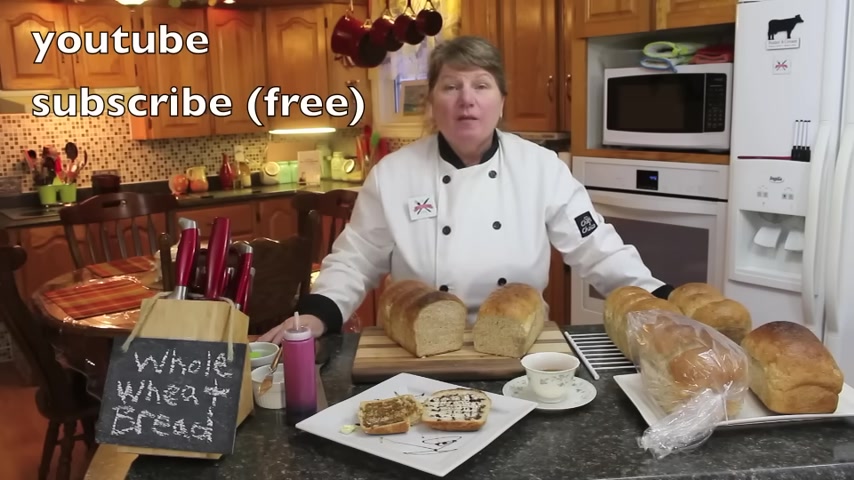
And before I go , if you haven't already done , so please subscribe to Bonita's kitchen and each time I post a new video , you will get a notification .
You can also visit me on my website , which is www dot bandas dot com and as well on our Facebook page .
So , thank you for joining us once again today for Nida's kitchen .
This episode of All wheat bread from our kitchen to yours .
Thank you and you have a wonderful day .
Partnership
Are you looking for a way to reach a wider audience and get more views on your videos?
Our innovative video to text transcribing service can help you do just that.
We provide accurate transcriptions of your videos along with visual content that will help you attract new viewers and keep them engaged. Plus, our data analytics and ad campaign tools can help you monetize your content and maximize your revenue.
Let's partner up and take your video content to the next level!
Contact us today to learn more.