https://www.youtube.com/watch?v=uObZY3YI6AM
How to Install Sheet Laminate on a Countertop
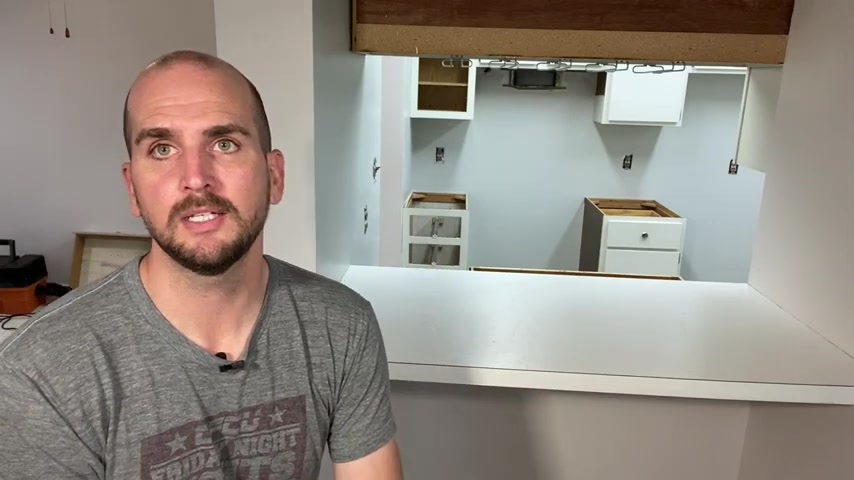
Hey , what's up ?
You guys ?
It's Scott with everyday home repairs .
And today I'm gonna show you how to update a countertop with a new sheet of laminate .
While I'm specifically doing that is because I'm updating a kitchen and the galley style kitchen .
I was able to get a four ft section of premade laminate , very affordable , uh , countertop done at the big box store and an eight ft section .
And that's gonna cover all the countertops in the kitchen .
But then I still have this breakfast bar that I want it to match .
This is a custom dimension .
It's nothing standard that you're gonna be able to get .
So my options were to get the dimensions , bring those in and get a custom counter , which is obviously going to be a little bit more expensive even though it's enlightenment .
And about two weeks , usually lead time to get that or same day , pick up the supplies I needed and a sheet of laminate and just update this because this is still solid .
The , the surface is still adhered and it's , it's good to lay another sheet on top of .
So this is a very approachable project , but there are some tips and tricks like anything to go through to make sure you're approaching it right , saving time and also saving money .
So , let me walk you through how I updated this countertop and hopefully it helps you with your project .
Let's jump into it .
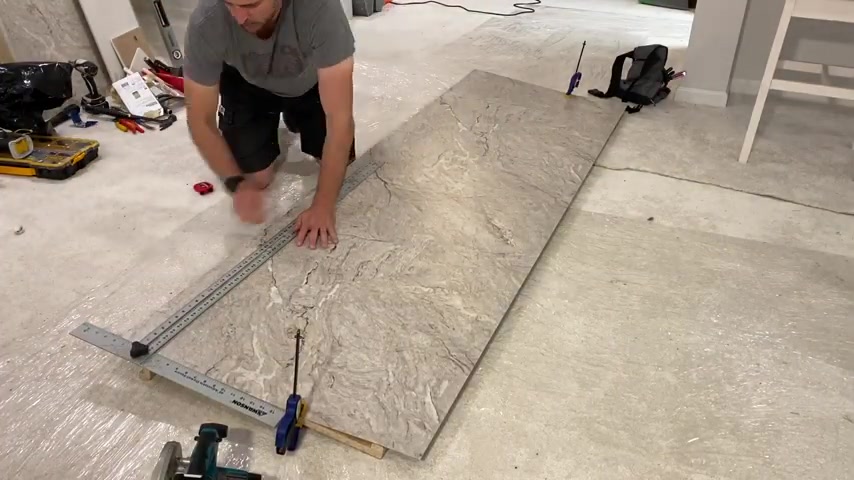
The sheet of laminate that I have is 30.5 inches wide , which I actually need 26 a half inches for the top surface .
So what I'm doing with this T square is marking two inches , which I'm going to rip down with my Makita cordless circular saw with at least a 60 tooth blade .
So you can get a good finish on the laminate .
Additionally , you can tape the top surface which will help with the finish and minimize the chances of chipping the laminate .
So I'll rip off the two strips here .
And these will also serve as my edging because the edge is an inch and a half wide .
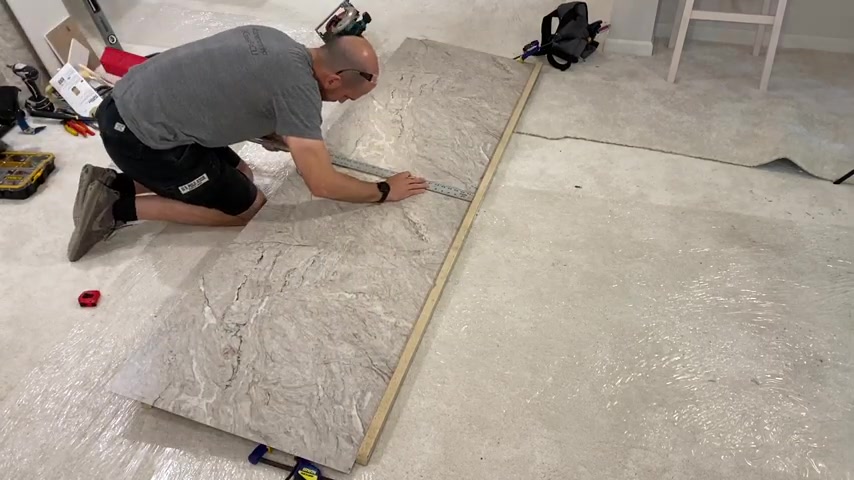
So the two inches will give me plenty of material to glue on and then trim off with the router .
Now , I will mark 47 3/16 on one end and 47 11 16th on the other end because my walls are not parallel .
This is one of the trickier parts of the project is getting the top sheet to match up perfectly with the walls in the top surface of the counter .
Now taking those edge pieces that are 2.5 inches wide .
I'll just mark them and start to cut them to the length of my front back and side edges .
And then I'm just cutting those with the vinyl siding shears , which worked really well to cut the laminate .
So make sure you do your dry fits before gluing and then you can get your contact cement out and start to apply .
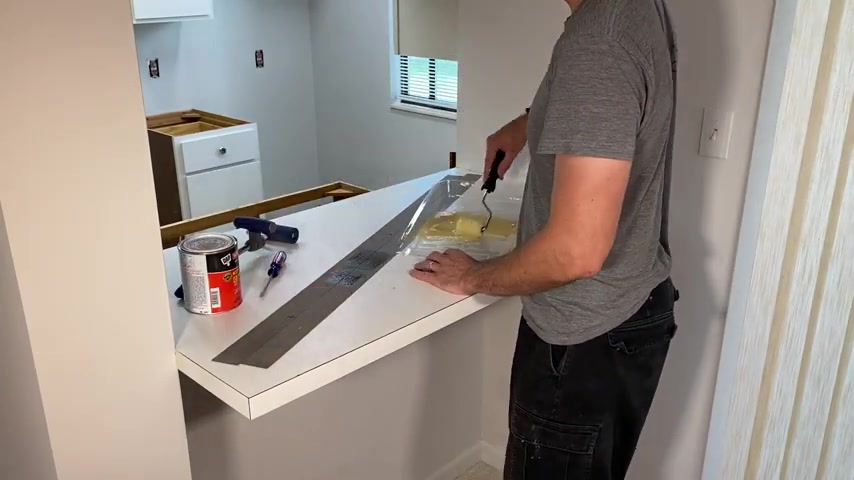
I'm applying the contact cement to the laminate on top of the countertop .
So if there's some contact cement that gets on the top of the countertop , that's ok because I will be applying contact cement to the top later on and that reactivates the cement .
So both on the laminate and on the surface of the countertop , you'll apply the contact cement and you'll let it set up for about 25 minutes or until it starts to get sticky or tacky .
So once the context that is set up , you'll carefully apply and press the edges into place .
Also use a roller to really get good pressure and activate that contact cement .
Don't forget your edges , those edges and corners that are hardest to get into , those are the most important to apply good pressure and get a , a solid bond between the edge and the countertop itself .
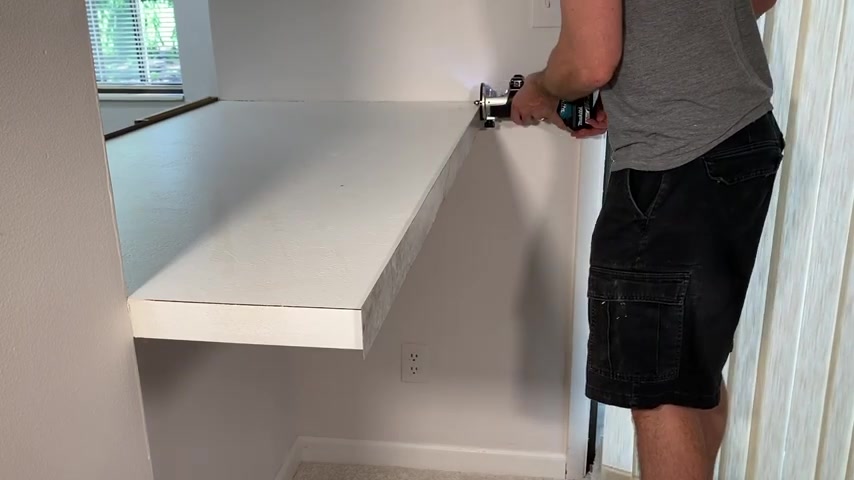
Now using a Makita cordless router and a flush cut bit , I'm going to trim off the laminate .
Don't forget you can jump down in the description to find all these tools and supplies used on the project .
So you can reference them for your project .
I was only able to apply the front and back edges because I need to trim off this front surface on this corner flush before doing that side piece .
Because the side piece I will also want to overhang and then trim flush .
So take your time working your way around and obviously , you are not going to be able to go all the way to the wall .
So you'll trim off as much as possible and then you'll move on to using a file so carefully using a sweeping one direction , file motion and that file motion is towards the countertop .
You don't want to pull , be pulling away the laminate from the countertop .
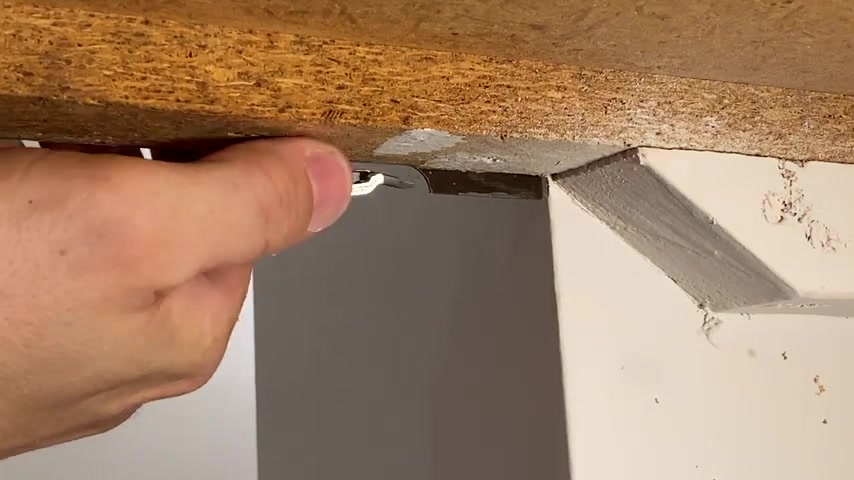
You want to push it in and where the router couldn't reach , you can use some small like side cutters or snips to carefully remove the bulk of the extra laminate and then start to file and that will save you some time .
So now we'll dry , fit the top piece of laminate , you'll put it in place and make sure everything is lying flat and then you have extra material on all the edges .
So you'll be able to trim it up for a nice final look .
Once you're comfortable with the dry fit , make sure that your surface is prepped and ready to go .
Here .
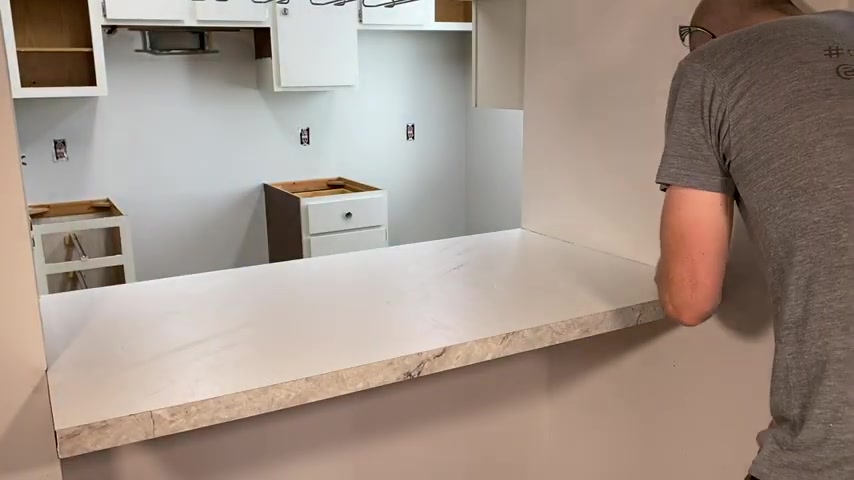
I'm just using a razor blade to make sure the surface is free of any material like drywall or paint I was doing earlier and now again , using a foam roller or a a nap roller , you can apply the contact cement .
And I would apply that fairly generously because I wanted to get a really good bond , the roller will not get you into all the corners .
So I use just a cheap paintbrush to then apply context of pet to the edges near the walls , taking my time and then also doing the same to the top sheet of laminate I'm doing on the flooring here because the flooring is going to be removed in just a few days .
Now , you let things set up for again 20 to 30 minutes and you'll monitor it until it feels sticky .
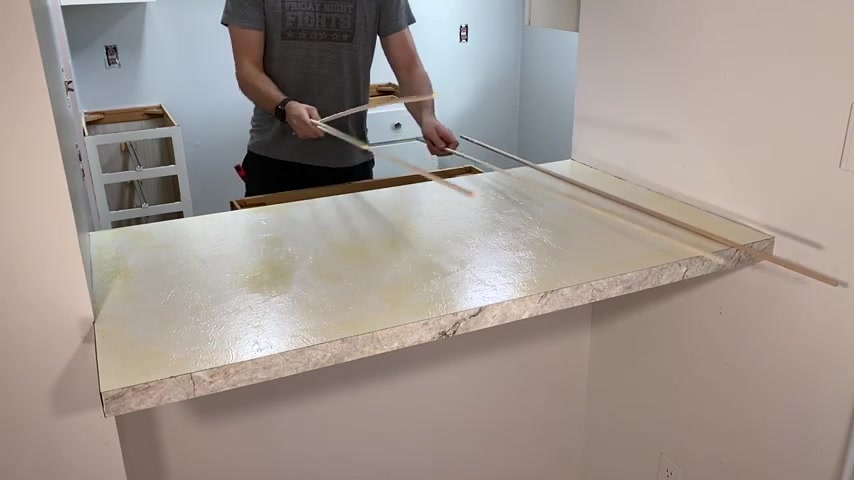
So you can kind of see the finish start to dry and then you can touch it just to make sure it doesn't stick to your hand , but it feels sticky or tacky on the surface .
Now , the moment of truth .
So using some scrap wood or doll rods like this , you'll place those on top to separate the laminate sheet from the surface so you can get it into place and where you want it .
So you lay those on top and adjust everything , making sure that your , you have excess material on all sides before you start to bond the top laminate sheet to the countertop surface .
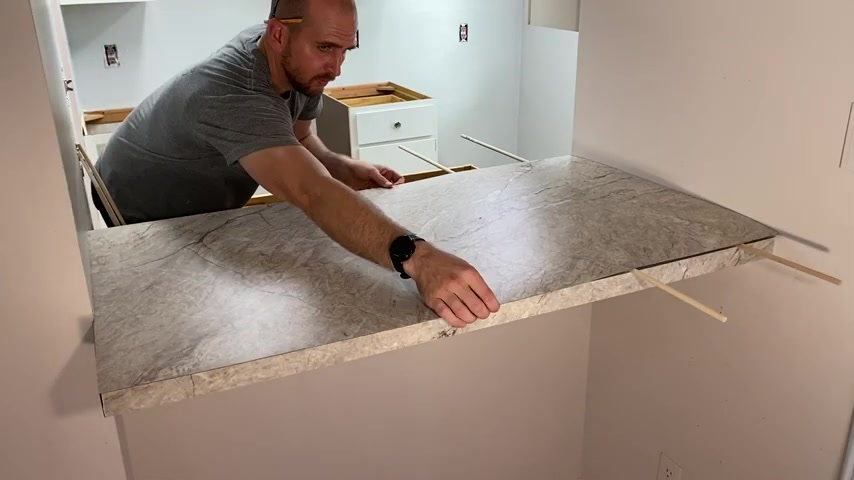
Then once you're comfortable , you can start to remove the doll rods from one side , pressing firmly down and starting to bond that sheet to the countertop , then once you have it all the way from one side to the other , now you can use your roller and really apply that pressure , make sure you work across the entire surface of the top laminate sheet and applying pressure and specific attention to your corners and close to the walls to make sure that is bonded as well .
And then similar to the edges .
Now we'll use the router and just trim everything up , taking our time to not damage the side edge pieces .
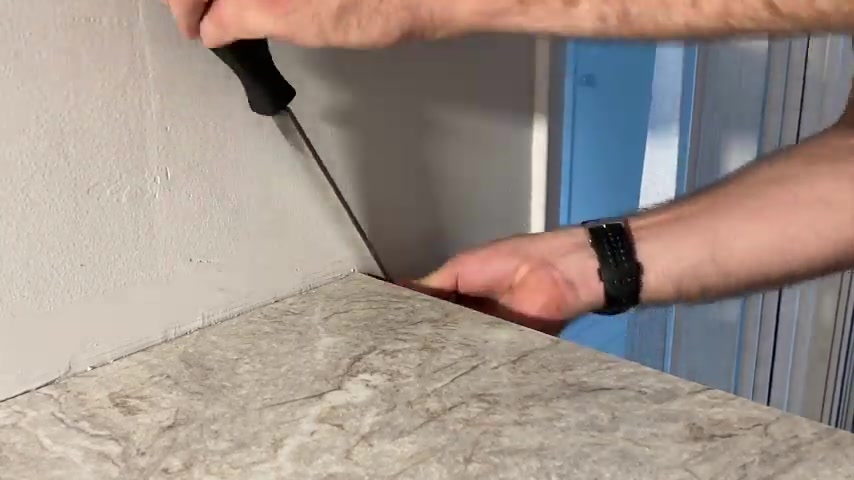
Then after the router , we'll finish everything up with the file , which are gonna spend a little time in the areas next to the wall to finish everything out and make it look good .
So here's the final product and I'm really happy with the finished product .
Then as a final step , you'll take some Acetone and wipe down thoroughly , wipe down the edges and top surface , removing all extra contact cement .
It's best to do this now .
So you're not messing , trying to get the stuff off later on .
So that's it all in all the countertop came out really well .
And only one small imperfection on the corner where I got a little excited with the router and scuffed or burnt the surface .
The router is awesome .
Um This Makita worked out really well .
I'm sure basically every other router with a flush cut bit works awesome .
I have done a laminate countertop NCAP I have a video out there for that as well and I did that all by filing .
Uh and I can say , never again , will I do that ?
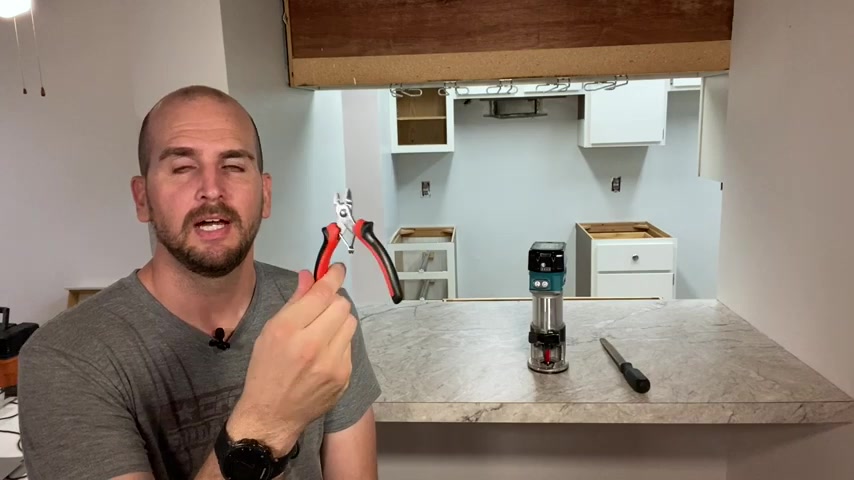
Because it takes forever the unsung hero of this project , I would say are these little electrical uh side cutters .
This was really nice to be able to snip off excess very carefully .
So I don't chip the surface but snip off excess uh laminate .
So then my filing on the corners and next to the wall was , was much less so cutters and they also make snips for this type of work as well .
I'll put these tools along with the file down in the description .
So you'll know exactly what I'm using and the description sometimes is confusing .
A lot of people get confused on where that's at .
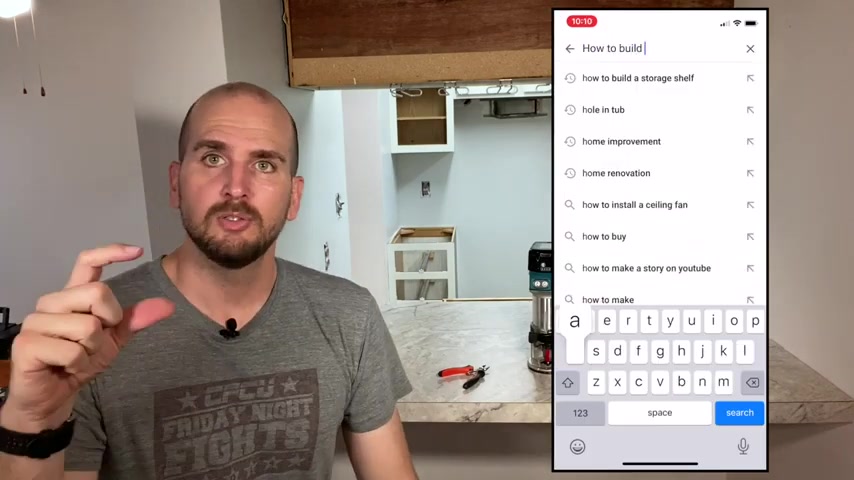
Usually if you're on your mobile device , it's next to the title , there's a little arrow , it drops down and that , that would give the full description of the video and then also the links of the tools and supplies used on this project or any other project I do .
And then if you're on your laptop , usually right under the title , you'll see a few lines of the description you just say , see more and it expands out .
So that's where you'll get all those details and let me know down in the comments if you have any questions .
The the main challenge here for me is these walls were not paralleled .
So I had to kind of figure out exactly how to get that top laminate sheet .
Exactly .
Cut .
Correct .
And I actually undercut the dry wall to fit it in there and make everything work .
It worked out really well .
But that took a little extra care .
So that's it for this one .
Don't forget to subscribe to the channel if you haven't .
And we have weekly videos coming out like this one to help you guys around the house and we'll catch you on the next one .
Take care .
Are you looking for a way to reach a wider audience and get more views on your videos?
Our innovative video to text transcribing service can help you do just that.
We provide accurate transcriptions of your videos along with visual content that will help you attract new viewers and keep them engaged. Plus, our data analytics and ad campaign tools can help you monetize your content and maximize your revenue.
Let's partner up and take your video content to the next level!
Contact us today to learn more.