https://www.youtube.com/watch?v=2AF1_Do6jjo
2023-06-14 19:36:28
3 Options for Extending Your Downspouts
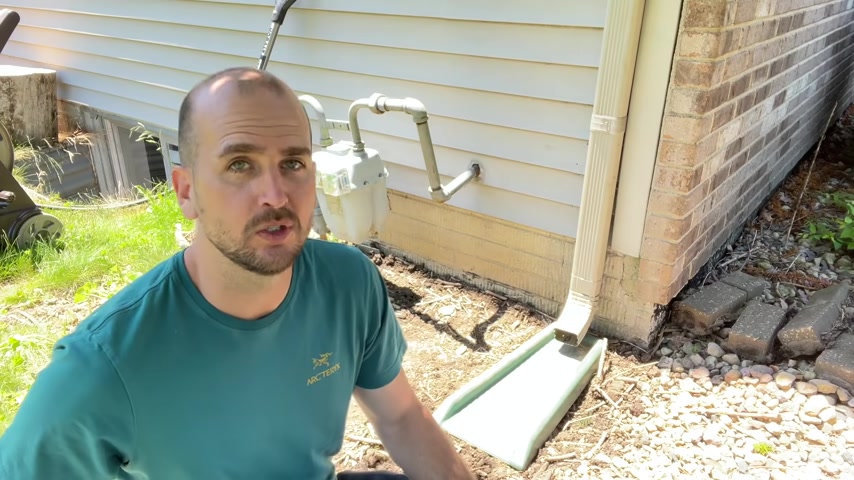
Hey , what's up guys ?
It's Scott with everyday home repairs .
And today I want to talk to you about down spouts and specifically how to get the water extended away from your home .
This is very important when you have a crawl space or a basement like I have , which is basically just a big hole in the ground .
So obviously , water is going to want to go into there .
So that's why we want to get the water extended and drained on a grade away from the home .
So it doesn't flow back to the base of your foundation and go through your sump pump system or just cause you issues in your basement or crawl space .
So we'll start off and we'll step up so easy install , but maybe a little more temporary or a pain to mow around and then we'll progress up ending where we'll talk about what we're going to actually do , which is actually run a trench and trench this out 30 40 50 ft away from the home .
So let's jump in .
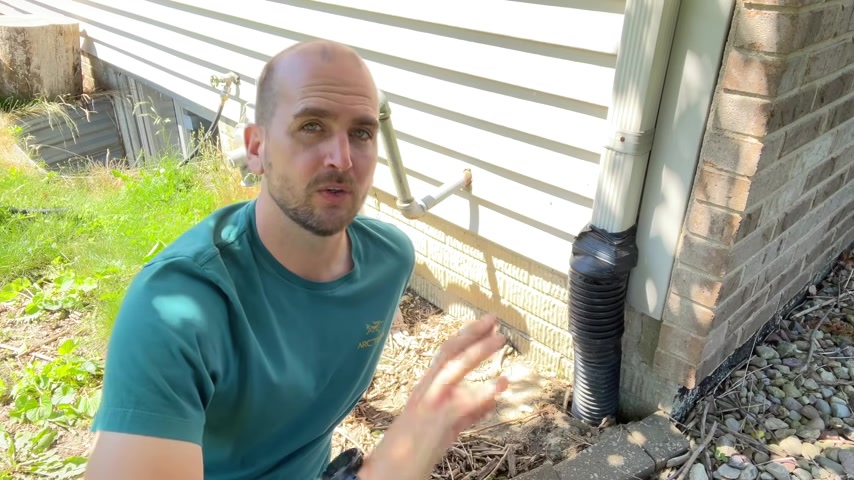
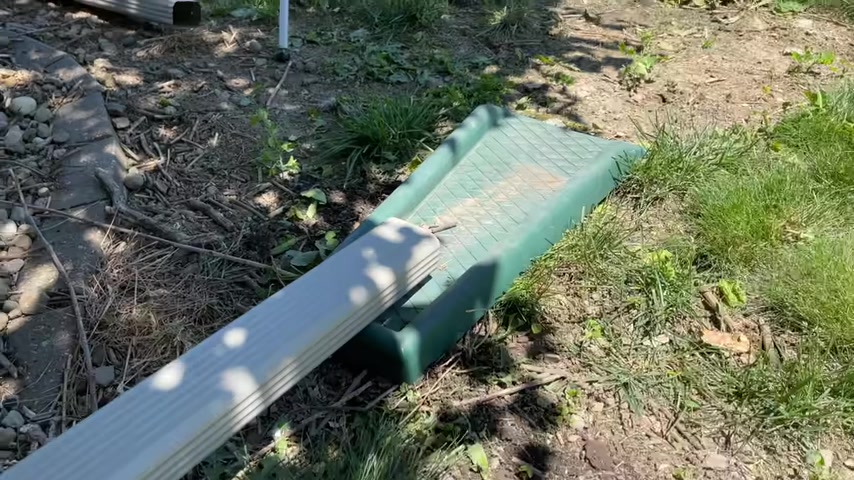
I will actually use this as an example because this is what I'll be working on right now .
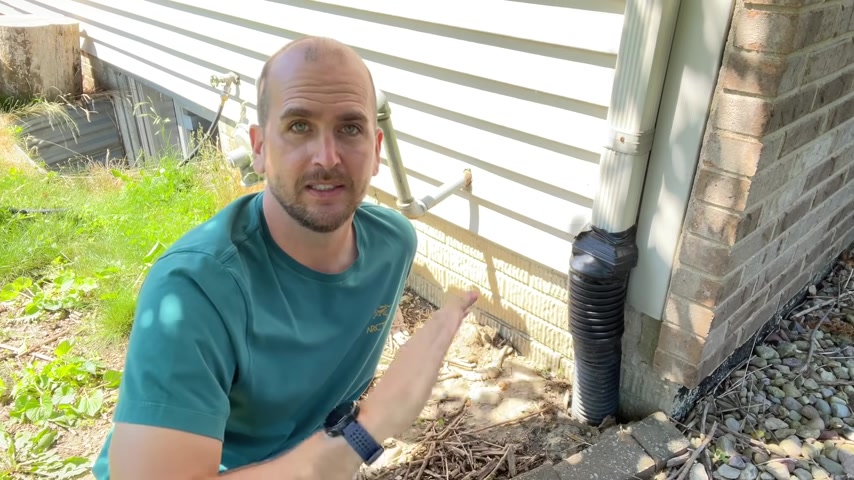
It has an adapter to corrugated pipe to actually like an accordion or slinky pipe that goes in the ground .
That is absolutely not ideal .
It's gonna fail over time .
Roots are going to get into it and it's just gonna cause you issues .
So I'm gonna take this off and then I'll actually install those different options so you guys can see them and make an educated decision for your scenario .
So let's jump into it .
Ok .
So now I have my old setup off and we're starting fresh with just a straight down spout that we need to divert and get the water away from the home .
So let's go over just a few basics that are good to know when you're approaching these projects .
First up is there are two different sizes of down spout .
So if your standard two inch by three inch , which is what I have here and then you have a larger , higher capacity three inch by four inch second , there are actually screws that are made for this job .

You can get the proper painted head to match a white down spout or like a brown or almond down spout .
And they're also self piercing .
So it'll help you drill into the down spot itself and they are short .
You should not be using drywall screws or general construction screws or anything one inch , 1.5 inches .
That's all not made for the job .
One , it might corrode and rust off and two it might actually stick into the inside of the down spout and start catching leaves and sticks and then clog your downs spout .
So get the right screws , it's going to help you out with your install .
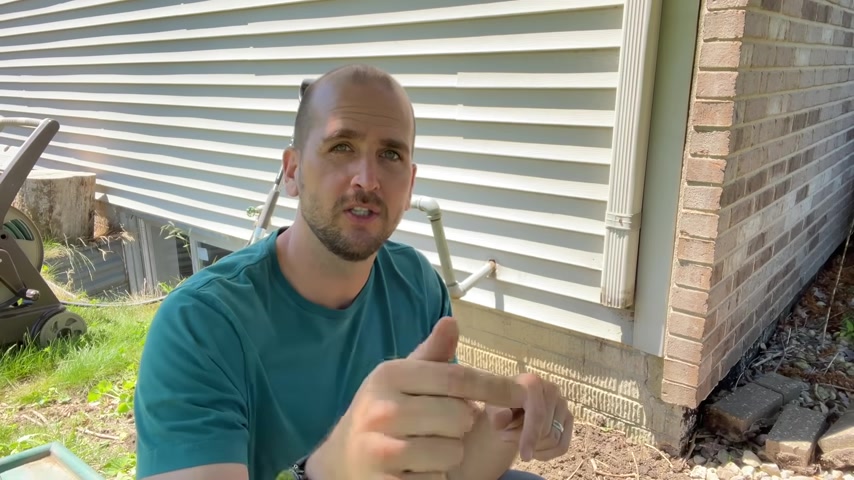
So last up is understanding the orientation of your down sp so you don't get the wrong elbow .
So there are two different styles .
So for this elbow , if I installed it , the water would come towards me .
And for this elbow , if I installed it , the water would go out towards what is my street , but a 90 degree direction compared to this one .
Ok .
So know which elbow you're dealing with and which way you want to run your water or extension .
So you get the right parts when you're shopping at the home and promo store or online .
Also to know I'll put a link in the description for all these different products .
So you don't have to be taking notes and trying to find them .
You can just go down in the description below the video .
You'll see all the links that will jump you over to Amazon for these type of products .
So you can start to get your parts list of what you need .
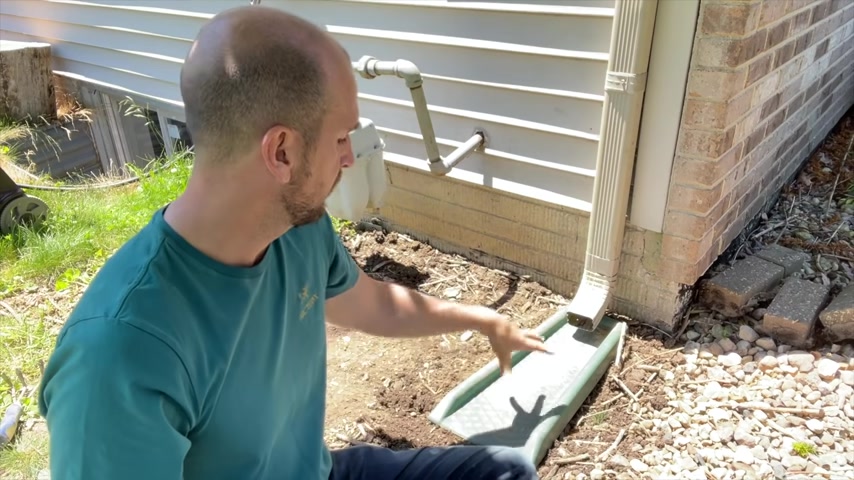
So for option one , all we're going to do is an elbow to what's called a splash guard .
I'll go ahead and install that quick .
We'll take a look at it , talk about the pros and cons before moving on to option two and three which will progress a little bit in complexity but not too much and then result in a more permanent or just better install .
So on this option one , I did need to extend the down spot down about 10 inches .
So instead of just adding a 10 inch section , I just put a new section that was 10 inch longer .
So I wasn't adding another junction .
Then I just install the elbow on the bottom before installing the longer down spout section back on the home .
And then I'll just install one screw here and then use the existing strap to secure to the home .
And then once that's in just putting the splash guard in place .
So option one is really simple .
So we just have our 75 degree elbow discharge going into a splash guard .
Now do keep in mind anytime you're doing roofing or down spots like this and you have the flow of water as water flows down , you always want the pipe above .
So first in the direction of flow to be inside the bottom pipe , if you inverted that you could have splashing coming out .
So this pipe is inside the elbow because the water will be flowing down through that junction .
Pros of this is very easy to set up and super flexible .
You can move the splash guard around , you can do some of your landscaping , fix it up , you can put it back in , you're good to go this can be very effective if you have a slab foundation .
So you don't really have a crawl space or basement to worry about or you're just in the area where the soil itself can percolate the water off very effectively and it doesn't really hold within the soil and then go back into your crawl space or basement .
Now , the cons of this , why I could not use this is because the grade of my yard actually slopes back towards the home .
So if I dump the water out right here , the water will not drain away from my house .
So that would not solve my problem .
And the water would be going towards my foundation and then running through a French drain along the foundation and then over to a sump pump that would continuously run .
So I could not use this , but this might work for you .
So next up , we'll go over extension .
So how do we actually extend out this elbow a little bit to give you a little bit more distance away from the house but not having to jump into like trenching and running pipe underground , right ?
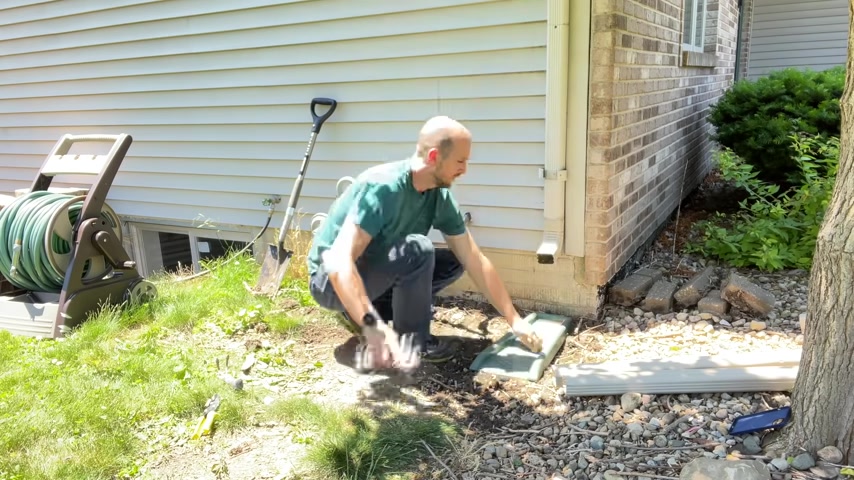
So now for option two , there's a little bit more involved , but it's not too bad and that's going to get us further away from the house , which I would definitely need in this scenario because of that downward grade where water wants to come back towards the house and all that is going to be is taking an extra section of down spout and then adding that to the elbow to add an extension that also can pivot up .
So you can mow around it , you can put those up and then put them back down once you're done mowing .
So let me show you how to do that for option two .
Now , I will reverse back and install the shorter section of downspout and why that is , is because I actually want that elbow exiting about 10 inches or 12 inches off the ground .
So when I add the five ft extension , that extension has a nice slope off to the end of the extension to make sure the water gets the velocity and flows out as I would desire it .
All right .
So let's take a look .
This is a five ft extension .
You can combine that with a splash guard to help avoid erosion of your landscaping .
And this one , you probably can't really see it .
But the grade going back to my foundation , I would need at least this type of extension .
Uh But I'm actually gonna go with option three for my permanent solution .
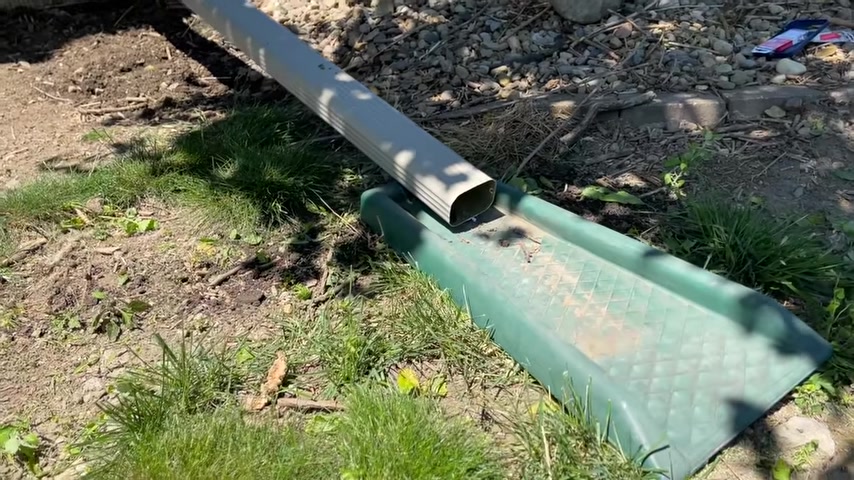
So the nice thing on this down spot extension is you do install it .
So it has a pivot .
And why you would do that is then it's easy to pivot that up while you mow and then just put it back down afterwards .
So I put two screws on both sides .
I cut out about a 2.5 inch or three inch section from the top and then down the side wall for about half of an inch .
And then that gives me the clearance that I need to pivot up the down spout and then it can hold in place while I move and then I can just pivot that back down to the splash card and it's good for when it rains .
So that is option two .
That's it .
For option two , I think this is an ideal solution for many people out there .
I've had this on many of my rental properties and at my own home over the years , the only issue with this is if you have somebody else mowing your lawn , it's common that they probably won't put these up .
They might hit them , the screws come out and they kind of fail over time because it is kind of sticking out there for any one , your dog , your lawnmower hit and they do get damaged over time .
So that is why I would say this isn't the best permanent solution and why there is an option three .
But for option two , if you have just another length of down south that you can get pretty much any home improvement store , you have a hacksaw and probably some tin snips .
That's how I cut the notch in the end is with tin snips and you can find the link to the proper tin snips or even the hacksaw that I use in the description if you need that for reference .
But if you want to step up and go a more permanent long term solution , like I am going to on this one that is where you are going to have to trench and run either four inch PV C pipe or four inch corrugated pipe through that trench that is properly dug to have a nice slope or grade on it and then discharging that water well away from your home .
Now , I have four other videos and there's a playlist right here that you can reference that was show you how to understand the actual elevation change in your yard , which is pretty easy .
It's just using a string and a bubble level and doing some measurements .
So you can see how many inches down or up do I have a negative grade ?
Which is not ideal , but that is what I have here .
So you can start planning out depth of the trench you need , which I have another video in that playlist .
I will walk you through how to calculate that out to make sure you have a nice slope which will maintain the velocity of water and make sure that your pipe isn't getting clogged up because the water is moving too slowly .
And then there's two videos within that playlist .
One will show where I dug a 36 ft trench and at the end , there was just a pop up emitter and that's how the water got out .
That is where I routed one doubt spout and also my sump pump .
And then the other video was 32 ft trench out to a dry well .
So the dry well has about 50 gallons of capacity .
So then the water can accumulate , percolate through your soil in your yard , keep some moisture in your soil in your yard .
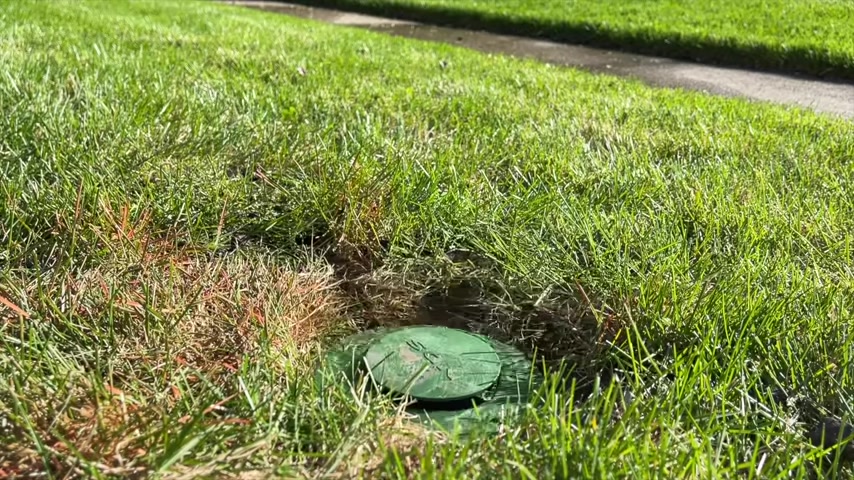
But it does have a pop up emitter at top .
So once it goes past the 50 gallons , it can go ahead and discharge that water out to a nice grade in my yard and keep it away from my foundation .
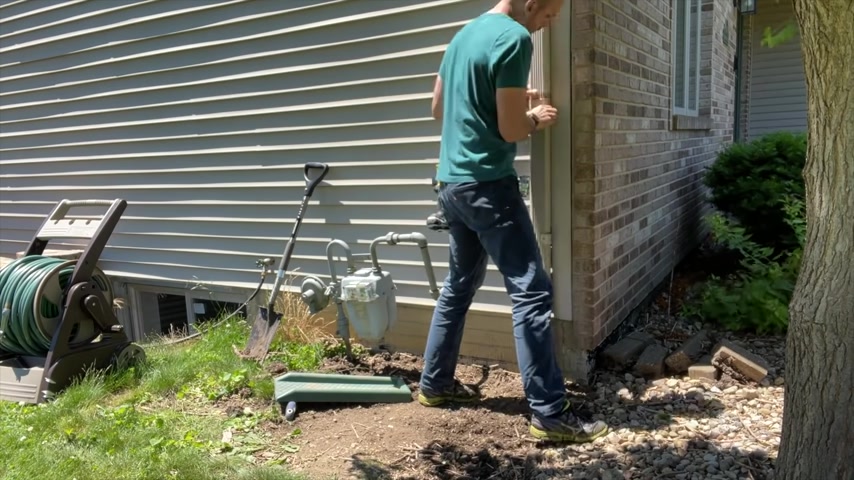
So that is what I'm going to actually do with this .
It's going to take me probably a couple of days because I need to hand dig more than 50 ft of trench .
So it is a big job .
It's going to be a heck of a workout , but this would be more of your option three and permanent solution .
So check out that playlist that will walk you through everything you need to plan it out and to dig a trench and get the pipe through and away from your house .
It's going to be a permanent solution .
You're not going to be mowing around anything .
You're not gonna have extensions falling off over time .
It is quite a bit more time intensive but well worth it in the long run .
Now , if you haven't already before you take off , don't forget to subscribe to our channel .
We have multiple videos coming out per week to help you with your repairs and improvements around the house and we'll catch you on the next one .
Take care .
Partnership
Are you looking for a way to reach a wider audience and get more views on your videos?
Our innovative video to text transcribing service can help you do just that.
We provide accurate transcriptions of your videos along with visual content that will help you attract new viewers and keep them engaged. Plus, our data analytics and ad campaign tools can help you monetize your content and maximize your revenue.
Let's partner up and take your video content to the next level!
Contact us today to learn more.