https://www.youtube.com/watch?v=nWfEANZOYSk
2023-06-14 19:26:07
How To Add An Outlet To A Finished Wall
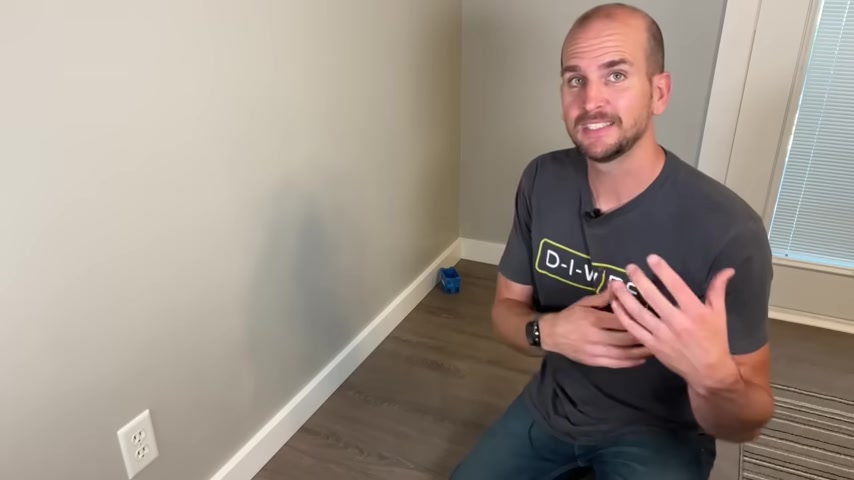
You can never have too many outlets .
And that is the scenario I'm facing today .
I have an outlet about four ft away from my corner and I want to place a table back in that corner because this is an airbnb that I'll be listing soon .
And I want to have a little charging station back there .
So I'm going to run you through the full process .
But specifically for this one , what if you do not have attic access or access to a basement or crawl space like this where you could run Rox down over to your new location and then up to your old work box .
Don't worry , it is still a completely doable diy project for those of us that are comfortable doing electrical work on our own homes .
And then how do we keep this an electrical project and not a drywall or painting project ?
There is a little trick to that .
So stay tuned and I'll show you how to minimize the number of tools and supplies you'll need .
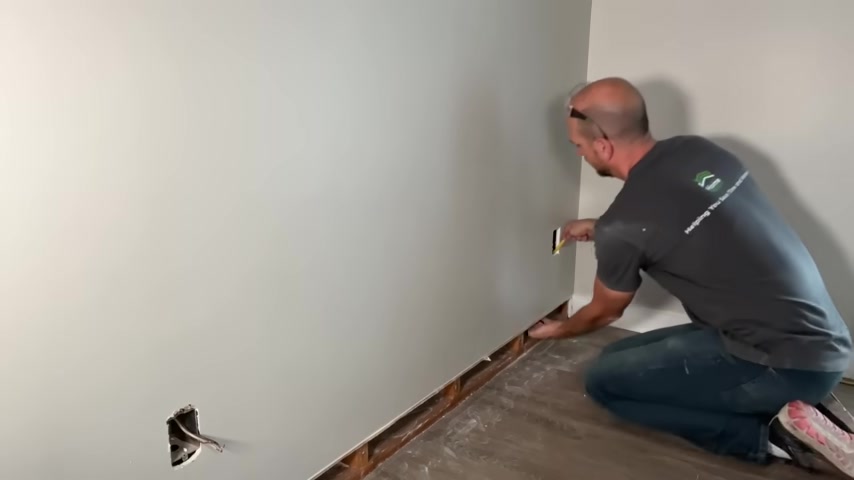
First up , grab a utility knife and score the cok line between the trim in the wall surface .
Then a recommendation by you guys .

I got a Zenith trim puller and I want to test it out because this is supposed to be the best way to pull trim without damaging your wall .
And I do have to admit it is pretty awesome and will be in my regular rotation .
Then you can just carefully pull the trim off the wall and watch .
There's probably a toenail fastener right at the end .
So you can use a little leverage and pluck it off without damaging the trim .
And then instead of knocking the nails out , I just use N snips and I'll snip those nails off , keeping that outside surface from damage .
So as you can see , the trim still looks great and will be very easy to reinstall .
So first , I'll remove the face plate of the outlet that will pull power from .
And the quote unquote trick that we're going to do is any dry wall that we open up is going to be below the trim that we just removed .
So when we reinstall it , it hides any of our cut lines .
My trim is 3.5 inches off the floor .
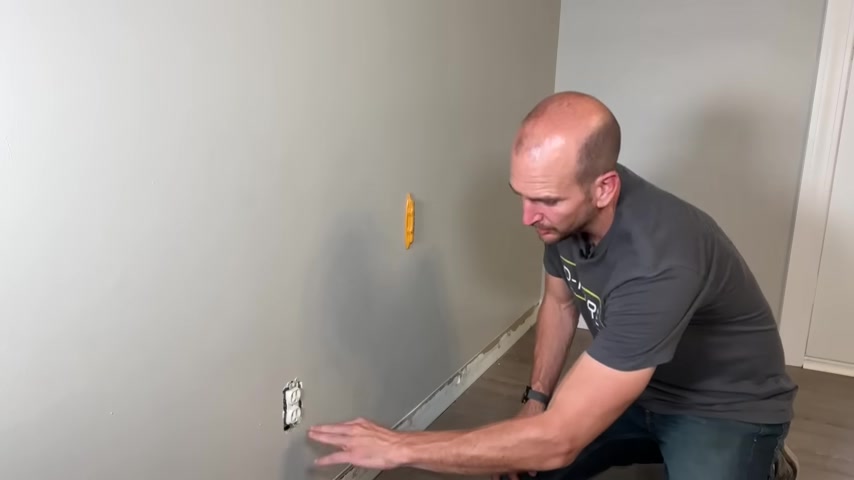
So my cut line cutting open the dry wall can be at three and a quarter to make sure it's hidden by the trim , once it goes back on the wall , and then usually when you take your face plate off , you can look in there and see where your studs are at or I just use a magnet stud finder .
That's the most common stud finder that I use .
And it doesn't find the studs , it finds the fasteners on the stud .
So just attached to a screw that's holding the dry wall on the wall .
So that means that I have a stud on this side that I'm going to have to go through , I'm gonna need to get my Rox through that stud and then I can go offset , find the next fastener and then confirm that I have 16 inches between studs .
That's the most common stud spacing .
And that's 16 inches on center .
That means from the center point of each stud , they're spaced 16 inches .
So knowing that there's 16 inch space , I can take the distance between my current outlet location and where I want to go , I see that is a little over 48 inches .
So I know I'll have the first stud at the outlet , second stud here , third stud at 32 inches from the outlet and then fourth stud at 48 .
And then I will be installing an old work box in the middle of two studs .
All right .
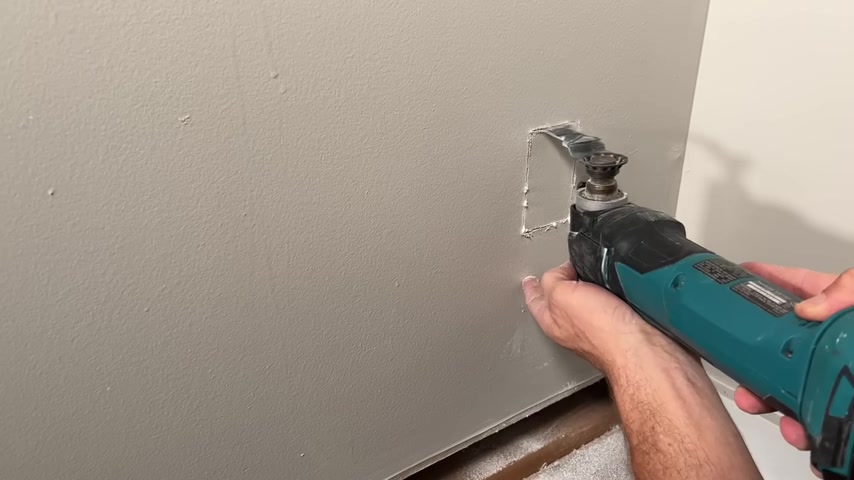
So now let's cut open some drywall .
The tool of choice is going to be the oscillating tool which works great for these type of cuts .
And then I made a small one by block which is three and a quarter inches tall , which is right on my cut line .
Then I just work my oscillating tool across the cut line .
And once I get to the end , I can use that block to make a 90 degree cut .
I'll do one more pass here just making sure it's completely cut through all along the way and then clean up with the shot back .

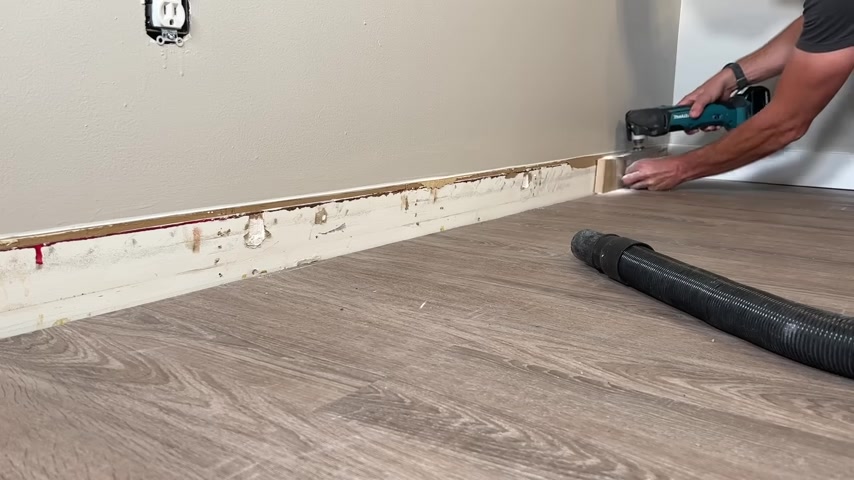
Then what you want to do is remove any fasteners , nails like I have or maybe screws .
I'm just using a 12 inch cat's paw to carefully remove those fasteners and make sure I don't damage the floor .
Here's an example , just prying the nail out slightly and then starting to work it away from the wall .
So it frees up that dry wall .
I always try to remove this as one piece .
If I've broken two , that's not the end of the world .
In this case , it's working free and I'm able to actually remove it all as one piece and then do a final clean on .
So let's get our new location .
We'll mark it 11.5 inches off the floor and make sure the box is level 11.5 inches will match the other outlets in the home .
So it'll look consistent .
I'll outline that old work box and then cut it out with that same oscillating tool .
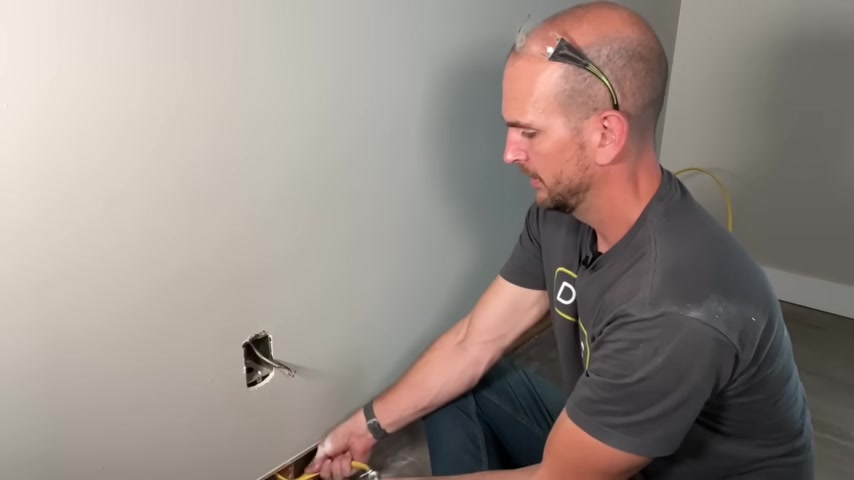
Taking my time not to overt once you get that cut out , now we'll go back to the existing outlet that we want to pull power from .
So I'll confirm no power and then I'll remove the outlet and then the way we'll get into this metal electrical box is from the bottom .
So go ahead and remove the knockout from the bottom of the box .
Now , for drilling through the studs , I'm just gonna use a Diablo extension with a one inch spay bit .
What I'm trying to do is actually get up under in the middle of the stud , but actually place the one inch hole above where the trim is gonna go .
Why do I do that ?
Because I'll be fasting the trim with brad nails in each of the studs .
So I want to ensure that those brand nails have no chance of piercing the Roma which will help us avoid any issues .
So running the new wires really straightforward .
I'm just gonna go for my new hole and then I'll go down and then start feeding through these studs .
Now this is where some people take a shortcut and you should not .
We have a non metallic that's going to go up through the bottom of our metal box .
You should not just run your nonmetallic through that hole without some type of connector .
Well , sometimes it's hard to get a connector in there because you have limited access .
So what I do , I give myself plenty of extra and then I go ahead and pre install the connector , taking the nut off of it , but screwing down the connector on the non metallic role max .
So now we have our connector on and we can feed our wire up up into our box , then you can pull your wire through and you'll see you get to your connector then bring the net over the Rox .
So now we got that connector in place , plenty of Roma and it's protected coming up through that metal box .
So wiring is really straightforward on this one on that existing outlet .
I went with a pigtail setup where I ran pig tails to the old outlet and then back to my wao 221 lever nuts which you know are my go to for wire connectors .
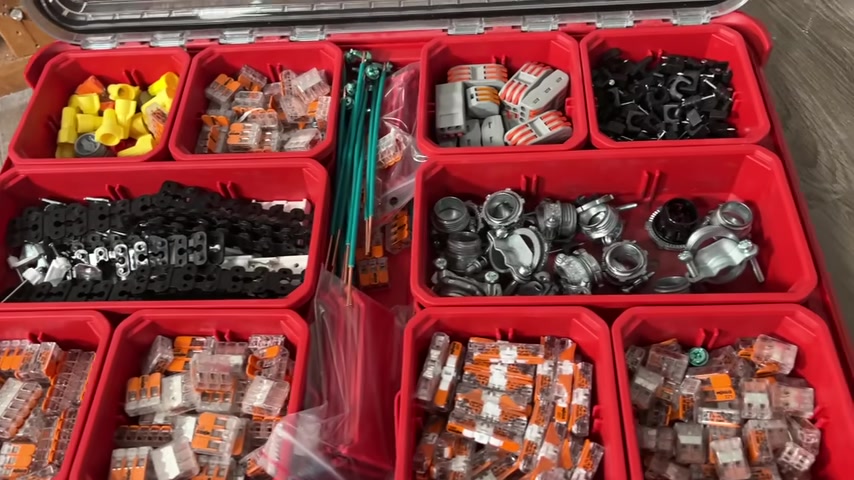
I have this Milwaukee pack out set up , which has all my standard components that I use on a very regular basis .
And this continually saves me trips to the hardware store .
Now , I'm not necessarily expecting di wires to build a set up like this , but you might want to over time .
And if you need a reference as you're building out your own kit , check down in the description , you'll see my Amazon store .
This has all my recommendations on there , including in the electrical section .
You will see a few different starter kits for wao lever nuts .
Those are by far the most common things that people buy from our Amazon store .
And I literally have never heard a complaint of somebody trying wa 221 lever nuts and not liking them .
So I'll roll through the wiring here .
That is my new Rolex coming in and I'll strip off the 12 gauge and also trim up the old wires coming in because all I'll be doing is going straight into these wa 2213 P lever nuts and then pulling out a pig tail and that pig tail will go directly into our old outlet .

So I have hot , neutral and ground ground will go into a three pen and then I will actually j hook that ground because that will not go straight in .
That will go clockwise around the green screw terminal .
So I'll tighten that up and this one is a commercial grade .
So the , it will go straight in the back , but that is not speed wiring or what's called back stabbing .
That is actually back wiring which pulls a plate and pinches that wire .
So it's a very secure hole .
So we'll mount out it and finish off with our cover plate .
Then we'll take our old work box , a box at the new location and make sure those tabs actually tighten on the back of the drywall .
Sometimes you tighten those up and they actually don't squeeze on the back of the dry wall strip off our new 12 gauge , put AJ hook in the ground clockwise around the screw terminal and then same thing , this is a commercial grade .
So we use back wire and go straight in , then we'll just mount everything up , make sure it's straight and not crooked , tighten it up and then we'll finish off with our cover plate and be consistent .
Have your cover plate screws , either horizontal or vertical .
So I'm gonna button everything up , but first we got the power back on confirming we got power to our old outlet and let's see how we're doing on our new one .
Yes .
So we're good .
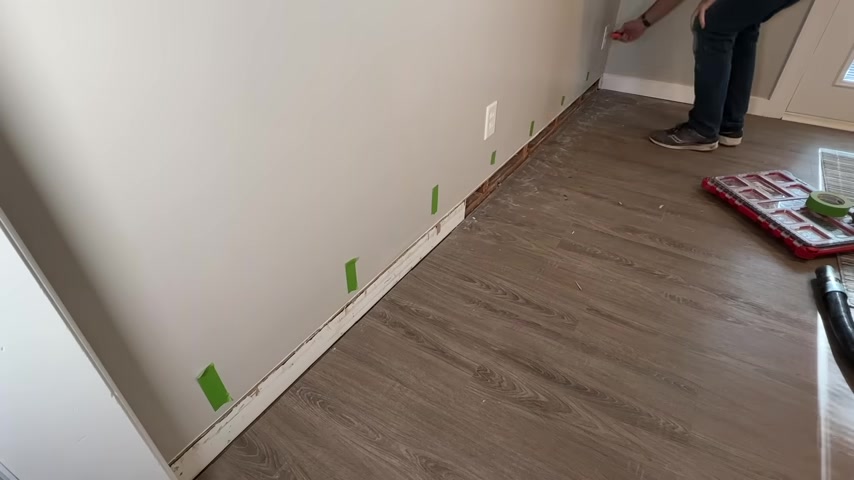
So I put some painters tape on the wall just to mark all the studs for my reference .
Then I'm just gonna use a single drywall screw at each of these studs to hold that piece of drywall that we had removed and that cats ball just to press it up against the other dry wall .
Once that's in there , I'll put the trim piece back in .
Remember , the trim piece didn't have any damage .
So I'll just use two brad nails , each stud location to secure it .
And then this is what the finished product looks like pretty solid if you ask me .
So the last step would just be a little bit of cawing at the seam and then just covering each of those brad nail holes .
But to be honest , I'm pretty much an amateur when it comes to cocking trim , I can do it , but I'm not awesome .
So I will hand you off to the professional Ryan who has a channel called the Funding Carpenter .
He is the master at this and he has a ton of awesome tips and tricks on how to make cocking trim .
Much easier and much less mess .
So thanks for stopping by and we'll catch you on that next video .
Take care .
Partnership
Are you looking for a way to reach a wider audience and get more views on your videos?
Our innovative video to text transcribing service can help you do just that.
We provide accurate transcriptions of your videos along with visual content that will help you attract new viewers and keep them engaged. Plus, our data analytics and ad campaign tools can help you monetize your content and maximize your revenue.
Let's partner up and take your video content to the next level!
Contact us today to learn more.