https://www.youtube.com/watch?v=cLBl15hnt28
2023-06-14 19:21:40
How To Build Storage Shelves _ Easy Build

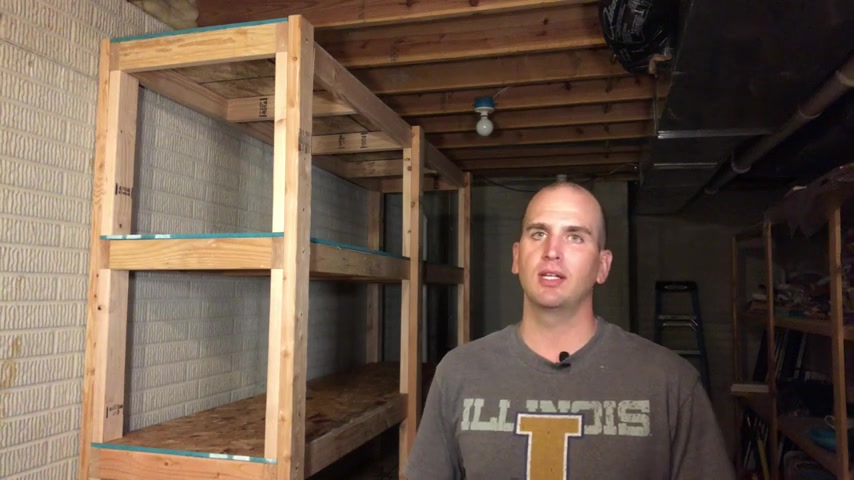
Hey guys , it's Scott with everyday home repairs .
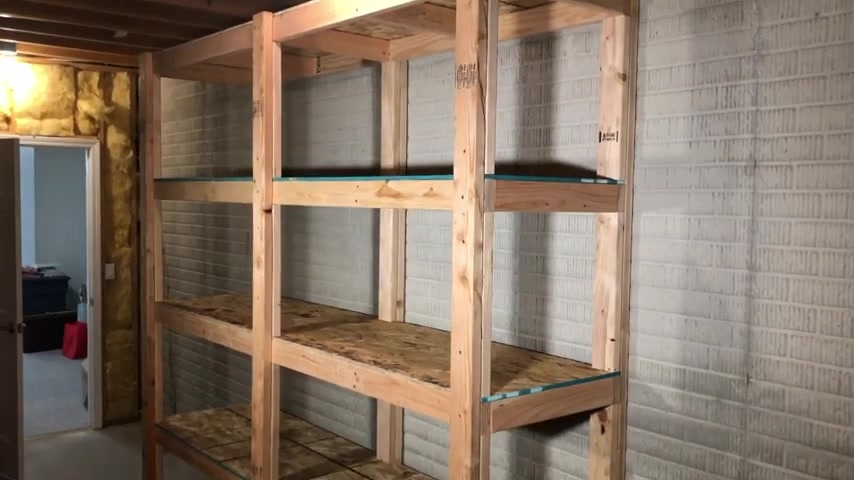
And the project for today is how to build a massive shelf .
Like the one behind me , this shelf is eight ft tall , eight ft wide and two ft deep .
And the catch here is I did this full project under $100 and I also did not use my own saw .
So I had all the pieces ready to go when I got back from Home Depot and all I had to do was screw everything together .
If that's a project you're looking to do , stay tuned and I'll go through all the details .
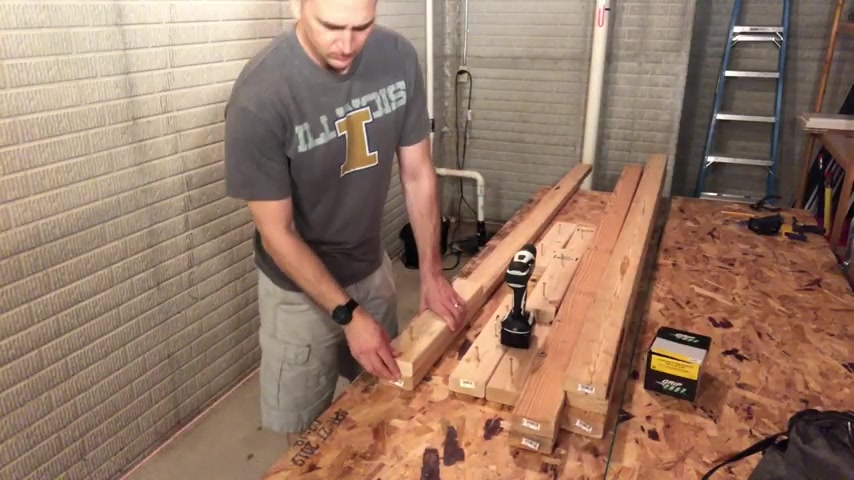
So we arrived at the Home improvement store and if you're comfortable with selecting your lumber , you can go ahead and jump to the four minute mark where we'll start the build .
You're looking for straight boards without any bark , without any knots , without any splits .
And the better you do selecting your lumber , the easier it's gonna be when you get back and start to build your project , everything will just go to be , go together a lot better .

So once we get our two by four selected , we're gonna jump over and grab two sheets of the Os B half inch plywood .
And then we got all of the two by fours and the Os B and now we're ready to leverage the , uh , saw the radio arm , saw which the nice thing here is , this is industrial grade .
They're able to stack 42 by fours all at once .
They put a stop in place .
And then that stop is gonna be at the distance for which you've requested your two by fours cut .
So they can cut through these at literally about five times the rate that I could do with a chop saw at home .
And I don't have any of the mess .
Then they have the specific saw that can cut or rip your Os B .

So both of those sheets are just gonna get cut or ripped down to two ft sections and then here's everything and the results of all the different two by fours being cut to the 20 inch lengths and the 21 inch lengths and the two and the Plywood .
So for the complete list of this build , go ahead and look down in the description and it'll win everything out .
All right .
So I got everything back to the house and I'm about ready to jump in overall , having them do all the cuts .
So I do have a chop saw , I can do most of these cuts pretty much all the cuts at home .
I have a truck .
I can , I can bring the , you know , full sheets of plywood , but really trying to think through the normal homeowner , midsize S U V , even a full size car with like a 40 60 split rear seat .

And the way that we approach this where you have the sheets of plywood that are two ft by eight ft long , you have your two by fours and then you have all your cut uh , components for the shelves and then also the uprights .
You , you can kind of fit it in any of those mid size S U V full size S U V s easily or a car .
So you don't need a truck .
You can go to Home Depot Lowe's or , or your local Home Improvement store .
You can have a plan of attack , have all your cuts laid out and then have them do that one caution I would say to you is have them cut , let's say one of your two by fours and then measure that to make sure it's the length you want .
Um , it's gonna be very common that they're gonna go ahead and knock through all those cuts and they didn't take the blade with into consideration or they're just slightly off .
So , uh , that could cause you issues when you get back home .
So go ahead , get that first piece , make sure it's to your , your lengths .

Mine were 20 inches and 21 inches for the two by fours .
So when you get home everything goes together smoothly .
So first up , we'll jump in and start to build out the shelves .
So for the whole project , I use two and three quarter general construction screws and those will be with a star bent and that's t 25 size before really getting into the shelves .
I did batch a lot of the small repetitive task .
For instance , like this , drilling the two holes in each of the ends of the 82 by fours .
That's two of the eight ft section , two by fours for all four of the shelves .
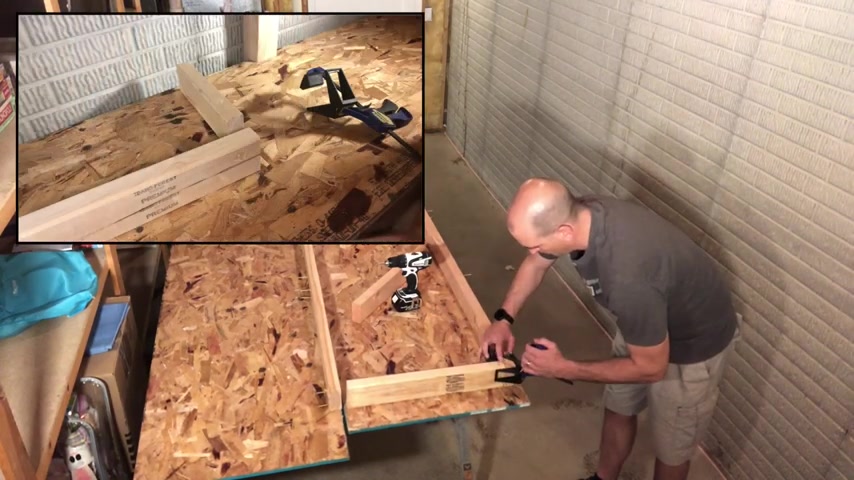
Also , I had taken the screws and screwed them in about an inch into the outside boards all the way along the line to give myself just a head start when I'm putting the cross members in , you notice on the corners , I was using an Irwin clamp and that clamp has a special corner adapter on it .
So you can fit your pieces of two by four together .
You can make sure they're flush at the top and then you can secure them with this clamp .
It's super handy .
Um I actually bought this for the project and like all the other things , this will be in the description if you want a reference on exactly what I used one bonus part of this , it has the hole in the side so you can easily put your screws in place while the clamp is on and secure .
Ok .
So the ends are all together .

And now we have the three middle cross sections .
I had marked out 24 inches , 48 inches and 72 inches .
I marked those out on the , uh , 3.5 inch side of the two by fours and also on the 1.5 inch , top and bottom .
So it's easy for me to , uh , align those cross members up , get them in the correct spacing .
I did all three of the cross members on one side and then I flipped over and secured in the rest of the three cross members .
Take your time .
Make sure the top and bottom are at the same uh measurement .
So you're not kind of cockeyed in there .
Uh The more you take your time here , the better everything will turn out as you start to put together the shelves uh in the next step .
So build out all four of these shelves .
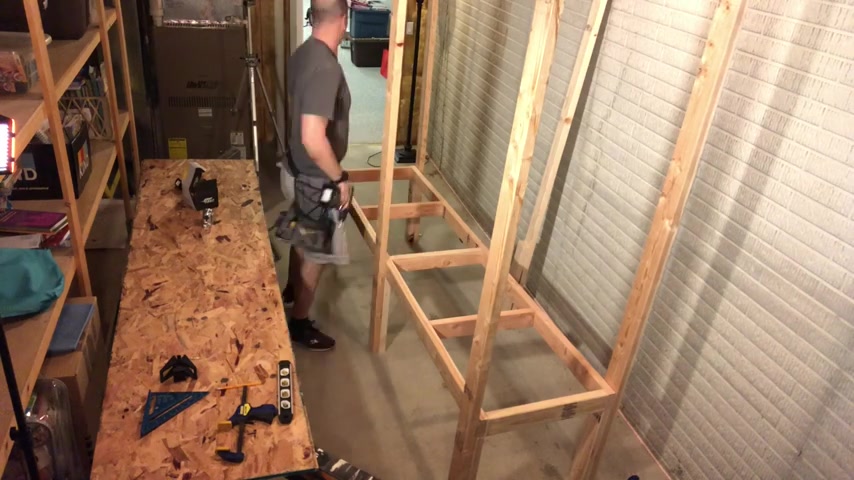
So they'll be ready to go and then we'll move on to securing the 20 inch piece of two by four to each of the six legs .
Once you get this completed , then you'll be ready to kind of stand everything up and start to have the shelf take shape .
So I got my first shelf and then the six different legs and I'm gonna position the four outside legs first .
And the way I'll do that without securing them immediately is I'll just use those uh four Irwin clamps that I have and then this will make sure everything's tight and then I can go back through and take a little bit more time lining everything up and then sinking one screw uh per leg and then per shelf .
So you can use a level and make sure everything is perpendicular to the shelf .
But you do have a little forgiveness on this first one because you're only using one screw per leg .
So with the second shelf , that's when you really want to take your time , use that level and make , get it as close as possible to perpendicular to the shelves .
So then when you get to the last shelf , you don't have a gap that's starting to form in any one of your six legs .
So get all six of them in position here and then once we have them secure and grab a piece of plywood that's two ft wide and then put that in place .
So now we'll do the same three set of steps to fill out the rest of our shelves .
We'll take the 20 inch two by fours and we'll secure them with two screws to each of the legs .
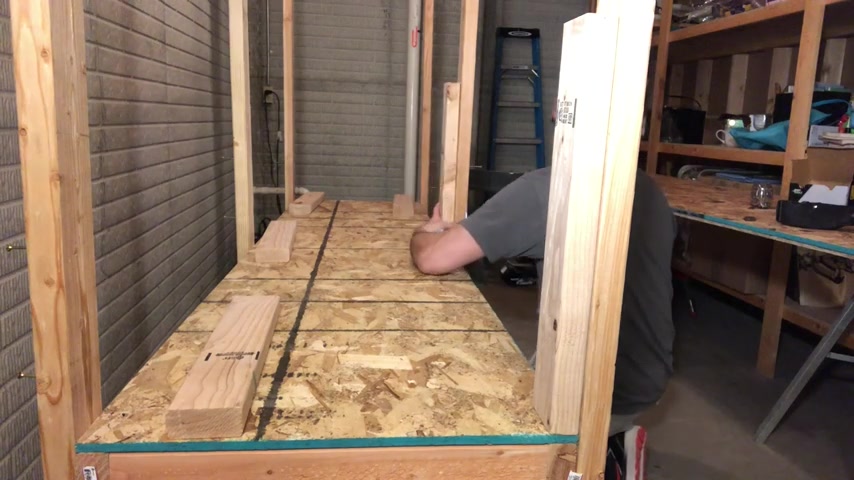
And then this is gonna give us our next structure to set the shelf on top of just make sure everything is lined up and then the sides are flush as you sink both of those screws in .
Then once you get all six of them in place , you'll grab your shelf and then get in the center and lifted up , positioning the one side on top of the supports .
And then hopefully , if everything's measured correctly and lined up , it will be easy to just set right into place .
Make sure both of your sides are flush .
And especially with the second , this is the third shelf .
But with the second shelf , you're gonna take your time lining up your legs as well , then just take your plywood , bring it in and I just let my plywood sit on top .
I did not secure uh the plywood with any additional screws .
And then for the middle steps , I just placed those 20 inch supports right on top of the plywood .
And then the supports are what are actually secured to each of the legs .
Ok ?
And now I got the top shelf on with the Os B and the shelf is in place .
Let's recap a few of the different parts of the design .
So you get your 20 inch supports 20 inch two by four that then has two screws in the outside leg .
And then that's gonna really hold all the weight on that top shelf .
The shelf is attached with one screw to the outside leg .
But really , that's just to help line everything up , all the structure and all the load will be carried by these 20 inch members , your 21 inch cross members , which you have three of those on each of your shelf .

And then I did two screws on each of those .
One thing to take time is especially on shelf number two .
So you're gonna attach those legs like I had shown you .
And then you really need to use your level in both directions before you put that middle screw in .
You want to make sure you're totally level in both directions .
If you do not do this , you'll really start to lean out or for an A when you get to your top shelf , obviously , a distance there will magnify any small um uh angle that you're off lower .
It's just gonna get worse and worse as you go up , but very satisfied uh good project and ready to start stacking some stuff .
All right , we'll call the day the shelf is in place and fully built out and all in I was looking at about four hours and that does include going to Home Depot and getting the materials , getting them back and then starting to build everything out from there .
The shelf is extremely dirty and serves our purposes perfectly for just stacking toads and getting a little bit more organized around the house .
If you think this is gonna help you out for your project , go ahead and look down in the description below and you'll see all the links to the tools and also a full build list that we used .
Hopefully this video helped you out .
And if you like these sort of videos , don't forget to subscribe to our channel again .
My name is Scott with everyday home repairs and good luck on your projects .
Take care .
Partnership
Are you looking for a way to reach a wider audience and get more views on your videos?
Our innovative video to text transcribing service can help you do just that.
We provide accurate transcriptions of your videos along with visual content that will help you attract new viewers and keep them engaged. Plus, our data analytics and ad campaign tools can help you monetize your content and maximize your revenue.
Let's partner up and take your video content to the next level!
Contact us today to learn more.