https://www.youtube.com/watch?v=fXR7ALyJhdU
2023-06-14 19:12:22
How To Fix A Main Water Shutoff Valve Leak
How's it going ?
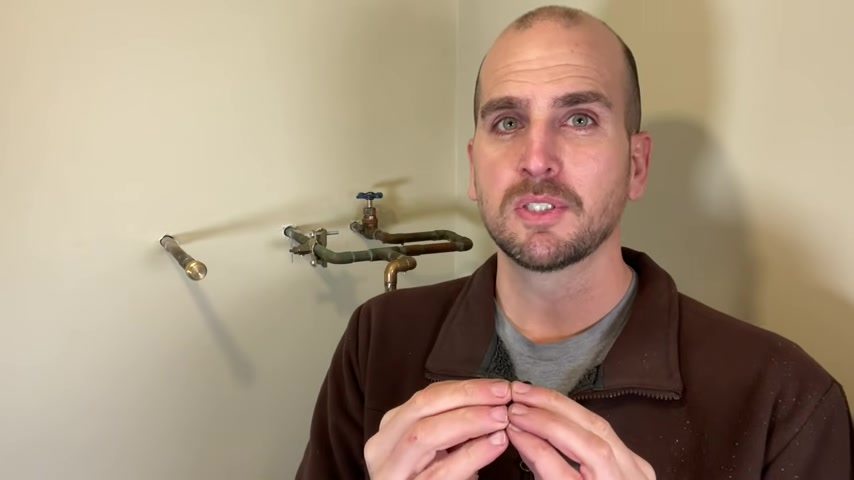
You guys , it's Scott with everyday home repairs and I'm just getting ready to install a water heater , but want to run through a very common problem that I'm seeing here and also many homeowners encounter .
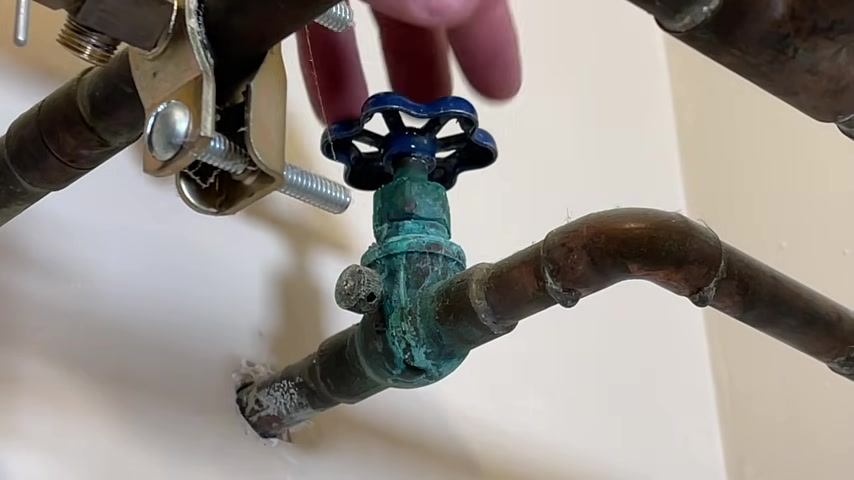
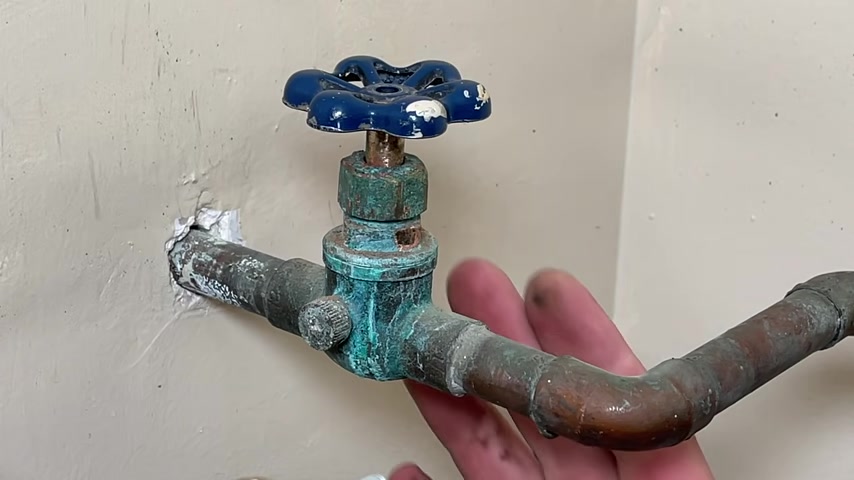
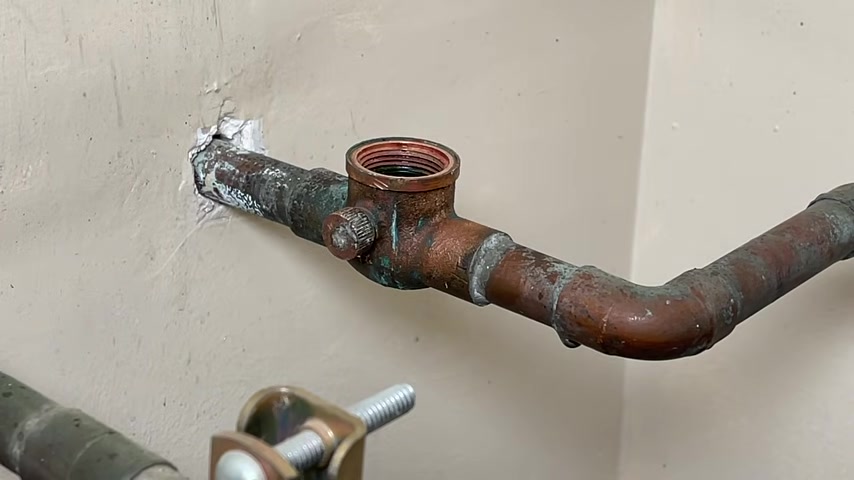
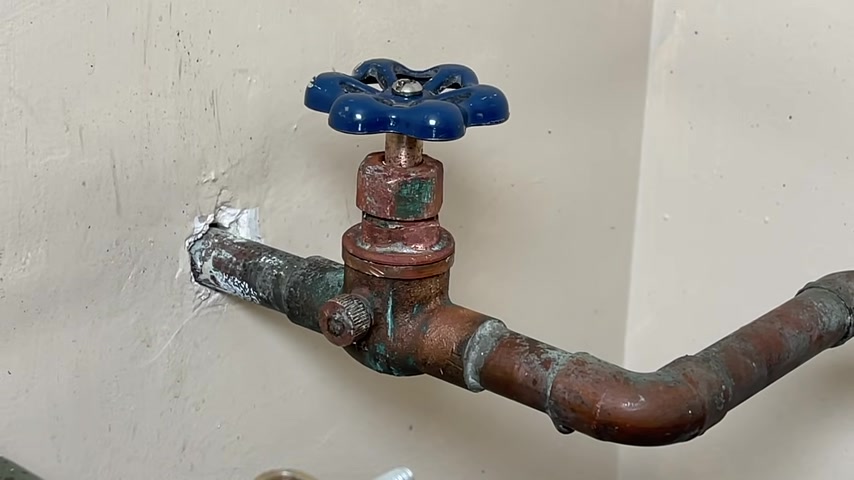
And that is if your main water shut up out , maybe he's a little bit older and it's a multi turn style like the one behind me here , this is called a Globe Valve .
And really all that is is it has some piece of metal in there that are baffles and it's a plug that sits on top to close off or open up the water supply .
Now , these valves are kind of notorious for having leaks and it can be pretty intimidating if you're open to this valve .
And all of a sudden you have a leak and you don't know how to stop that .
So let me walk you through three easy steps , starting with the most basic something you do right now and hopefully stop that leak and then walk you up in terms of complexity and hopefully we'll get that problem fixed for you .
So let's jump into step one .
All right .
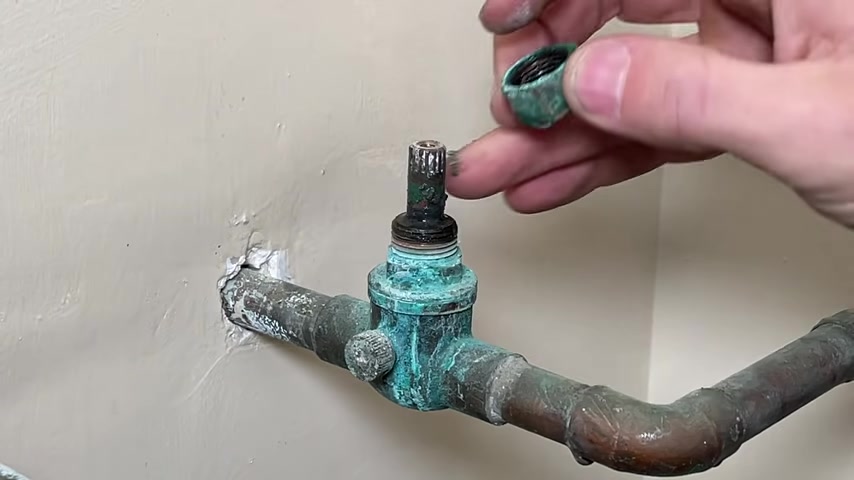
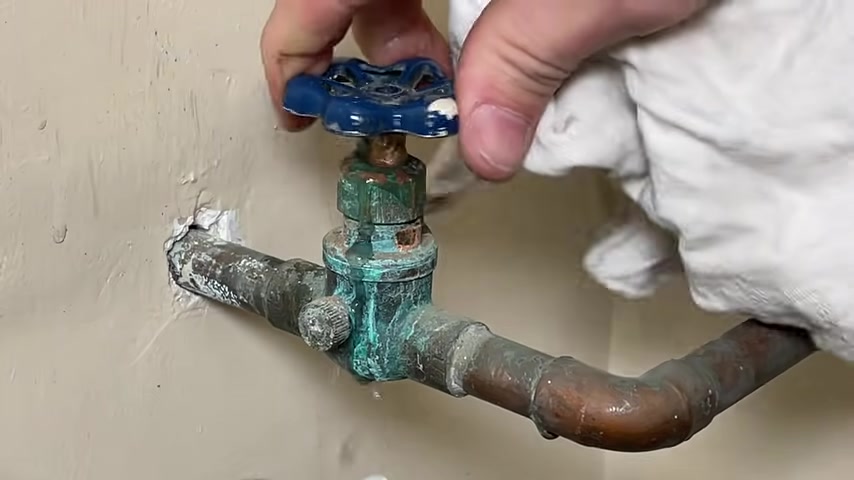
So step one is just to tighten what's called the packing nut .
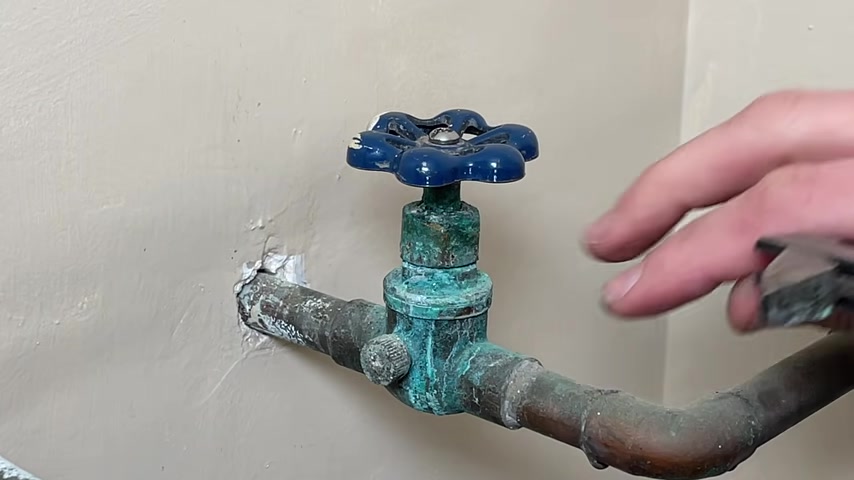
Now , if you have threads that you can see exposed , hopefully , that means this is gonna work for you because you have a little room to tighten this packing nut back down because there is a either a seal , a flat washer or and or packing material that will seal this off underneath .
So all you'll do is just adjust your crescent wrench and then just give it a quarter turn or half turn in the clockwise direction .
So looking down from the top right top perspective , clockwise direction will tighten that .
Now for me , my packing nut is at the end of travel .
So this really is going to do much for you .
Hopefully just tightening this packing nut will stop that water leak here at the stem and be an easy solution for your product problem .
OK .
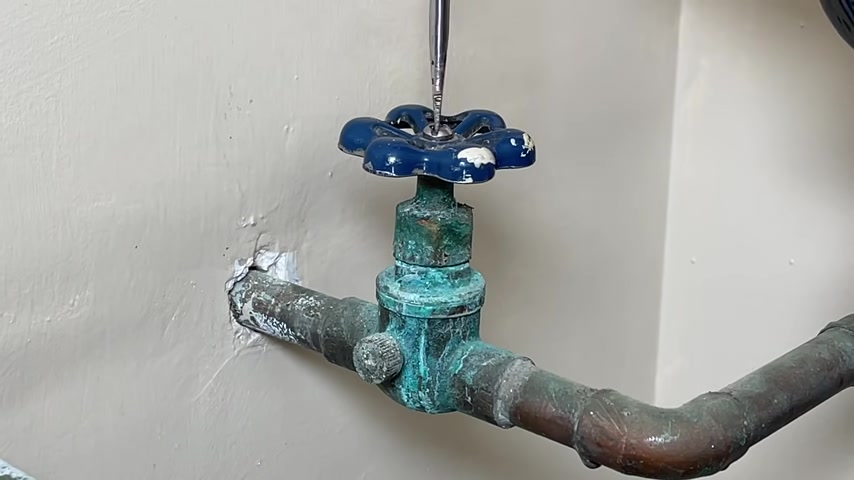
So now if you're still with me , assuming that just tightening this packing net did not work , step two will be replacing and trying to pack this nut with new teflon or graphite cord .
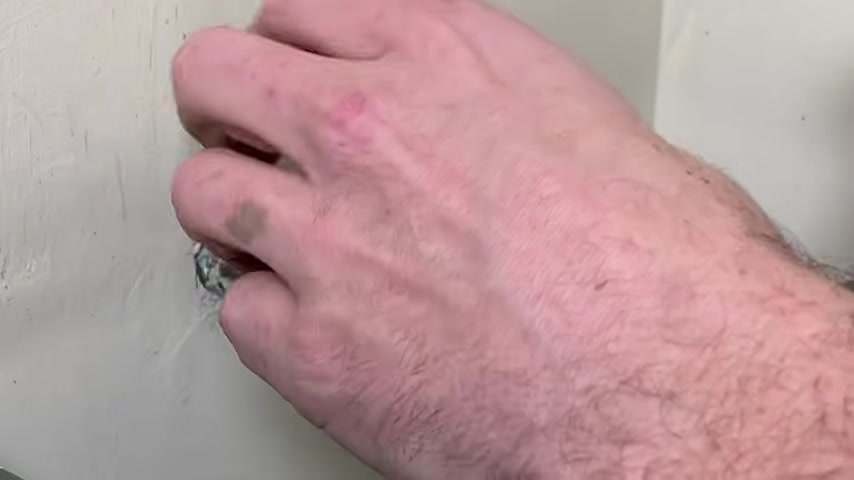
So first up , what I'll do is try to remove the handle .
Now , you might have mineral deposits such as I have here , which is gonna affect possibly the screw coming off and or the handle coming off , you can use vinegar to try to break down those mineral deposits .
The only challenge is it is a little bit harder to soak .
You would want to soak those components for 15 or 20 minutes .
But this handle can also be very hard uh to pull off and you want to be careful because you probably have copper lines uh or a setup where you're gonna be applying a lot of torque to those fittings .
So be careful when you're doing this not to damage the pipe coming in or going out .
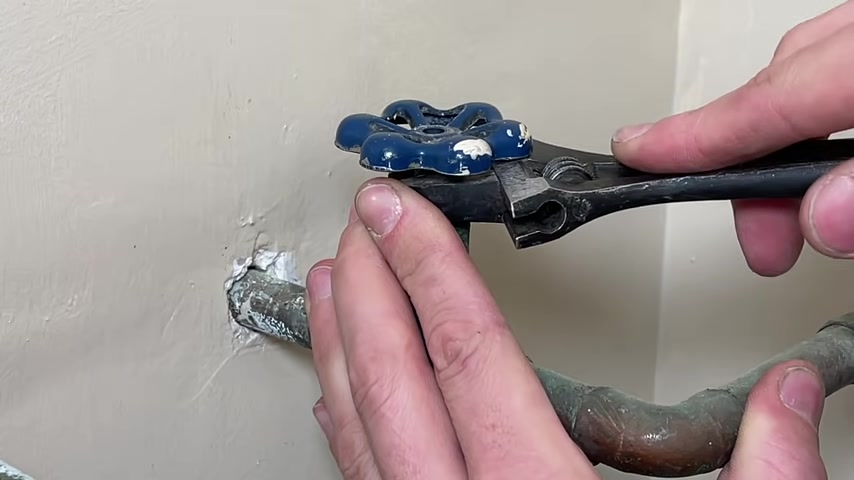
But what you can do is take that crescent r around the stem and lightly pry to the front and back to try to slowly move that handle off .
So I'm starting to get the work free .
Ok .
Now that's work free .
Now , you might need to keep this on for this to actually remove because you want to keep the valve closed , especially if your water is still on which mine is not right .
So now we'll remove the actual packing that keeping the valve closed .
All right , if you look down in that packing nut , I can see some remnants of probably some graphite used over the years , but overall has very little packing material .
And that was also why I didn't see any exposed threads because this nut was all the place all the way down .
But you'd preferably have some open threads here where packing material is actually holding it up on the threaded surface and then making that nice seal .
So what I'm going to do is just clean this up a bit and then I will use some Teflon cord to go ahead and start to rebuild that packing material up .
So this is the packing cord that I'll be using and it's just a Teflon base .
You can get Teflon or graphite , either one at any Ace Hardware Home Improvement Store .
Also , you can look in the description , you'll see this exact product just for your reference .
So it's easier for you to find .
Also , I do want to clean up the stem and kind of get those mineral deposits off .
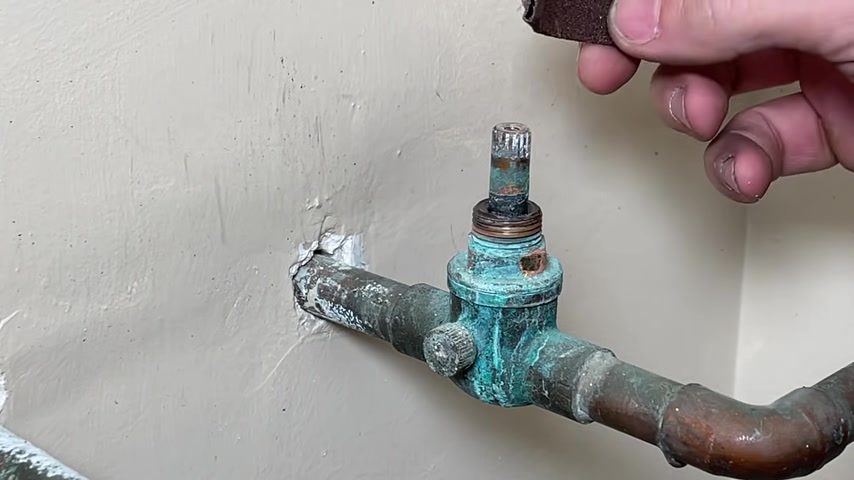
What I'm gonna use is just some uh plumber sand paper , which is usually used on copper when you're gonna sweat some joints .
But here I just want to lightly work some of that mineral deposits off without screwing up the teeth and the stem .
Again , you can look in the description for that exact sandpaper I'm using , but you want to clean everything up , especially after you've sanded off that much mineral deposits and debris .
So now use the packing cord and go round because with those mineral deposits on there , if I didn't clean that off , I would not have a flat surface for this cord to seat against .
So it'd be really hard to make a seal .
All right .
So I'm gonna do two turns snip it off .
Then with the packing nut and all that old graphite cleaned off and really cleaning out the internals .
I'll reintroduce the packing nut tucking , uh making sure the teflon or graphite cord is packed underneath .
Now , again , what you should be seeing is this nut gets tighter .
Well , before you reach the end of travel because you don't want to be able to secure this all the way down .
And if you're able to go too low , you're gonna want to introduce a little bit more cord to fill up that void .
So I do want a little bit more .
So I'm gonna do another little more than a turn .
I'll take that up and reintroduce packing nut .
All right .
I like this a little bit more because I'm gonna have a little bit of space there at the bottom .
Now , I'm just gonna tighten this down .
You don't have to tighten it down too securely because what I'm gonna do is my main water shut off is uh off at the curb .
So I'm gonna go turn that on and then see if that actually stops my leak .
But I do want a little bit more travel that I can you , I can turn the valve on and off and then still tighten this packing nut to stop that leak .
So I have a little bit more .
So you don't have to go too secure until you have the water on and start testing it out in the step two .
So now I have my water on at the curb and if you guys need to reference how to turn your water off before your main water shut off out , that would be out at your curb and here is a link for a video that quickly walks you through that because in certain situations like I have , you do need to cut it at the curb so you can do your maintenance on your main water shut off .
But now let's open the water and check and see if we're sealed up better .
Definitely much better .
I have a little bit of leakage at the top , but I can tighten a little bit more .
That's not bad , especially compared to where I was at before .
Um , a little bit of leak once I get all the way open .
All right .
And there , I still have quite a bit of leak .
So let me go to turn that off at the curb again and then I'll show you step three .
Ok .
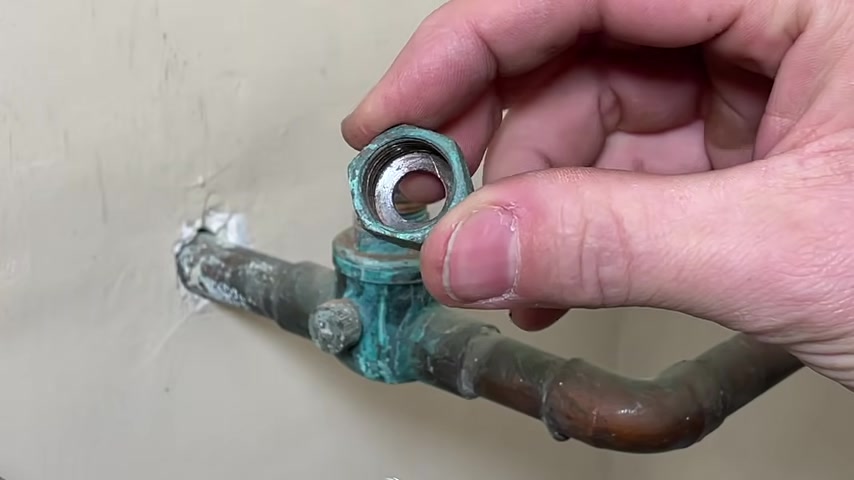
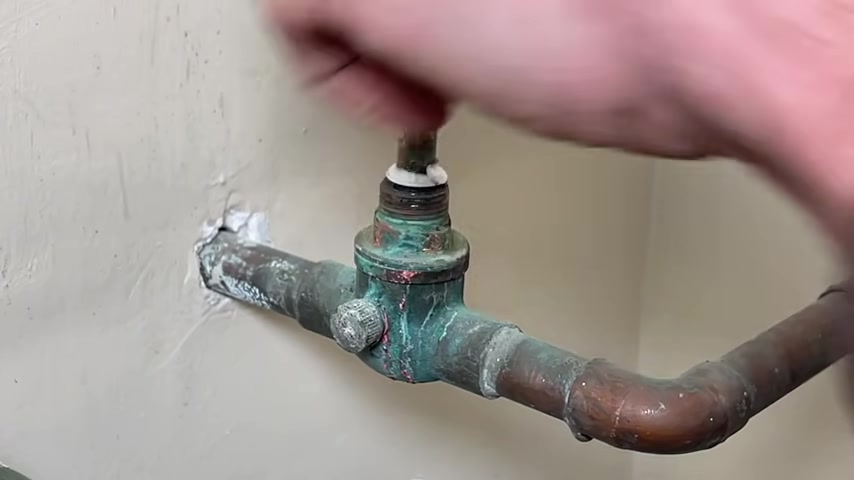
So now moving on to step three , I'm gonna actually remove the full stem and remove the bonnet nut here .
So I can take everything out and take a look at the flat washer down in here and just do a better inspection of the overall globe valve .
This bonnet nut can be tough to get off .
So I'll take the handle off once again , remove the packing knit and then see if I can get the spot .
Be careful again , of putting too much torque on your , your pipes .
Now , if you can't get that to move one way , it's probably the most effective way is to introduce a little more heat into this body which will hopefully then break down those minerals deposits which is holding the bonnet on them .
Not easy .
And again , you need to take your time with that because you can , when you have to play that much torque to your plumbing , you can cause quite an issue .
All right , broke it loose .
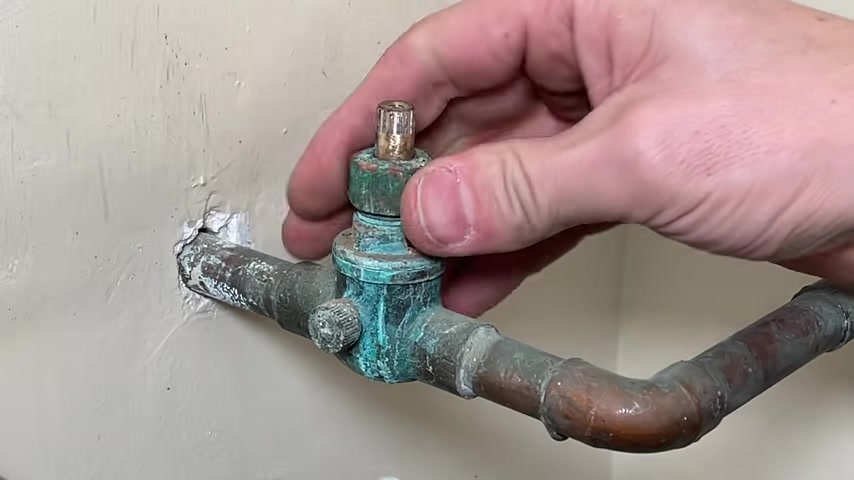
So now you'll see that flat washer in here and then also usually you have some kind of seal between this flat surface and the housing itself .
Now , what you can do is you can take now this down to your Home Improvement Center so you can get a replacement here .
And then also now you have much better access to clean up the stem and just clean up the full body .
You can also soak getting in vinegar to get vinegar to get the mineral deposits off .
You just have more capability .
But as you saw , it can be much tougher to get the bonnet , not loose , but a little heat uh usually does help that out .
All right .
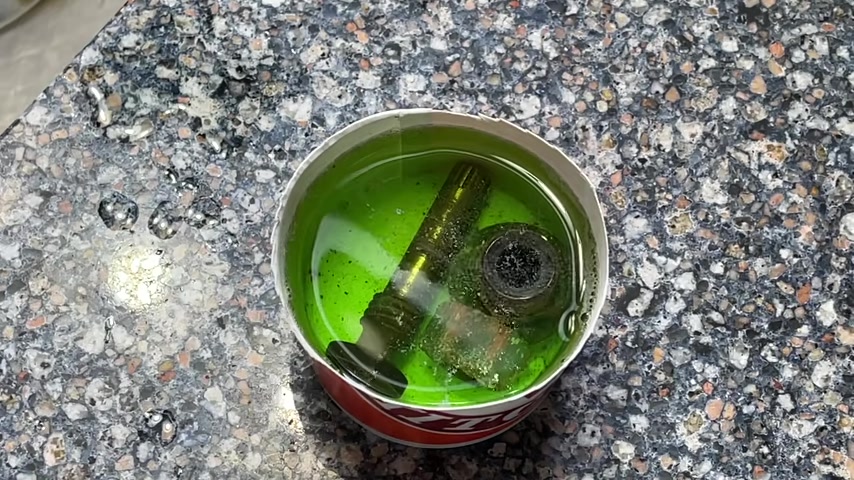
So I ran down to the hardware store and also soaked the components in C L R to get the mineral deposits off and kind of clean them up a bit .
One additional important point is the stem itself had a , a lot of mineral deposits which actually was changing the diameter of the stem .
And honestly , in step two , that's probably what was creating my link with the new packing Teflon cord is because every time I turned it since the diameter was fluctuating so much from the mineral deposits that then creates leakage pass , uh pass within that new Teflon cord .
So that is all cleaned off and smooth .
Now , I have a new flat washer , so I grabbed a pack of flat washers to match up and that's why it's nice to bring down your components to the hardware store .
So I installed that new washer .
The old washer was beat up and dry and I think that thing's probably been in place for over 60 years so well past its serviceable life .
And now I'm going to build this back up .
One thing to note the bonnet itself is , is metal to metal in terms of the contact surface .
And this one has sometimes you'll see a fiber washer or something that seals the bonnet itself .
This one does not have that .
So we'll see if it leaks on me .
I will have to put either some Teflon cord in there , Teflon tape or something to seal this metal on metal surface here .
Ok .
So I'm gonna turn it all the way off and then I'm gonna go out and turn the water on at the curve .
All right .
Now , with the water back on , we'll go ahead and test it out .
All right , looks like we're watertight and step three , fixed my problem .
Now , hopefully , one of those three steps also stopped your water leak on your globe valve steps , one and two are very quick and easy .
Step three does take a little more time .
And if you're like me , that bonnet , I can really be fused on there with the mineral mineral deposits and , and this one literally might not have been touched for 60 years .
So it can really get fused on there .
But now my Globe valve is water tight and that last step , cleaning that stem was key because if you don't clean that stem and you leave the mineral deposits on the stem , then your packing material is going to be worked over time as you open and close and the stem goes up and down through the packing material .
So make sure that stem is clean in addition to get a new flat washer on there .
If you need to go to step three , the only other point I would make is when you do have the chance I would swap out to a ball valve , the ball valves are going to be just less hassle , less maintenance and more reliable , long term .
And this is something I'm going to install here on this property .
Once I do a little more reconfiguration of the plumbing and get the water heater installed .
Now , before you take off , don't forget to subscribe to our channel if you haven't already as we have weekly videos coming out to help you with repairs and improvements around your house and we'll catch you on the next one .
Take care
Partnership
Are you looking for a way to reach a wider audience and get more views on your videos?
Our innovative video to text transcribing service can help you do just that.
We provide accurate transcriptions of your videos along with visual content that will help you attract new viewers and keep them engaged. Plus, our data analytics and ad campaign tools can help you monetize your content and maximize your revenue.
Let's partner up and take your video content to the next level!
Contact us today to learn more.