https://www.youtube.com/watch?v=TSmvjlK0FJo
How to Tie Bows on your Cards
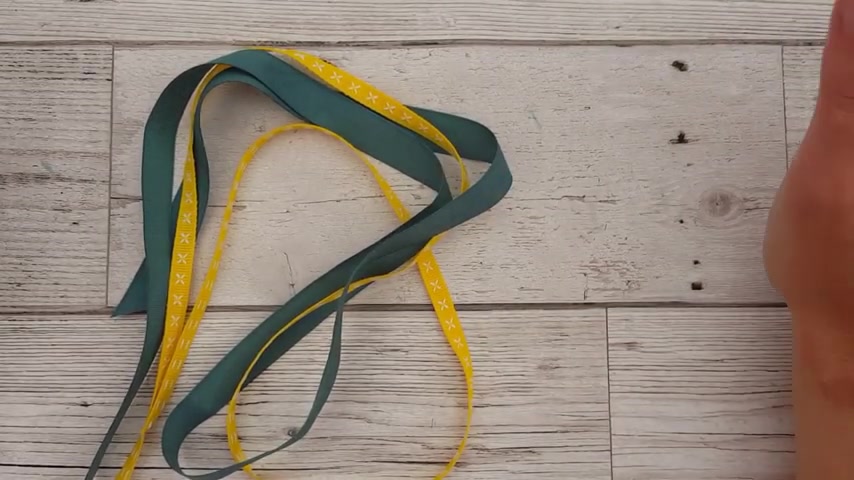
Hi there , everybody .
Um , it's Jackie here from stamping jack dot com .
And , uh , I wanted to share with you today .
Some of my , um how I tie bows on my cards .
I know for lots of us , it's very tricky , and some of us just can't manage it at all , and it's taken me a long time to figure it out .
Um , so first of all , the reason , the main way that people usually tie ribbons on their cards is they take a piece , their card piece , wrap the ribbon round from behind and then simply tie a knot , OK , And then a bill .
So OK , now I have to tell you that I hardly ever use this method on my cards .
Um , I'll show you what I do in a second .
And the main reasons for this is one .
Um , it's fiddly because you've got the card front with you .
The bow doesn't always end up exactly where you want it to go .
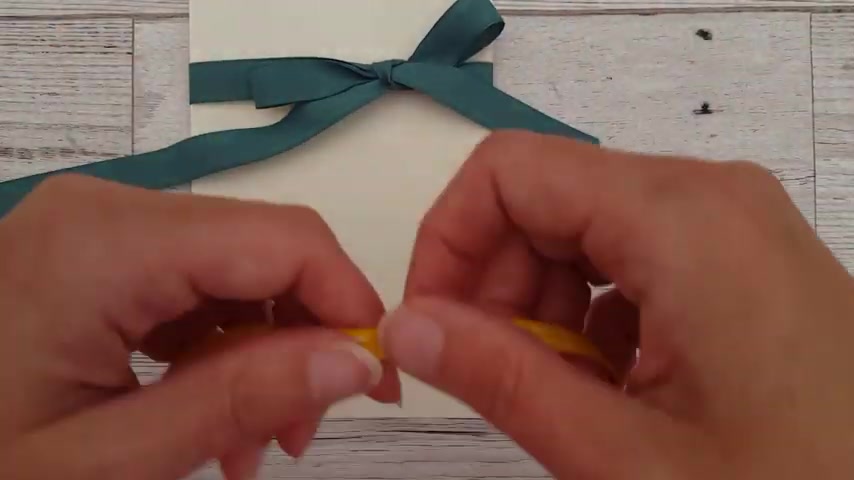
Sometimes it ends up sideways .
Sometimes it's upside down and you don't have as much control .
The knot can be quite messy .
Um , and the other problem I have with this method is that it's very , very tricky when you've got , um , a double sided ribbon .
So you see this ribbon here ?
We've got lines on one side and crosses on the other .
And if I just do the same as I did with the green one , I show you what I mean , I tell you , not so around in here .
So can you see We've got the I've got the lines on one loop and the crosses on another .
OK , so I tend to use a slightly different method , which is what I'm gonna show you now .
So let's take my card base that I've got here .
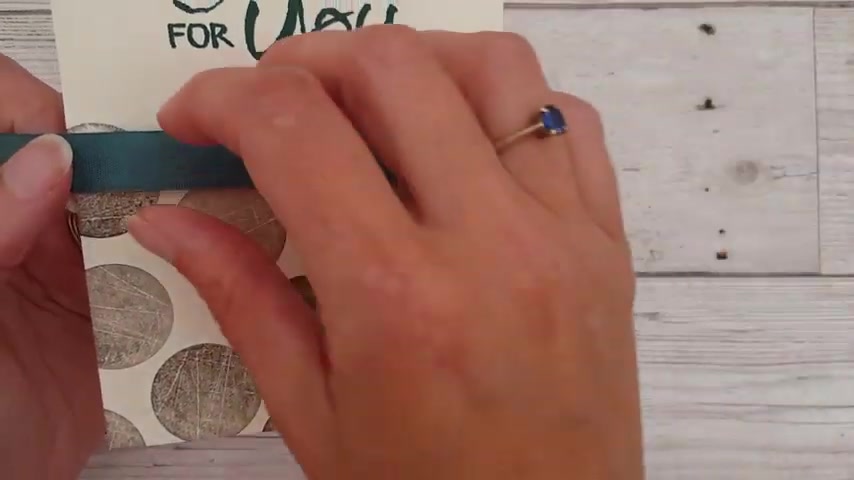
And what I like to do is I like to just wrap a a band of ribbon round on my card first .
So to do that , I've done this already .
Just attach some snail adhesive on the back .
Pop your ribbon down .
This is OK .
There we go where you want it to go and then just lining it up across the front like so , making sure it's straight and then just attach it again on the other side .
And I like this because it gives you you can see it gives me a nice straight nice uh , non flappy .
Not sure Quite what the word is , um , banned on my , uh , card .
And also , I can adjust it to make it exactly where I want it to go .
OK , and then once I have that , then I actually tie my bow separately .
And I'm just going to show you how I do that so you can do this off the roll .
OK ?
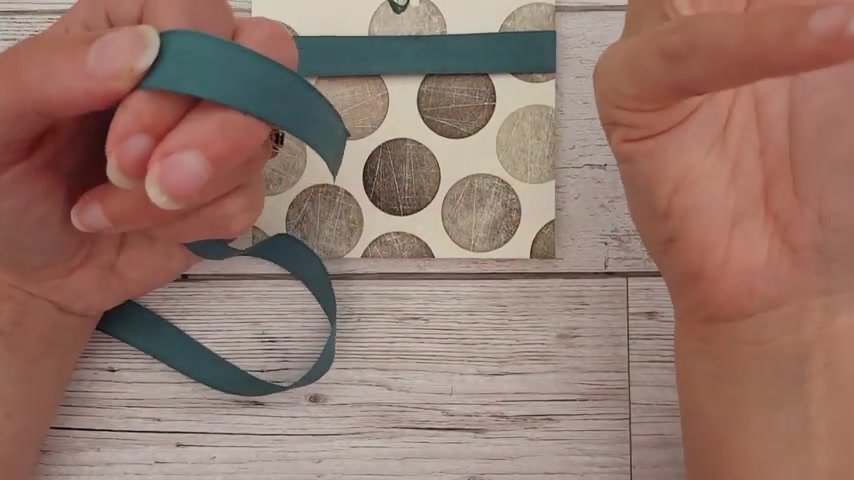
Which saves , uh , which saves un ribbon .
Um , but what I would say to you is that when you're tying your bows , give yourself plenty of ribbon .
I know we don't like to waste it .
Um , but it's much easier to tie your bow when you've got , um , room to work .
Um , rather than trying to do it off of a tiny little scrap of , um of ribbon .
So what I do is I take my ribbon and I make a loop like this on one side , making sure to leave myself a good tail .
I'm gonna move that way so you can see OK , got a loop .
Then we're gonna make another loop on the other side , making sure that my ribbon is not twisted in here .
OK , so we've got a nice flat .
Uh , ribbon .
OK , then .
All I'm going to do is keeping hold of the two loops across one in front , left over .
Right .
So you've got this , OK ?
And then taking this loop , carry on and just pull it through Under here .
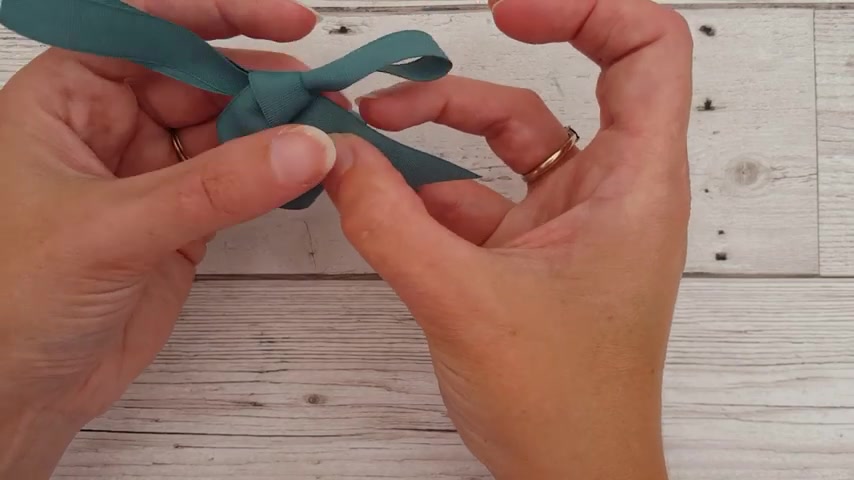
Can you see that ?
And then holding the two ends Just pull , OK , you can see it's a bit odd , but that's not a problem .
All we do is just pull the tails until we get the size that we want , OK ?
And you can see I've got it's much easier for me to adjust here because I'm not attached to the card stuck and fiddling about .
I can just play with it as much as I like .
And so then in order to adjust , all you do is you just tighten right to make your nut and then if you want , I can just adjust further .
Always hold the knot when you're adjusting so you don't lose your bow and then re tighten , OK ?
And you can see that this is a much neater bow than this one .
Ok , so then all I do is when I've got it .
I trim it now when you're cutting ribbon .
Try and keep a separate scissors .
Um , that you don't use on your paper craft because , um , paper blunts scissors .
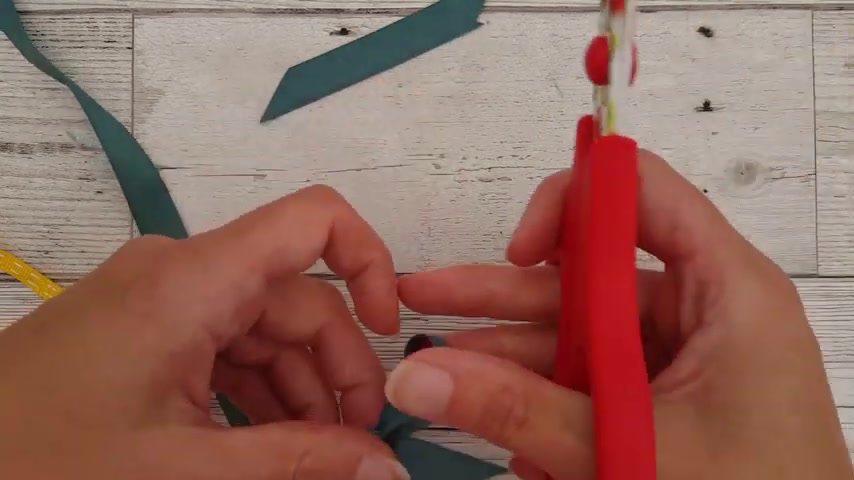
Um and obviously you get glue on it and stuff , and that will make your , uh , ribbon fray when you try to cut it .
So I tend to cut mine at an angle like so OK , and then I'll do the same on the other side , making sure my tails are relatively even .
I don't get too hung up on it .
OK , so there I have a nice belt .
Then if I bring back in my card front , all I need to do now is take , they're glued up .
Let's see , there will sometimes be a messy side and a neat side .
This ribbon is quite nice .
It ties quite nicely .
So we've got two neat sides .
It doesn't really matter , OK ?
And we'll pop it on there and then we'll just place it on the ribbon where we want it to go , OK ?
And you can see to my mind Anyway , this is much , much neater than this and much easier to control .
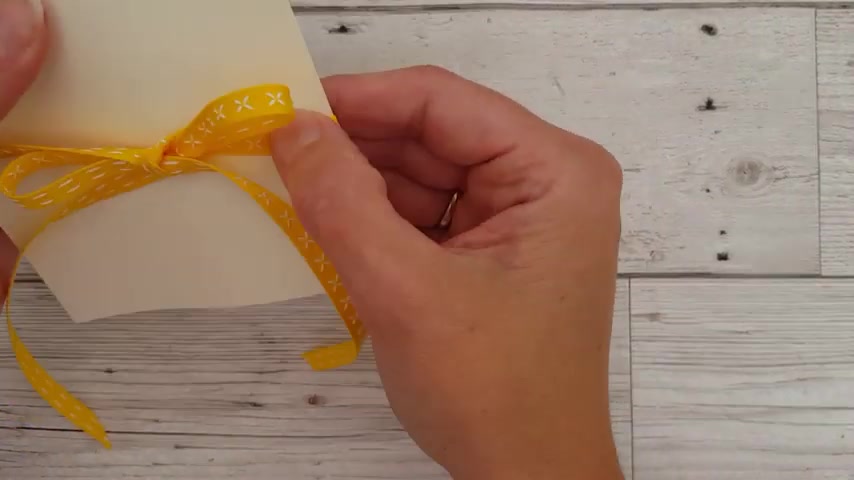
And then all I need to do I've already put some snail on the back here is just pop it down onto my card base and there we go .
OK , so if I just show this to you , um with , uh , some double sided ribbon .
OK , let's take this piece back here and I'll show you what I mean .
So if you had , like , say something with a double sided pattern or sometimes you get ribbons that are printed on one side and not on the other , so we do exactly the same , make our loop .
Make sure to give yourself a decent sized tail .
Um , another loop again , making sure that it's not twisted .
Fold over , feed through and pour .
And you can see now that both of our loops are the same , you will get the tail .
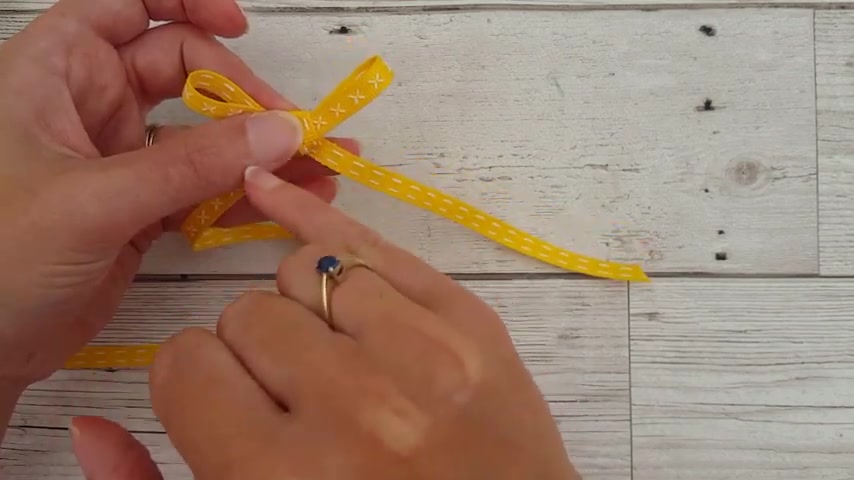
One of the tails will be the the opposite side to what you want , but that's easy to do before you tighten up .
Just twist it at the back .
So you've got the side showing that you want and then tighten , OK , and there you have a nice bow that shows all of the right sides .
Let me show you that one more time .
So giving yourself a good , uh , tail make yourself a loop making sure the ribbons not twisted .
Make another loop .
OK , Cross the left loop over the right loop , leaving yourself a nice big hole in the middle .
Feed this loop through and then pour OK , as you get better and better at this , you'll be able to work with less and less ribbon .
I'm just doing it quite large here so that you can see OK , and then you just pull your loops through until you have the ribbon that you the size of the bowl that you want .
And then if you need to just adjust this one at the back , just twist it and then pull .
OK , Remember when adjusting your ribbon or adjusting your bow , just pinch the knot in the centre so you don't lose it , OK ?
And then you just trim it like I have done before .
Um , to the size that you want now , If you really can't get on with both , then my my advice to you is don't worry , don't panic .
It's not the end of the world .
You can still play with ribbon on your cards .
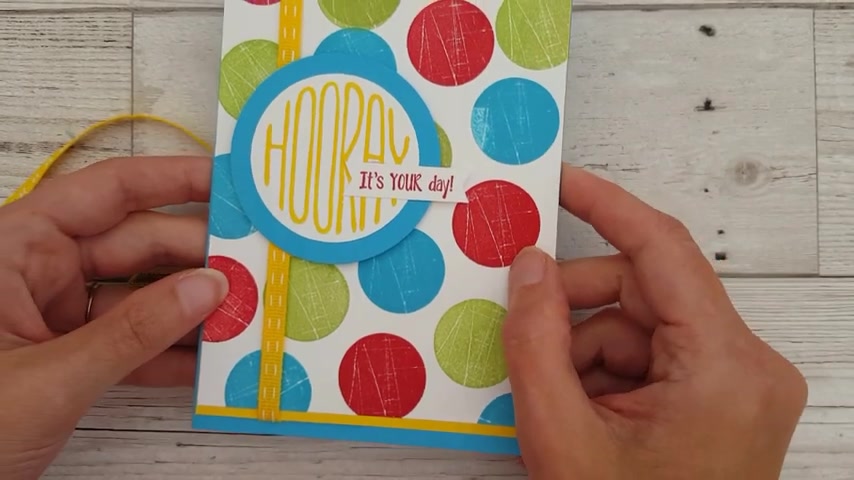
If you have a look at this one , you can see that what I've done is I've just taken a piece of ribbon and made a border with it .
Um , and that's absolutely fine for this card .
Um , if , however , you did want to add something a little extra , then there is something you can do very , very easily , and that's just tie a knot .
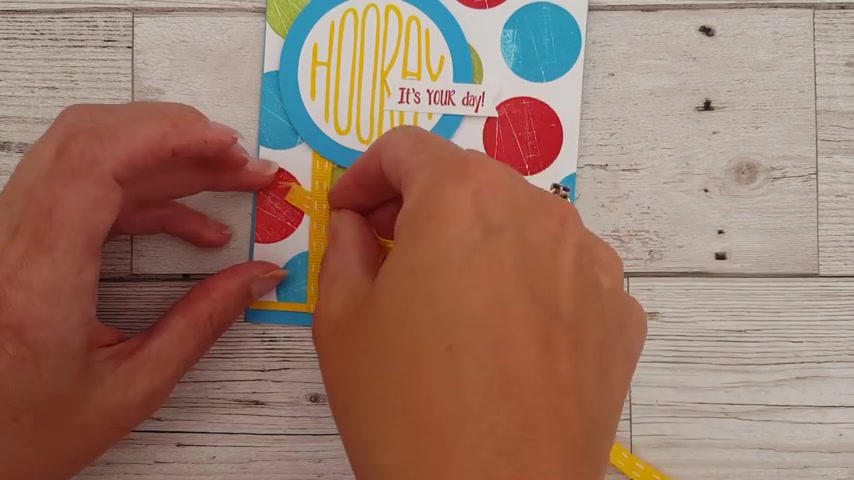
Um , so most of us can can tie knots .
We can manage those .
OK , so all we do is we feed a piece of ribbon through and tie up .
It's as easy as that , OK ?
And then we'll just trim it like I've done before .
And you can slide this nut up and down as you wish like that .
So you get sort of the effect of a bow without any of the fiddle of it .
So there we go .
There are my tips for beautiful bow time on your cards .
Hope you enjoyed it .
Thank you .
Are you looking for a way to reach a wider audience and get more views on your videos?
Our innovative video to text transcribing service can help you do just that.
We provide accurate transcriptions of your videos along with visual content that will help you attract new viewers and keep them engaged. Plus, our data analytics and ad campaign tools can help you monetize your content and maximize your revenue.
Let's partner up and take your video content to the next level!
Contact us today to learn more.