https://www.youtube.com/watch?v=LlfqgVPNLzc
Tie A Tie (Overhead Camera Angle) - Half Windsor Knot (Ep 021)
Hey , I'm your host , Craig Stokes .
And you are watching another episode of Style Minute .
This is the first episode in the Ties and Knots series , the most requested series to date .
And today I'm gonna show you how to tie the half Windsor , my personal favorite .
This is Hands down the most requested series to date .
Ties and the Knots .
So we're gonna talk about today how to tie the half Windsor , not the full Windsor .
I'll show you the difference later and just to give you a point of reference , I am 5 11 , there are extra long ties .
So if you're about 6364 , you wanna look at a extra long tie in order to be able to tie this particular knot .
First step is to grab a tie with a little bit of thickness to it .
So you wanna find something like this , this is gonna give you the dimple that we're gonna see here , right ?
So you ready ?
Let's jump right in .
So we're gonna make this really , really simple .
We got two sides of the tie , the big side and the little side .
OK ?
Put the , put the big side on the right side of your body , the little side on the left side and you see where my belt buckle is .
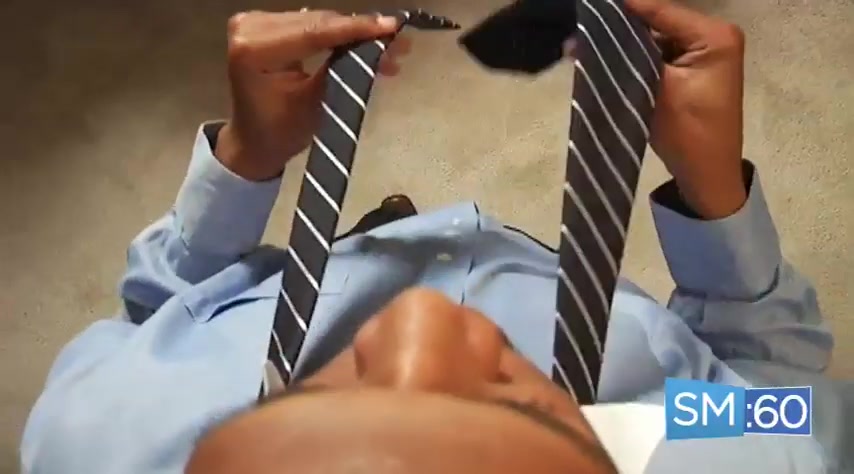
So you wanna kind of position the little side just like I have it here , right .
And as we get ready to get started , we're gonna change the position so that you can actually see it from your point of view .
So we have the big side and the little side , first step we're gonna do is take the big side over the little side , hold with your right hand .
Now we're gonna take the big side underneath the little side back over just like this .
And this is where the half Windsor part comes in .
We're gonna take the big side through the gap on the right side .
Only if you were to do the full Windsor , you would take it over and put it on the left side as well .
Now we're gonna take the big side back over the top of the little side , still holding it with our right hand .
Now , this is where we finish off the tie , bring the big side through the gap once again , at the same time , you're pulling it through .
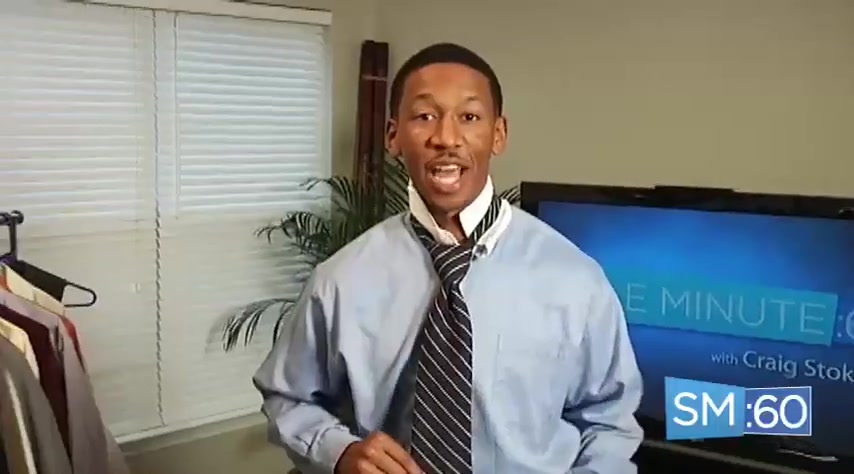
You wanna kind of make a little hole with your right hand .
So pull it through with your left tuck it in the hole that you just made with your right hand , pulling it through with your left , hold the little side with your right and big side with your left , pull it down and before you get ready to make the knot complete , grab it with your left hand with the three with three fingers and pull it through .
This is gonna help create the dimple that you see there .
The final step before you pull your tie all together is to grab both sides , pull it together like this .
And what that does is help it create the triangle effect .
There still maintains the dimple to slide it up .
You just grab the little end , hold on to the end of the triangle of the tie and slide it into position .
There you go .
So now we're at about step number 10 and this is when we slid the tie into position .
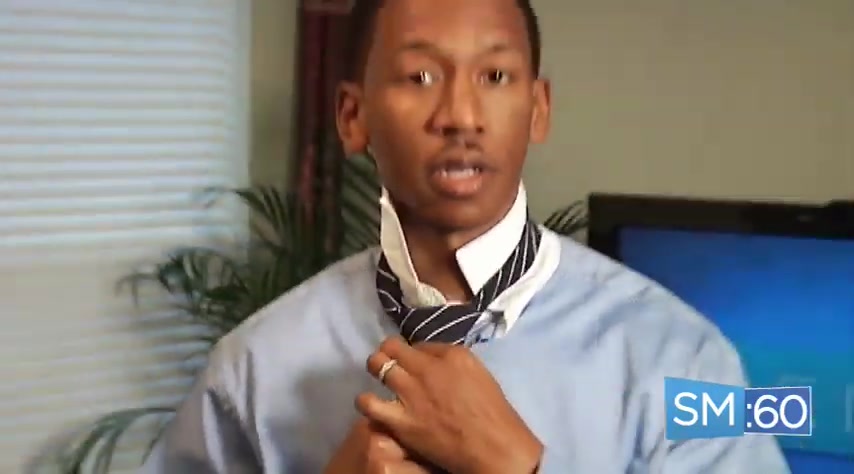
If you want to create a , a little bit more dramatic effect , you can still pull both sides of your tie just like this and create the little triangle .
Continue to just slide it up just a little bit here , right ?
Fold down your collar into position , grab your coat off the rack here and there you go .
You just now tied a half Windsor looks great with uh regular pinpoint color dress shirts , even a slightly wide color uh dress shirt .
So you're good to go with the half Windsor .
It's my personal favorite .
Hope it is yours .
Now , for more episodes on the ties and not series and how to tie other ties like the full Windsor , the four in the hand slip knot keep it like right here at style minute dot com .
I know you don't wanna miss any other episodes .
So be sure to subscribe on youtube and itunes and definitely follow me on Twitter at Twitter dot com , forward slash style minute .
The Style Minute was brought to you in part by next level entertainment experience .
The next level of entertainment today , visit them online at next level enc dot com .
Are you looking for a way to reach a wider audience and get more views on your videos?
Our innovative video to text transcribing service can help you do just that.
We provide accurate transcriptions of your videos along with visual content that will help you attract new viewers and keep them engaged. Plus, our data analytics and ad campaign tools can help you monetize your content and maximize your revenue.
Let's partner up and take your video content to the next level!
Contact us today to learn more.