https://www.youtube.com/watch?v=ZeNZDv4me-4
🤓 How to Kiss Cut & Die Cut Stickers With Cricut
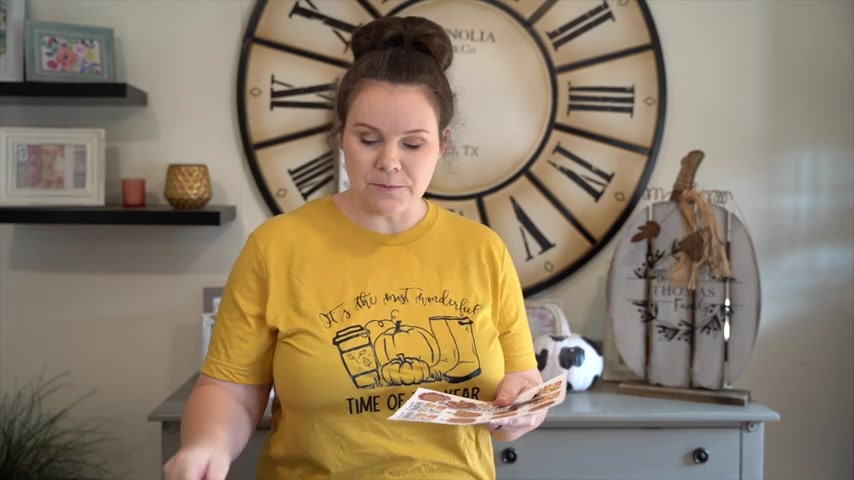
Hi guys , it's Crystal with design bundles today .
I'm gonna show you guys how to make these awesome stickers here .
So these are some Fall stickers that will be perfect for the end of October all the way through November .
So I'm gonna show you guys how to cut them all the way through here on some sticker paper as well as doing a kiss cut and making a sticker sheet like this .
So you'll be able to simply just peel it off like so , so let's go ahead and get started over here on design bundles dot net .
This is the file that I'm gonna be showing you today .
There is , there's a ton of stickers to choose from .
This one is one of my favorites right now .
So I thought I would show you it would be perfect for the end of October and heading off into November .
So this would be perfect for your planners .
Um It will be perfect for like I said , packaging or anything like that .
If you have an Etsy , I just love these .
They're really cute .
So I'm gonna go ahead and show you guys how to bring these over in cricket design space and do a print and cut .
I'm gonna show you how to do a kiss cut as well as cutting these all the way through .
So let's go ahead and get started right now that we've uploaded these to Cricket design space .
I've brought them all in .
So these stickers right here were individual and I just brought them all in over here .
One thing to note some files come in really large .
So when people make these files , they like to save them really big because I do the same , it really keeps them looking nice and crisp .
So when you get frustrated and you think , why is this image so big ?
It's totally worth it .
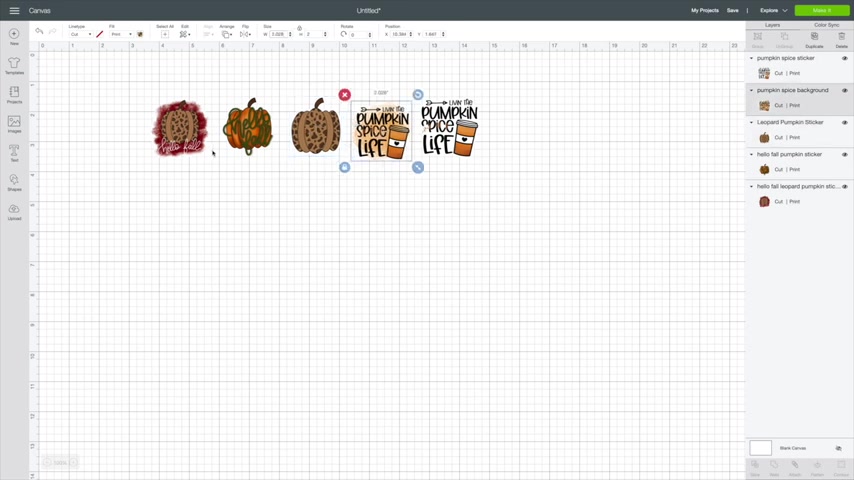
So all you simply have to do is what I do is I hit select all and then I simply come up here and I change a size .
So I know that I want them all to be about two inches high .
So I'll do that and then I can go from there .
So I've got them all down and now I can just go through here double check like this one .
I need to go back , add it to two inches .
Scoot that over .
Click the next one , click the height , two inches and so on and so forth , right .
So now that I've got all of these sizes down to the two inches , the next thing I'm gonna do is figure out how many I can get per page So for example , let me show you really quick , I'm gonna make this one big just so I can show you how can you get that exact size to know how big your sticker sheet will be for the printing cut .
So all you have to do is when this first comes in , you'll see it , but I forgot to show you guys .
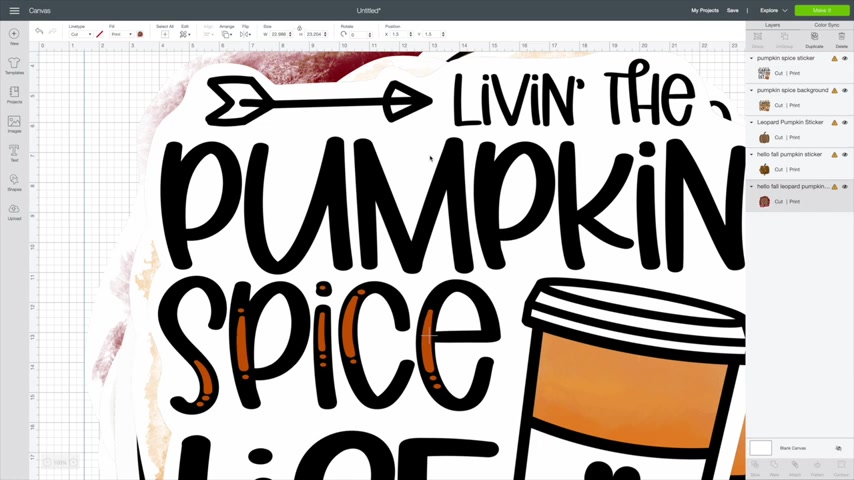
So I'm gonna go over here and I'll change this to tin high and immediately we're gonna get this little , um you know , warning over here .
So if you click on it , it's gonna tell you , your image is too big and you need to stay within 6.75 by 9.25 .
So this is what I do .
I come right over here to shapes .
I'm gonna get a square and I'm gonna come over here and unlock this 75 by 9.25 and then just like that come down here and walk that back .

So this is going to be our uh template through this process so we can fit as many as we can on here .
So , what I'm gonna do is I'm gonna resize this again to two inches .
So first thing I'm gonna do is I'm gonna click on our background here and I'm going to arrange it to the back .
So that way each of these will just come right on top and you guys can see now that they're off that you can see that outline there .
So what I'm gonna do is I'm gonna strategically , if you will kind of place these on here .
So that way I can get the best fit possible , you can either get them .
So that way if you want your sticker sheet to look a certain way you can sit here and strategically do that and then I can sit here and select them and hit attach so they all cut in the same spot or I can let cricket decide that for me .
So what we're gonna do is that right now , I'm just figuring out about how many I can possibly fit on here just like them .
And then I'm gonna start duplicating these things .
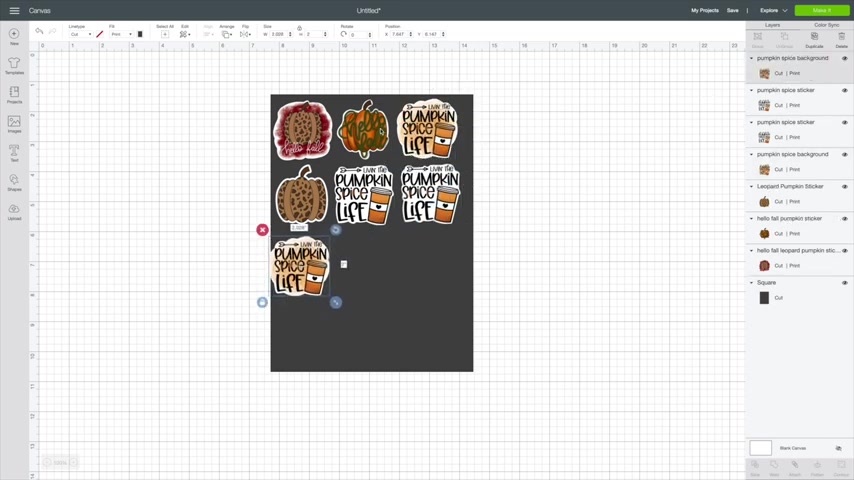
So that way I can have two of each , right ?
And I can fit two more .
So I'm gonna go ahead and just add a couple more in here just like .
So , so now what I can do is click on this and just hide it so that if I don't want to use it later and I'm gonna hit , make it and there you go .
So you can kind of look around on this .
I filled this as much as I could .
Um If you wanted to , you can move these around even over here .
If you wanted to , to kind of switch it around to make your sticker sheets look more uniform or like I said , you could have done that over there .

So the next step is you can either cut these all the way through and have them as one whole sticker where you peel off the back or you could do a kiss cut to where they're gonna stay on this sheet and you can simply peel them off .
So what you're gonna do is you're gonna hit continue and the first thing we're gonna do is hit , send a printer .
So , what I'm gonna do is I'm using my HP Desk jet and then I'm gonna leave my a bleed and hit print to cut these all the way through .
I'm simply just gonna set the dial to porch stock on my Cricket Explorer two and then to do the kiss cut where they're gonna stay on the sheet .
I'm gonna simply change my dial to the custom dial and now you can see that it's gonna pop up like this .
I can hit browse all material and then I can start to type in sticky and I'm gonna choose sticky note .

This will give the perfect kiss cut for any sticker paper and then I'm gonna hit go .
So I've got my sticker paper loaded and as you can see , it's just simply gonna go all the way around leaving that little bit of a white border .
So I'm gonna go ahead and let this get it cut out first and I'll meet you back over in the craft room and show you what we got .
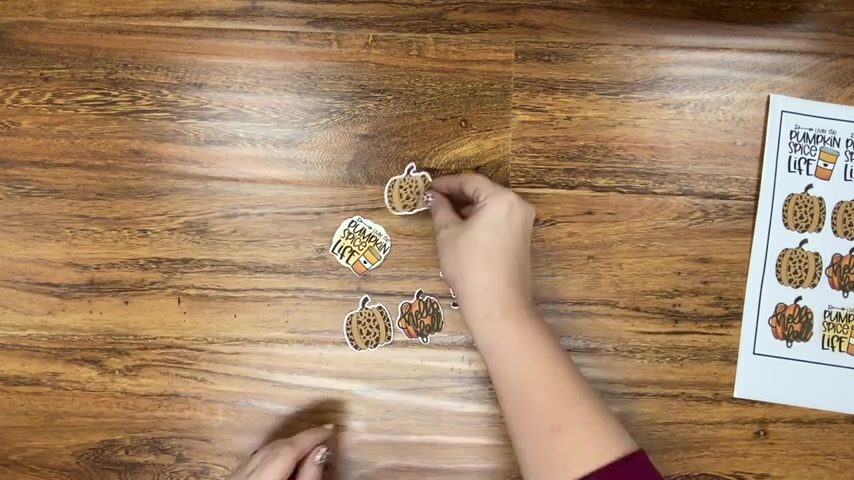
How adorable are these stickers .
So , as you can see this is just a kiss cut .
So they just simply pop right off .
And then for this one here , you can see we're gonna pull that hole outside and these are individual stickers .
The easiest way to get these off your mat is simply just bend it over like this and just peel them off one at a time .
This will help to prevent them from curling .
So I'm just gonna quickly pil all of these off .
And I love these , especially for my Etsy .
I like to throw them in the bag .
You can stick them on the outside of the bag .
You can stick the on your tumbler cups .
They are a ton of fun and these ones are super , super cute .
So they just simply peel off just like that .
So just another great way to make stickers , tons of different options here .
Now on the other sticker sheet , I wanted to show you guys really quickly to take your paper trimmer and trim all the way around , especially if you're going to sell these on Etsy or if you're going to store them , they just kind of look a lot better and just trim away all the way around and you will have a nice sticker sheet .
So I hope you guys enjoyed this .
I hope you found it helpful .
If you did , please hit the like button down below and subscribe and I'll see you on the next one .
Are you looking for a way to reach a wider audience and get more views on your videos?
Our innovative video to text transcribing service can help you do just that.
We provide accurate transcriptions of your videos along with visual content that will help you attract new viewers and keep them engaged. Plus, our data analytics and ad campaign tools can help you monetize your content and maximize your revenue.
Let's partner up and take your video content to the next level!
Contact us today to learn more.