https://www.youtube.com/watch?v=1jBDExmlRVI
How To Cover Popcorn Ceiling Without Removing It _ Skim Coating Over Popcorn Ceiling
Today , we're going to talk about how to cover popcorn ceilings without removing it .
Skim coating over popcorn ceilings will work so much better than scraping them .
If you have ceilings that are painted like mine .
Art in this bathroom , I will link all of the tools and supplies used down in the description box for you guys as well as a link to my bathroom makeover on a budget series playlist .
The first thing you need is joint compound and a bucket .
In previous projects , I've been using the all purpose , which is what I started with in this bathroom , but I was finding it really difficult to work with on these textured ceilings .
So I switched to the lightweight or the plus three joint compound and that was a lot easier to work with .
You want to scoop your joint compound into a bucket , you're going to add a little bit of water , but start with just a little bit .
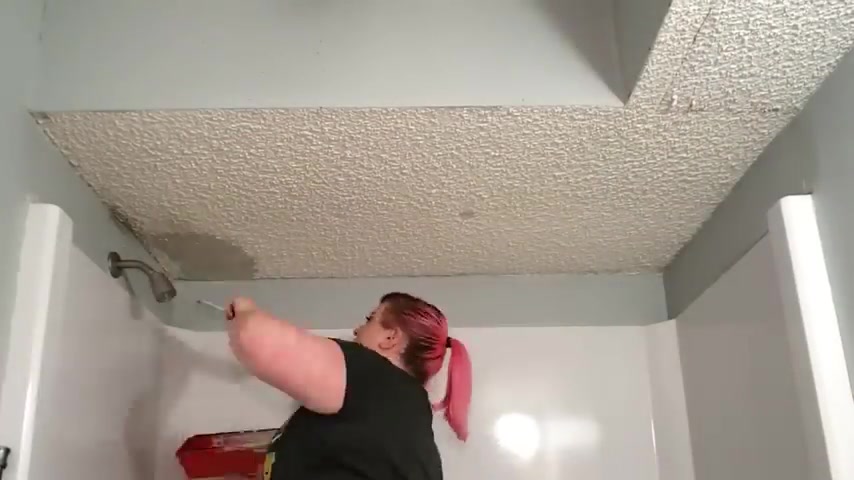
I try to only mix enough that I know I'm going to use that day , but I use a bucket with a lid and if I don't use all this product in one day , it saves and is fine to use at a later time after you've got your compound and your water in the bucket , you want to take your drill into your compound mixer and thoroughly mix up the joint compound , work it up and down and all around the sides to get it really blended .
Well , once it's blended , you can scoop your mud into a pan and the bucket scoop is my favorite tool to use because it works really well to scrape the excess off of the sides of the bucket so that it doesn't get crusty and dry to the inside edges to skim coat my ceiling .
I'm just using a 10 inch taping knife and I have a 14 inch mud pan when starting on the ceiling .
I found that it works best if I start on the edges of the section that I'm working on and then work my way inward on that area of the ceiling .
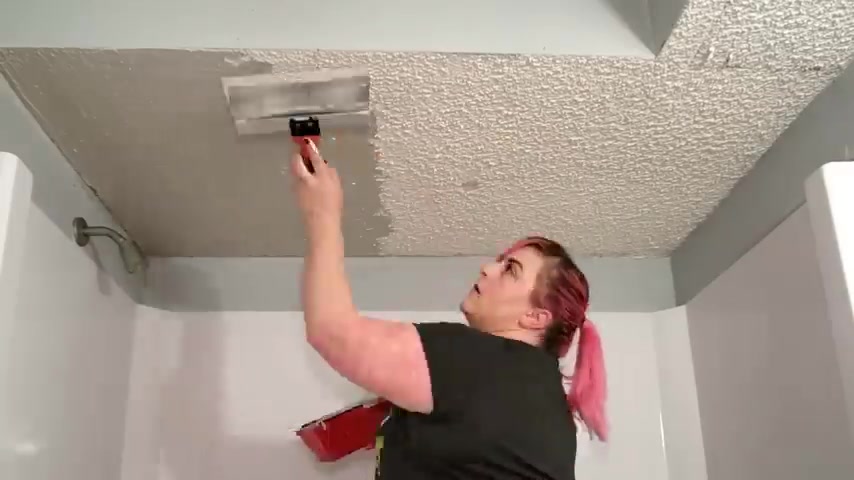
I hold the taping knife into the corner at an angle and then I drag it across the popcorn to eat , distribute the joint compound .
Then after I get all of the edges in that area covered , I fill in the rest of the popcorn ceiling in that section .
The first coat is just to start filling in between that texture .
I'm not putting it on thick enough to cover all of the texture , just scraping it across the popcorn and filling in those open areas .
The first coat will have skip or chatter marks , but those will be covered in the second coat .
And if you don't have a bulk head in the space that you're working in , this might not pertain to you .
But my bathroom does have a bulk head and they texturizing that as well as the actual ceiling .
So the process is the same for covering both of these .
The only difference is there's an edge of this part of the ceiling that has an outer corner .
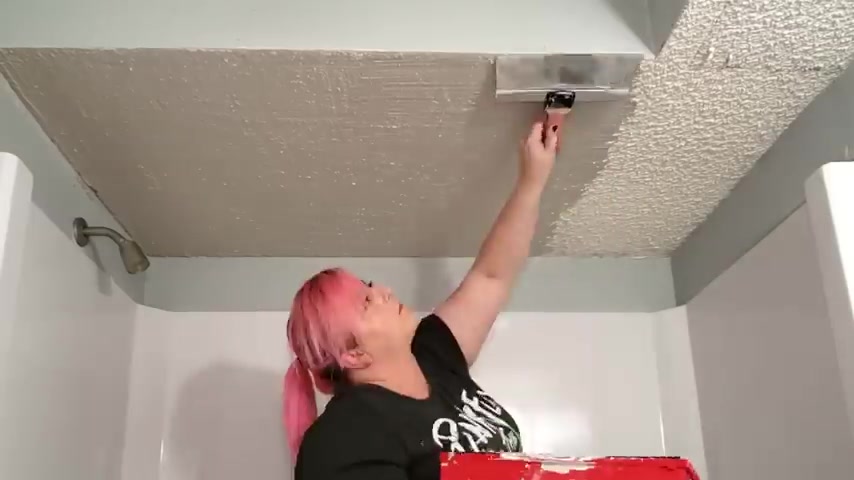
So when I got to the corner , that outer corner of the bulkhead , I just applied the skin coat as close and as neatly to the edge as possible .
I'm also skim coating the walls in this bathroom and that's where I really get these outer corners to have a finished look .
So if you're interested in that , it'll be in the next video that I post of this bathroom renovation series .
Once I finished the bulkhead , I moved on to the rest of the ceiling and the process is exactly the same here .
I started at the edges and I pushed the into the corner and then drag it across the ceiling filling in that popcorn texture .
After getting the edges , I went back in and filled in the rest of that ceiling area .
I switched back and forth between my 10 inch and my smaller taping knife and any of those little areas where I needed to get around the vent hole or around the fan .
And again , I know , you can still see those skip or those chatter marks .
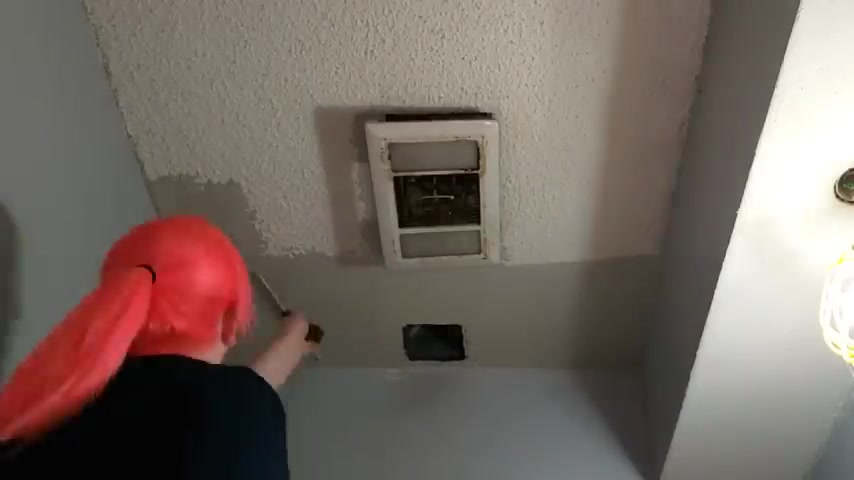
I did do what I could to smooth out each area as I worked my way across the ceiling .
But this first coat does not completely cover the texture .
So I know I'm going to have to go back in and finish filling in that texture with my second coat .
Once I was done with the first coat , I left it to dry for 24 hours .
It might look and feel dry in less time than that , but give it that full 24 hours .
So all that moisture has time to escape and dry out .
And here's a look at that ceiling .
After the first coat completely dried , you can still see that popcorn texture .
It's just not quite as textured .
Looking after the first coat's been applied .
I applied the second coat in the same way as the first , I have seen other people cover the popcorn texture in one coat and then do the finishing coat as their second coat .
And that's it .
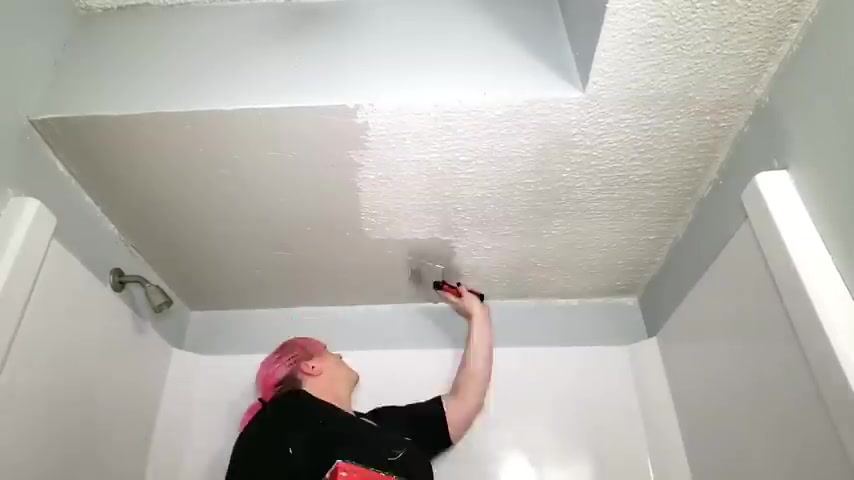
I've also seen it done where someone applied two layers at once doing one section at a time and that first layer they would fill in most of the popcorn and then immediately apply the second layer on top of that wet joint compound to cover the chatter marks and any visible popcorn that was remaining .
For me .
I didn't want to do such a thick layer at once and it was just easier for me to do it this way .
So whatever you're comfortable with , if you want to do it all in one coat and just have a thicker layer of joint compound and go for it .
For me , it was easier to just have an extra day of skim coating and do two coats to cover all of this texture .
And then my final finishing coat would be my third coat .
I would also like to mention that a lot of people say that they sand down in between every coat and that might be the technical way to do it .
I hate sanding down joint compound .
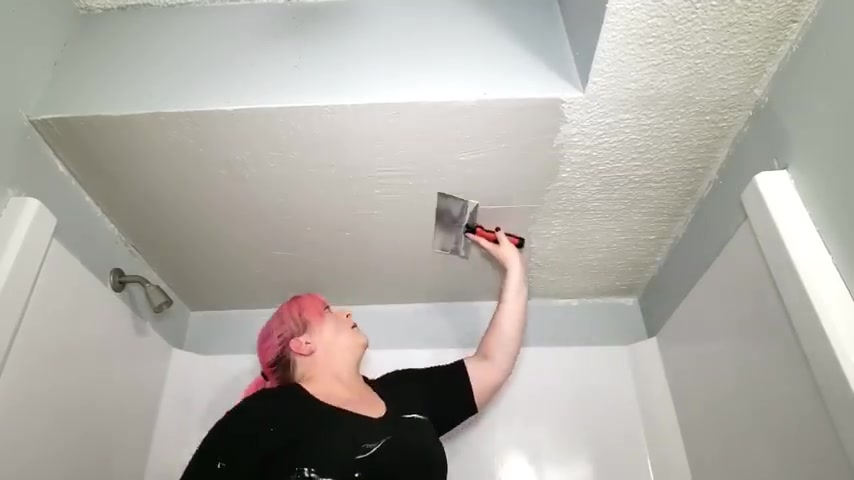
It makes a massive mess and I honestly would wrap have to go back and do a final skim and one more sand at the end than have to sand in between every single coat .
This is the way I have done it in several rooms now and it's turned out fine for me at the end .
So if you want to sand in between every layer , you're probably more likely to get a level five finish on your dry wall .
But for me , I would rather not sand in between each coat and just make sure that final coat is as perfectly smooth as I can possibly get it .
After letting that second coat dry for 24 hours , I went back in and did the third coat .
This is the exact same process as each time before .
But with this last coat , I thinned the joint compound down just slightly more since I'm now working on a nearly smooth surface , it's about the consistency of a thick pancake batter .
This coat will be easier to apply since the mud will be a little bit smoother and slightly creamier .
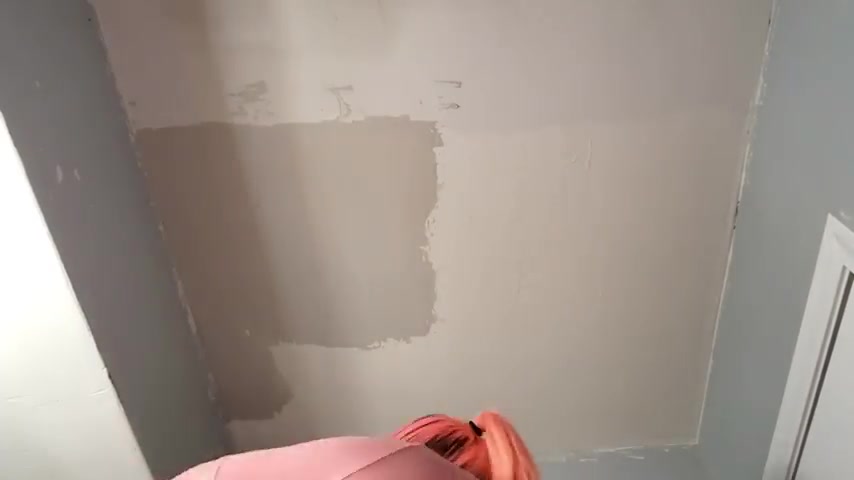
You can feel the difference in the taping when you're skimming that last coat of joint compound versus the first when you're on bare dry wall or a textured or painted surface with this coat .
I made sure to go back over each wet section from opposite directions to help fill in any remaining chowder marks and smooth out any appearances of rose from my knife .
You should be holding your blade at a slight angle as you are working the wet edge to try to keep from leaving marks with the edge of the blade that this takes practice and isn't exactly easy .
I struggle with it .
So I just remember that you can fix anything when you're sanding it down .
At the very end , I tend to work in small sections and I use a smaller taping knife .
So I always have imperfections but sanding it at the end gets rid of them to where you wouldn't even know they were there to begin with .
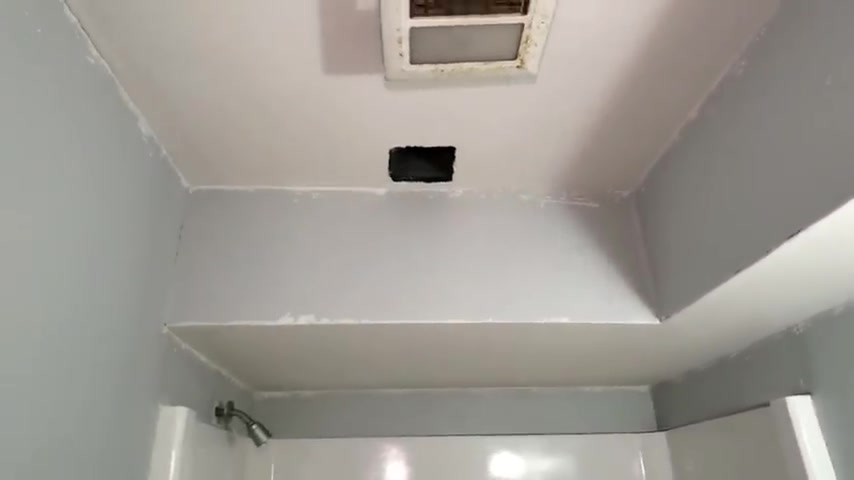
You want to let that third coat dry for another 24 hours before going back to sand it down .
I unfortunately , Lee had to leave it like this for a few weeks before sanding it because it was the holidays and I just got busy .
So for me , this is a few weeks later when sanding , make sure to wear goggles and a dust mask .
I also suggest wearing gloves , long sleeves and pants , not shorts because this dust will dry out every inch of your skin .
I used a fine grit sanding sponge and a handheld sander with 100 and 50 grit drywall sandpaper .
The sanding sponge has one gold side to it , which made it great for getting into those tight corners .
And then the normal square edge of the sanding sponge is great to run along those edges and get a nice squared off inside corner .
Then I used the larger handheld sander to cover a larger surface area at a time .
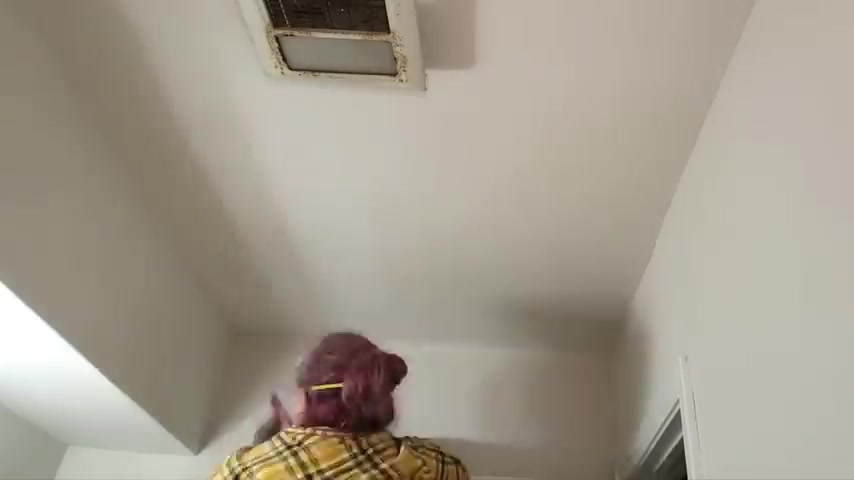
You can use a sanding pole or a handheld sander , really whatever you have and whatever you're comfortable with , just make sure that you sand the entire surface is evenly as possible .
And like I said before , look out for any imperfections that need a little more attention .
As you can see , I had skim coat the walls at this point as well after the third coat on the ceiling was dry .
But before sanding the ceiling , I skimmed the walls so that I could sand everything at once and doing it this way .
Let me get a nice finished look for those inside and outside corners .
So again , if you want to see how I did the walls in the corners that will be in the next video imperfections are just something that you have to deal with when you're doing a skim coat .
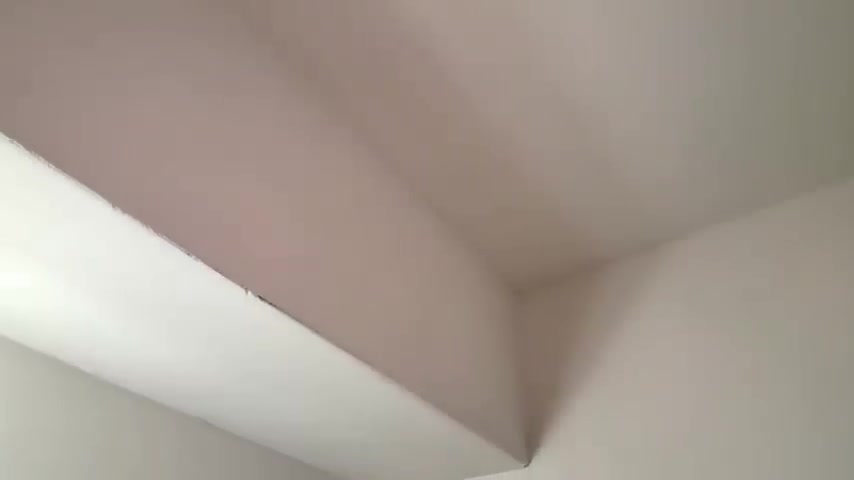
But if you're skim coating over a painted surface , one of those imperfections is going to be bubbles , going back over the skim coat in opposite directions as you're applying , it can help to reduce these as well as applying it with a firm hand that they are pretty much impossible to avoid .
You can't really see it in the footage from a distance , but up close , it's really noticeable after sanding down the tops of these bubbles , they look like little holes in the wall .
But thankfully , it's pretty easy to fix .
Bare dry wall is breathable and the air has a way to escape .
But on a painted surface like this , it doesn't have that escape and it leaves these bubbles .
I'm sure there are other reasons this can happen , but I've only had it happen when going over a painted surf this and from the research I did trying to figure out why it happens .
This was the main explanation I kept coming across .
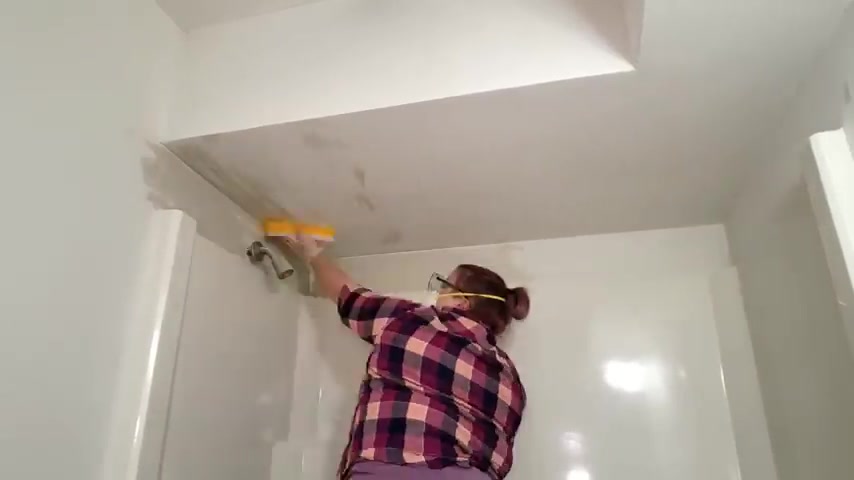
Once you're done sanding , you want to take a bucket of water and a damp sponge and start wiping all of the dust off of the ceiling .
You want to ring your sponge out in the clean water frequently and change out the water when it starts to get dirty , dust can collect inside of those little holes .
So you want to get as much of it wiped out as possible .
If you don't have any holes in your dry wall , you still need to use a damp rag or a sponge to wipe down the walls before painting .
So this is a step that's part of your process .
If you have holes to fill in or not , after you've wiped all of the dust off , you want to let the ceiling dry again , which really shouldn't take very long .
It should be drying almost as quickly as you're wiping it down .
But still make sure you give it a little bit longer to dry all the way through .
Once the ceiling is dry , you want to go back in with the small taping knife and fill in all of those tiny little holes .
This time , you're not adding another layer of skim coat though .
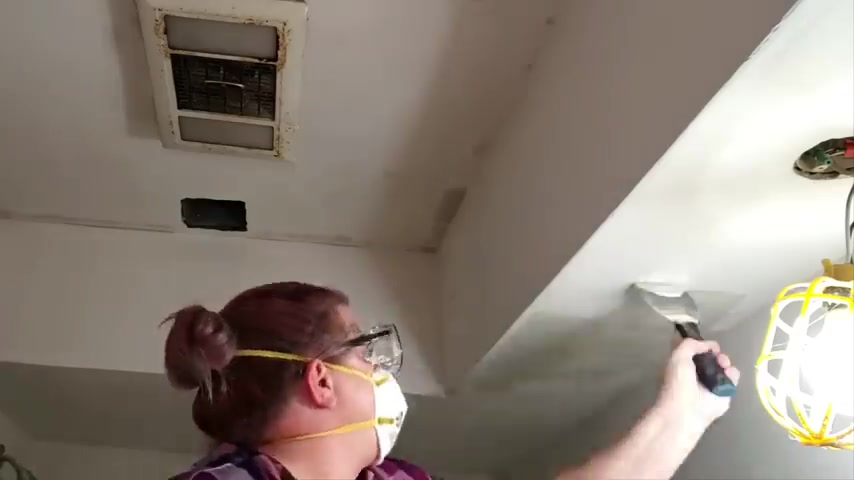
You're just running that taping knife over the surface , filling in the holes and then going back over them from opposite directions using a firm hand , making sure that that joint compound is pushed all the way in those holes while also scraping off any excess material that's on the surface of the ceiling .
I also used this time to touch up the corners , but again , I'll be covering that in my next video if you're interested .
And if you see any other imperfections or any other spots that you missed , this is the time to go ahead and fix those I double checked everything to make sure that I didn't miss any holes and then I left it to dry overnight .
The next morning I took my pole sander and I went back over the entire ceiling just to make sure that there weren't any visible flaws left from filling in those holes .
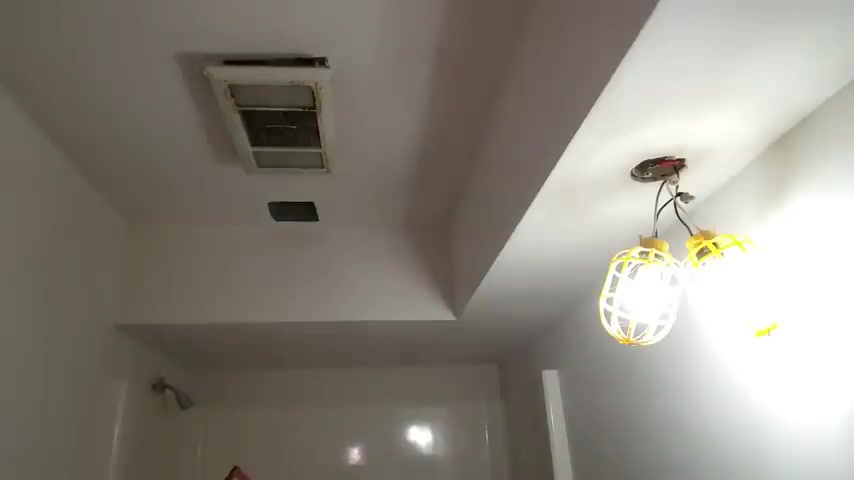
The ceiling looked pretty much smooth at this point before sanding it , but there's still going to be a little bit of a noticeable difference between the areas that you filled in and the areas that you did not .
But a light sanding with the pole sander was all it took to get everything smoothed out again and the ceiling is looking pretty much perfectly flat .
Then the very last thing I needed to do was to take my clean bucket of water and sponge and wipe everything down one last time .
Once you've finished wiping everything down and you let it dry , you are ready to prime and paint your newly skim coated ceilings .
If you guys enjoyed this video and it was at all helpful for you , I would love it if you would hit that like button and make sure to subscribe if you guys are interested in checking out the rest of this bathroom makeover on a budget .
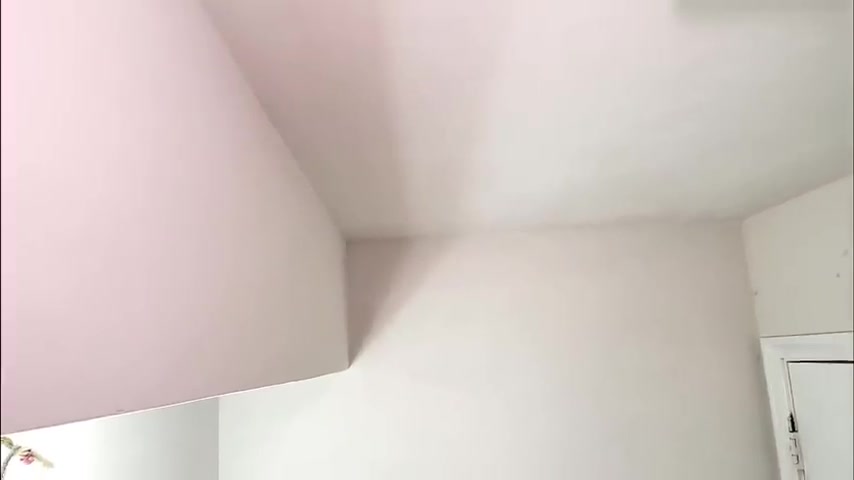
The next video will be skim coating and sanding down the walls and then the video after that , I will be priming this brand new skim coat and painting this bathroom to be mold and mildew resistant .
That playlist is linked down in the description box below .
And until next time you can check out one of these videos linked right here .
Are you looking for a way to reach a wider audience and get more views on your videos?
Our innovative video to text transcribing service can help you do just that.
We provide accurate transcriptions of your videos along with visual content that will help you attract new viewers and keep them engaged. Plus, our data analytics and ad campaign tools can help you monetize your content and maximize your revenue.
Let's partner up and take your video content to the next level!
Contact us today to learn more.