https://www.youtube.com/watch?v=6-PCRIZCmAA
HOW TO MAKE PLANNER STICKERS _ DIE CUT & KISS CUT ON CRICUT _ Planner Sticker Tips
Hello , guys .
And welcome back to my channel .
Today I'm gonna be doing something that helped me out so so much in my business and making planner stickers in general .
That is the cricket hack that allows you to do two cuts .
Now , technically , it's not really two cuts in one go .
It cuts out the back in and it kiss cuts the sticker as well .
For those of you who've got silhouettes , this isn't a problem because you can select a different depth settings for your blade .
But on cricket , they have not yet put this into action like it's not something that is available on cricket as of yet , or at least I don't know it is .
If it is available , please let me know .
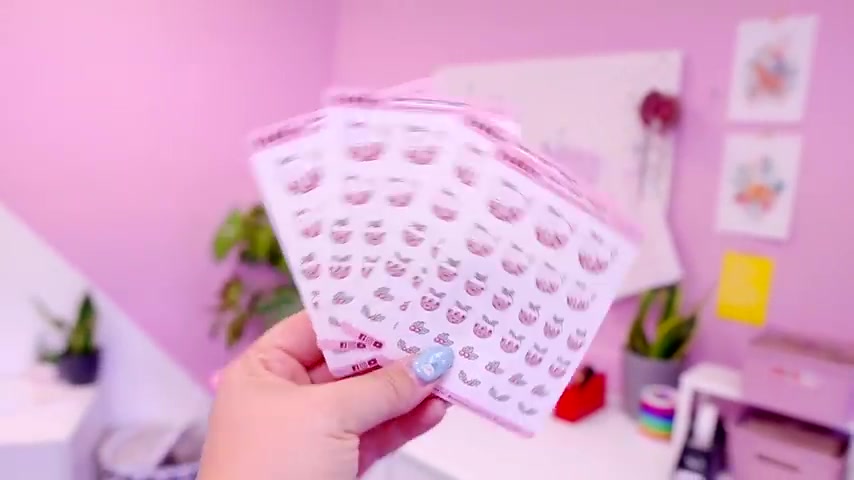
Uh , but I'm gonna talk to about how I do it all in one go Cos Originally , when I started making planner stickers , I would print them all out and there would be four per sheet and I would have to hand cut them with the guillotine , cut them all out around the corners by hand , and that added so much more time in the making process of things like planner stickers and things like that .
But if you're thinking of doing something like this where you want the background as well as the kiss cut stickers all doing at the same time and you've got to cricket at this video is going to be for you .
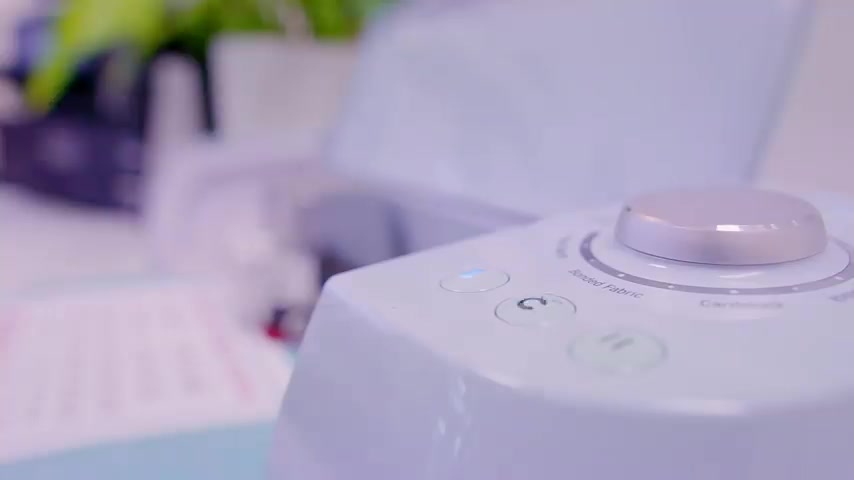
I've got my crickets behind me and they're ready to go .
I use the cricket air , explore two before we jump into it .
I just wanted to say a huge thank you to skillshare for sponsoring this video today .
I have been a huge advocate of skill share on this channel .
You know , I have .
They sponsor a lot of our videos here at , and I am so , so proud to be a sponsor of theirs because what they do on their platform is fantastic .
They are creative online learning platform , not just creative .
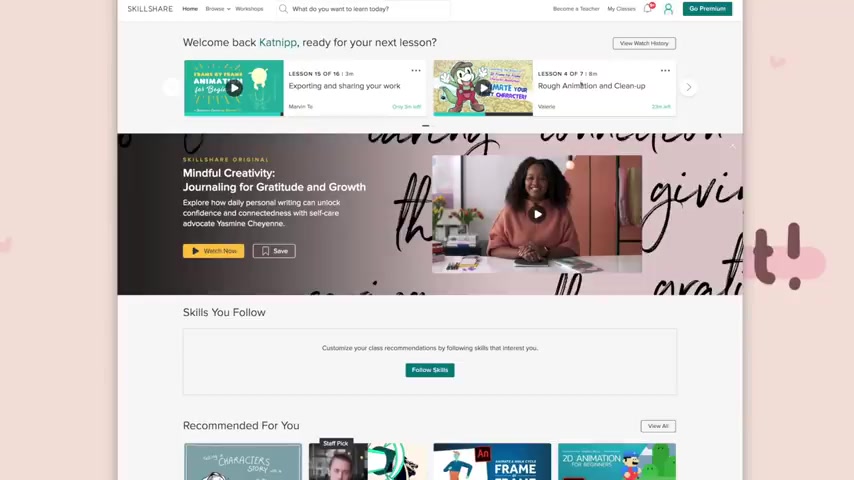
They do all sorts of things like self help and stuff , and I've been really , really enjoying their courses at the minute .
I've been checking out animation like two D animation , um , courses , and I've really been enjoying them .
I've also been doing a little bit of research into journaling and sketchbook , just kind of things that I'm interested in , and skillshare has tonnes and tonnes of online courses .
You wouldn't even believe from other creators or creators in the field who are experts in their area .
Uh , that you can go and check out .
And the best thing is they're offering 21 free for you guys .
So I'll leave the link in the description below so you can test it out and see what you feel like and get those classes while they're available to you .
So thank you so much .
Go share for sponsoring this video today .
It honestly means it will .
Anyway , let's get straight into the tutorial .
Now , this isn't gonna be from start to finish .
How make the stick is I've already done a video on that .
It's pretty old now , to be honest , but it's still relevant .
I still use the same thing , Um , and I'll leave a link in the info card or in the description so you guys can go check it out if you want to see from right at the very beginning through to the end of the stick and making process .
But for now , I am just gonna go as if I've already made my design and I'm gonna show you how I've hacked it and how I've managed to do two cuts in one go .
So let's straight into it , shall we ?
OK , so the first thing that we're going to do is we're going to open cricket design space , so I'm actually using the desktop better version or beta .
However you say it better , Um , the release in our desktop version rather than an Internet version that you can actually download .
And I've been using that .
So I'm just gonna open cricket design space , too .
The one your design space is all open here .
You want to open a new project , so I'm just gonna click a new project .
And for the sake of doing this , I'm just gonna create some stickers that have already been uploaded .

So I've got my backing sticker here , and I've got my pudding stickers here .
Now go through this on my other planner sticker video .
If you want to learn how I got to these steps , then definitely .
Go check it out .
That will be helpful .
But I'm just going to assume that you know what I've done .
I've created a backing layer , which is gonna be where I want my card be printed out .
I exported it as a transparent PNG with the white filled in white .
So it was only the outside here .
If that makes sense , that was transparent because I wanted it to cut these curved corners .
And then I've obviously got my sticker stickers all laid out that I did on Photoshop ready to go out and fit into this perfectly .
And also , these are served as a transparent P and G with the out white outline stroke for the stickers .
So I'm gonna insert these by selecting them and click insert images .
This may take a bit of load rather load in .
So I'm just gonna wait for that because it's quite a heavy file size because they're quite big .
I don't want them that size .

I'm just gonna put a rough size in .
So I'm gonna put five for now .
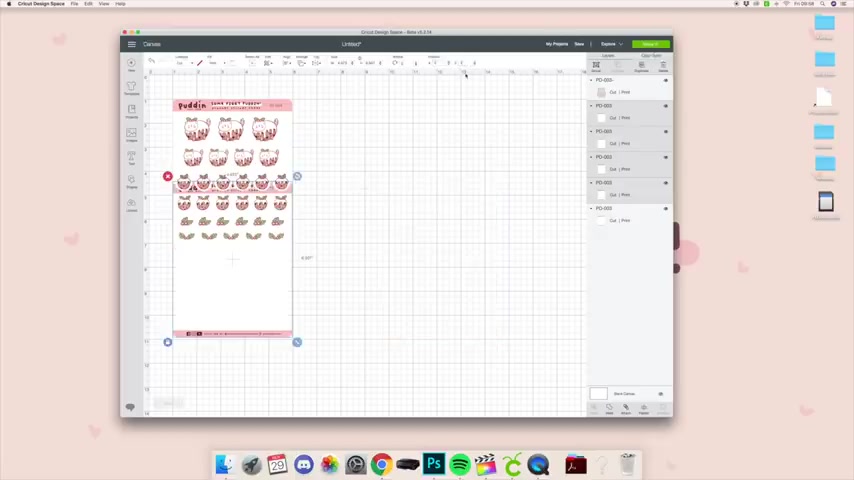
Er , just so it fits on the canvas so you guys can see , and as you can see here , I've got my sticker layer and I've got my backing layer .
So I'm just going to adjust the sticker layer to how I want it when it's in the print and cut feature .
Um , I want it around about there .
So , as you can see here is the white line for the backing layer that I've created .
Um , and now I'm going to select that backing layer .
I'm gonna click command C If you're on a Mac , I'm not sure what it is on a PC .
Probably just I don't even , you know , it's been that long since I've used the computer .
I'm sorry about that .
Um , but you can just copy and paste it whatever you use to copy and paste , Um , or you can just literally , right , click and click Copy here .
And then I'm going to paste around about four layers in .
But what I want to do for now is I want to put them behind , obviously the sticker layer .

So I'm gonna put the sticker layer on top there .
But as you can see , this is what happens when you copy and paste it .
It for some reason , repositions it in a different place .
So what I'm gonna do is I'm just gonna click on the corner here , So I just clicked in this corner and selected those Just move them out the way for a second , and it automatically grabs them or you can manually grab them if you want , by clicking on one holding shift and clicking , clicking through them .
But this one's an easy word .
Just by selecting them all like that .
And I'm going to select these two layers my original layers , and over here , where it says position , I'm just gonna position them to an easy number for now , like 10 , not 1.4991 and one like that , and it'll position them all together .
And then I'm gonna select these ones because you want these to be exactly in the same position as all of the other backing layers .
So all the PD or or three backing layers , they wanna be in the exact same position as this where it says and Y and I put that in the position that I've just selected , which is one and one .
So I'm just gonna click enter .
And there you go .
It goes directly underneath the backing layer .
So basically , what this will do is this will cut around this layer here five times on a kiss cut setting , which is basically you just select a paper setting where it only slightly scores the paper but allows you to peel the stickers off .
It's all different , depending on what paper type you're using .
You may have to do some experimenting with this .
I know .
I definitely have to with my paper types , because the different paper types I tried out had different settings .
But I will show you the settings that I'm using for my exact paper that I'm using as well .
So that's all together for you .
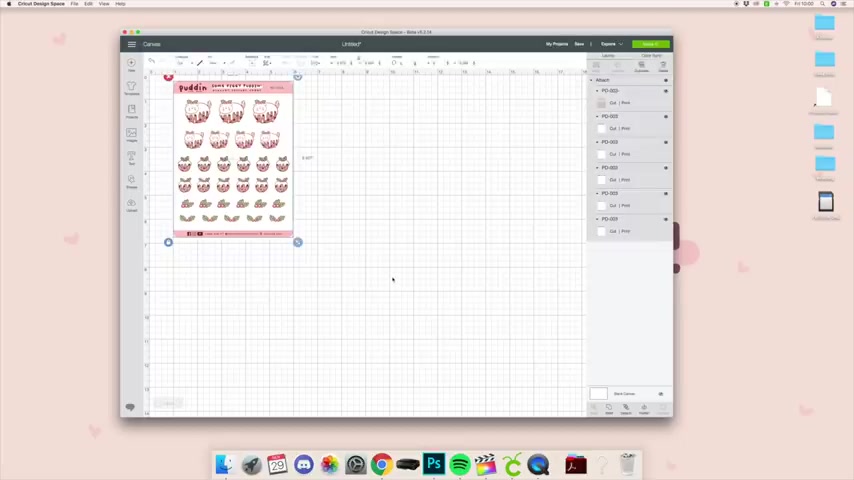
But first of all , what we need to do is select all these again , as you can see , and we need to attach them .
So you've attached these now , and what I usually do is I normally put four per pair , so you could go ahead and print and cut these , um , and I'll show you what it'll look like .
So this is what it will look like on the print and cut sheet .
Er , but this is an a four piece of paper , and I have mine four per sheet , so I'm just gonna cancel this cut for now .
And I'm gonna do four per sheet now .
You don't need to do this .
This depends whether you're gonna be doing it for per sheet .
or not , But this is the most important thing you've attached all of these .
So I'm just gonna copy all of these and I'm gonna paste them into place and it'll duplicate it's a layer .
And I normally leave a gap around this size like this .
And then I'm gonna put one down here and one down here and just line them up a bit .

Neat it like that .
Then I'm gonna select all of these and this is too large for the cricket to cut .
But I'm gonna make sure these are all attached to each other so that they don't print out on multiple different pages .
And then I'm going to go to the width .
I'm gonna make it 6.75 which is the max you can get on cricket .
So I think the maximum setting you can have is the width is 6.75 and the height is 9.25 .
Now they're all attached .
Everything has been attached .
I'm gonna click , make it and it's as simple as that .
And it will now print and cut five times around around this .
So let's continue .
So I'm just gonna select one of my crickets .
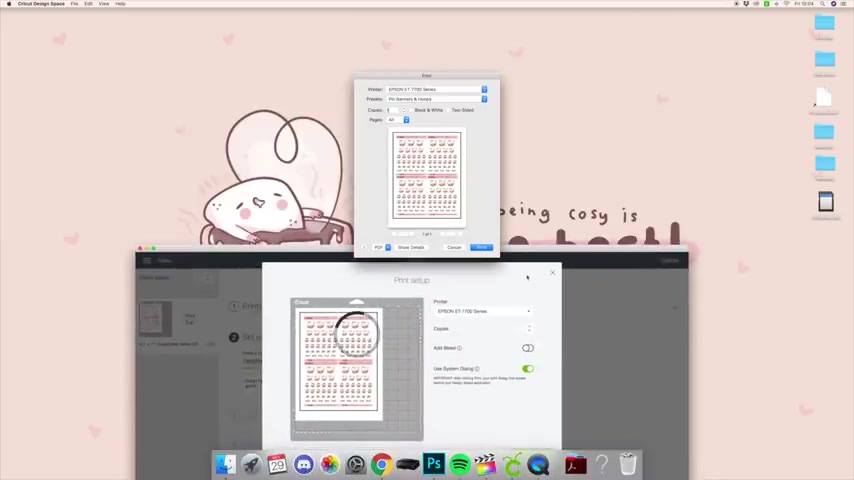
Let's select 331 , And then we're gonna send it to printer because we're using the print and cut feature gonna click use system dialogue , gonna turn off a bleed and we're gonna go ahead and print that all the use system dialogue is it brings up the little pop up box , but it always comes up behind cricket .
I have no idea why this is the case , but I'm going to select my print settings , which are stickers premium , semi medium .
So I'm just going to quickly show you what print settings I use .
So I feed from my main , uh , from my ME 7700 , which is what I tend to use .
So that's the eco time that I did a review video on .
And that's what I print my stickers off , and I really like it .
And this is the paper quality that I usually print it on .
And I am using a premium matte vinyl by ever green goods , and that's what I use for my planner stickers .

Now this is quite expensive , but I find that that works best for me , and I really like this sticker quality .
So once it's all printed .
This is what I use for kiss cutting my stickers , and that works perfectly with the premium semi vinyl .
Now , if you're using a thinner paper , then I highly suggest trying out the custom materials , which you can usually find in this section .
You got to manage custom materials , or you can click browse on material here and find it .
I would suggest trying things out like the washy tape one .
Uh , that's what I used to use when I used a thinner paper stock .
I use online label standard White Mat , and this one was great for kiss cutting .
I used to have this highlighted , but since I have updated my sticker paper to the premium matte vinyl , I found that selecting copy paper does the perfect kiss cut for the premium matte vinyl .
But obviously what is gonna happen here is because it's cutting around the back and card five times .
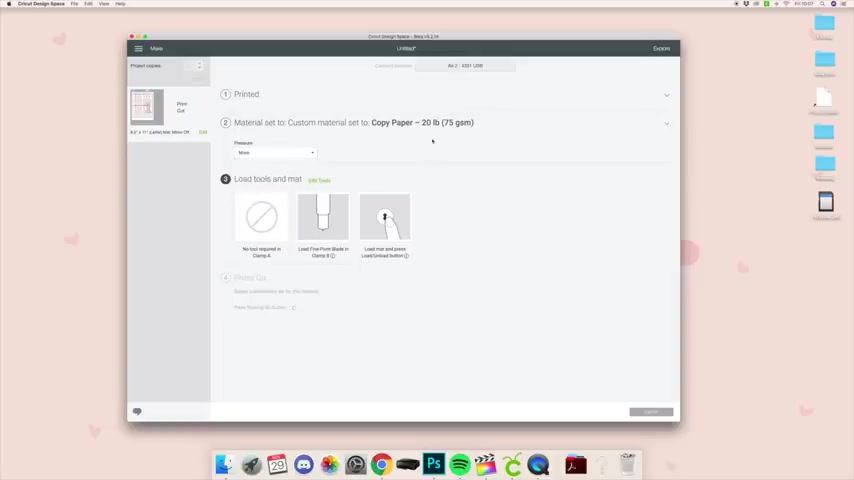
It actually cuts through , and that is kind of the half and the kind of trick to it .
So we're going to select the pressure .
I always select more because that tends to work for me for kiss , cutting and stuff .
But again , you will need to experiment with this yourself , depending on your cricket , your blade and your paper .
Because I do know that when my blade gets a little bit dull , I have to change all these pressure settings and things like that .
But anyway , once that's done , I'm gonna load ahead and I'm gonna load my mat and I'll show you what I did .
So first , I'm just gonna mount my print and put sheet to my cricket map .
I like to secure it with a little bit of turf as well .
Just to be extra safe , it's time to load the map and click off .
So now cricket will just cut around five times to create that die cut effect .
And then it will move on to your kiss cut stickers .
Now it's all done .
It's time for the fun bit , and that's peeling them off the mat .
I love this bit so satisfying and that's it .
You've hacked your cricket into making a kiss cut and a die cut all in one go .

Hey , what's up guys ?
This is Mark Serrano from Mix tape Monkey .
And I'm here to show you how to download a mix tape from a mix tape monkey .
So first you want to go into your app app store and type in I zip .
Now you want to click the little yellow folder and while it's downloading , you can see that little preview going on right there .
Yeah , just let that load up .
All right .
Go back to your home page .
Open it up .
Hit X .
This is uh the free version so we could get some pop ups and you can delete that first example file .
Now we can go back to our browser and let's open up mix monkey dot com and uh let's find a mix tape .
So pop open the site browse around .
I love you .
And as always , I'll see you very , very soon .
All right , then .
I love you .
Goodbye .
Are you looking for a way to reach a wider audience and get more views on your videos?
Our innovative video to text transcribing service can help you do just that.
We provide accurate transcriptions of your videos along with visual content that will help you attract new viewers and keep them engaged. Plus, our data analytics and ad campaign tools can help you monetize your content and maximize your revenue.
Let's partner up and take your video content to the next level!
Contact us today to learn more.