https://www.youtube.com/watch?v=xRHv7xcFj90
How to Tie a Bow Tie like tying a shoe
To skip the intro .
Click the link that jumps ahead or go watch the no intro video .
If you know how to tie your shoe , you already know how to tie a bow tie unless you use the bunny ears method .
And then I feel sorry for you .
The real question is whether you know the standard shoe knot or are you like me ?
And you add some weird extra hook around thing and then you have to go watch a bunch of shoe tying videos to learn how to do it right ?
And then you have to go remake those videos because you think none of them are any good .
No .
Anyway , in case you're doing it wrong , go watch my shoe videos because a bow tie is just like the standard shoe knot , you simply begin with a starter knot followed by a loop wrap the other end around , pull it through and tighten .
And then if you think it's important , you can shape it a bit when finished the bow tie has an end and a bow and behind that is another end and another bow , you end up stacking them .
So all you see is the first end and half of the first bow .
The tough part for a bow tie is tying it so your bows and ends match and nothing gets twisted .
Helpful .
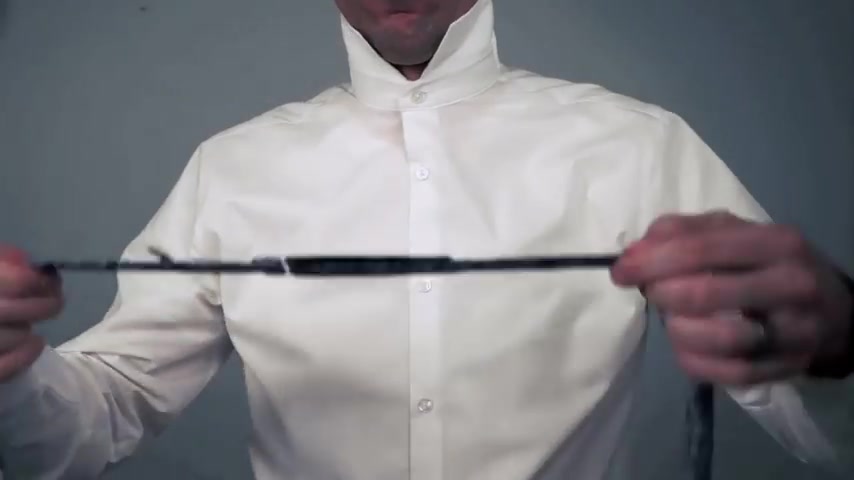
Side note that no one tells you the kind of bow tie I have here lets you choose the length by putting the t in the appropriate spot .
After setting that up , you are ready to start .
So let's begin , place the tie around your neck now because the bow tie doesn't slip easily into other logistics here .
You need to pull one end down a bunch , giving us a long end and a short end , the short end will eventually become the front of the bow tie .
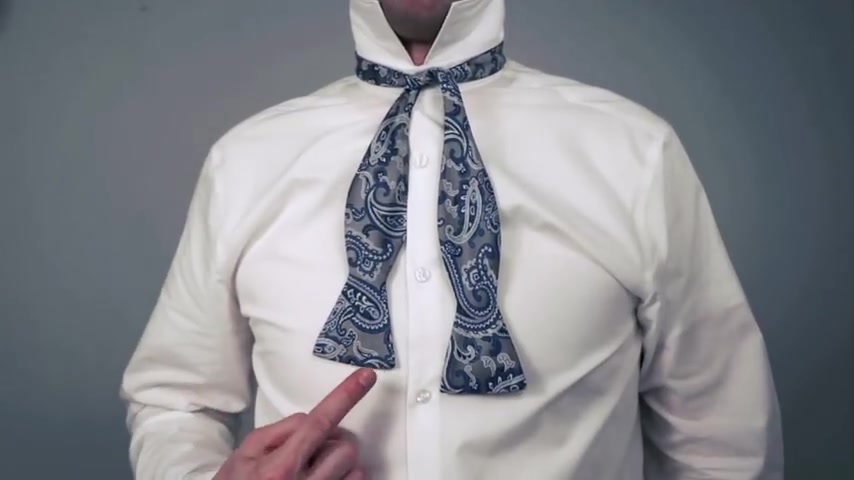
Step , one tie the starter knot .
You do that by crossing the long end over the short end and then flipping it under .
When you pull it through , keep it on this side .
I don't like saying left or right side because it depends how you're watching this .
Also check out the mirrored version of this video if that suits you better .
Just know that the important parts of what happens next happen on this side .
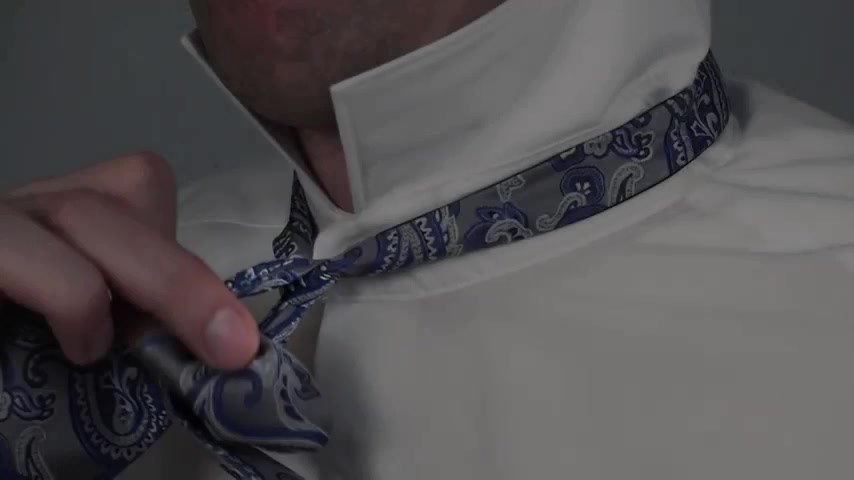
Now , pull both ends tight .
This is where you tighten the tie around your neck .
So make sure that it's tight but comfortable just like your shoe .
You may need to hold the starter knot tight with a finger , but hopefully not since that makes the rest of this process .
Very difficult note , the long end should still be long and you can put the long end up on this shoulder for now , step two , make a bow , take the short end and make a bow by folding it in half .
Some people call this the fish .
Uh So here's the head and the body and the tail and here's the tongue .
So in those terms , chop the head off the fish or at least fold the head behind , this makes the first bow and you want to bring the bow over to this side .
Step three , wrap the other end around , bring the long end back in front , pull it down flat and make sure it didn't twist .
If your bow tie is excessively wide , you can fold the tongue in half here .
Now , all you have to do is get the loop through the hole by wrapping the long end around .
You have made a hole and you want to push the head of the long end through it .
You may be wondering which side of the hole you want to use .
Just remember to use this side with the long end hanging in front , push your finger onto the head and slide it and the tie up on this side all the way through the hole .
If you need more space , see if you can pull the top and bottom parts of the hole close to your neck apart .
Contrary to what other videos tell you here is your last chance to tighten the tie around your neck with your other hand , grab and pull it through , but be careful not to pull the end through .
You may need to pull the tail back a bit .
And that is easier if you can grab the fish heads , pulling on the fish heads will tighten the knot and you're done .
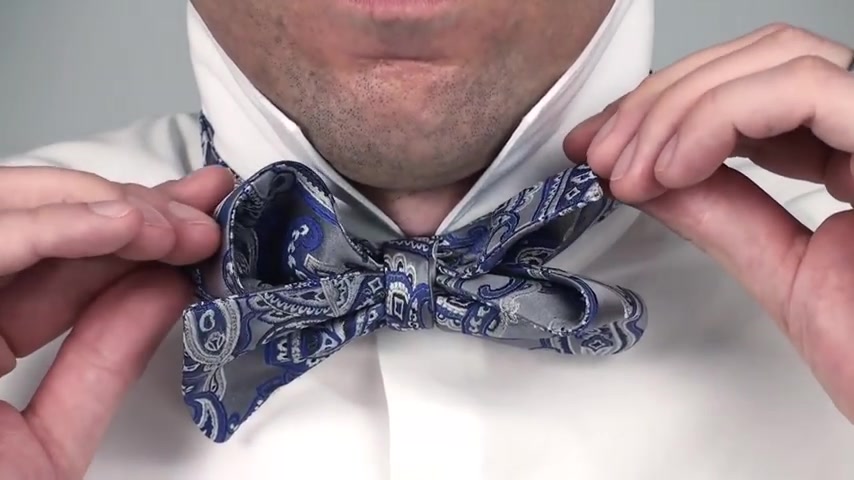
Well , you've done the tying part now , you have to get it to look right .
Just like your shoe .
You can still tighten the knot more if you need to , as well as pull the ends or the bows to make them longer or shorter .
In order to get them to match .
This is what really makes a bow tie look .
Right .
It's a whole other step where you shape the tie as much as necessary .
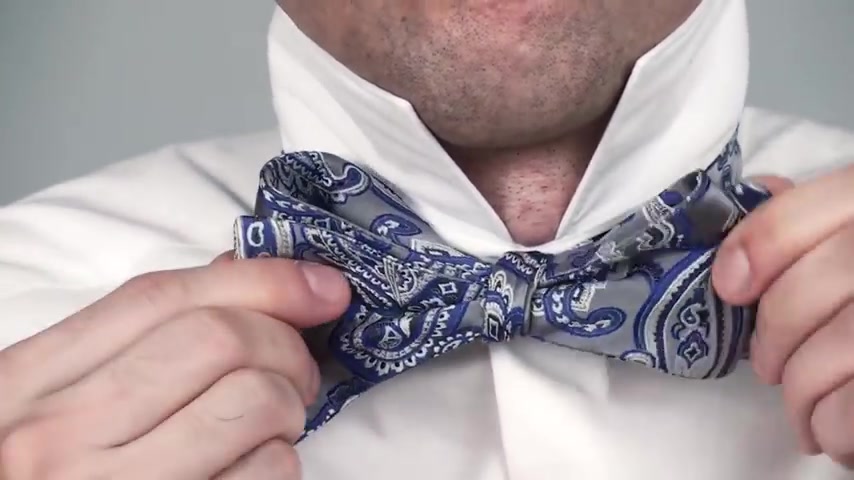
Additionally , for a bow tie , you have to play with the ends and the bows to get them flat and untwisted , take a bow and an end in one hand and take a bow and an end in the other hand and twist the whole tie up and down , then pull both parts tight .
Keep playing with the tails and the bodies until it looks right .
You may also need to work with the middle a bit when you're satisfied .
Smile .
Don't spend too long .
Are you looking for a way to reach a wider audience and get more views on your videos?
Our innovative video to text transcribing service can help you do just that.
We provide accurate transcriptions of your videos along with visual content that will help you attract new viewers and keep them engaged. Plus, our data analytics and ad campaign tools can help you monetize your content and maximize your revenue.
Let's partner up and take your video content to the next level!
Contact us today to learn more.