https://www.youtube.com/watch?v=EBAuwIa0DpQ
Cleaning the dirtiest Panda Dunk LOW
Hello and welcome to a sneaker cleaning video .
My name is Claris .
I'm one of the sneaker care experts here at CREPT .
Protect .
And I'm gonna be teaching you how to clean your pads , dunked using the crept protect cure kit .
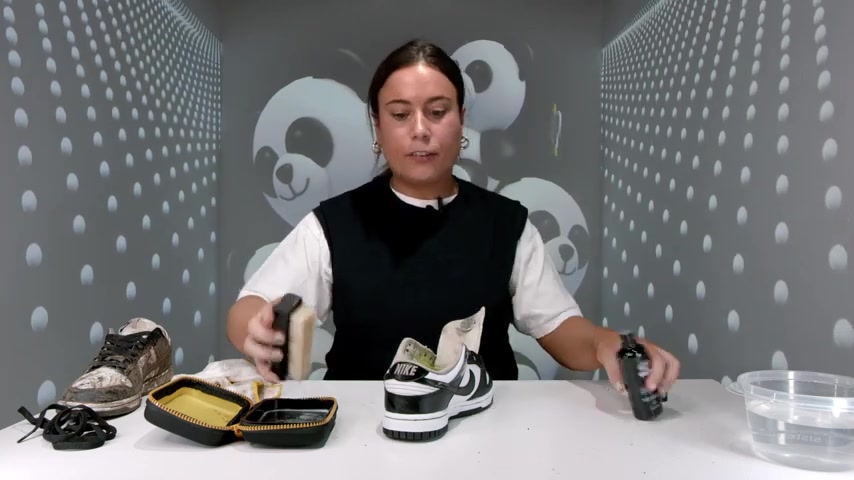
Within this kit , you have your premium brush you here micro fibre to and carry case with inbuilt water tray .
And we are going to be cleaning the panda dunks today , arguably one of Nike's most popular shoes of the year .
As you can see , they're pretty dirty , so watch them get transformed .
So in this video , we're going to be cleaning the left shoe .
So I'm gonna pop this 1 to 1 side .
First things first , take your premium brush and give the shoe a good dust over .
You'll see straight away that this is lifting off all the big bits of surface dirt .
So it means cleaning is gonna be a lot easier .
You can even do the so if you need to .
So the soft bristles of this brush helps get between the little gaps lifting off any big , hard bits of debris .
So when you're cleaning , you've got minimal dirt sitting on the shoe .
Now your shoes are nice and brushed off .
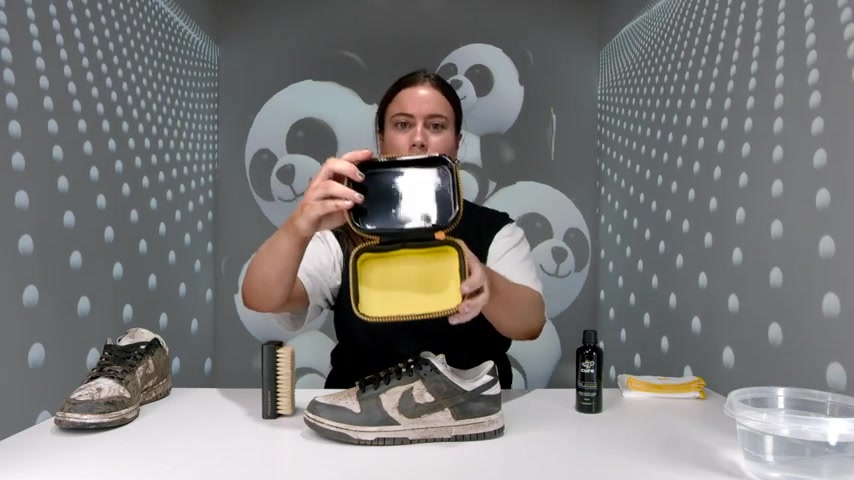
We can get some water , take your carry case and use the tray that's inside .
We'd always recommend using lukewarm water because it works best .
So now we've got our water ready to go .
Let's unlace the shoe quickly , and then we can start scrubbing .
Now your shoes on laced Pop the laces to one side , and we'll sort those out later .
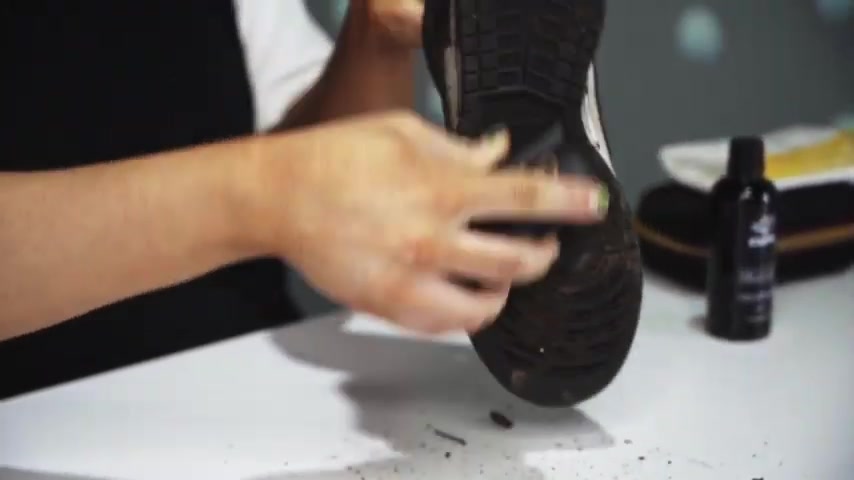
We always recommend starting with the sole of your shoe and work your way up the shoe .
That way we can get heavy dirt off first and then keep cleaning through .
Grab your brush , dip your brush in the water , give it a little shake off and then five drops of cleaner solution straight onto the wet brush , and then you can begin scrubbing so you'll see your shoe firming up nicely .
A good top tip is .
Follow the shape of the shoe so you can get between all the little gaps , lifting out any dirt that might be stuck .
Once that's all nice and firmed up .
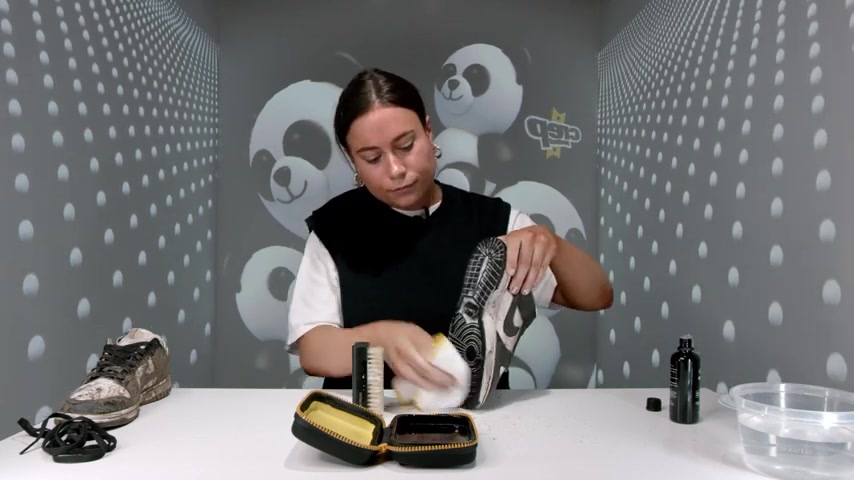
We could just wipe it down .
So grab your microfiber cloth and start from the bottom and wipe upwards looking pretty good .
So far , So once you've finished on the sole , you can move on to the mid sole again , dip the brush into the water , add your cleaning solution and you're good to go .
Yeah , follow around the mid .
So scrubbing all the way around in circular motions , this helps get into the stitching and all the tiny little grooves around the bottom .
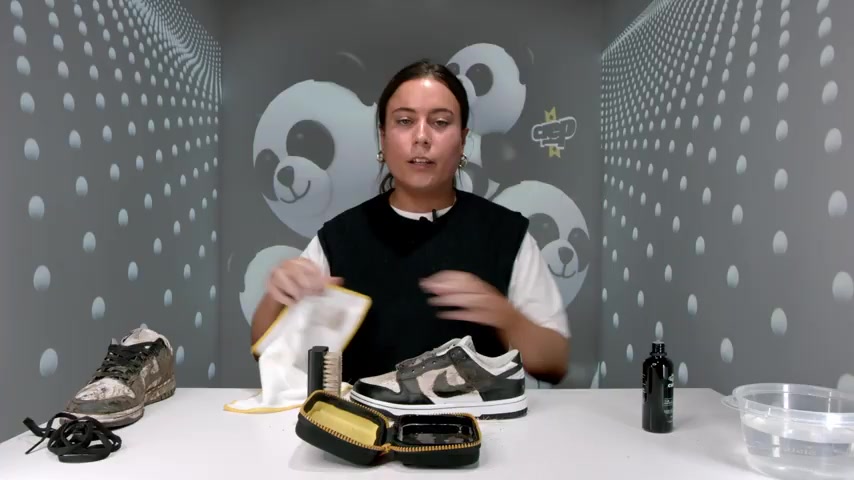
Yeah , and then exactly the same , we'll just give it a little wipe over something that might help you when you're cleaning .
If you've got smaller , harder to reach areas , especially around the top of the sole , where it meets the upper of the shoe .
What you can do is grab your towel , dip your finger in the water , a drop of cure straight onto the wet part of the towel and just run your finger along the edge .
You can apply a little bit of pressure , and it helps lift off anything that's stuck in the way .
Perfect .
I think that looks good so we can move on to the upper now .
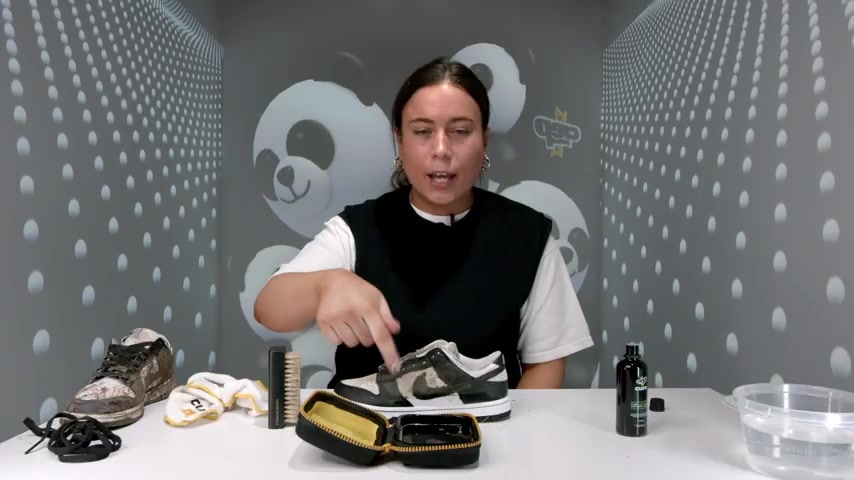
Feel free to change out the water whenever you need to .
It can get dirty if your shoes are particularly dirty , so just keep changing if and when you need to .
So now on to the upper again , Grab your brush into the water and a couple of drops straight on .
I would always recommend starting at the front of the shoe and working your way backwards .
That way you can see what has been cleaned and what still needs to be cleaned .
So grab your brush and start scrubbing and exactly the same on the other side .
We'll give it right down to see if we need to do any more .
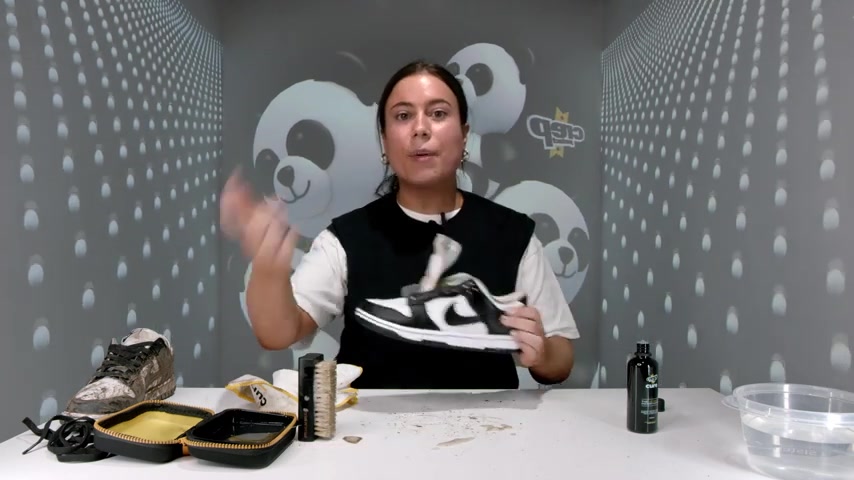
I can still see there's a couple of dirty areas , so I'm just going to repeat that process again to get some more dirt out .
Of course , yeah , some areas , especially along the edges , and the stitching where the material beats you , can always add a little bit more pressure .
Where it's soft .
Bristle is not going to do any damage to the shoe , so you can scrub a little bit harder to help lift those harder to get dirt off and exactly what we did with the mid So as well .
You can just grab your towel and repeat the exact same thing along the edges again .
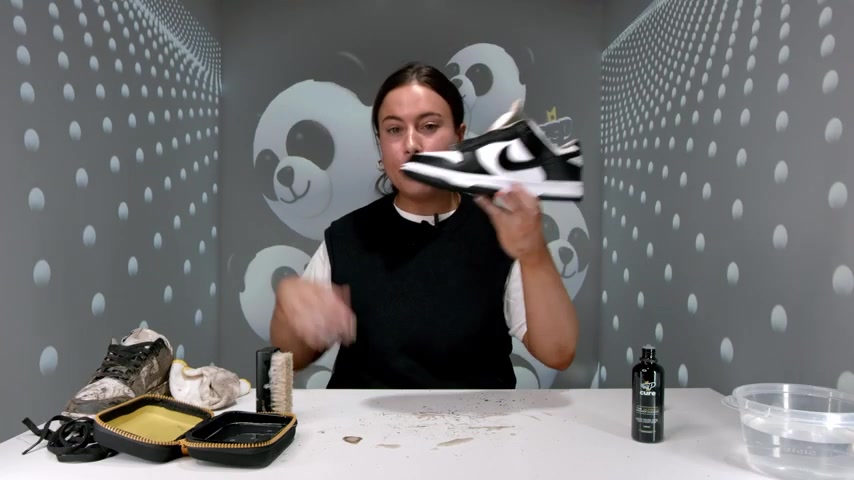
So I think I've managed to get quite a lot of that dirt off .
So let's give it a wipe over , and we can move on to the next step .
So now your shoe is looking pretty clean .
Make sure your table is nice and clean as well .
Grab another cloth and just give it a wipe over .
As you can see , the tongue is still pretty dirty .
This is exactly the same process as you would with the uppers of the shoe , but we'll just need a little bit more water because it's a softer , more absorbent material .
So now the upper of your shoe is nice and clean .
We can move on to the tongue exactly the same as always .
Water cleaning solution .
Blow shake off and scrub .
Sometimes use your hand to rest against the tongue , so there's a bit of pressure and that will help you get further into the material lifting out the dirt .
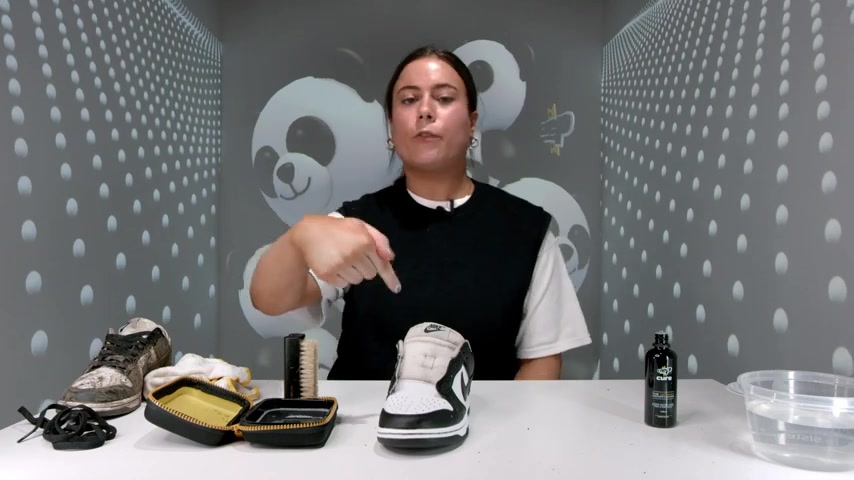
So while the foam is working its way through the tongue , let's quickly do the sock liner and the inside so you guys can have fresh shoes on the inside and the outside .
Start from the top and work your way down .
If you have your shoe at this angle like this , you can scrub along the inside and the lining of the shoe to get all the way down and across the top as well .
Same as the tongue .
You can always use your hand to hold against the shoe to apply a bit of pressure and just keep scrubbing round .
So the same with the tongue .
We'll just leave that soaking in for a couple of minutes to really work its way through , and then we'll just give it a wipe down .
Sometimes the stitching on the shoe also gets quite stained .
You'll see the Nike across the back here is looking a little bit brown .
What we can do is exactly the same .
Just give it a little scrub over and leave it to soak in .
While the cure is working its way through the softer areas .
Let's give the shoe one more good foam up , and then we can leave it to dry .
So now we're nice and foamed up .
We'll give it a final wipe down and see where we're at .

OK , so the shoe is looking pretty clean , but the towel is looking a bit dirty .
What you can do is just whack these in a normal wash with your towels , and it'll be ready to go for next time .
So while we wait for this to dry , we'll move on to the laces .
Grab your lace , pop it into your bowl of water , get that fully wet , grab your cleaning solution a couple of drops straight onto the lace and just rub it through , similar to as if you were washing your hands .
And that will help rinse out all of the dirt that's trapped inside the laces .
It will foam up nicely and you can see the dirt coming out .
So pop your laces back into the water , and then we can just pull it out and run it through the towel .
If it's any white laces or something , that's got a bit of a heavier dirt mark on the shoe , you can always just use the brush and scrub over , and that will help get out any of those tougher marks .
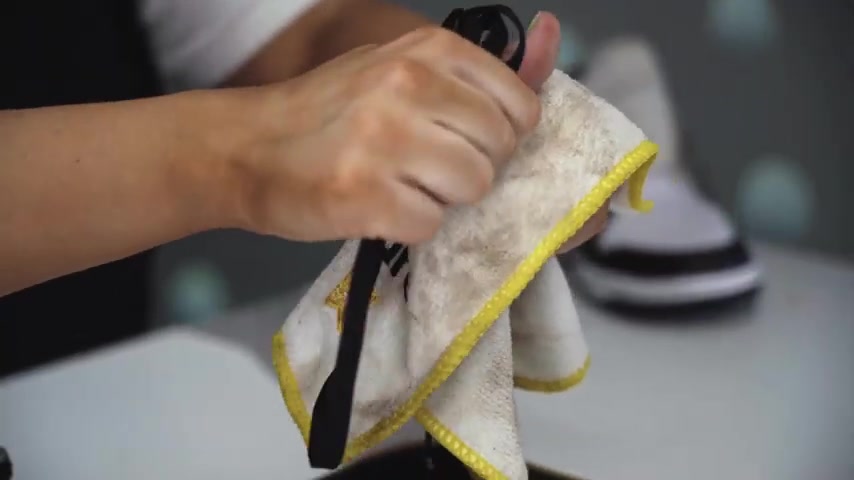
By doing this with a towel , you're helping to clean and dry at the same time .
So once that's done , we'll just leave these to dry as well with the pair of shoes perfect .
So now you can see the shoes are nice and clean and then look at at the difference .
Even the soles will come up massively and nice , bright white tongues again .
And remember the areas that we're having trouble on across the heels , with the stitching much brighter now , what you might find sometimes when you're cleaning your shoes is that some areas might need a little bit more work .
By all means .
Keep going over some areas with the cure kit .
As we showed you earlier in the video , that was us cleaning your pan of looks .
That was us cleaning the panda dunks .
Let us know in the comments below what shoes you want to see next time .
Are you looking for a way to reach a wider audience and get more views on your videos?
Our innovative video to text transcribing service can help you do just that.
We provide accurate transcriptions of your videos along with visual content that will help you attract new viewers and keep them engaged. Plus, our data analytics and ad campaign tools can help you monetize your content and maximize your revenue.
Let's partner up and take your video content to the next level!
Contact us today to learn more.