https://www.youtube.com/watch?v=Z590e7wk0DY
How to Tie the 3 Most Popular Tie Knots! (Windsor, Half Windsor, Four-in-Hand)

everyone , it is Patrick from reef Knots .
Today we're going to be learning the three most important tie knots that every man should have in his wardrobe .
First , the four in hand knot second , the half Windsor third , the daddy of them all .
The full Windsor tie knot stick about .
We're going to learn them in a minute each .
OK , so the first tie knot we're gonna learn is the four in hand .
This is the knot that most people learnt at school .
It's a pretty easy knot .
The most simple and most widely used the blade .
The thick end is going to be need to be longer than the thin end .
Basically , as we go through the knots , you're gonna need more length in the blade because they're gonna get slightly more complicated .

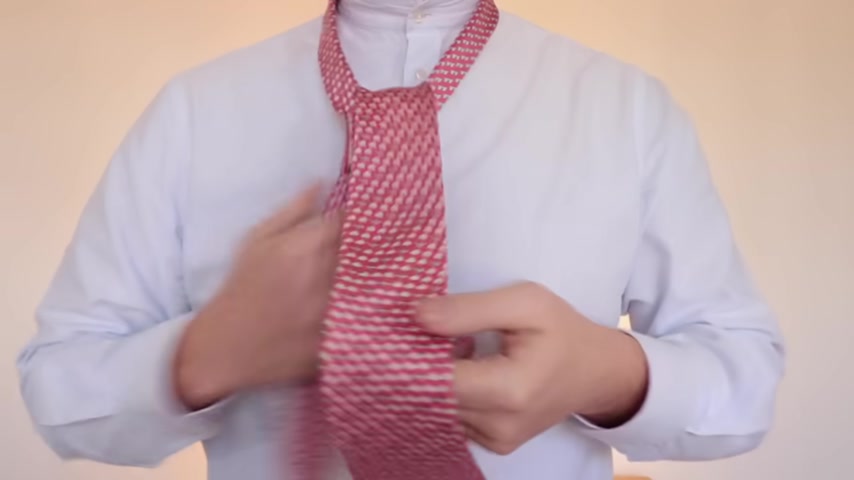
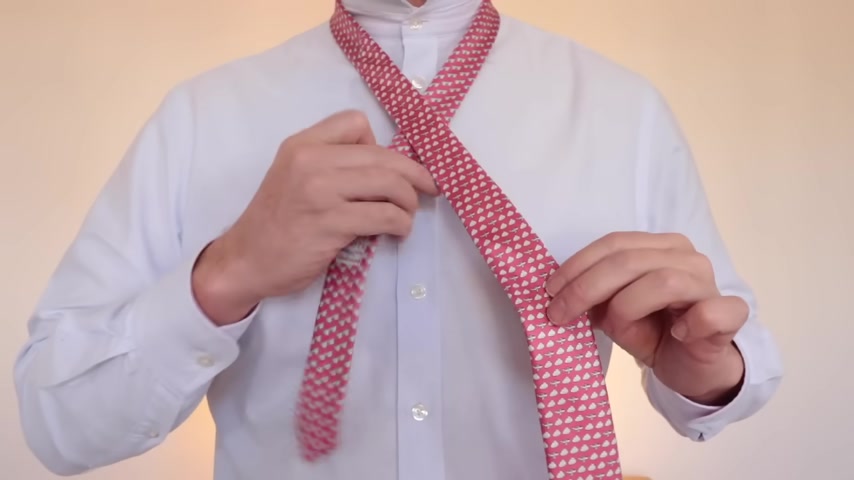
So but for this tie , you will just cross the thick end over the thin go round the back across the front , tuck it through the middle , and then tuck it through that little little loop there at the front .
Now the knot's not finished .
When you like this , a lot of people will pull it up and it'll have a fat knot , which you don't like , So we need to keep giving it a tug .
Squeeze the bottom of the knot to create that nice triangle .
And that is the four in hand knot .
The second knot that we're gonna be doing is the half Windsor .
You're gonna need more length in the blade for this one .
So make sure this thin end is significantly shorter .

Cross the thick end over the thin and , like the previous knot , bring it round the back .
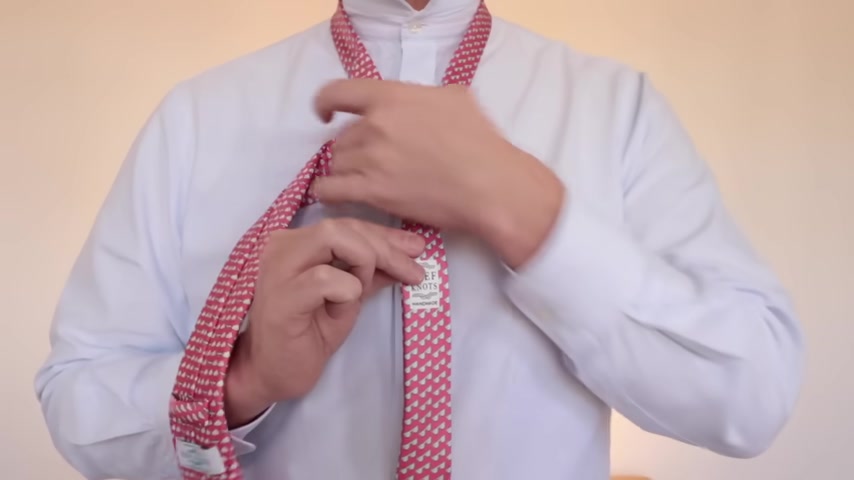
Then instead of going across the front like we did with the for hand , we're gonna go through the middle and the tie should hang back to front directly behind and you'll see that's created the little shoulder in the tie and that's gonna give it some width .
I like to Then bring it .
You can bring this tie either side to tie this knot , but I like to take it the opposite side because I think it gives it a bit more symmetry .

And you just wrap the tie around the front of the knot and again try to begin to think about making the V of the knot already , and then you tuck it through from behind through the middle And then it's just simply a case of tucking that through the loop at the front .
And the key to having a good tie knot is playing with the knot as you pull it up , and that will make it nice and tight and fitting nicely against the collar .
So there you have the half wins or not .
OK , so the full winds are not .

You're gonna need a lot of length in the blade .
This thin end is gonna need to be very short .
It will depend on the length of your tie and the width of your neck what the actual ratio is .
But you'll need to work that out with a bit of practise .
Take the thick end , cross it over the thin , and bring it round the back .
We're then gonna tuck that through the middle from the front .
Just pull that through .
The tie should be hanging backwards behind the thin end .
You're then gonna bring that tie to the opposite side and tuck it through the the the neck again from the front that will produce the second of the two shoulders again .
The tie will be hanging backwards behind the thin end .

You can Then take the tie to the opposite side of the shoulder you've just done bring it across the front , and then we're just gonna tuck it from behind through the neck .
So bring it through the neck .
There , you see , that has created the front of your knot .
And we're literally just gonna tuck this blade through the front of that knot to make the perfect Windsor knot and squeeze the bottom of the knot as you're bringing it up to your neck , which will give it a nice V .
And that's that .
The full Windsor knot .
OK , so that is it .
That is the three tie knots that we're learning today .
Hopefully , you found that useful .
If you did , please give the video a like and maybe subscribe to our channel .

Follow behind the scenes of this great little business that we're growing here in London and hopefully we'll see you next time .
Leave any comments you have always willing to help out .
Thanks , guys .
Are you looking for a way to reach a wider audience and get more views on your videos?
Our innovative video to text transcribing service can help you do just that.
We provide accurate transcriptions of your videos along with visual content that will help you attract new viewers and keep them engaged. Plus, our data analytics and ad campaign tools can help you monetize your content and maximize your revenue.
Let's partner up and take your video content to the next level!
Contact us today to learn more.