https://www.youtube.com/watch?v=6GmtPE1j68M
How to tie a tie - Trinity Knot (with sound)

Hey guys .
Uh So a lot of people asked me to do this video with the sound , correct ?
And also I fired my cameraman who couldn't control his breathing and couldn't stay focused .
Come on , that was a joke .
And then um I got a new mic so hopefully you can hear me better .
Anyway , let's do this thing .
So Trinity Knot is a really cool knot that uh I learned a while back .
It's kind of a fancy knot that you don't want to wear every single day probably , but it's more of a special occasion kind of knot .
So I'm gonna show you how to tie it step by step and here it is how it looks the final final uh look of the knot um works better with some ties depending on the width .
And if it has stripes or doesn't have stripes , just kind of experiment .
Stripes usually look pretty good and , and the solid colors always look good with this .
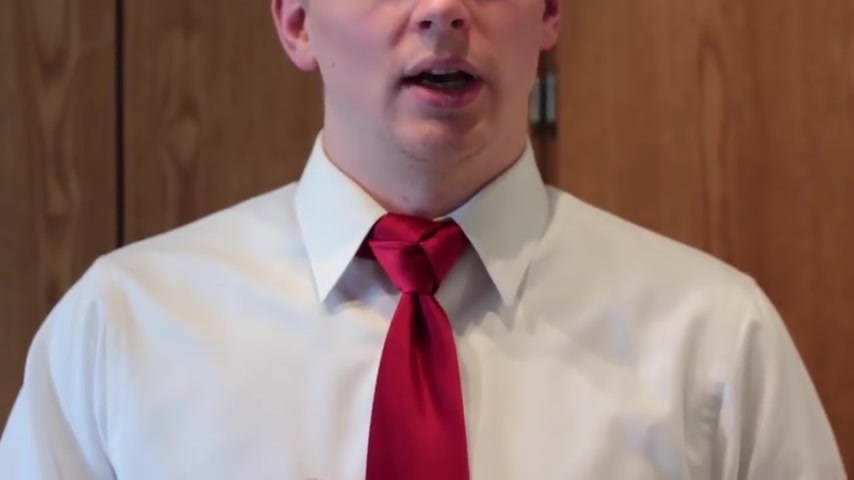
Not and also you want to make sure that you don't have too wide of a tie .
Um But you can make it work .
You'll see why .
Anyway , I'm gonna untie it first and then I'll show you how to tie it .
So here is the untying part and this way you can kind of see some of the ways that it's tied .
OK ?
Here we go and un tied .
OK ?
So what I'm gonna have you do is I'm gonna have you take your tie , do the exact opposite of what I'm doing here .
Have this into your right hand .
This will go into your left , put the tie behind your neck .
Um Then you actually want to take the tip and put that right about where your belly button is .
OK ?
So right about there , just a little bit above your buckle .
You want it to finish with the tie hanging down right above the buckle .
That's like a good look .
OK ?
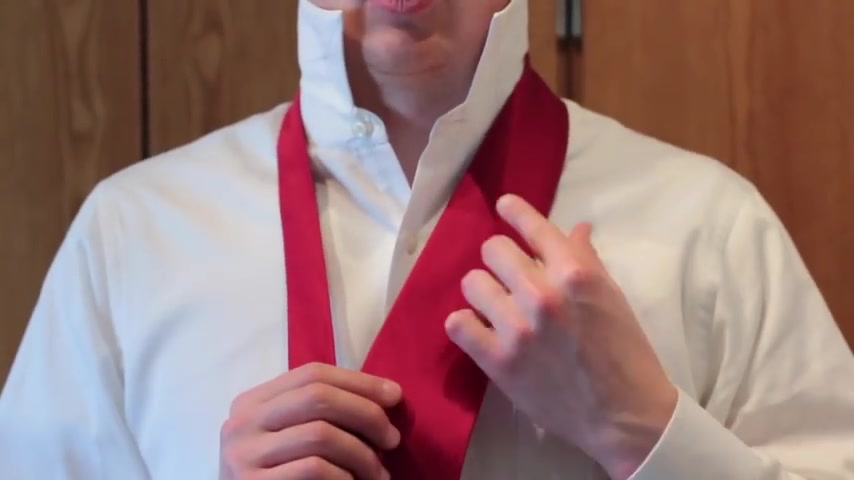
So once you got that down , you're gonna take this white end and I get a little pinch there like that .
OK ?
Just kind of get a little crease in there and that's gonna be the crease at the end of your .
Now when your tie is tied .
So you grab that there , you take the narrow end and you put it across , OK ?
Then you're going to put it all the way around until it comes out this way .
So across and then behind and out .
OK ?
So like kind of twisting it around the main part of the time , then you're gonna take that and put it up .
So like this up and over this piece here and then take it out through there .
OK .
So that was a piece that just came out this way .
Then I put it over this side .
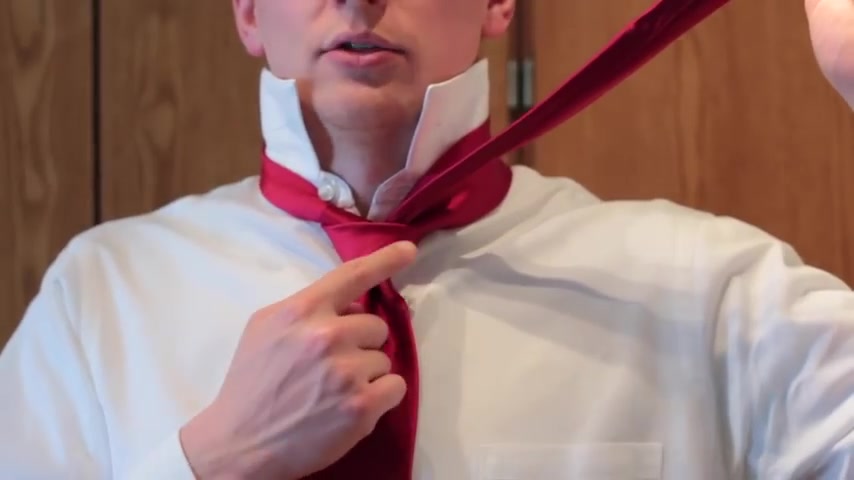
All right , then you're gonna take it across the front like , so OK , so it just came out , it came down , you pull it out this way across the front and up through here .
So one more time , let me back up a little bit .
So once you got it here , you're going to go across the front up , I'll put it this way .
Now , you can see that with this tie particularly .
I just doing this , you know , without thinking about specifics here , but there's a little thing here , which is the middle of the tie .
You don't want that to show up right there .
You can always , uh , just , uh , in my case , I could probably pull things a little bit tighter .
There we go and have it hide that way .
You don't see the little crease .
You don't want that .
That's gonna be right on the front of your time .
Ok ?
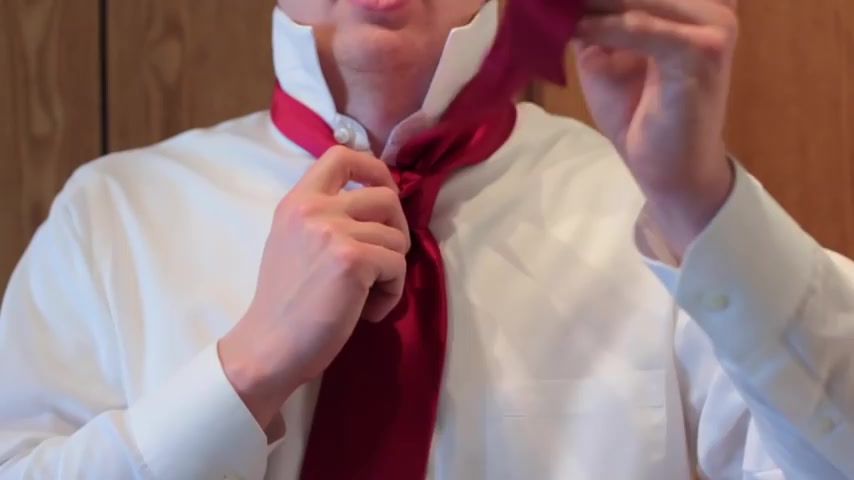
So once you got this coming out at the top , you wanna take this part tip and stick it through the front loop .
So like that , I just took that .
I'm just sticking it through there like that .
Ok .
Now , right here's an important spot .
There's two ways you can do this and one of them will work better .
One of them will , will work worse , but they will both work .
Um , you want to take this now and pull it over to the right side , I'm sorry , your left , pull it over to your left side and then go back around and up .
Ok ?
Now , if you do it the other way , you'll end up with the end of it coming out this way , which you'll see why you don't want that .
But again , so you take this when you're at this point , pull it to your left and then wrap it around the back .
So I see I'm doing this , I'm just wrapping it around the back .
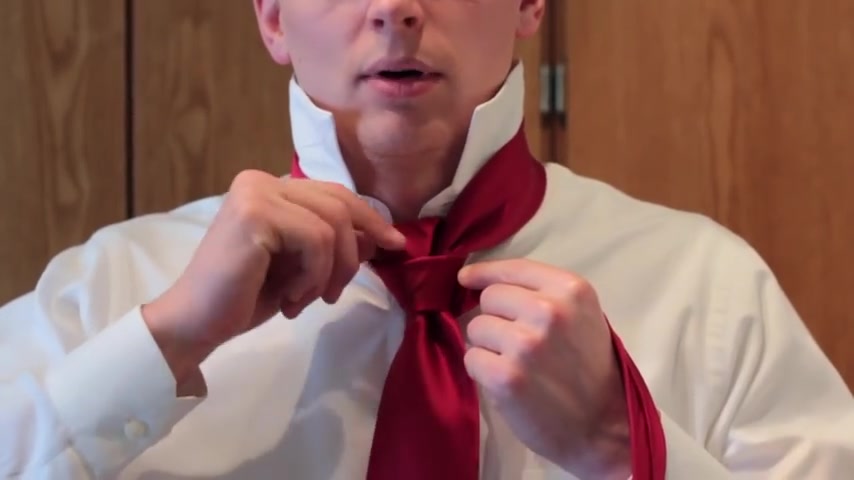
And once you have it here , you will take this part that you have here on top of this loop and take this tip , grab it and pull it through like that .
OK ?
You can see that it's all coming together now .
Um So there we go , you can see where the Trinity is forming .
Now , um see if you did that the other way , this end would come out that way and you already have a lot of stuff on this side , meaning you have a lot of material here .
You're gonna fold it in half .
This side is a lot thinner and you can hide this here a lot better .
So now once you got that , um you can see again that the thing came out there , hopefully you're not annoyed by that , but um I would work with it to fix it when you would use a different tie or something .
Um But in this case , it's OK for the video .

So now we're gonna take this piece , put it back here and then just fold it behind , fold it behind the tie that's around your neck .
OK ?
And just hide it back there .
So you wanna kind of like that double layer on this side , you want to just fold this thing like this , fold it , so that's not so wide .
OK ?
Once that's done , you can fold the collar down and uh now you wanna kind of just readjust things a little bit .
So there we go , you can see that tied um colors down and you just , you'll have to play with that a little bit to get it to be right .
But you can see there , there's a final product again , I'm sorry about that little thing , but you can avoid that .
I just , you have to readjust length a little bit .
So there we go .
There is the Trinity tied for you .
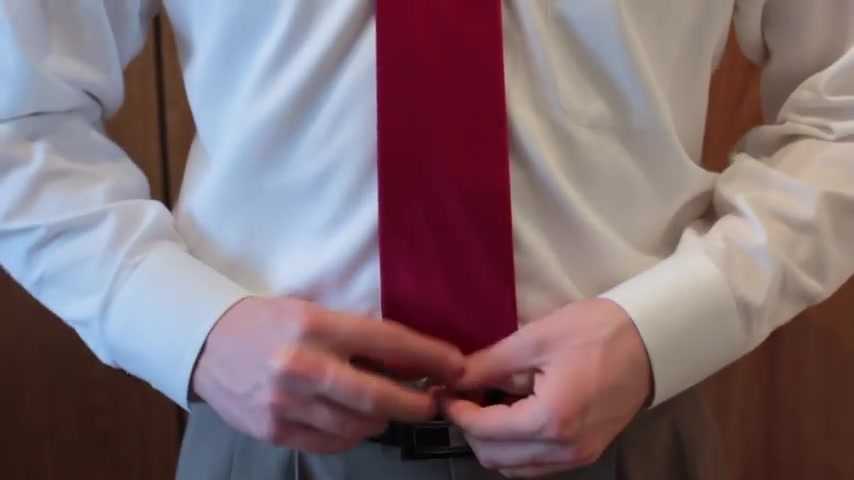
So you can do it just uh take some practice and you'll get it and you'll have the right length here , right where you want it to be and so on and uh it'll just take a little practice for you and you'll have this cool map in your repertoire .
Did I say that ?
Yeah .
Anyway , that's uh that's the Trinity .
Um Leave comments below .
Subscribe to my channel , check out my other stuff .
I have a lot of cool stuff on my channel .
I mean , I think it's cool but not everybody does obviously .
I mean .
Are you looking for a way to reach a wider audience and get more views on your videos?
Our innovative video to text transcribing service can help you do just that.
We provide accurate transcriptions of your videos along with visual content that will help you attract new viewers and keep them engaged. Plus, our data analytics and ad campaign tools can help you monetize your content and maximize your revenue.
Let's partner up and take your video content to the next level!
Contact us today to learn more.