https://www.youtube.com/watch?v=grtXQzevuNE
Don't scrape your painted popcorn ceiling. SKIM COAT IT!!!

Welcome back to the channel in today's video .
I'm going to show you how to skim coat a painted popcorn ceiling .
You probably already know that those are one of the most difficult popcorn ceilings to remove if they've been painted .
So I'm going to show you my tips and tricks of getting rid of a popcorn ceiling and turning it into a masterpiece .
And if you missed part one of the ski coding series , I showed you how to exactly mix the joint compound to skim coat over a popcorn texture .
And I also showed you all the tools needed to mix and skim coat .
And if you stick around to the end of the video , I'll give you a sneak peek of part three where I do the second round of skim coding .
Be sure to hit that subscribe button and also the bell .
Let's get into this video .
I'm using a 14 inch drywall taping knife and a 16 inch drywall mud pan for the skim coat project .
Ok .
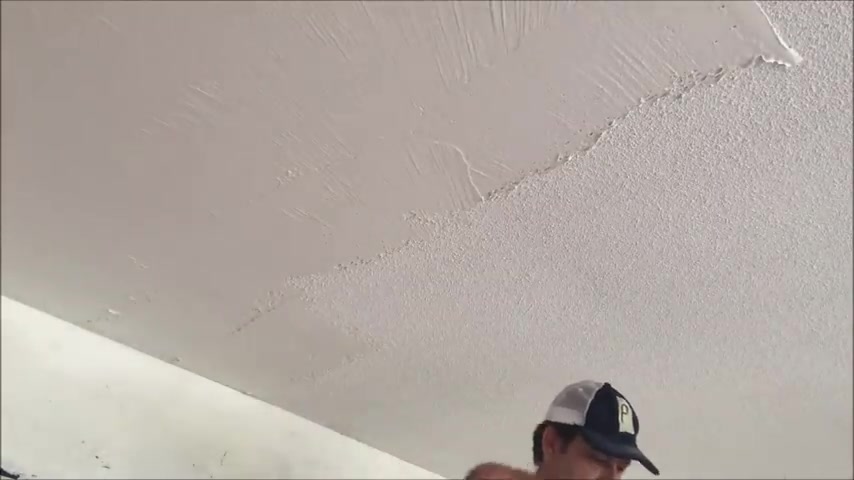
So this is an older painted popcorn ceiling .

So it basically will not scrape off .
There's no other options but to either skim coat or put new dry wall over the top or demo the ceiling and hang new dry wall .
So the customer opted for me just to skim coat this popcorn ceiling and then do a skip trial texture when it's all done .
So , uh that's all gonna be uh later in the series .
So stay tuned for all that .
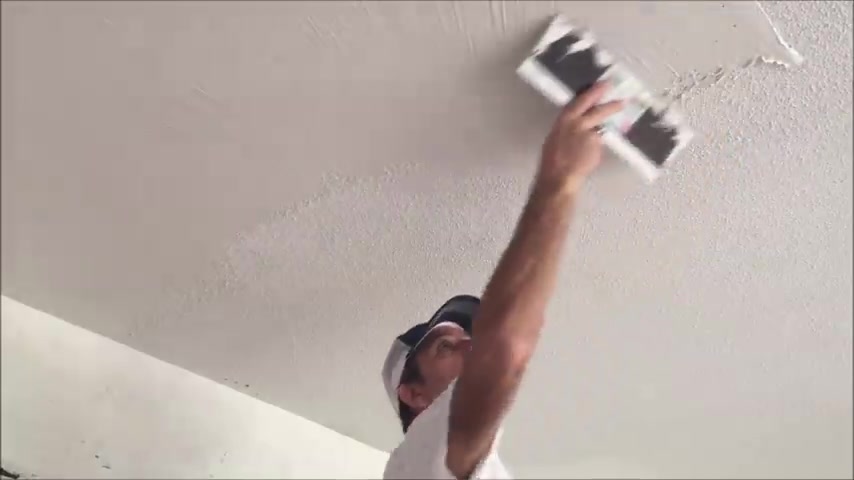
Um Basically I'm getting the joint compound up on the ceiling .
I'm going to smooth it all out .
But you can see I'm placing the mud on one side of the knife or the other .
That way , I'm not piling it up and also I'm not making a mess .
It controls where I put the mud and you want to keep your joint compound a little thicker than you would if you were skim coating a smooth surface .

So I barely add any water when I'm mixing up the joint compound to skim coat over a painted popcorn ceiling or any type of heavy texture .
You wanna keep the thickness of the joint compound as it comes out of the bucket , basically , just thin out any bubbles or make it nice and creamy .
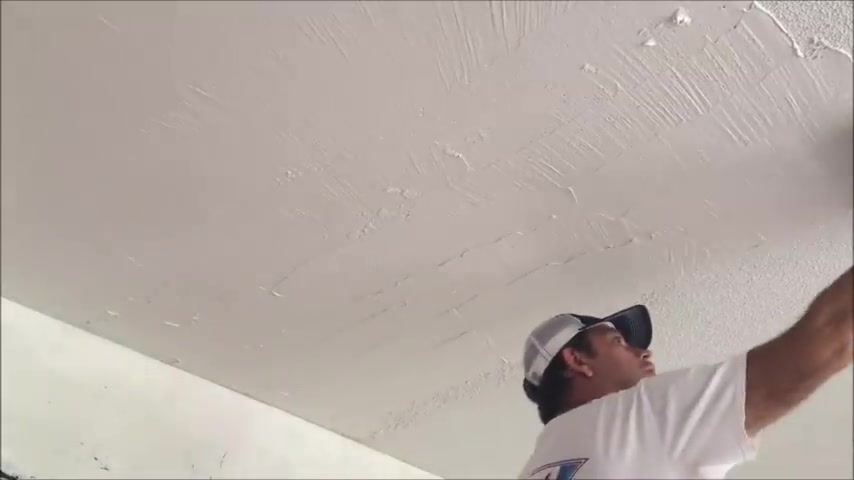
So again , I'm just wiping it down after I got the mud up , I'm putting pressure on the right side of the knife and just lifting the left side .
So I don't leave a line and you can see these chatter marks are those little ridges .
I'm going smooth those out again .
I'm gonna go the opposite direction as I'm doing right now .
I'm going to apply a little more joint compound though .
So this is gonna be a really good base coat .

I get a lot of questions on why I use the all-purpose joint compound for skim coating .
And the reason is there's a lot more glue in it .
And so it's a lot stronger and the adhesion is a lot better .
To me , the light white mud is just a little too soft , not as strong .
So here I'm going again in the opposite direction , which is gonna take most of these ridges away .
And again , this is the first coat .
I'm gonna do a whole another round of skim coating .
So doesn't have to be perfect , but you don't want to make a mess or have big piles of mud anywhere you want to keep it consistent .
Now , between coats , I do not sand .
I'll take my six inch drywall taping knife and just kind of scrape any high areas or ridges before I do my second round of skim coating .

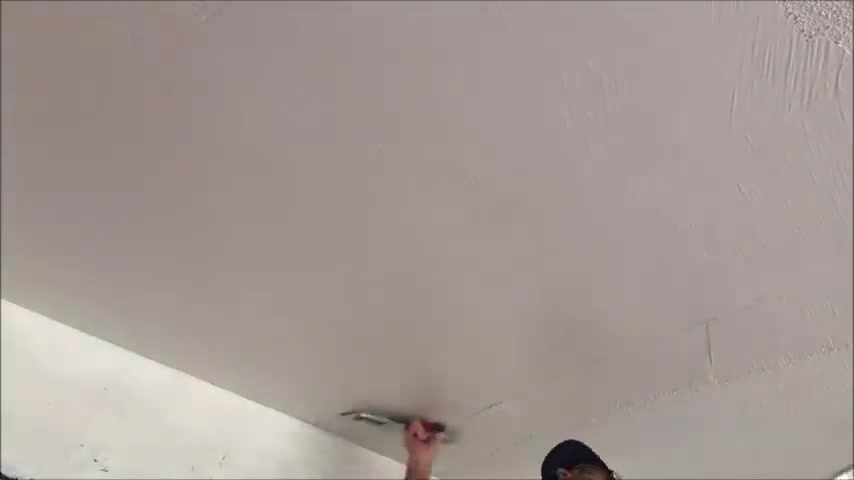
As you can see , it turns out pretty smooth just on the first coat and you might be able to get away with it since we're doing a skip trial texture .
But I always like to do two skim coats .
It just comes out a lot better .
The good thing about it is if you're doing like a skip trial texture , you do not have to stay in the ceiling if you kept your coats tight .
Maybe a little scraping on some ridges .
And I do have a video that I'm going to be putting out of this project where I did exactly that just scraped between the skim coats .
And when you're pulling , you wanna keep the side of the knife that's going over the popcorn kind of raised .

Or you're gonna get some heavy chatter marks or ridges .
This will take , I give it 24 hours to dry .
It'll probably dry a little sooner , but 24 hours for drying time is a good rule of thumb , right ?
So here's what the ceiling looks like after that little bit of skim coat .
All right .
Got it .
Three quarters of the way they skim coated .
All right .
Got that popcorn ceiling skim coated .
Coming up in part three of this video series .

I'm going to show you how I do the second round of skim coating .
And I'll also show you how I don't have to sand in between coats simply by using my six inch knife and scraping any ridges or high spots .
Again , there's the placement , the left side is just floating over , trying not to leave any .
Also coming up in this video series , I'll show you all the finer points of skip trail texturing after the second skim coat dries had to mix up the skip trail to do this 12 by 12 ceiling that I skim coated .
It was a popcorn ceiling probably about a cup .
So I got my hawk got my 14 inch knife .
If you watch this whole video , leave a hashtag drywall tube in the comments .
That way I know who's watching these videos .

And if you want to step up your drywall texturing or painting game , be sure to hit that round icon in the middle of the screen .
Now to keep up with all my latest videos .
If you've got a friend that's a contractor or D I wire , be sure to share this video with them on Facebook or Twitter .
Thanks so much for watching .
Are you looking for a way to reach a wider audience and get more views on your videos?
Our innovative video to text transcribing service can help you do just that.
We provide accurate transcriptions of your videos along with visual content that will help you attract new viewers and keep them engaged. Plus, our data analytics and ad campaign tools can help you monetize your content and maximize your revenue.
Let's partner up and take your video content to the next level!
Contact us today to learn more.