https://www.youtube.com/watch?v=ey6drwA_xvE
4 Levels of Fried Chicken - Amateur to Food Scientist _ Epicurious

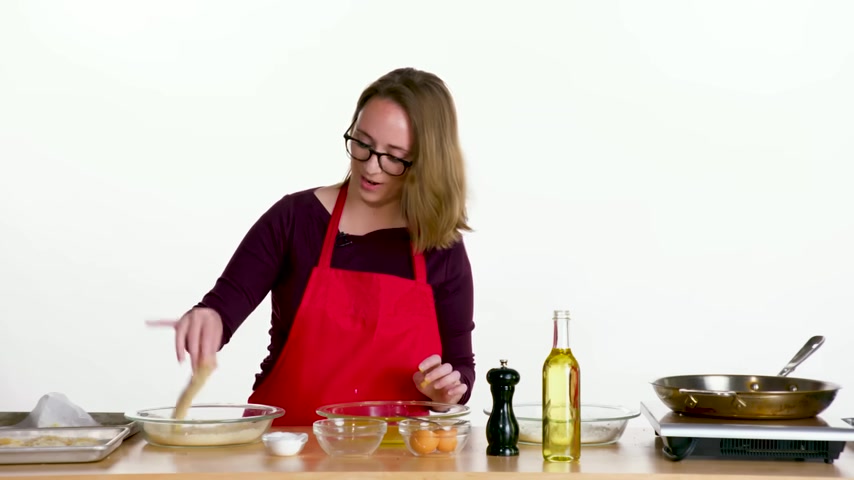
Hi , I'm Emily and I am a level one chef .
Hi , I'm Beth and I'm a level two chef .
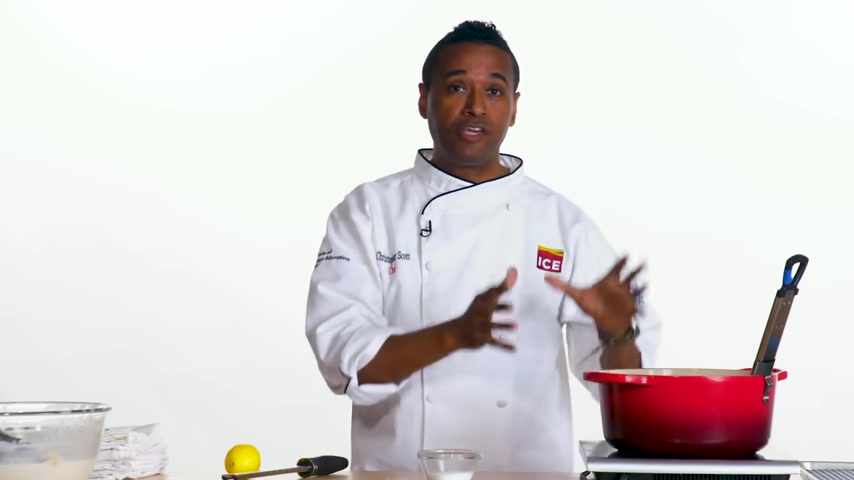
Hey , my name is Chris Scott and I've been a chef for 30 years .
These are my panko crusted chicken tenders .
I make them every couple of months .
It's a variation on my mom's fried chicken .
There were very few things that she made really , really well , but fried chicken was one of them .
This recipe here is a twist on that old southern sweet tea kind of brine .
I'm gonna do a lemonade version of that .
I like making chicken tenders because they're fast .
They're pretty easy and it's not intimidating .
I chose the drumstick when I make them for my grand babies .
They can walk around the house because it has its own handle .
You're going to have a juicier product if you have the bones inside .
So I'm going to butcher this into eight pieces .
Very simple .
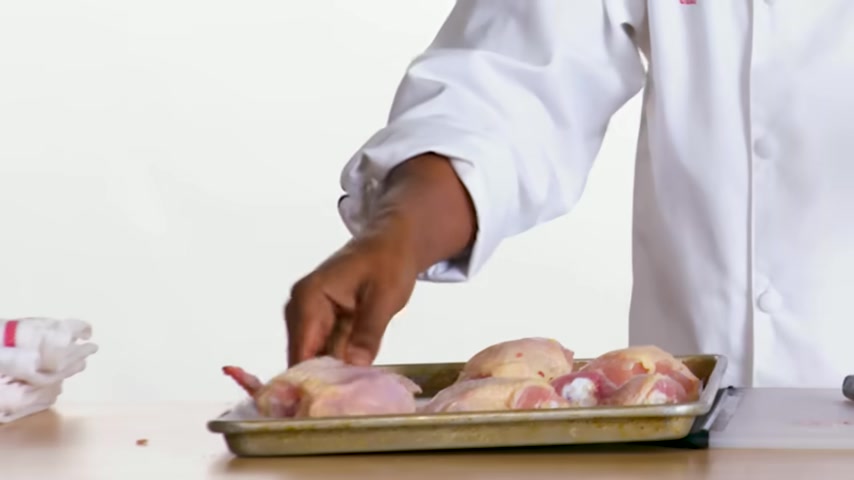
I'm gonna cut off the thigh and the leg .
I'm gonna take the wing off boom breasts .
You don't really have to get real fancy with your cuts .
You just want to break it down into eight pieces .
Ok .
So now let's get that flavor into the bird .
First thing I wanna do is salt .
Oh I have a hair on my finger .
Uh The salt is gonna help the water come out of the cells in the chicken and flavor is gonna go in .
It was nice for you guys to give me a pepper grinder today because I have one at home but uh I haven't actually put the pepper in it yet , so it's good practice really simple spice rub garlic powder , paprika pepper and cayenne .
A little kick is good .
Here .
You have all the ingredients .
I have garlic .
I have onion powder , cumin salt , sugar , lemon juice and hot sauce , cold water .
And then I'm gonna blend that up like so I really don't dig brining so much water , so much waste of buttermilk .
I'm going to take half of it to season the chicken and I'm gonna use this to flavor my flour .
Sometimes I put the salt and pepper in the flour .
But you know this way , I guess you make sure you get seasoning on all of them .
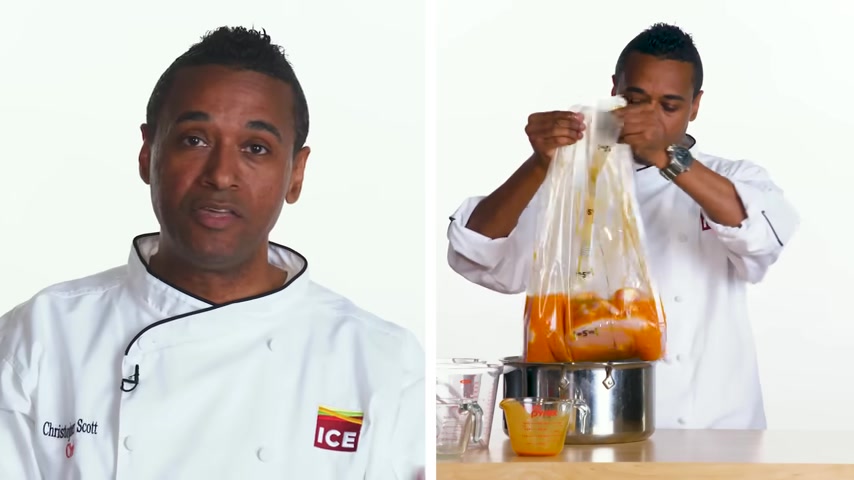
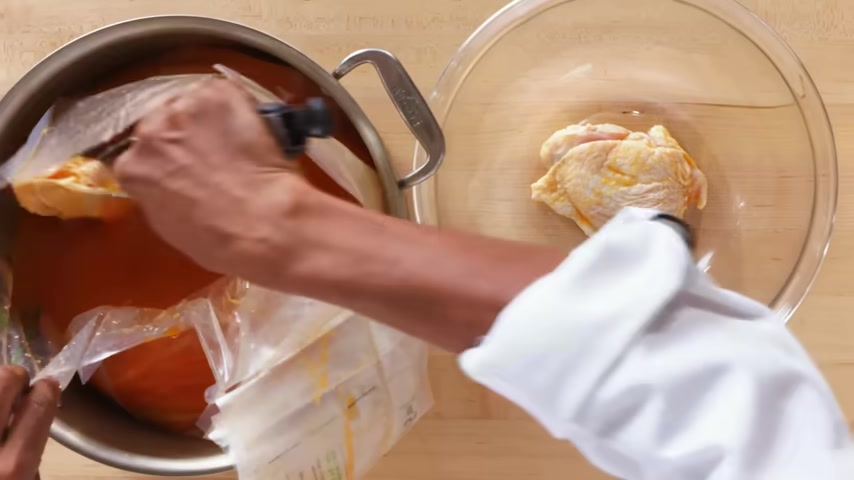
What I'm gonna do is take my chicken parts and I'm gonna put them into this vacuum seal bag .
I'm gonna take that brine .
I'm gonna pour it over top , getting all that good flavor inside and then I'm gonna seal it up .
What it's doing here is taking out all the air to really compress the flavors of the brine into the meat .
Perfect So now that everything is marinating in the bag , the flavor is really working its way inside .
I'm going to put this in the fridge for about four hours .
Next is dredging .
Ultimately , I'm gonna put flour egg and panko on .
But first I need to make my egg wash , which just means I'm gonna crack some eggs and put them on the chicken egg mixture .
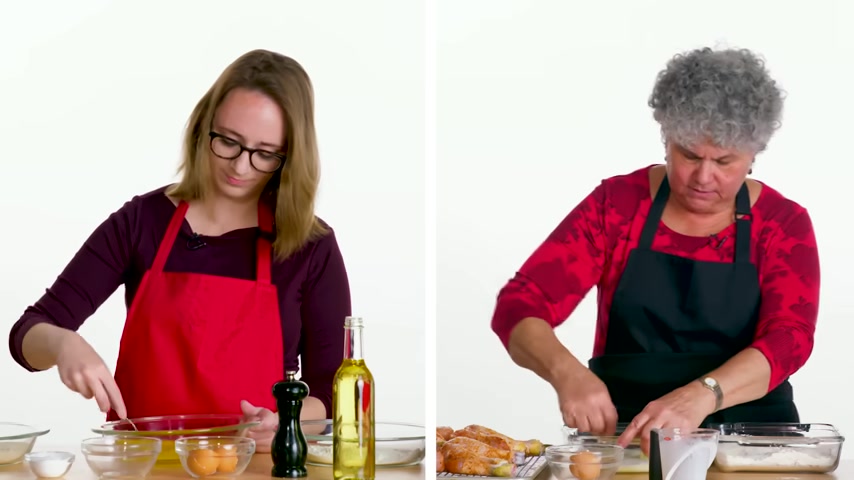
First , some people put other stuff in their egg wash but I'm just doing two eggs , some buttermilk .
I like the tang of the butter milk .
Better than regular milk .
Get that all mixed in .
Oh , that's a nice sound .
So this bird is just coming out of its four hour bath in that tasty lemonade brine .
And we're gonna take this out of here and we're gonna put it in the buttermilk bath .
What this part of it is doing is tenderizing the bird and massaging all those that juicy buttermilk goodness into it .
So now it's time to dredge these birds .
So I'm gonna season the flour mixture that I'm gonna dredge the chicken in just regular flour , all purpose flour .
The rest of our seasoning mix some corn starch , some cornmeal .
What cornmeal does is gives it an extra crunch to make it even more crunchier .
I have some corn starch and some baking pow .
You might also be asking no salt , no pepper .
Do you remember that ?
Brine ?
Right .
Bang right here .

I'm just gonna dip it in flour and then I'm gonna kind of tap it to get the excess off and then I'm gonna go into the egg and then I'm moving it into my Panco chromes and just trying to get it coated with Panco Edward Pinto hands .
If you don't kind of keep your hands separate , you're gonna get a really gloppy flower hand .
So I really try to use one wet hand and one dry hand .
We're actually gonna let the chicken that's already been dredged sit for about 10 minutes .
So we let these chill for 15 minutes and now we're gonna fry them .
I'm just gonna put a couple of tablespoons of oil on just to kind of cover the bottom .
And I'm just gonna wait for that to heat up a little .
When you're working with a whole bird , you have different sizes .
All of those pieces are going to cook at different times .
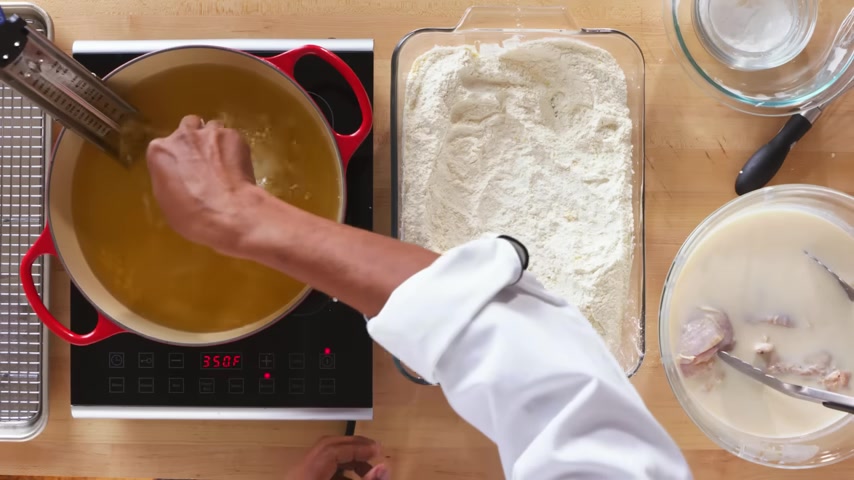
So , because the breast takes the longest , I'm going to put this one in first and you want to get the internal temperature to about 165 degrees .
So I'm gonna break this up into three batches .
We're gonna put in four pieces of chicken right now .
I like to just slide it gently into the pot .
My oil is at 360 .
It'll take about 15 minutes for the drumsticks to come up to temperature to find out if the oil is hot .
Usually I would drop something in and then just see if it's sizzling .
So I'm going to do that right now .
No .
What kind of oil is this ?
This is peanut oil for me .
Peanut oil is the best .
I've tried all the other oils and I like this one the best when it's bubbling away .
It smells great .
So I got my thigh , my drumstick , my wings getting dressed , it's ready to go thigh and breast and in about eight minutes or so , we'll throw in the leg and the wing .
Yeah .
There we go .
All right .
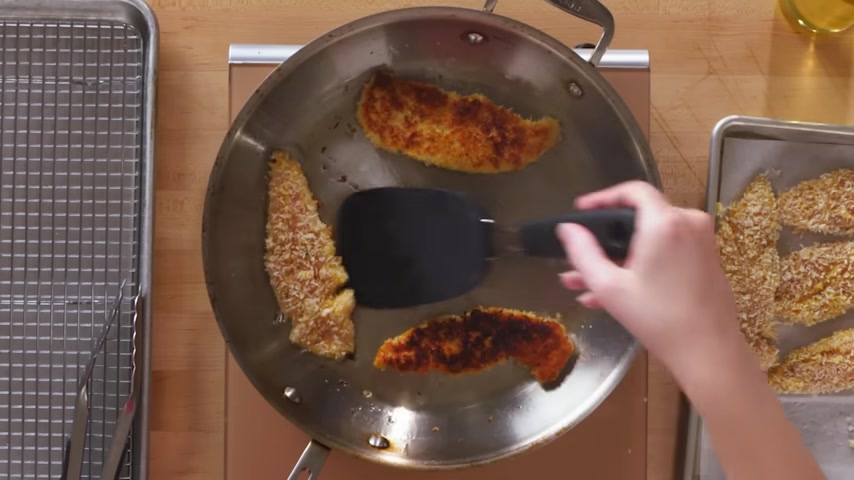
And I'm gonna put a couple of these in at once .
I don't want to crowd the pan to make sure that they're done .
I'm gonna cook them for about 4 to 5 minutes on each side and I'm just gonna try and leave them alone .
But I'm gonna move this guy a little bit more into oil because there's no oil where he's sitting .
I don't like to touch the chicken when it's in the oil .
I just leave it alone .
I'm gonna put the drumstick and I'm gonna put the wing inside .
So that all four of my pieces come out at the same time .
I feel like they might be burning a little .
So I'm gonna just look on the other side .
Oh , well , actually , you know what ?
That could be worse , but I'm gonna flip them .
It's kind of an element of a trial and error to cooking .
You know , I think this chicken is good .
So , I'm gonna cut this one open and just see if it's raw on the inside or not .
I feel like it's got to be cooked through .
So you want the internal cooking temperature of this chicken to be at 100 and 65 degrees ?
Oh , yeah , that's for sure .
Cook perfect .
So after the chicken comes out of the oil , I really like to add one more layer of flavor .
So I have a little bit of sea salt right here .
A lemon and a microplate .
Take the zest and get all of that flavor into my salt right out the oil while it's still hot .
Get some of that lemon salt on there .
Get some salt on your chicken as soon as it comes out of the fryer with my chicken tenders .
I like ketchup .
Here's my fried chicken .
Nice plate of fried chicken .
Now it's time to get down .
You can see all that crunch .
Look at that goodness , nice and crunchy .
You can hear it and taste it and a nice kick from the cayenne .
Delicious that lemony , that crunch aspect .
The flavor .
They're tasty , they're crunchy , they're chicken .
What's not to love ?
You just saw three chefs make three very different fried chickens .
By understanding the different methods to prepare chicken in the chemistry of frying .
You could make crispy juicy and delicious fried chicken at home .
Emily used salt and pepper on the outside of her chicken for flavoring .
Beth used salt in a mixture of spices and Chris used spices , salt , lemon juice and hot sauce to flavor the outside of his chicken .
Beth and Chris both used a method called brining .
Brining is the process of submerging .
Lean meats like chicken into a salt mixture which can be wet or dry .
Chris used a wet brine and combined an acidic component , lemon juice and hot sauce .
Whereas Beth used a dry brine where she coated the outside of her meat with salt and spices .
What you want is to make flavorful chicken .

And this will do the trick , applying heat to the mussels of meat will dry it out .
Using salt with a wet brine or a dry brine can help to dissolve the muscle proteins or the min found in the muscle fibros which will then bind with water .
This dissolved protein and water matrix will help to keep the moisture in your cooked final product a few hours or overnight .
Brining is the perfect amount of time to help to improve the juiciness of your final product .
You're good to go .
Fibers are bound together with connective tissue .
Connective tissue is collagen and elastin , which when cooked in the meat can become really tough using a marinade that has something acidic like butter milk that we saw .
Chris Hughes will help to denature the collagen and elastin or our connective tissue and create a more tender final product .
Chicken can be coated in a breadcrumb coating or a mixture of flour and starches .
Emily used bread crumbs on the outside of her chicken .
It's like a little panco blanket for it to go to sleep .
Beth and Chris both used a combination of flour and starches , creating an outside layer on your chicken .
Using starch helps to create an exterior coating that will become really crispy .
When we expose that starch to heat , the combination of AMIS and Amy in two different kinds of starches found in the outside layer will help to bind together to create a porous and crunchy exterior .
Chris use baking powder in his dry mix gives it that really fluffy crunchy kind of effect .
Baking powder is activated at two points in this recipe .
First , when the dry mix is coated onto the outside of the moist chicken .
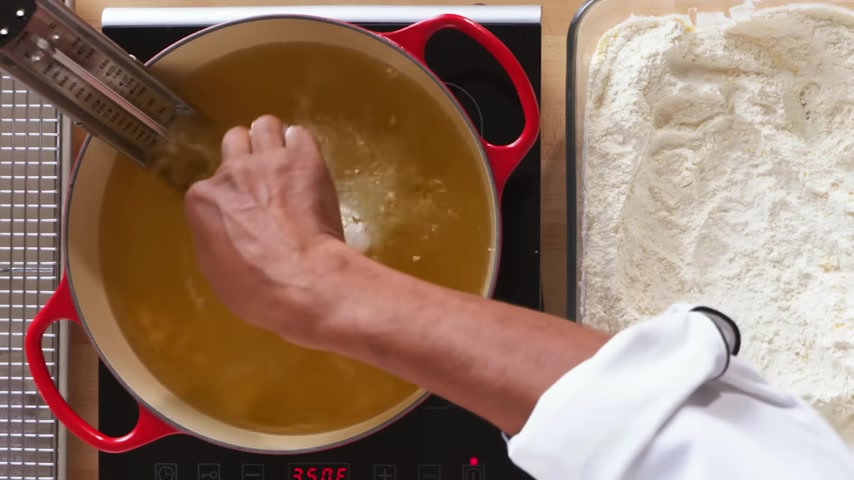
And second , when the chicken is fried in hot oil , when the baking powder is activated in Chris's chicken recipe , it helps to produce carbon dioxide gas , which is going to leaven the coating on the chicken , producing a fluffy and crispy crust , crispy little shards of goodness .
When selecting an oil for frying , we look for two attributes , smoke point and flavor profile .
Emily and Chris both use canola oil and Beth used peanut oil for frying adds a nice flavor to the chicken and it makes the house smell wonderful .
Both of these oils have a high smoke point which means that we can bring them up to a fairly high temperature when we fry before they start to smoke .
So this oil right here is rocking at about 325 canola oil and peanut oil are both considered neutral flavored oils .
Selecting a neutral oil when frying will allow the flavors added to your chicken to shine without too much flavor from the oil .
After you've selected your oil , it's time to choose your cooking method .
When frying chicken , you can pan fry it or deep fat fry it .
Emily chose pan frying which employs conduction cooking , conduction cooking is a heat transfer that comes from the bottom of our pan which doesn't allow you to regulate the temperature of the oil .
Oh , I see .
My pan was not quite on the burner fully , Beth and Chris both employed convection cooking , convection cooking uses gas like air or liquid like the liquid oil in our deep fryer to move the heat around our chicken , creating a well cooked and even final product .
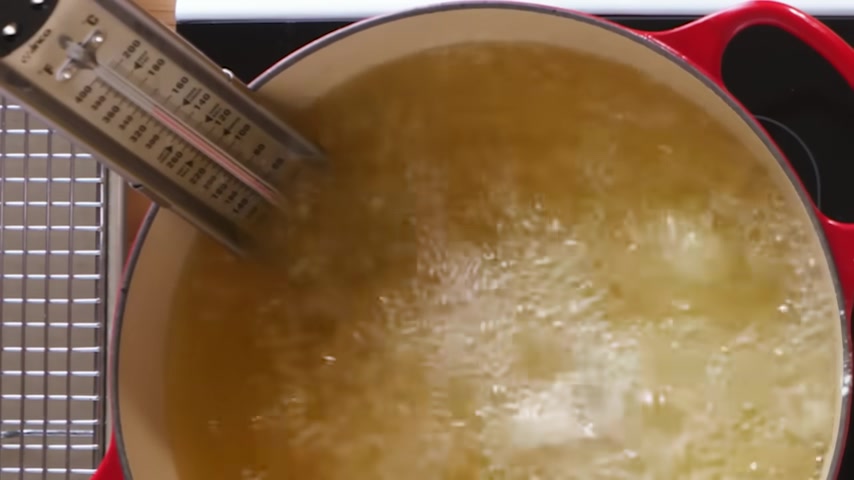
When using deep fat frying , you can attach a thermometer onto the side of the pot to regulate the temperature of the oil and ensure even cooking when choosing your cut of chicken , it can be helpful to select pieces that are the same size .
Emily used chicken tenders which are all about the same size and will cook at the same rate .
Be employed batch cooking .
She cooked four pieces at a time instead of all of her pieces .
This helped to decrease overcrowding in the pot .
Overcrowding .
The pot lowers the temperature of the oil .
Low temperature oil can more easily be absorbed .
This will lead to a greasier fried chicken .
Chris used the whole bird and leveraged batch cooking to cook the larger pieces first and the smaller pieces later to have them all finished at the same time .
So , you know , the best time to eat some fried chicken is basically any time the next time you're craving fried chicken , skip the drive through and use some of these tips to make great fried chicken at home .
Are you looking for a way to reach a wider audience and get more views on your videos?
Our innovative video to text transcribing service can help you do just that.
We provide accurate transcriptions of your videos along with visual content that will help you attract new viewers and keep them engaged. Plus, our data analytics and ad campaign tools can help you monetize your content and maximize your revenue.
Let's partner up and take your video content to the next level!
Contact us today to learn more.