https://www.youtube.com/watch?v=X5YdiqN_iME
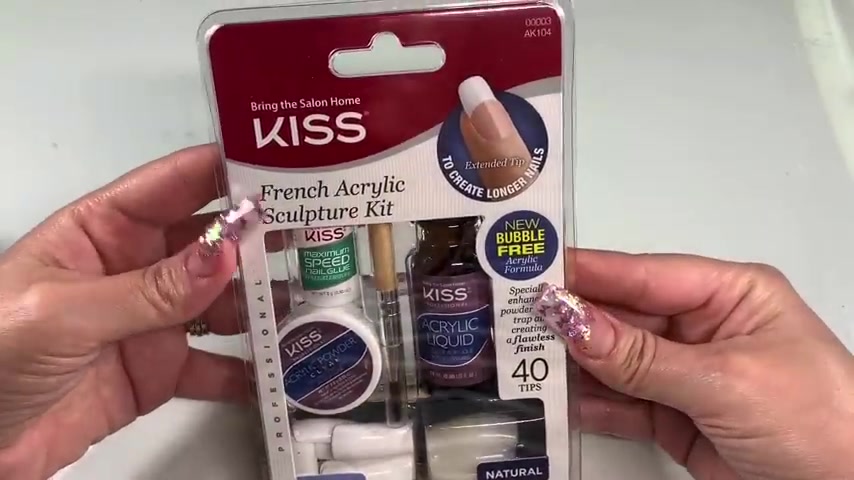
How To - Kiss Acrylic Nail Kit For Beginners
Hi , beautiful .
Welcome back to another video .
I can't say it's the first time that I'm trying this kit because I actually have used this kit .
Um I'm not sure if it's been , it looks like it's been uh reformulated or it has a new formula , a bubble free formula .
But I used this kit a long time ago .
Ok .
When I was 15 years old , 15 16 , I used to buy kits like this and take them home and do my nails .
That's actually how I got started but I have not um used them for years .
So I've seen um videos on um on youtube where we buy the kit and we use it and I was like , you know what , let me go back to my roots see what it's like .
Now it's been so long and actually right here I want to show you I remember doing this um back in the day I used to cut the hairs so that they were even .
So that's a little hack .
If you want to do that , then yeah , you want to get all of that um glue out and everything and then later on you want to clean the brush too , which I actually end up using some isopropyl alcohol and um , I clean it up and then I put it in my monitor .
So you have an orange wood stick , which I don't know why , why we call it that , but orange wood stick , cuticle stick and it comes with white tips and natural tips and then this beautiful file .
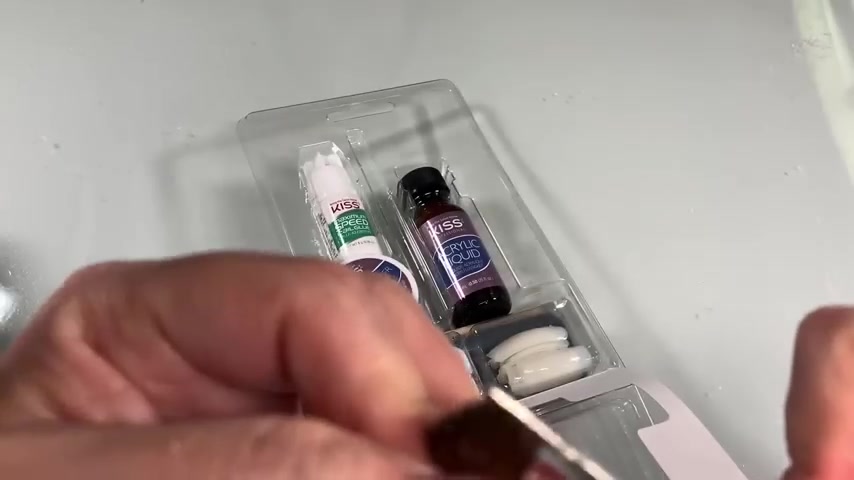
So , what I decided to do was I'm gonna stay true to the kit and I'm only gonna use products that the kit brings .

And yes , I thought that would be helpful because um if you go and pick it up and you come home and you're like , ok , this is all I have , then , then you're able to follow this tutorial .
Ok ?
Keep in mind it's been a really long time .
There's two things I'm gonna add that doesn't come with the kit and it's this glass um candle holder to pour the monitor in which doesn't come with the kit .
Um You're more than welcome to , to use anything you have that you could pour in , preferably glass and then some also some limp free wipes and some alcohol to dehydrate the nail .
So we're gonna start with the orange wood cuticle stick and we're gonna push back the cuticles .
And yes , this is , these are my husband's fingers .
Um Bless his heart .
It took a lot to convince him to do this for me .
So , thanks , babe .
That was really nice of you .

So you guys , yeah , spam the comments and give him some creds for allowing me to do this so that I can give you guys a video with this kit .
That was really nice of you .
So , and I don't know about you , but I think his fingers , his hands are beautiful .
So whatever you'll see , it's gonna look really nice .
I start using the side that's a little more coarse and I want to um basically , I'm removing the shine from the natural nail and then I'm buffing um the nail as well .
And I'm kind of like pushing back with the corner and trying to get all the dead skin off , like I said before , just to um give myself a clean canvas for the application .
So let's watch this step and then I'll be right back .

OK ?
So I can't stress this enough .
This step is very important .
Take a little bit of alcohol and clean your nail beds , get all of that dust and debris off all the skin .
This is very important because watch this , it's going to dehydrate your nail bed .
You need that so that the acrylic can stick to your nail because this kit does not come with a primer , none of that .
So this prep is really important .

308.899 --> 376.29
This is gonna avoid bubbles and I don't know why it's just a pet peeve of mine .
You kind of just want to avoid that .
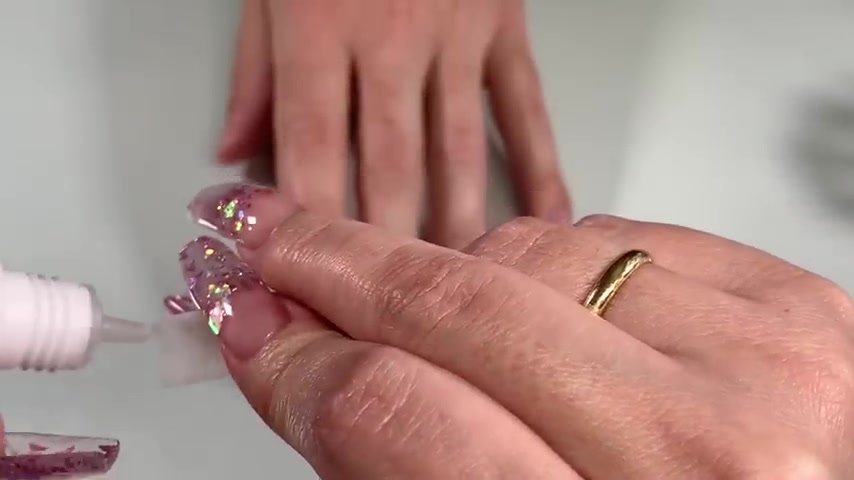
So watch as I do each nail and you can see how you should apply the nail so that the glue spreads evenly and you have a nice tip application .
So it's just showing you there that I noticed a little bubble .
So I might have released it a little bit too soon .
But um yeah , that's OK .
So we're gonna go in and you're gonna cut your desired length and I don't know why I use the clippers .
I should have just used the scissors , but I guess I was just thinking about um the tools you would have at home .
Um But yeah , just cut them to your desired length .
If you want them a little longer , you can .
The only reason I went a little bit shorter was because I didn't want to have to apply so much acrylic because I just wanted this video to be a little bit more of a demonstration .
So , yeah , so , oh see how I go in and I , you can , if you have smaller scissors and you want to cut a different shape then just go ahead and cut the sides off .
So I wanted it to be more of a tapered square .

I went in and , um , I just , I cut it with the , uh , with the scissors .
But if you want to keep your nails square the way they were , that's fine .
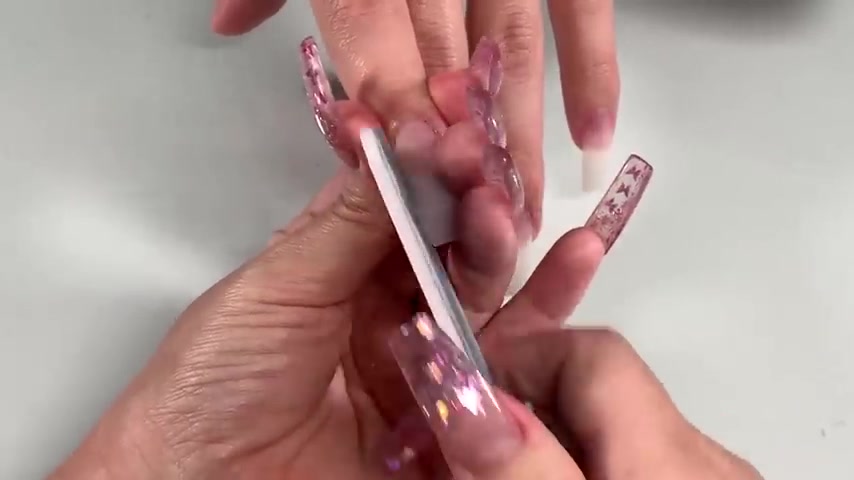
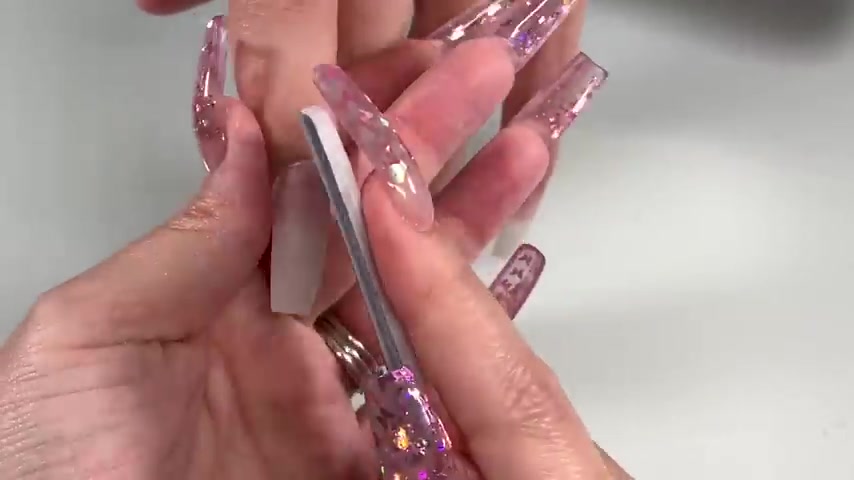
Just start filing .
Now .
It took a lot out of me to , to get used to this file because I'm used to thinner files and longer files and where I can actually , um , have more of a sturdy hold on them .
So it was a bit of a struggle , but it's only because I'm used to something different now .
But , um , you guys would just go in and you wanna file your edges and I'm gonna let you watch .
What I do is I blend the tip into the natural .
Now , I try to , as much as possible .
I really don't want to talk much .
I just want you guys to be able to watch and then I will come right back .

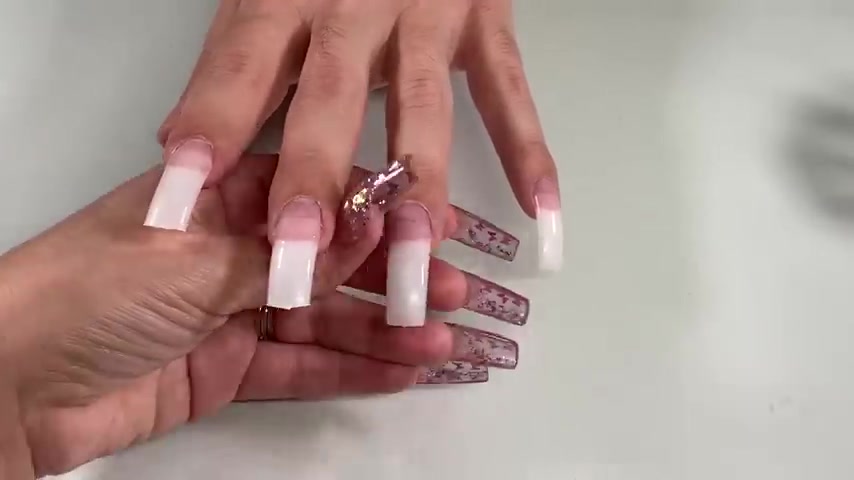
So there it is .
That is the result .
And again , we're going to go in with a lint free wipe .
You guys can use paper towel a little bit of alcohol , always making sure that we are keeping our canvas nice and clean free of dust , debris and all that so that we have a nice clean acrylic application and don't forget what that helps with is dehydrating the nail so that the acrylic sticks to the nail because in this case , we do not have a primer with the kit .
So we're gonna pour the monitor into our glass jar .
I have my brush in the monitor and then I've opened the um the powder .
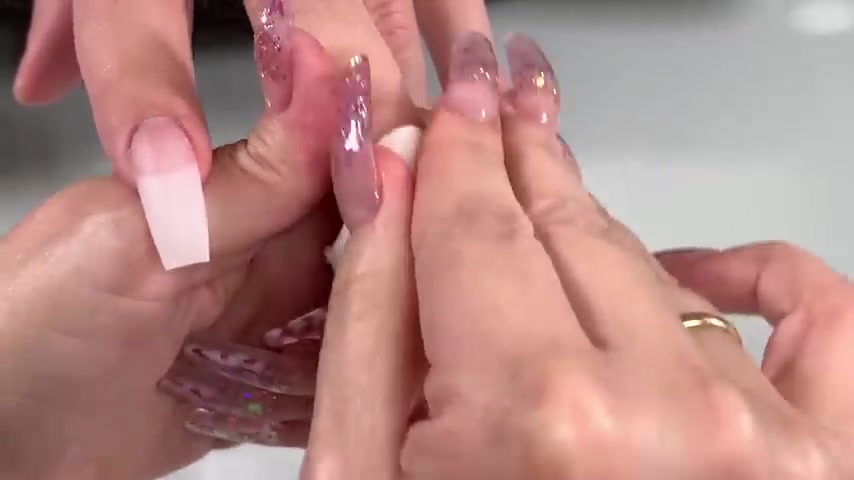
I just want you guys to watch how I apply .
And keep in mind my finger is facing downward .
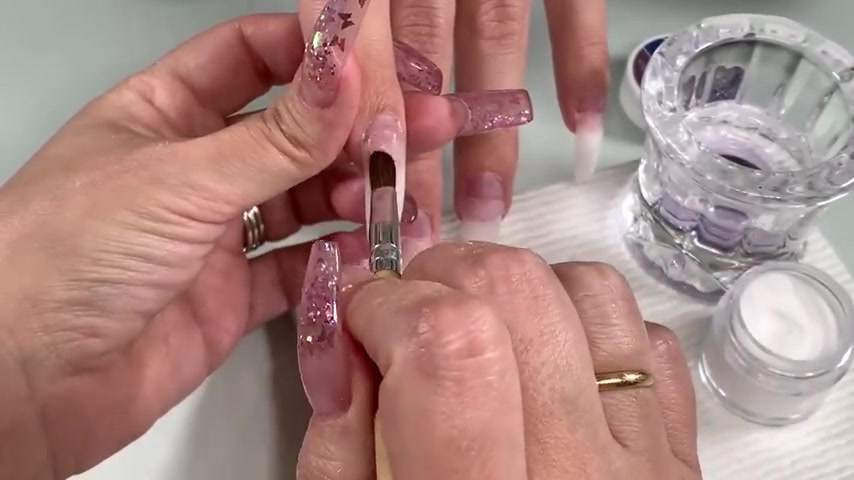
I always say that if you want to avoid the cuticle flooding , uh I'm sorry if you want to avoid the acrylic flooding , the cuticle face your finger um down and then guide the acrylic .
Use the brush to go behind the acrylic and guide it down and to be safe , you can always just stay away like a little centimeter away from um from the top that makes you feel safer .
It does not need to be right up on top of that skin there .
And you shouldn't anyways because that can cause lifting .
So you want a bit tiny bit of a gap .
So , oh really quick .
And also really important when you see that I'm going down , the brushes goes out of the screen , I'm wiping .
I know you can tell you have to wipe your brush every time .
Um You know , you've released and kind of brush your acrylic , you're gonna go down and wipe and then you'll see that I repeat that every single time you go down , I wipe and then I go into the monitor .
I will let you guys watch and then I'll come back .
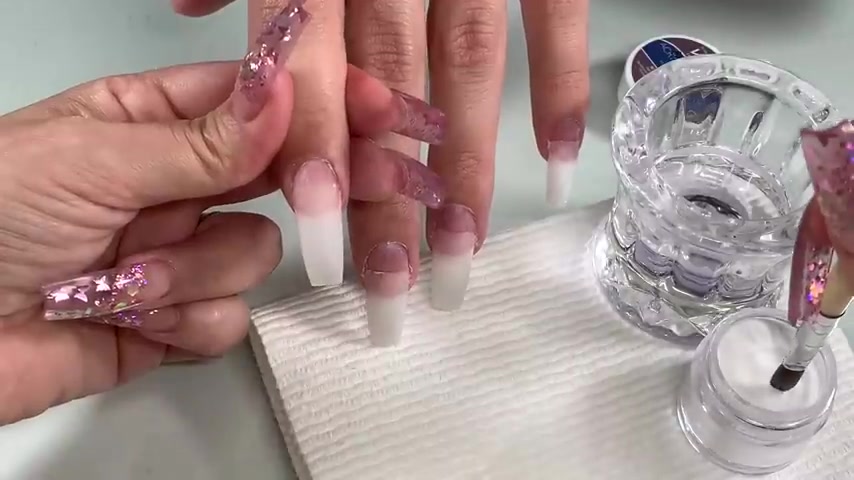
So that is it , application is done .
Now , we're gonna go in and file .
I'm actually really impressed with the clarity of this acrylic .
I thought it would be more so of like a , a cloudy um clear , but obviously they have changed the formula and you can , you can see everything .
So you will have to actually um paint your nails um or have some kind of cover unless you actually really go in and um and blend that tip .
But since it is a different color from your natural nail , you're still gonna need to paint your nails um or you can do use the white tips and then um just glue them at the very end of your nail bed or right at the free edge and just do um white tips .
So , so yeah , I was really impressed with the clarity of this , this clear .
I like it a lot .

So we're gonna go in and file and you're gonna see how I try to go around the cuticle carefully to so that it's flush with the natural nail .
You don't see that bump .
I've said this before in my other videos .
But um yeah , we want to make it look as nice as possible .
Oh , I'm always checking too .
Um When you're doing your nails , check your profile , make sure a majority of your um acrylic is on your apex right here .
See how I pointed it out .
Um You wanna make sure there's strength there so that your nails last and if you , you know , bump them or anything , they won't , um , crack and break .
So , the , what's helpful is that these are full weld tips and , um , that does actually help with the strength and nail .
I think that was their intention with using , um , tips that head out of full .
Well , also I am while I'm filing , I'm also going in and , and buffing .
Ok .
So you , you will see that I go back and forth .
So I will file and um get rid of the bulk or what I don't need and then I will go in and buff the nail .
All right .
So now I will go ahead and let you watch .
It's important to watch while you're learning because we're visual learners .
It helps a lot with learning .
Trust me .
All right .
So I hope you guys noticed that I tried to point out spots that I needed to blend a little bit more and just kind of showing you like when you see some spots that maybe some acrylic is missing or anything like that , all you want to do is just make sure that it's nice and smooth .
Ok .
So just blend everything in .
Don't worry , we're just learning .
We're having fun .
There are nails , it's just a form of expression .
So don't stress it .
And yeah , so now we're gonna go in and we're going to the final step is to cleanse .
We just want to get all of that um debris off .
And also it kind of helps with sanitizing like that final step .
And then I'm gonna put the moisture back in because we've been , we have been using alcohol on the cuticles and we're going to moisturize with some cuticle oil and that is optional .
You can just use some cream and look how pretty it turned out .
So beautiful and look at my husband posing .
Thank you so much , babe .
I appreciate you .
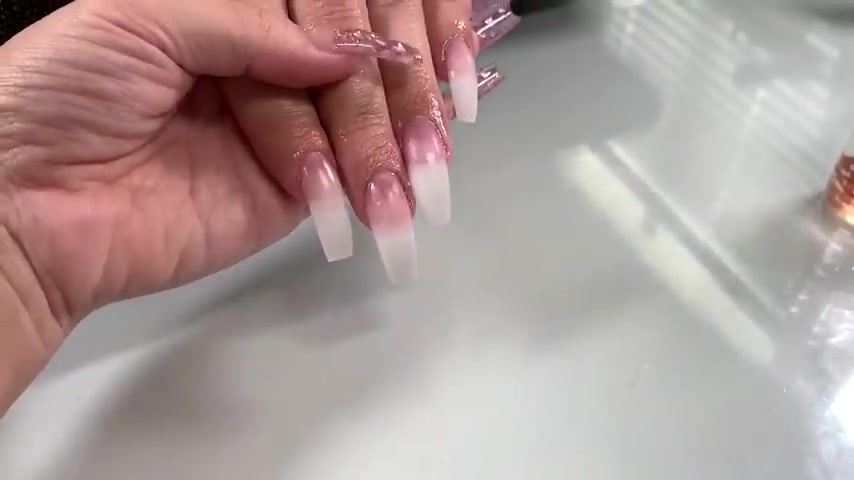
I was telling him like , ok , put your hand like this so they can see but yeah , it turned out really pretty .
Um So yeah , good luck if you guys have the kit and you try it out .
Let me know .
Leave me a comment .
If you are new .
Please subscribe .
I would love to have you and yeah , thank you to my oldies but goodies for always being here .
I always see you in the comments and yeah and welcome to all my new subscribers .
Thank you so much again for watching .
I hope this video was helpful .
I will see you guys on the next video .
Bye .
Are you looking for a way to reach a wider audience and get more views on your videos?
Our innovative video to text transcribing service can help you do just that.
We provide accurate transcriptions of your videos along with visual content that will help you attract new viewers and keep them engaged. Plus, our data analytics and ad campaign tools can help you monetize your content and maximize your revenue.
Let's partner up and take your video content to the next level!
Contact us today to learn more.