https://www.youtube.com/watch?v=9dlf5-Pow3s
How to Draw a Chibi Kiss (Winter Scene)
Hey there everybody .
It's Mark Crowley .
I'm back with another how to draw a video .
Today we're gonna be learning how to draw a Chey kiss .
Now I did a cheeby kiss video a few years back .
But that time , it was a kiss on the cheek .
This time , it's gonna be a kiss on the lips and uh to make it more interesting , it's gonna be a rather dramatic pose in which uh the boy is lifting the girl up into the air as he can .
This is her .
Now , people like to know the size that I'm working at .
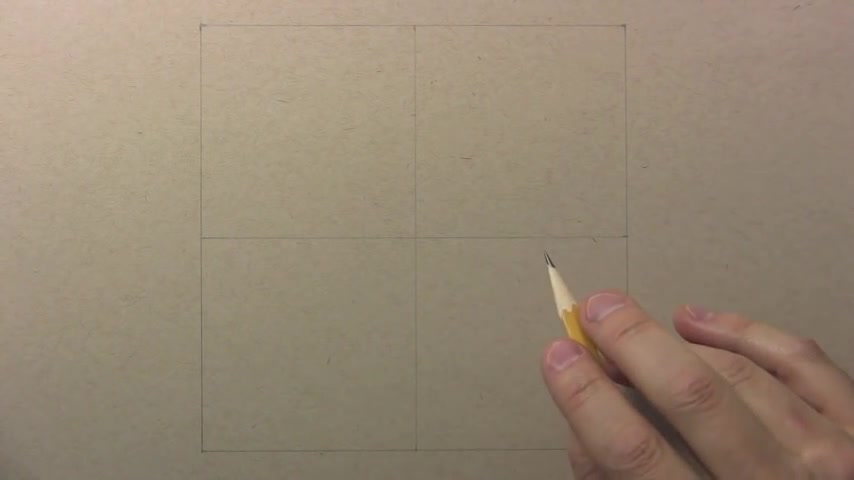
So I'll tell you right now , this square here is 5.5 inches on all sides that works out to 14 centimeters .
And then these intersecting lines here just divided into four smaller squares .
Well , let's not waste any more time .
Let's go ahead and get into some initial guidelines .
So this is the female character's face in profile , basically a circle over here until it comes to this contour .
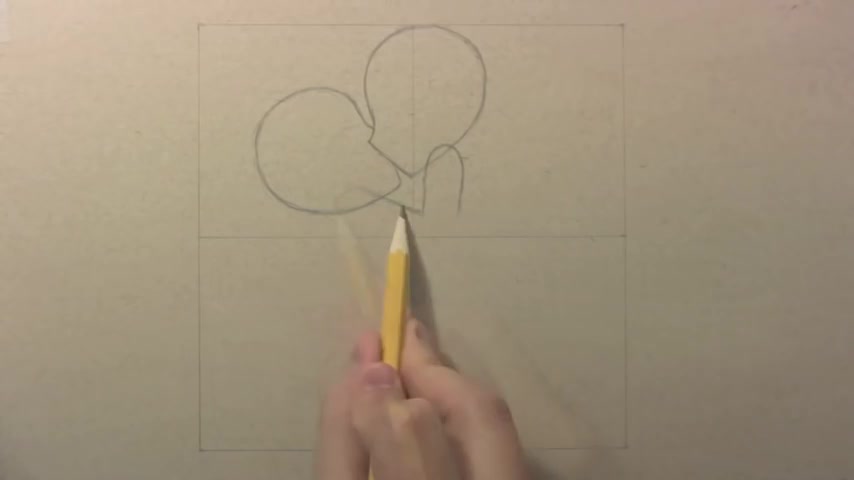
This being the point of the uh nose and this the chin , a straight line for now , which is going to be refined later on as we get into drawing the kiss itself .
Uh Let's go ahead now and draw the boy's head .
So the boys had very much the same , just flipped around in the opposite direction .
Noticed that the chins line up with each other .
And uh later on , like I said , we're gonna be refining this so that his lower lip becomes visible uh and her upper lip becomes visible .
But uh I think it's time now to get on to drawing uh her upper body .
So this is her shoulder .
Uh It's sort of intersecting coming up across her head .
In fact , I'll go ahead and erase uh right there and uh uh bent up the elbow , you can't really see her elbow in this drawing because his arm will be crossing in front of it .
But over here , the hand keeping it very simple .
And again , I'll go ahead and erase uh that line .
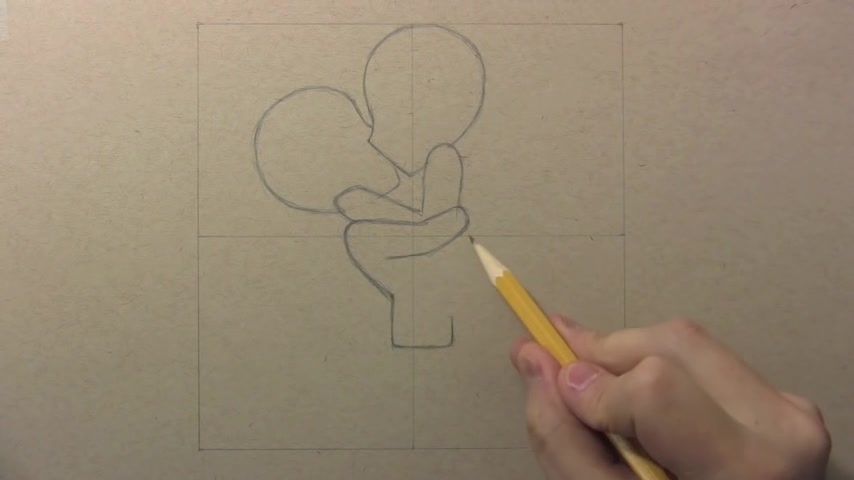
And uh so yeah , uh the , the nice thing about V drawings is they are simple and even uh in the finished drawing , you'll find that we're not doing many more details beyond these basic guidelines .
Well , let's go ahead now and uh draw his arm and uh perhaps the lower part of his jacket .
So you can see he's leaning quite a ways back here .
This helps to convey , you know , uh his way of maintaining balance as he picks up the added weight of her body .
Um just a very slight bend to the tip of the elbow .
And I think what we really need to do now is to draw his other arm coming around her waist .
And I suppose we can go straight from that into drawing one of her legs .
So here you see the shape of his other arm coming around , uh to sort of grip her body at the waist .
And then uh a rather complicated shape here coming down , uh her thigh to the knee .
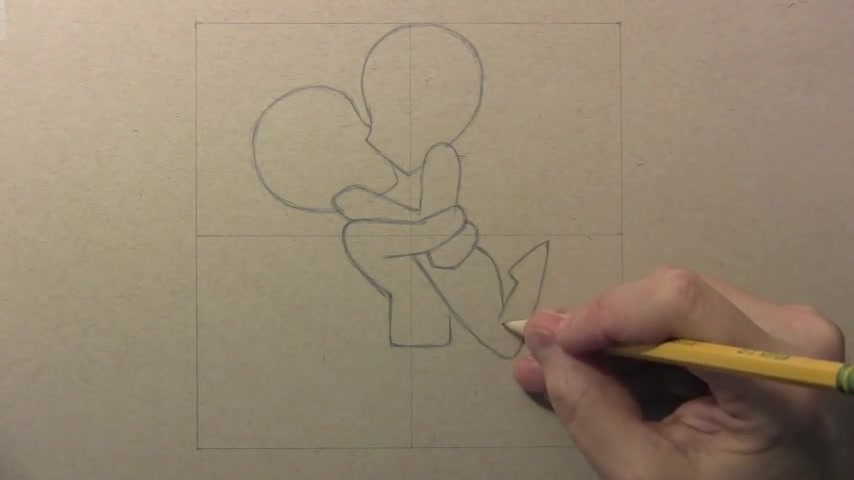
Uh Notice that this shape to the foot , which I call a sort of a ballerina foot .
It's uh you know , pointing at a very extreme angle uh to the to a very useful technique .
Actually , for drawing certain poses , you know , feet are notoriously difficult to draw .
But that shape , once you get it down can help you , uh at least for drawing certain poses , I'm gonna draw on her other uh foot over here as well as both of his leg .
And then we'll be done , I think with , well , actually , we still have the facial details to do , but we're getting closer folks .
So indeed , I decided to make the other foot also in this sort of ballerina toe and pose .
Uh Even if you are ballerinas , let me know if that's accurate or if I'm a complete lunatic .
Uh And then here you see the forward lean of his thighs again , he's sort of maintaining balance and he's gonna be knee deep in some snow here .
I guess I'll go ahead and make , uh , uh , indication of snow .
This is actually part two in this ongoing series that I'm doing , showing a couple , uh , in the various seasons .
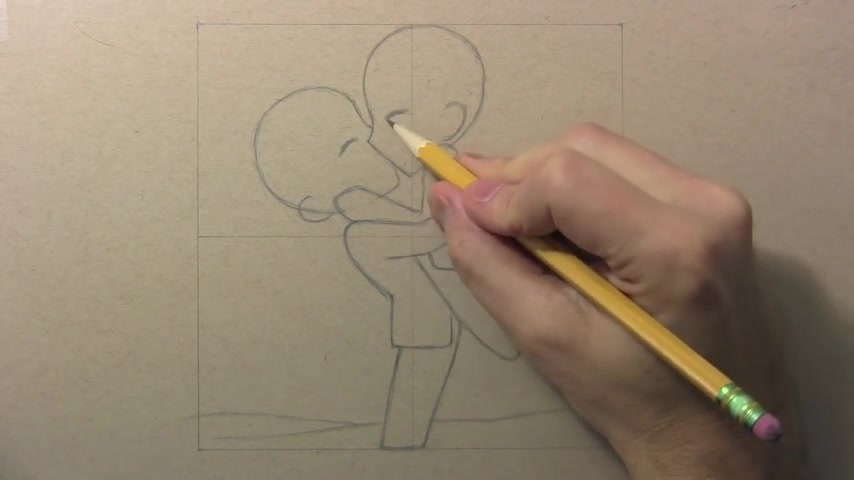
Last time it was autumn this time , uh , it's winter , uh , and not coincidentally coming up on Valentine's Day .
So we're kind of covering a lot of different things in this one video .
Well , let's go ahead and do the eyes and the ears and then we'll be done with uh this time lapse , we can knock it off with the time lapse and get on to the real time drawing part of the video .
So here you see the classic uh happy looking GB I , some people like to make these really curved .
I'm more of a fan of the gently curved variety .
I got the ears in place , both of them sort of uh above the shoulders .
And uh now it's time to start getting into the real time part of the video .
I'm gonna re focus the camera also gonna take that moment to erase these initial guidelines .
All right .
So let's begin with what is um probably the most difficult part of drawing a kiss and that's getting these lips to sort of intersect in the right way .
So I'm starting at the tip of her nose .
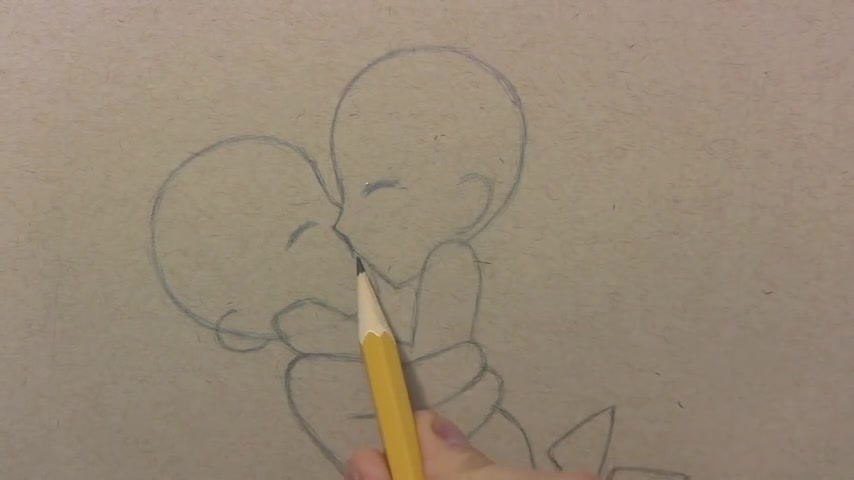
I'm coming down here and especially with chey faces , you're not getting too much into the details of the anatomy , but I am gonna curve forward just a bit and then curve back to uh create an indication of her upper lip .
And uh I'm , I'm as zoomed in as I can be actually at this stage .
So I hope this is gonna work .
Uh But I'm gonna leave just a little gap .
I'm erasing away here .
So that basically I'm drawing her upper lip and then I'm gonna draw his lower lip uh curving up but not quite touching that line .
I'm just sort of letting the um paper show through and uh hopefully that is all we really need to sort of suggest the idea of um them lacking lips in ecstatic embrace in the middle of this snowy field somewhere .
Um And you can see me sort of trying to refine , I feel like his chin is starting to look a little too long now .
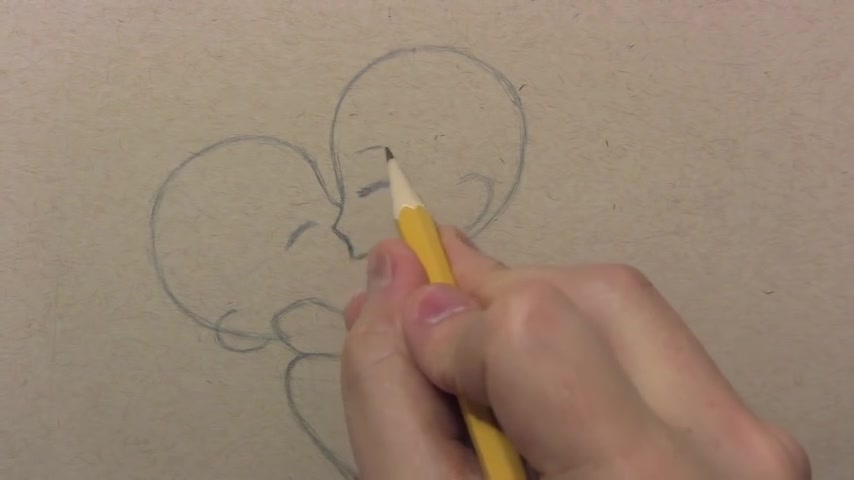
So I'm gonna maybe shorten that up a little bit .
So there you go .
Now it's time to uh , well , let's get the uh I'm gonna refine the eyelashes uh of the female character a little more making her a little more lash .
If that's a word , I'm gonna uh put an indication of her eyebrows and by , by raising the eyebrows up on the face , I think it just gives a feeling of elation and uh we'll do the same for him over here , maybe not draw his eyelashes quite so thick , but I think they do need to be thickened up a little from what I had there to begin with .
And I'm gonna do some uh lines for her hair .
Of course , I'm always encouraging people uh feel free to turn these into your own characters .
Maybe you want to draw yourself with your significant other .
Uh I say , go for it , change it around .
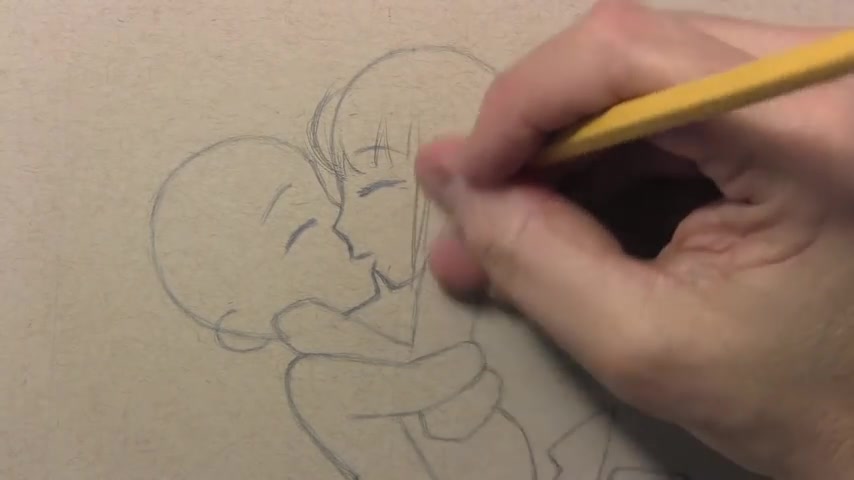
I'm just doing um Well , as I said , I'm continuing the um two characters , the couple that I had drawn in this earlier video and I will link to that uh in the info box below .
So uh coming around here , I'm drawing some hair coming down across her um cheek and for the ear , I'm not gonna get into the details of it too much .
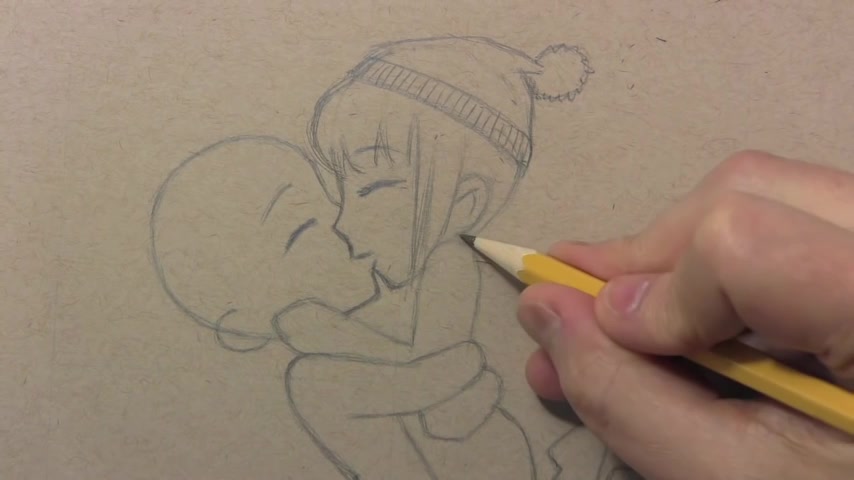
Maybe just put a couple of lines in like , so she did uh Well , I'm gonna have her wearing a um snow cap .
So I'm drawing a line that comes across here and uh maybe just make her cap slightly larger than where her scalp would be .
This is all very cartoony .
So I don't consider , I don't concern myself too much with the logistics of cloth and so forth , but I am gonna have uh one of those uh poofy balls .
Is that what they're called in the business ?
Poofy balls ?
Would you like your snow cap with or without a poofy ball ?
And so yeah , I'm gonna come over here and draw that and I'll just go ahead and make it poofy .
Uh But I always like to have at least one little line coming across here and then a series of uh more vertical lines to me that conveys a knitted cap and you'll see me do this for sweaters and so forth .
And she did indeed in the earlier video , have her hair in a braid .
So I'm gonna keep with that so that these are recognizably the same character .
My technique for drawing a braid is to do a sort of a check mark .
This think of this as a check mark where the line comes across down so that I keep drawing that same shape .
It's a little bit like a checkmark and then I just keep connecting that extra line .
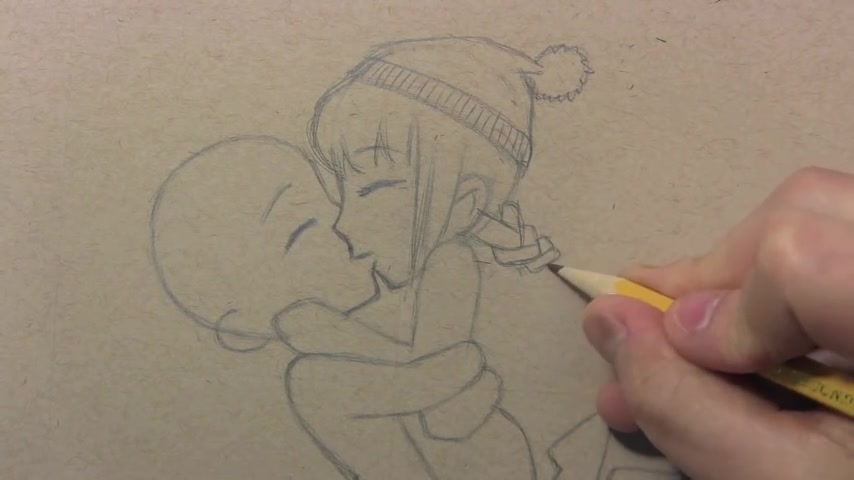
And I think uh what I'll do for her is to have this braid extend by three of these little sub subsections subdivisions .
So as to convey the idea of braided hair and she did have a uh little bow at the end last time , I'm gonna keep all of this to make it consistent with the earlier video just to , you know , make it easy to recognize them as being the same characters .
And I think what I'll do here actually is have this line flow in a little more to her hair like it's coming off of her head .
She did have a scarf in the earlier video .
So let's keep with that .
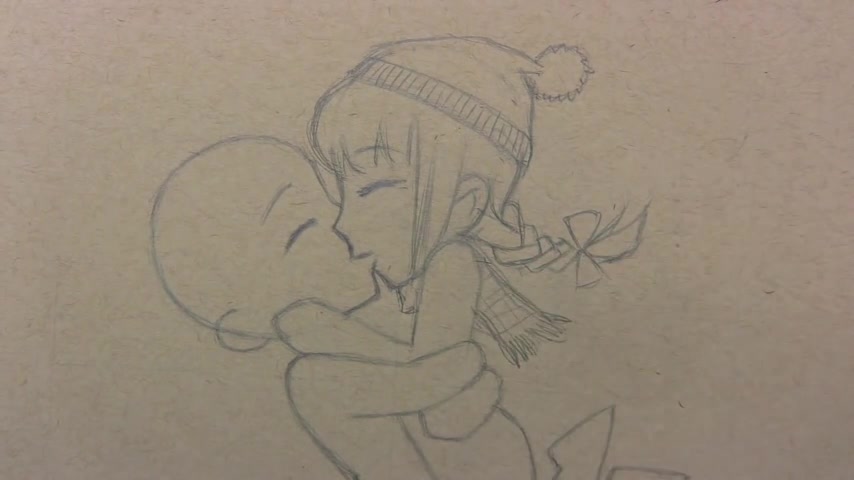
Can't really see it , her shoulder sort of coming up over and uh obscuring that , but I'm gonna have her scarf come back like some , get some tassels at the end and probably later on , there'll be like a check pattern , which certainly , that's what I did on the earlier video .
Now this all looks like her upper arm , but I think of this as her back and then I'm gonna get a second line in here that really defines this as her actual arm .
And then over here we can move on to , I'm gonna have him not wearing a cap that reckless young man leaving the house without his snow cap on .
Uh I don't know why I just thought again with the interest of having him recognizable as the same character .
Uh He did have this thing with a uh a little spike of hair popping off the back of his head .
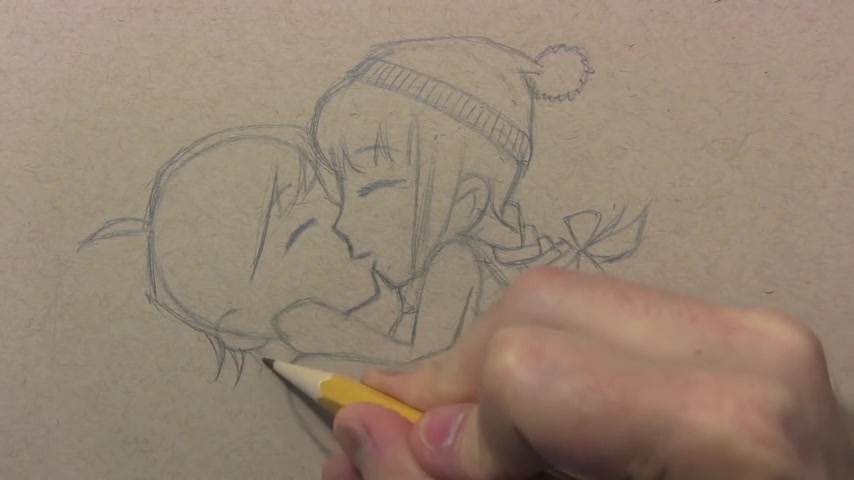
So maybe that's why I've decided not to have the snow cap , but he had a bunch of uh in this earlier videos , had a bunch of little strands that curved down here back behind his ear , speaking of which I'm gonna erase away that initial guideline and get in as I did for her .
Just a couple of lines here .
I almost never see uh Chevy drawings in which the ears , the anatomy of the ear is um defined very much , but I'm gonna continue with uh these sort of V shapes for his hairstyle or as I guess it's a W shape that's not a V , don't , you know , the difference between a V and a W curly and I'm gonna erase away the uh initial guideline of her scalp be gone scalp and oh , I guess we gotta draw her hand .
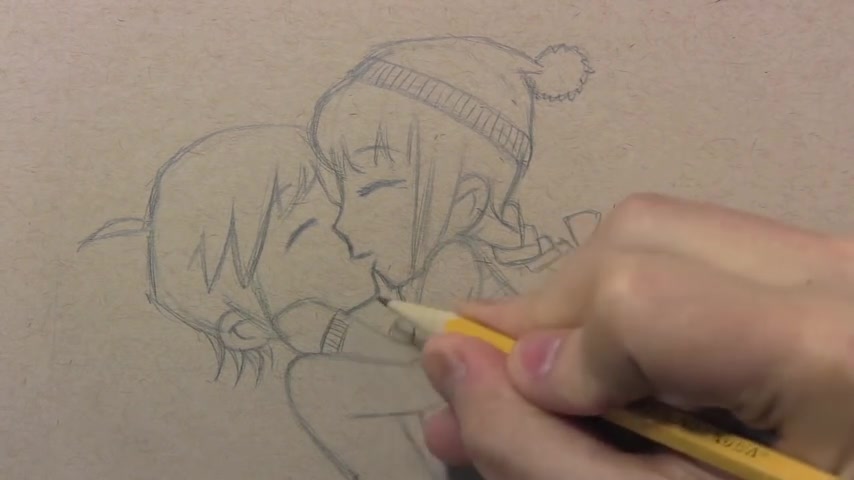
Now , I'm gonna do , like I said here , this , I'm gonna do the same pattern for the edge of her , her or the cuff of her jacket .
I guess it is this time instead of a sweater .
But , um you know , are great for people who hate drawing hands because you are always greatly simplifying .
So this is her thumb , believe it or not .
And then over here , it's almost looking like a kind of a bear claw or something .
Just maybe one or two , maybe three little indications of fingers and that's her .
Yeah , sort of putting her hand up uh across his cheek .
As for his jacket , I think we can get a couple of wrinkles in here , maybe just at the elbow to sort of convey that maybe a seam , a visible seam where the shoulder joins the rest of the jacket usually gets some folds here .
So , apologies , folks .
Periodically I make this mistake of continuing to draw out of the frame .
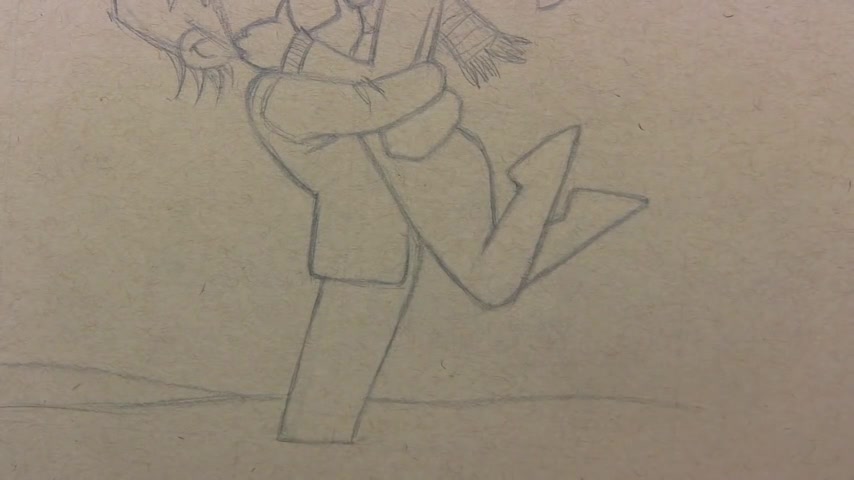
I forget that the camera has been zoomed in .
And so sadly , I'm having to redo this .
I had to erase and get it back to where it was before this time with the camera in the proper position so that you can see what I'm doing .
Let's go ahead and pick up where I left off then and to add in these uh , wrinkles at the back , you know , of the jacket where he's , um , leaning backwards , that's where wrinkles are going to tend to form .
And I'm gonna add a , a pocket here to make them sort of sell the idea that this is a jacket , the jacket , the jacket .
And , uh , let's go ahead and give her a jacket as well .
It's , it is winter time .
So I'm gonna have it come down lower and let's break up the contour here .
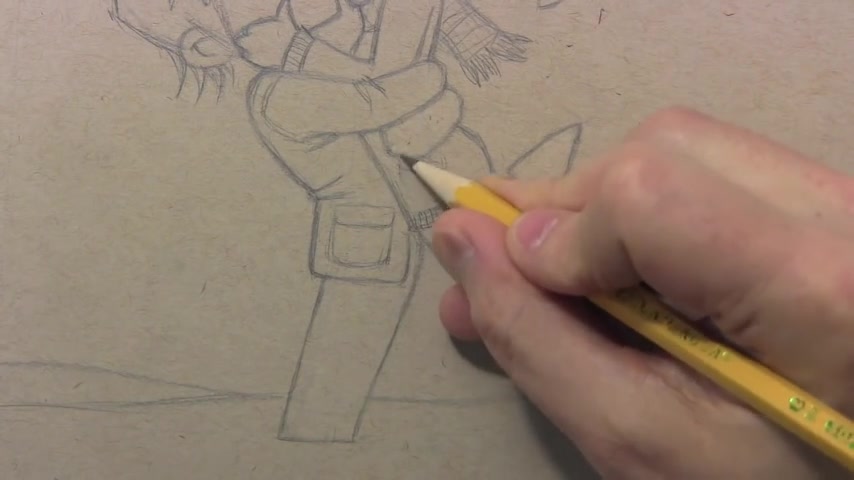
Actually , this will be the jacket contour and then down here is uh the line of her uh thigh , but she , her uh jacket has these sort of sweater like cuffs .
And so I'm gonna continue that over here .
Maybe she gets to have a pocket as well .
I'll give her one of them like more diagonal style and we better go ahead and get his hand drawn as I said before .
Happily , you don't have to worry too much about the details of anatomy here .
I rarely ever see she characters with like long anatomically accurate uh fingers , but maybe he can have just a little bit of a cough there and coming down here , I thought uh well , in the last one and uh a few moments ago , I actually drew this before , but nobody could see it .
Uh She in , in the previous video , she was wearing boots and so I thought I would continue with that .
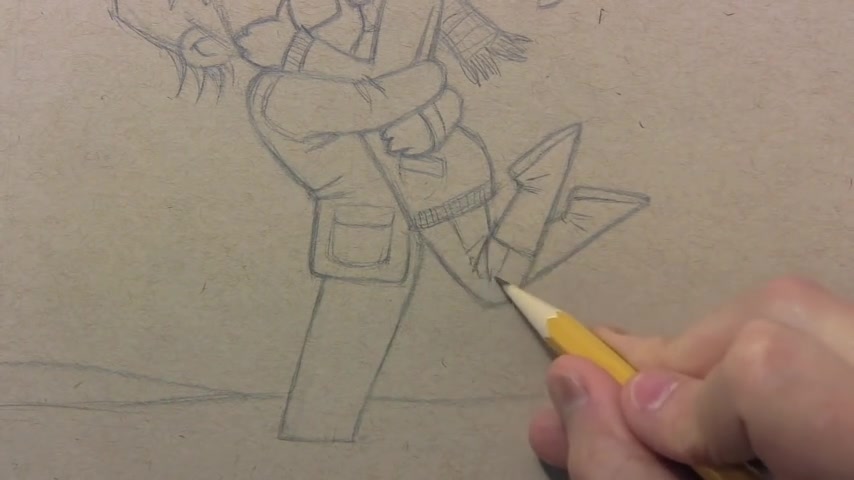
And so I draw an extra line here to convey the sole of the shoe , maybe a line or two here to the wrinkling of the , the leather and uh down here with her knee bent so much , there definitely would be wrinkles forming here .
Uh When I draw blue jeans or almost any pants , I always like to get a seam in there on the side .
Sort of helps convey the jean ness the Gene Os , everything gets an Os in this video and I thought he could be wearing uh boots as well .
Let's uh move back a little so that we see both legs just a little bit and I'll do the same thing .
Get some wrinkles down here near the boot as well as uh a seam here along the edge and uh maybe that gets us to the end of this .
All right , he is knee deep in the snow .
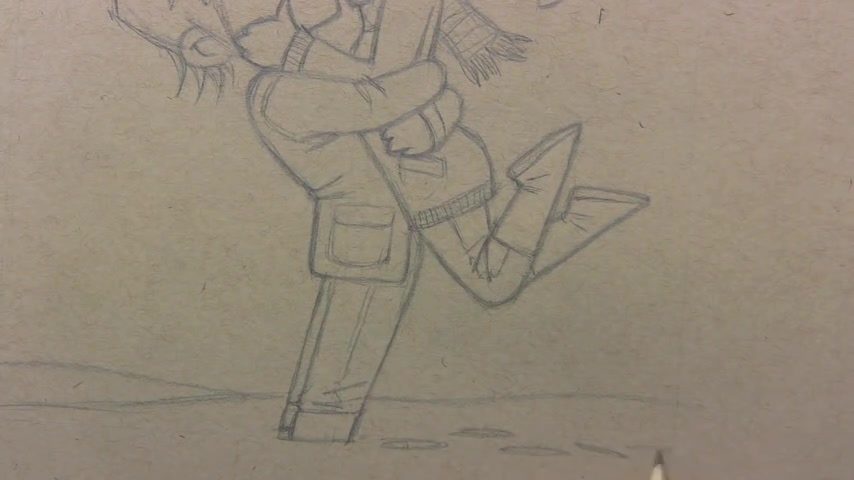
So I thought we had to get some uh indications of footsteps in the snow as they were taking a walk in the snow .
And suddenly she was overcome with the desire to leap into his arms and kiss him full on the mouth .
Uh And so that gives us basically what we need here , I think for the uh line work and it's time to add color .
Now , I wish that I could spend a lot of time talking about water colors , which is what I'm gonna be using .
Uh But , uh , unfortunately , I really can't , can't have the video get that long So , what I'm gonna do is , uh , uh , refocus the camera so we can see the entire picture and I'm going to , uh , add in time lapse pretty much all the water color work that I need .
But I'll come back and maybe give you some tips about , you know , what a few tips I can give , uh , in the time allowed , uh , about the watercolor work and then we'll be back with my beloved white wash .
But for now , let's go ahead and do the watercolor work all in time lapse .
All right .
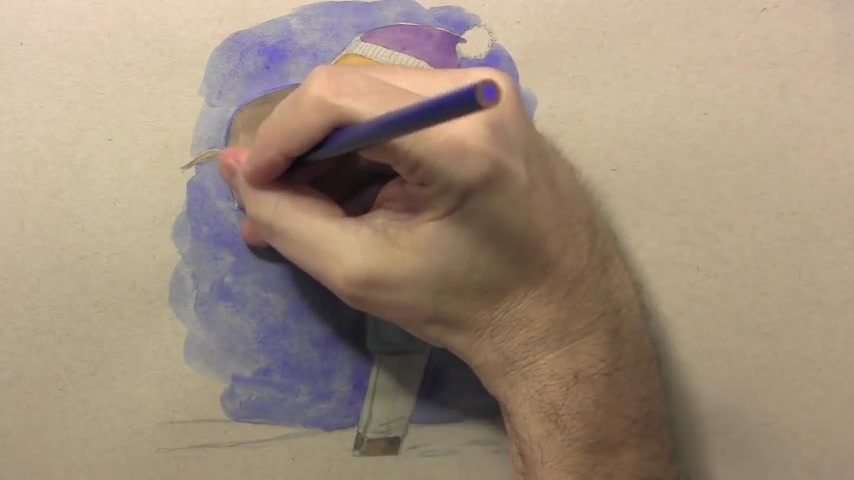
So I got all the water colors done and , uh , I'm gonna come in here and do just a little bit of line work , uh , real time .
And as I do it maybe talk a bit about the water color part of it note that this is a blue colored pencil .
Last time it was autumn .
I used a brown colored pencil , I thought , uh , in keeping with the changing seasons , use a nice cold , uh , blue as I outline things .
And , um , I would just , uh , point out that you don't necessarily have to use water colors .
If you're not comfortable with them , you could do all of this , uh , coloring with , um , colored pencils or markers .
Indeed , any type of , uh , or you could leave it black and white .
You know , you can use any method you like when it comes to , uh , following along with one of these videos .
Uh , the trickiest thing for me in watercolor is , uh , covering a large area like this blue and you can see me , I gave myself a little rest spots , uh , where the color stops , you know , periodically .
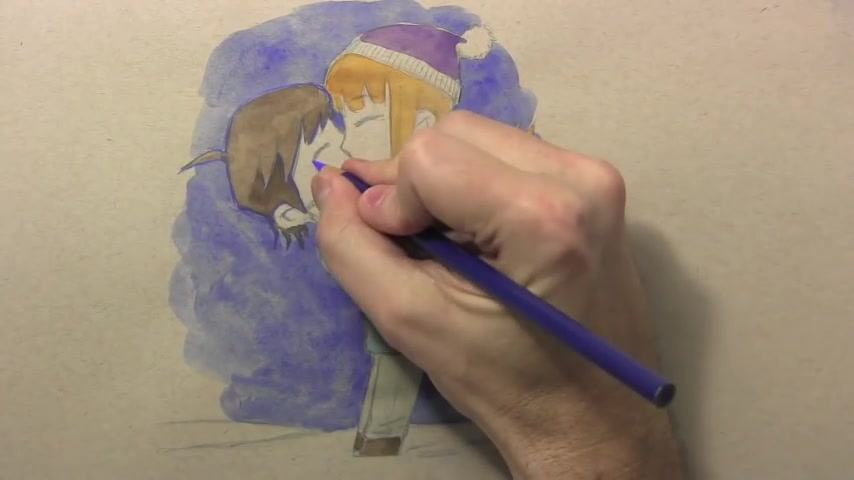
Um , I'm sure there are other people who are better at it than I am , but I find it hard to in , in one go , uh , cover an entire area in water color .
So I will sometimes sort of cheat a little with those little break points .
And , uh , otherwise , like I said , I'm not gonna make this too much about , um , uh , coloring or indeed later on when I add the white wash , most of this latter part of the video will have to be time lapsed .
But I wanted to at least give people a sense of the speed at which I would go in and do , um , the line work like this doesn't have to be with a colored pencil again , this could be done with ink .
Uh , people do ask , why do you wait and do the line work after you've done the color ?

And I have mentioned that in case you haven't seen one of those videos , I'll just say that , uh , I find it useful to get the color color down first and then you can sort of decide at the end what things need lines and what don't if you wait on the color , if you do the line work first , I think you will be tempted to outline .
Absolutely .
Everything , even things that don't need to be anyway , that's my technique .
So let's go ahead and I'll finish up all of the um line work here in time labs and then I'll come back and do just a little bit of the whitewash uh stage uh in real time .
OK .
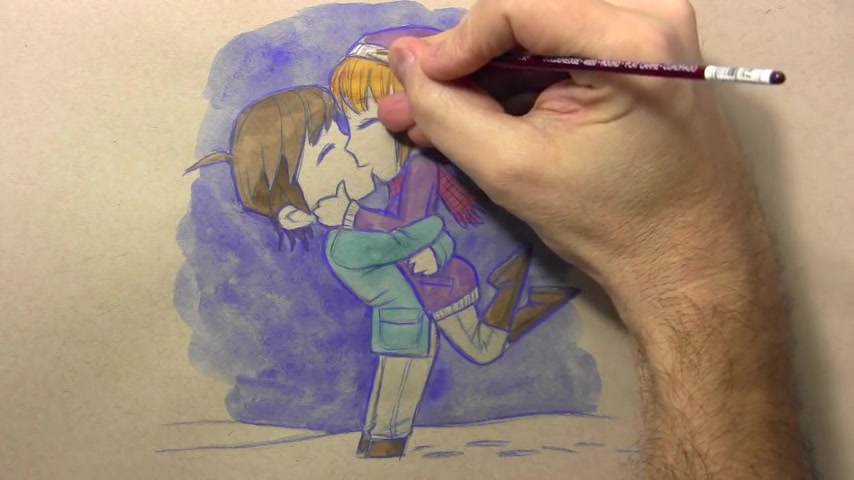
So that takes care of the line work and now I'm bringing out my beloved white .
Gosh .
Yes , it's getting a little old this too .
But uh I thought why not show people that you don't necessarily need to toss out this stuff as soon as it starts looking uh old on the outside is still good paint .
And I think uh I'm gonna just as a matter of principle , continue using this until it really is no longer usable .
So you can see because I used this sort of brownish paper to begin with uh adding the white wash uh really pops out and of course , this being a snowy scene , I will have the opportunity later to actually make little snowflakes coming down .
Um But I thought I'd just take a moment to maybe talk a little bit about the um line work .
This time .
I actually brought in uh a second pencil .
I was using the two different pencils , one , the sort of softer uh standard kind .
Uh and then uh the harder lead uh very thin just to get some of the detail work in there .
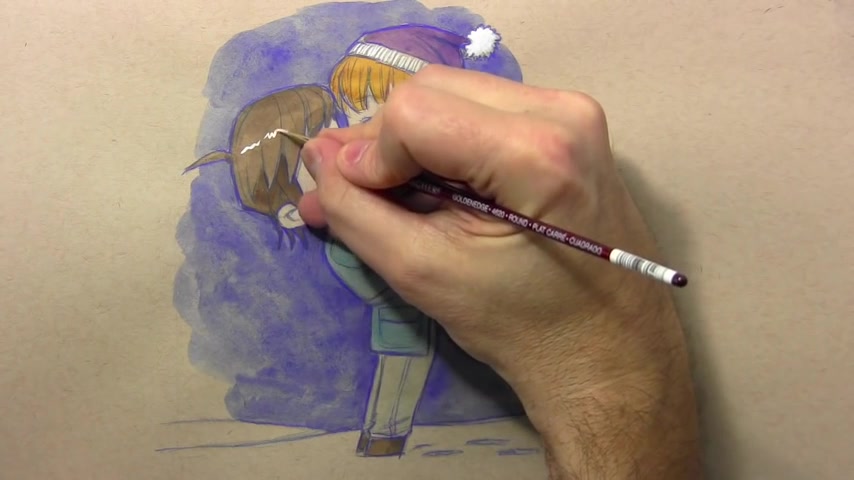
Um So that , I guess that's a little unusual compared to what I usually do .
Oh , let me use uh , the white wash for one of the things it does best .
And that is a , uh , a sort of a highlight going across his hair .
Someone was saying we do a video about adding highlights and I thought that's a good suggestion .
I don't think I ever have devoted an entire video just to this topic of , uh , adding highlights and it is a fairly important part of uh the manga style .
Certainly an anime style illustrations you very often see these little , uh , white highlights going across the hair .
But , uh , as I said , I'm gonna try to keep this video a little shorter .
Uh So that means time lapsing through the remainder of this um , white phase , but I'll definitely be back with a few final words .
All right .
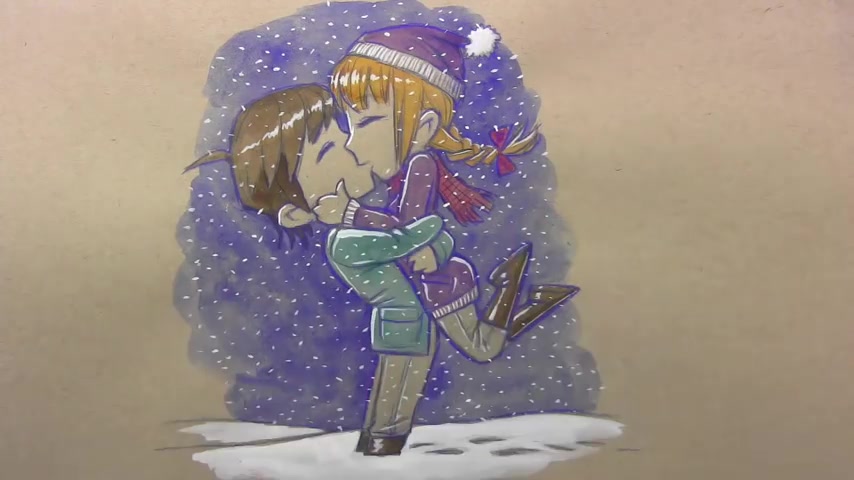
Well , you can see how the white wash played a very important role in this one , namely getting all that snow in there .
Notice that I sort of conveniently have the snow clear away a parting of the snow so that we can see their facial features .
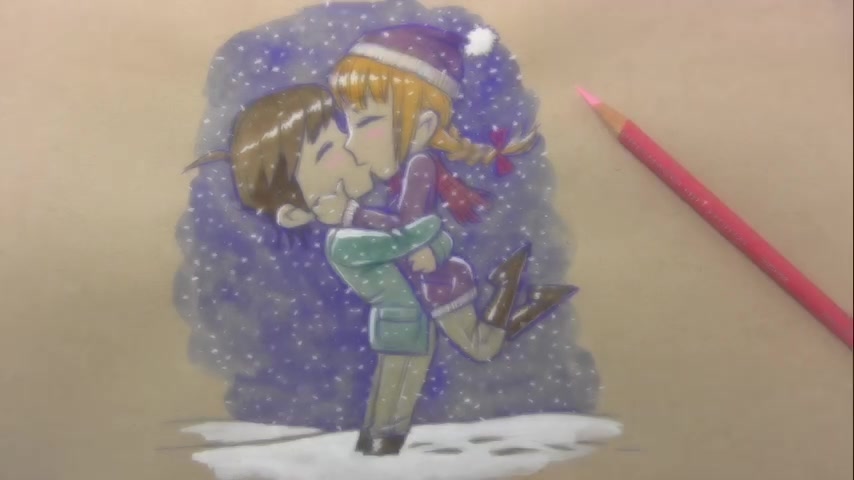
But you know , this illustration can't be done until I add the blushes and a Chili February Day .
They're definitely going to get a little apple cheeked for once .
There's actually a multiple explanations for why I'm adding these beaches .
Well , hang on just a second .
I'm gonna go grab my books so that I can thank anyone who has helped me out by purchasing them .
We've got Brodie's Ghost and Meek Falls , my graphic novel series , there is the realism challenge .
My book that teaches you how to make hyper realistic illustrations and of course mastering manga and mastering manga to always super , super appreciative of anyone who helps me out by getting those books .
But let's go ahead and lay down this blushy pencil .
I wanna thank you all for watching this video .
I hope you found it helpful and I'll be back with another one real soon .
Are you looking for a way to reach a wider audience and get more views on your videos?
Our innovative video to text transcribing service can help you do just that.
We provide accurate transcriptions of your videos along with visual content that will help you attract new viewers and keep them engaged. Plus, our data analytics and ad campaign tools can help you monetize your content and maximize your revenue.
Let's partner up and take your video content to the next level!
Contact us today to learn more.