https://www.youtube.com/watch?v=nr_lUivx9-M
🛑 NEVER, Scrape a Popcorn Ceiling Texture and Do THIS!

Hey , here's another video about popcorn ceilings .
And today , what I'm going to discuss with you is why it's really not a good idea to just scrape your popcorn ceiling and paint it .
I see that suggestion a lot on the internet and I see it on Facebook .
People going on Facebook looking for recommendations and sure enough , somebody will post , hey , just scrape it and paint it .
That's all you need to do .
Well , I'm gonna show you why .
That's not really a good idea right after this .
Hey , everybody .
Thanks for stopping by my channel here on youtube at that kilted guy videos where we , our goal is to empower you to do your own home improvement projects , fix things yourself and to teach you how to do it right and save money .
Now , in this video , we're going to talk about why it's really not the best idea to scrape some popcorn ceiling off and then just paint it .
But before we do that , I'm gonna point out a few things .
Uh I hope if you guys like this video , you'll take a second to uh subscribe at the end of the video and give us a thumbs up like you see in this animation here .
And also we have uh a website .
Now , I'm gonna put that information in the link as , as well as an Amazon store where I give you recommendations , suggestions to a list and so on to help with your uh selection of supplies , tools and so on .
So be sure to check out the description down below and feel free to share this video .
Ok ?
So what I'm gonna do today is I'm just gonna do a quick little kind of picture slide show here and I'm gonna discuss why it can be a bad idea .

I mean , I'd say 99% of the time .
I would never just scrape a ceiling and go and paint it .
Now , I'm gonna tell you that as novices , you may look at a ceiling after it's scraped and go .
Wow , that looks a lot better .
Let's just paint it because it often doesn't look that bad .
It looks so much better after you scrape it .
But I can tell you as a journeyman who's done this a long time that you guys aren't seeing what's going to show .
And so if you go ahead and do that , you'll probably find out after you paint it .
Now .
It's kind of too late that it doesn't look that great .
So let's save you some time and money and show you why you don't really wanna do that .
So , first of all , well , probably the biggest reason is because I'm one of the ones that sprayed this stuff in the seventies with my dad .
So , yeah , I know .
Don't hit me , but it was a popular fad back then .

But one of the advantages , one of the reasons we did this back then is it was a cost saving measure .
This popcorn ceiling texture would cover most anything .
I mean , some pretty horrendous stuff .
A lot of times like on this job , guys would go through and cut a lot of corners .
You could get by with one less coat of mud .
You didn't have to split your butt joints out as wide .
Uh We usually did go ahead and do that stuff , but you could get by with less work because they would hide it .
Now , this one , I think they cut pretty extreme amount of corners , but that's one reason you're gonna scrape it off and find all that subpar finish work underneath that .
You don't want to just paint over .
Number two is in the process of scraping this , you're going to do some damage .
It's almost guaranteed .
So I'm gonna show you some pictures of that and number three is you at least need to sand it .
Now , once you scrape it , there's usually this white film left behind and that's most often the carrier mud that was in the popcorn texture and that is what carried the little foam balls and stuck to the ceiling and gave you the texture .
Well , that carrier mud is so watered down and so flaky , it's a terrible base to try and put anything over including paint .
I have done jobs where I've painted over that and had the paint flake off because the dust , dusty layer under the paint just doesn't want to stick .
So you wanna sand it and get rid of that dusty layer and at least then it's gonna stick .
So my suggestion is I'm gonna pop up a little link here or a little thumbnail of a video .
I've got out on how to remove it properly and there's actually two ways .
So I'm gonna show both those thumbnails .
I'm gonna show you a wet method , which we used on this job in a dry method .
You could choose which works best for you .
So I suggest you scrape it all off sand , it fix all the defects and often that involves recoding everything and then go ahead and texture it and then paint it .
So we're gonna walk you through those defects now and show you some of the things that you can expect to find after you scrape it .
OK ?
Now , in this first image , what you're seeing is an old repair .
A lot of times after you scrape the popcorn off , you'll discover these old repairs that were done and the popcorn hit it .
But if you were to paint over that , it'll look terrible .

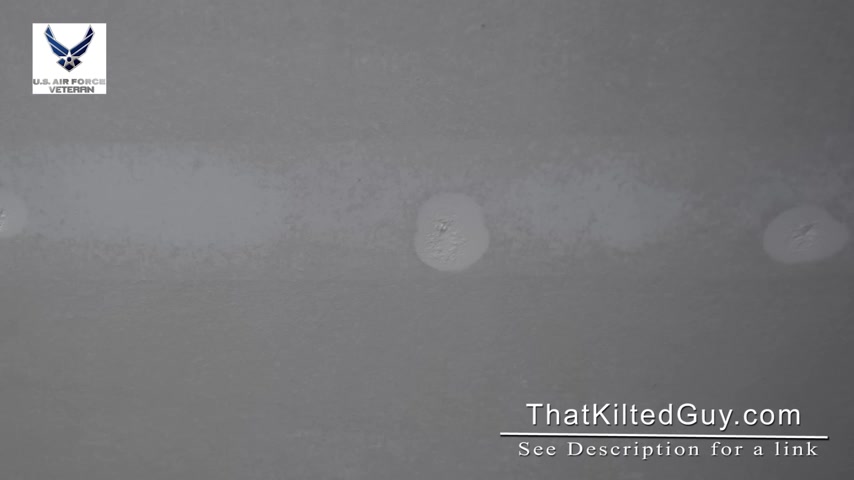
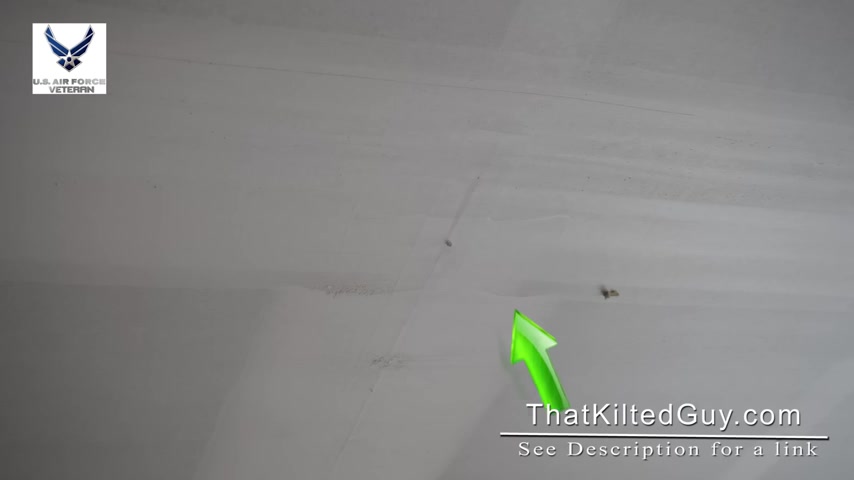
Now , in this image , you're just seeing some popped screws or nails in the old days , it was all nails and a lot of times this is gonna happen after you scrape it .
So when you see this , go ahead and put a few more screws around it .
And then if those nails pop out , you can either try and pull them gently or tap them back in and put a screw beside them to hold them in place and then that'll solve that .
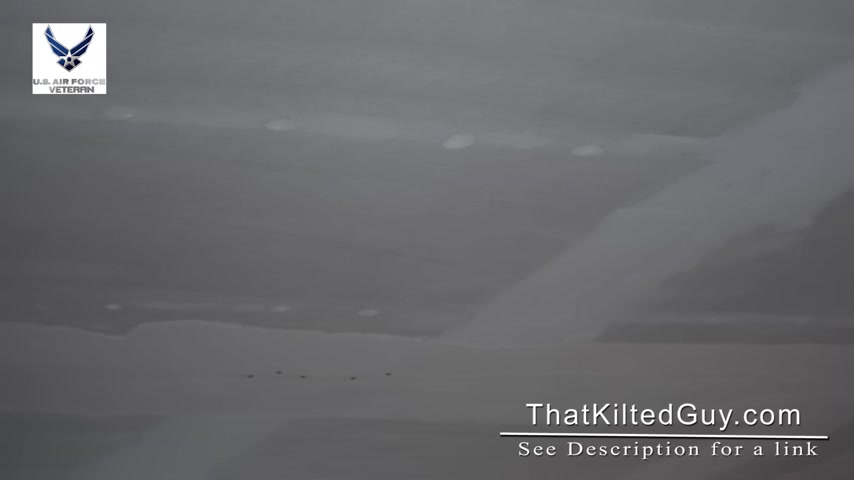
Now , the last ones where they actually popped , so the mud popped out of the nail recess here .
What happens ?
And this will happen on about 95% of the screws and nails is in the process of wetting it and scraping it .
It just seems to pull mud out of the recesses of these set nails .
This looks like camera marks .
Hello .
You Happy youtubers out there .
Um This is the video to show you the best way to butter your homemade popcorn .
We just got done making the popcorn right here .
Uh Basically you need three things .
You need a quarter stick of butter .
You can go up to a half stick of butter if you would like or even a whole stick if you like butter that much .
I like a quarter stick .
I think it does a job just fine .
You need a snack sized Ziploc bag and you need a container of some kind that can hold all your popcorn .
I just used a uh rubber made um , container , just a large container .
Tupperware .
Um , basically take your quarter stick of butter here and you throw it into your Ziploc bag .
Make sure you uh close it all the way .
Put it in here in your uh microwave .
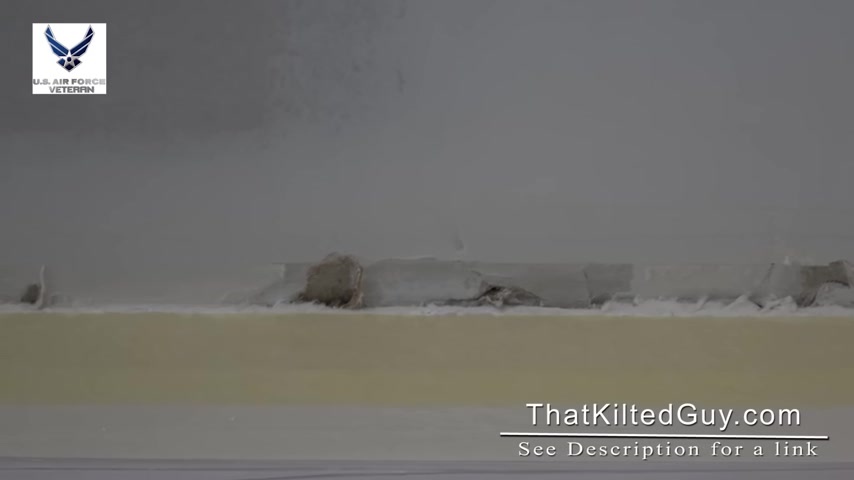
But this is one of the worst ones and it basically either needs retaped , which you'll often mess up your wall if you do that or in our case , we often just fix the voids that are left and then it , and if you cock it well , it'll be fine .
But another one you need to fix first .
Now here's some more damage .
This is just where basically they had done some heavy mudding around this corner .
And again , we may have scraped some of it off and then some may have just been hidden .
But also if you'll notice the angle is cracked right along here , which is pretty common .
And so we just go ahead and that take care of it that way .
Ok .

Now , what you're looking at here is a recessed joint and you can kind of see the tape coming through here and then you can see the nails along the joint well , back when we were doing this .
And yeah , I'm one of the ones that did the popcorn ceiling .
We could get away with one less coat if we wanted to .
Now , it's been a long time .
I can't remember if we did , but I know that some guys did .
Instead of putting two coats on , they could get by with one or they would just do not quite as good a work knowing that the popcorn is going to cover it .
So that could be this case or it could be that we scraped some of the butt off , but this actually looks like one that was just not finished real well .
So I always go through and pretty much rec coat all of the joints unless they just come out really good , which sometimes they do .
I have a little bowl just in case to keep things from getting too messy and put it in there for 15 seconds .
If you do 30 seconds , you're gonna burn through your bag .
15 seconds usually does just about right .
It also depends on your altitude .
We're about 4200 ft where my kitchen is .
So anyway , once you have that done , you grab a knife and you wanna do this really quick .
So your popcorn or your butter doesn't melt too quick or your butter doesn't come hard again .
That's what I meant .
Pour your popcorn in the uh , container first .
Take your butter , put a couple of good size holes in that bag .
Throw it right there on top .
There's a little extra in here .
You can just throw that in .
Make sure you drizzle it .
So it doesn't get into just like one or two of your popcorn kernels here .
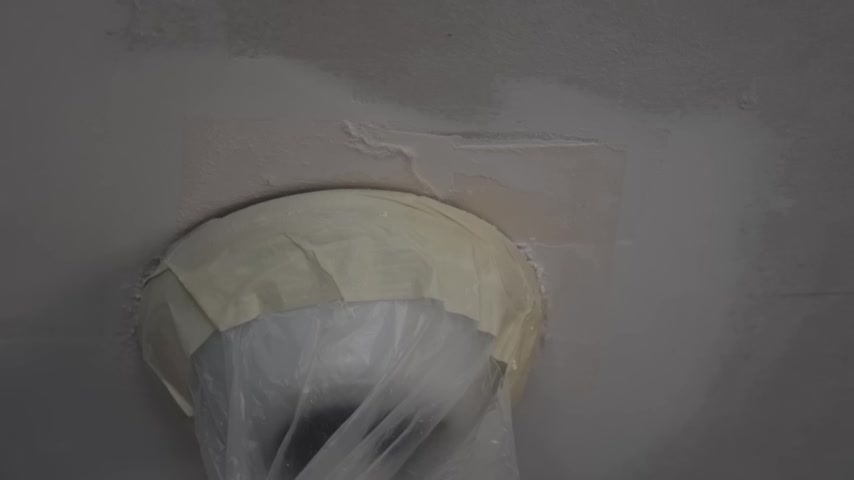
This is a case where the owner could see this bad joint on her ceiling and we could too , but we didn't really know what was causing it .
Well , after removing the popcorn , you see this odd staggering of joints .
That's basically because there used to be a wall right there where those screws are .
And that was a wall that turned this room into two bedrooms .
And then at some point down the road , somebody took that wall out and made it one big room .
But it left this really nasty , ugly joint .
I ended up having to coat this about four times and it was almost 5 ft wide because it was sticking down really bad .
And there was probably over a bucket and a half of hot mud and regular mud on this .
So don't assume that your ceiling is gonna be in great shape .
Put your lid on , make sure your container has a lid .
It has to have a lid and then just lightly shake your popcorn around .
You got try all different directions , rotating it up and down , just lightly shake it around what you want .
You want that bag to not just stay in one spot but move around to other spots .
Don't shake too hard or all you'll have is crumbs when you're done .
Um You'll wanna do this for about , oh , I don't know .
A minute or so .
30 seconds just enough to get all your popcorn coated there .
Don't shake too hard and do nice and light , like I said , all kinds of directions here .
So the more room you have , the more it's gonna move around , the better it's gonna coat your popcorn .
So maybe you want to do like half at a time or something .
Are you looking for a way to reach a wider audience and get more views on your videos?
Our innovative video to text transcribing service can help you do just that.
We provide accurate transcriptions of your videos along with visual content that will help you attract new viewers and keep them engaged. Plus, our data analytics and ad campaign tools can help you monetize your content and maximize your revenue.
Let's partner up and take your video content to the next level!
Contact us today to learn more.