https://www.youtube.com/watch?v=gA_b9CZ-XJg
Tying an Addition Roof to an Existing House _ MY DIY

Welcome back to the channel today .
I got something a little new in store for you guys .
It's a collaboration .
It's a collaboration with me in the shop and me on the job site .
We're going to put in some valley rafters today .
So let's check this out .
All right .
So first thing you want to do when you're doing your valley rafters is to pull your measurements for your layout on your valley board .
And what you want to do is you need to pull off of a rafter that is on layout because the one up against the house here is not in layout .
So you have to pull from one back and you mark all your long points on the valley board .
You also make sure that your ridge is laid out properly .
You can see this is a uh 69 center .
So everything is laid out on the ridge and everything's laid out on the valley board .
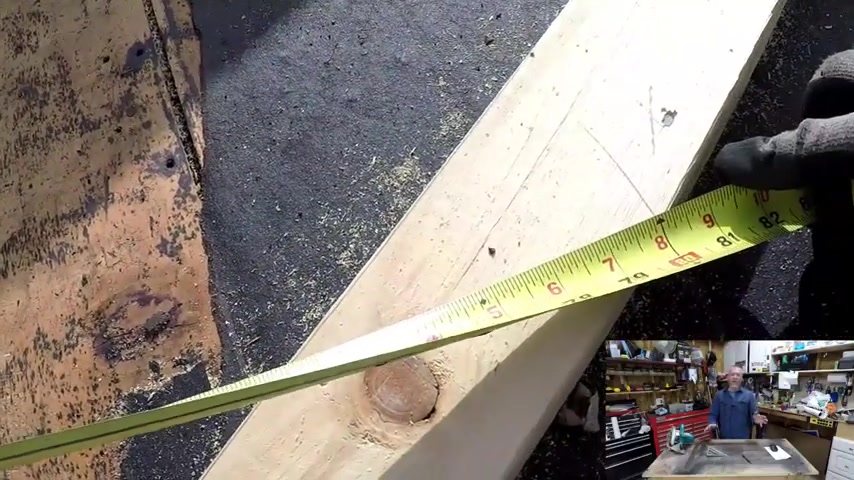
Show you here what you , you when you pull and you mark your long point .
Now , there's a lot of intricacies with angles and whatnot .
We'll kind of get into that .
But when you pull off and you just run a layout every 16 inches .
Your tape measure should be marked for it as you can see in here .
I think we got one or two more here .
We'll show you those are all long points of the valley boards .
Now , what I like to do on the long measurements is I use a board and what I do is I put it right at the end and then I mark it at the ridge .
That way I can pull the measurements off that because your tape measure doesn't want to stretch out .
So once you get your long measurements and this was actually pretty small .
So I've done some pretty long ones .
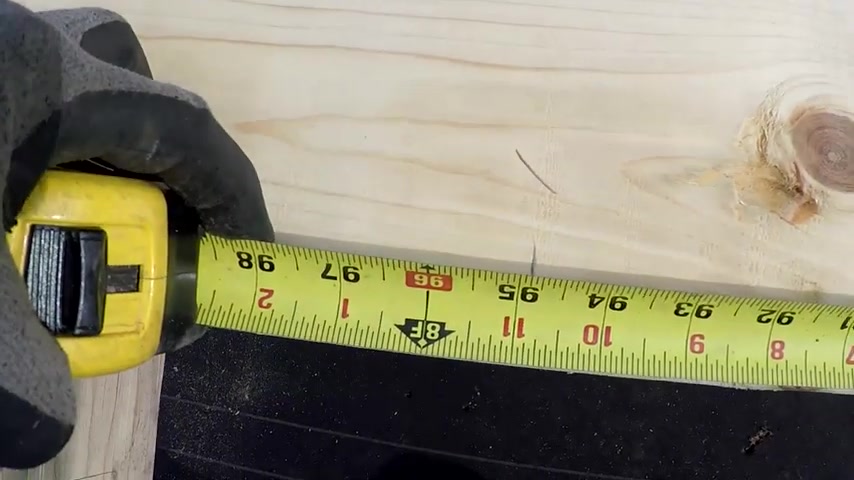
Once you get your long measurements and you just use your tape measure , get your short measurements and I'll show you how you take the board and then you pull it and mark it and then all you have to do is take your measurements .
So I got my number one measurement , my number two measurement , got my number three measurement there .
And then you just transfer them , write them all down and use a piece of scrap and , and mark them somehow .
I mark this one north and south .
You can kind of tell there , mark it is the neighbor side and the yard side , but you have to know which side is which because you have to have your angles .
Right .
Now , this cathedral ceiling that I had built is a six pitch So I'm marking all my ridge cuts for one side .
This is actually the far side that you're not going to see the installation of on this video .
I mark all my six pitches for the ridge cuts and I make those cuts you can see right there .
Just use a of Speed Square .
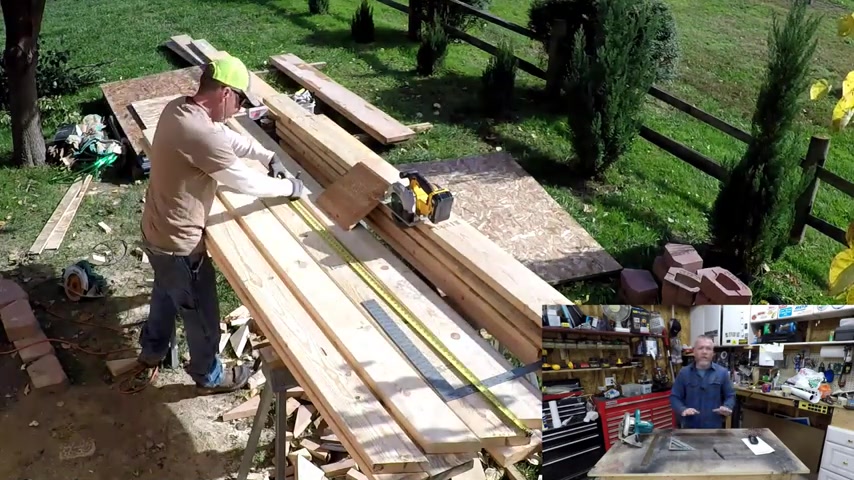
There's a 6 12 show you , that's , that's all you need to do .
Mark 6 12 .
Then you pull from the long point .
All these measurements are long point .
You pull from the long point and then you mark your measurement , which is another long point .
So it's along the top of the board , everything is on the top of the board because that's your long points there .
Then you use a framing square mark what the horizontal cut , what I call the backside of a 6 12 .
You can see there , there's a 24 12 , which is the same as a 6 12 , 24 12 , 6 12 .
If you double it , then it's the same thing .
That's how I mark it .
And then you figure out your bevel , the bevel that the house we're sitting on is a four pitch .
So it's about 18 degrees .
Everything you're dealing with and your ridge cut and your back cut is on the pitch that you're , you're using on yours .
But your bevel is what you're landing on .
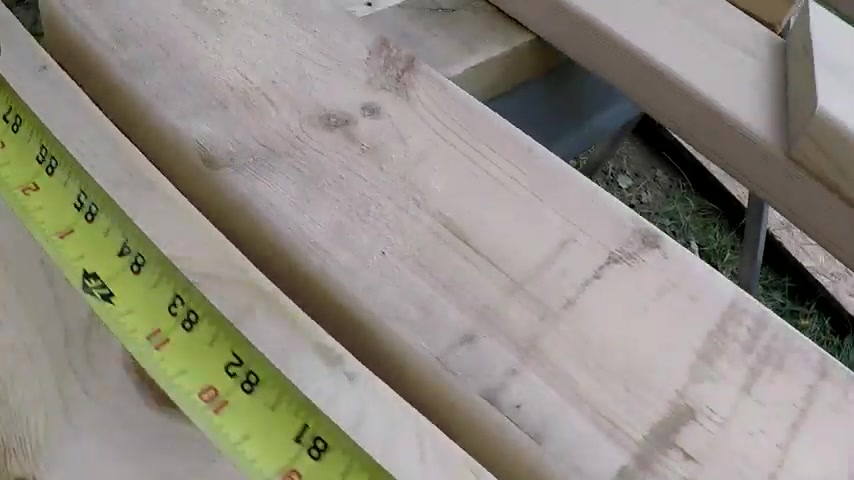
So I set my saw to 18 degrees .
It's good to have two saws .
That's why I , I cut everything with the cordless saw square .
And then I use the courted saw for the bevel cuts .
And I like to cut to my right .
That's how you cut your long points .
It's , you can see here , I kind of just stacked the rafters because I've can levered them so bad .
I just didn't want it to tip over .
So you make all those cuts .
Now , you see there's , this is actually the leftover cut here when you cut all of one side that leaves you the cuts for the other side .
Now , you're going to pull from the long point of that beveled cut and you're gonna mark your six at the other end for your ridge cut .
This is actually this will be the side you're seeing installed .
The first cuts I made were the side that is not installed in this video .
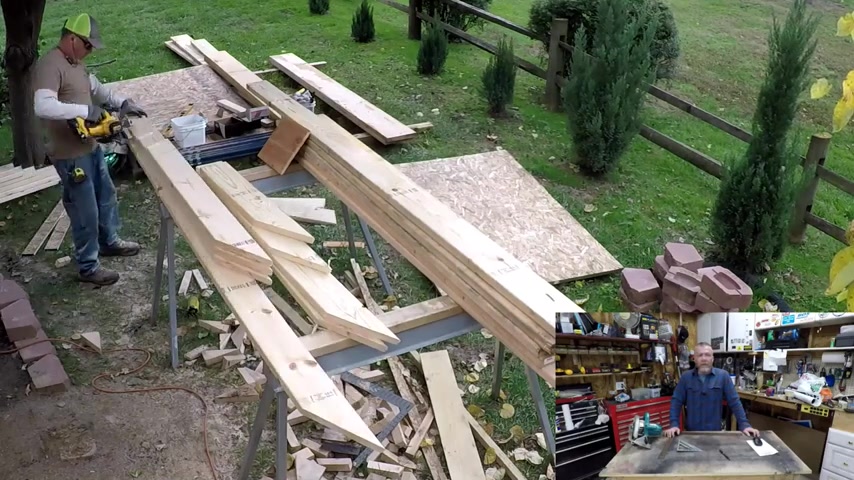
And uh if you have long enough stock , when you cut your first long rafter , it leaves you your short rafter .
So you just invert them and you can pull all of those off of the long points and go ahead and make the cuts for the ridge .
That's why you use two saws because you don't want to have to change the bubble constantly .
All right .
Now , once you've uh hustle them all up onto the roof and hopefully don't slide off when you pile them up there .
What I like to do is I take a nail and I tack it into the valley board just to hold the long ones .
Because if you try to set it down there , a lot of times it'll just slide down .
So you just take a nail in there and it'll rest up against the nail .
You put it just below where the layout is .
Start with the longest one and begin installing them at the ridge .
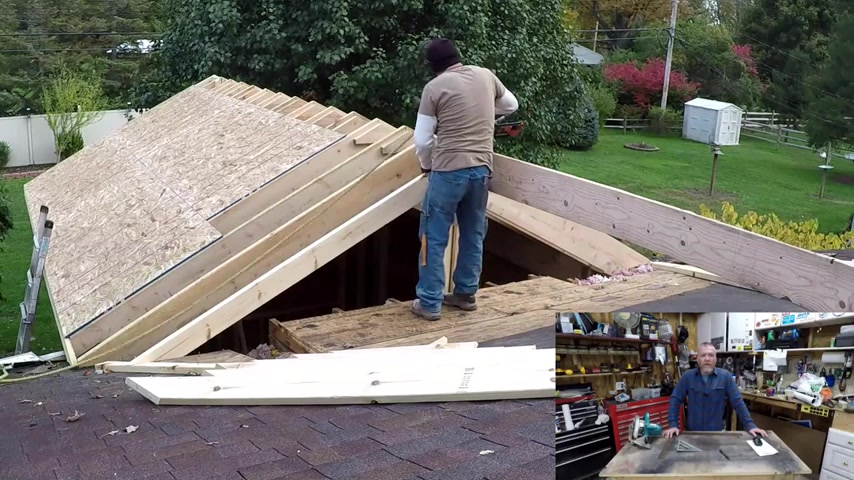
So there's my long one and we grabbed that , be sure to change your hat too because it got cold for some reason .
It's bad weather back nail through the ridge and now we can get ready to nail to the valley board here .
So you set them on the nail that's nailed in the valley board back , nail them up top and uh use your hammer to drive it in where uh the compressor won't set them because I had a bad , had a bad reg reg , had a bad regulator on there .
Nail the top toenail the bottom in and just keep running them all out just like regular rafters .
They're all 69 center .
It's just an extension of the layout from the gable wall .
It's not that hard .
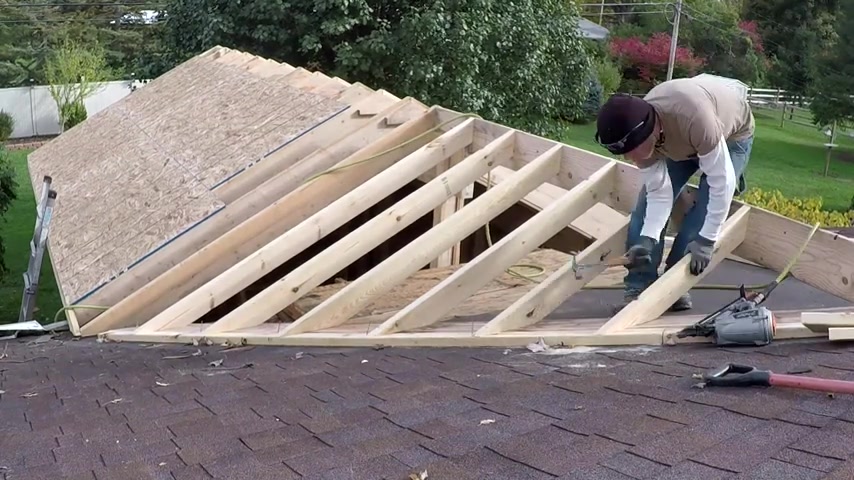
The biggest problem you will have is making sure you get it , your angles right and you're making sure you're cutting each side because an angle cut for one side on that bevel , what's left over is the other side because they are two different measurements .
You can kind of see if you grasp it if you're here watching this video .
I'm assuming you can grasp the difference in the bevels .
Oh , let's see .
So here , my Valley board is a two by four and then I had to add a two by 10 to catch the heel of the Valley rafters because the heel is where all the weight comes down at .
And I'll kind of show you how to get the Valley Board in , in a minute here because where I'm at , you can't just sit on the roof , used to be able to made it , made life a little easier , but you can't just sit on the roof decking .
So you got to put a valley board in and you have to catch the heel of the , the uh valley rafters .
You can see how it comes to a point right at the end there .
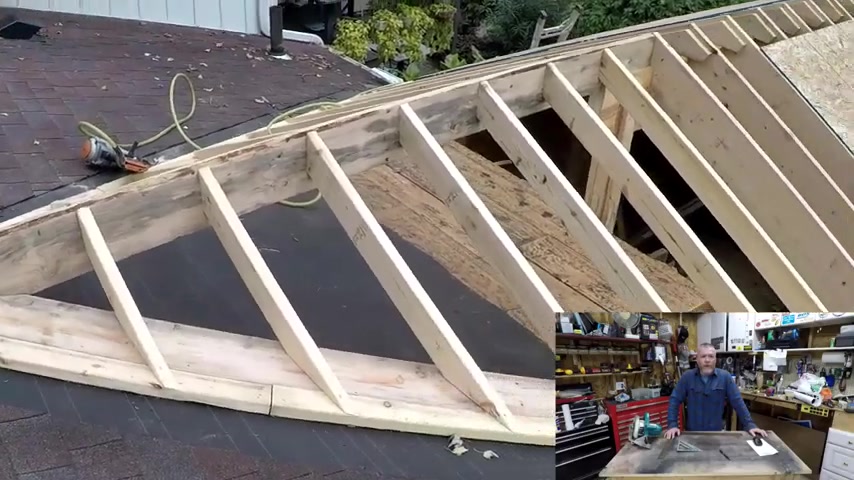
That's how you keep it all in plain .
And here you go .
This is the finished product of both sides installed here .
All right , I'll bring you in a little closer and I'll show you how to get the valley board in kind of a rough mock up here on the workbench .
Ok .
So right here because we're on a level plane , I've got kind of mock it up .
But if you were to plane across , you take a 4 ft level , 6 ft level .
If it's a big job , you use a straight , if you can find 12 by four and float it across .
So this would be my rafters on the comment section of the edition .
We plan it through .
So we're hitting here , we're hitting here and this would be where it would hit the roof , but we can't go that far because we have to sit on a valley board .
That's what you do .
Did you slide your valley board in until it hits ?
That's where you want to be .

What I like to do is cut the top to a very point which you could see in the video and then just put that into the ridge because that's in plain because from the ridge down , everything's in the same plane .
So all you gotta do is plane across , see where it hits the existing roof .
And there you go , you just slide your valley board in which would be at an angle .
There's your valley board , but you gotta make sure that you catch the heel of it because that's where the weight is bearing , not the point , the heel of the two by 62 by eight , whatever you're using .
So there's your crash course on how to cut and install some valley rafters .
If you got any questions , drop them below in the comments while you're here , hit the thumbs up .
And if you want to see some other rafter videos , I have a few right here and you should go check those out .
Are you looking for a way to reach a wider audience and get more views on your videos?
Our innovative video to text transcribing service can help you do just that.
We provide accurate transcriptions of your videos along with visual content that will help you attract new viewers and keep them engaged. Plus, our data analytics and ad campaign tools can help you monetize your content and maximize your revenue.
Let's partner up and take your video content to the next level!
Contact us today to learn more.