https://www.youtube.com/watch?v=6Y3TFZ9YNqE
How To Tie a Tie - The Matrix Knot

Hi , everybody .
I'm Patrick Navan and I'm the Thai guy and this is my youtube channel and I'm doing how to videos on every single neckie not known to man .
And I'm bringing that to you .
So if that's the kind of thing you're looking for , then please subscribe .
All right .
This time , I've got my last invention for this week that I'm bringing out and it's been inspired by the A K not , which is nicknamed the Mayor of India Knock and Boris Newco invention called the Vix Knot , which is also named after the Matrix movies .
So this time , uh from the same inspiration , I'm a big fan of the Matrix movies .
I'm calling this one the Matrix not .
And I want to show you how to do that right now .
So first thing is you thought I was gonna say , put it over your neck and get started , but this knot is tied with both ends .
So you're going to need to figure out the first thing is how much do you want on the bottom loop .
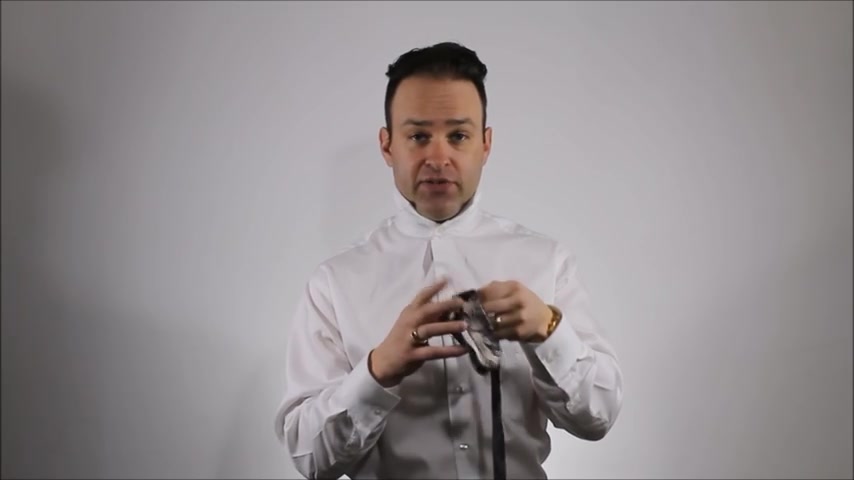
So that's how we're gonna start out and the , and the rest is tied with the big end .
So let's have a closer look at that .
And of course , if you want it all to show , I was wearing a waistcoat , not a vest .
The vests are typically these days cut really high and jackets are cut high .
So you would need something that's a little bit lower cut , uh , to make this work .
So , let's get started on showing you how to do this .
Exactly .
So , here we go , we're gonna drape your little end over your necktie and you want it to be just enough length to do this loop like so , and now you're gonna tie the rest of it with the big end .
So holding on , holding on to your loop with your thumb , you're gonna wrap the big end around the part , the loop that you got here .
I'm gonna start pinching this with my other two fingers that I have free .
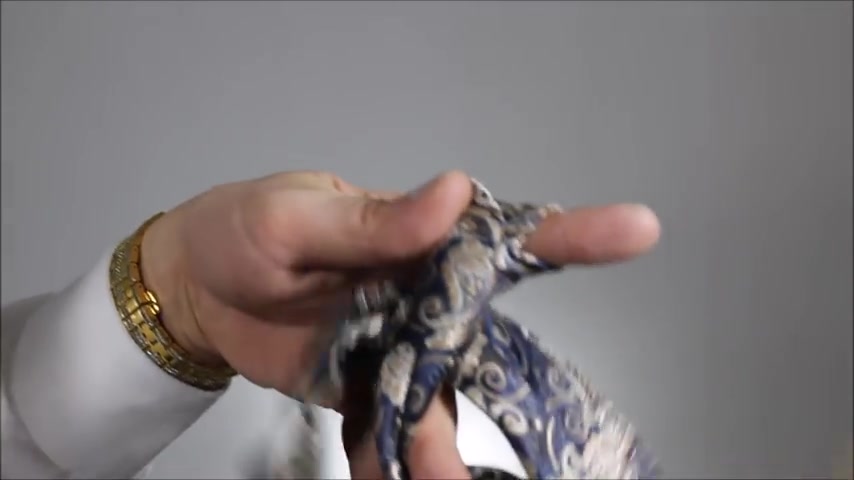
And now I'm going to feed , I'm going to feed this through the back here .
I wanna go twice around like this .
So there's one two , I'm just pushing it through with my thumb and my fingers .
So all the way around .
So now I've kept my loop at the bottom intact .
I've got my fingers through here .
I want to sort of stretch out , give myself a little bit of extra room .
Oops , I wasn't holding on to everything .
All right now , I got it back .
All together .
Everything is still in place .
Taking the big end to pinch the two ends together .
I'm gonna remove my finger .
I have a hole there .
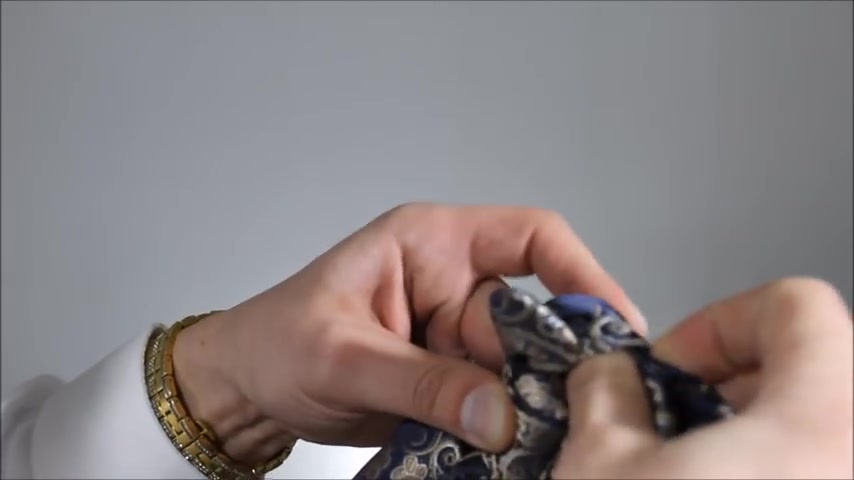
Now , I could feed this through with my thumb and my fingers .
I'm pinching this whole knot together .
I'm gonna pull the remainder of this all the way through until the very end here where I wanted to fold just right .
I wanted to twist on the other side .
I'm gonna pull this tight .
This is going to stay loose here .
But I , I was pulling this part tight so it doesn't fall apart .
Now , from here , I've got the seam side facing out .
This is your knot that's gonna be in the center of your neck , going to take my big end again , pinch it , pinch it in half , fold it in half .
I'm gonna feed it back through that same hole .
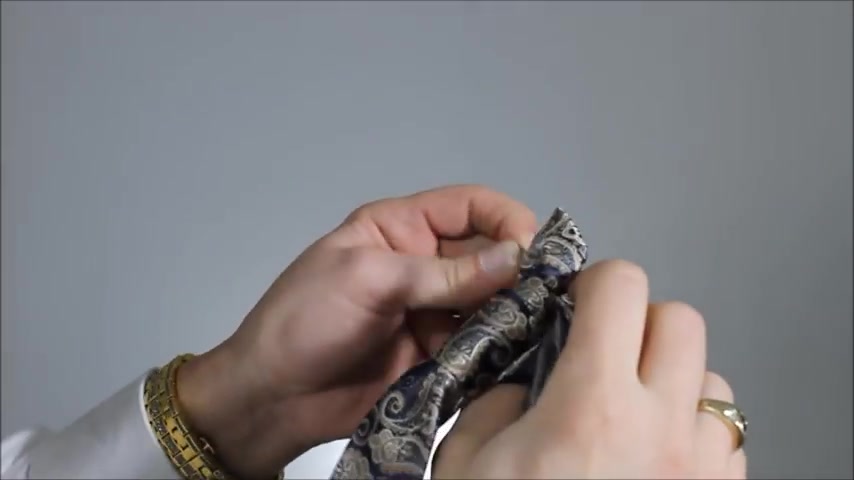
So now when it's on your neck , you will have the seam side facing out all the way around .
OK ?
So at this part , it gets easier .
Let's put this on our neck now .
So over your hand onto your neck .
Yeah , I know this is a bit of an unusual way of doing it , but that's how I figured it out .
So from here , this is the part where we cinch it up to your neck all the way pulling on the end that you pulled through , leaving your loop here .
You can't mess up your loop .
This is like the prize part of my whole creation here .
So now as you might find like this is quite loose to pull through .
Now , being careful , this is how you tighten it up .
Uh There is the top end of your loop here that this is the end of it .
You don't want to pull on that end , you wanna pull on the back end .
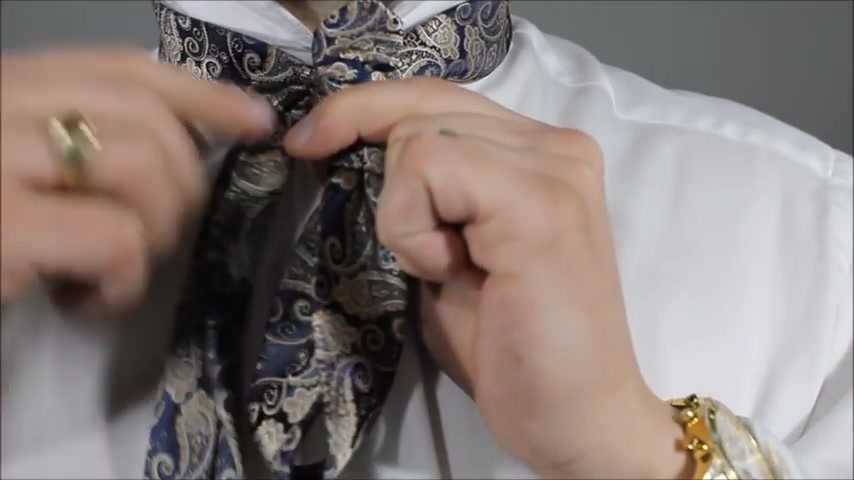
So holding on to your knot like so you can tighten up this loop that's in behind , that holds your neck , your part that goes around your neck and now you can cinch it up and you could be , you could feel good about it being secure .
Ok ?
Now , we've got the big end .
That's the last part where this is where the sort of sort of loop and wrap come through .
So feeding this part through the back of your neck .
I know it's all cinched up now , but that's the way it's gonna be .
So I just pushed up through there .
I don't wanna tighten it .
I don't wanna , if I pull this too tight , it's gonna drag this part up and twist it and look funny .
So I leave a little bit at the very end hiding there .
It's all gonna get hidden by this anyways .
So this goes underneath and it feeds up and through like down the , the , the front portion and back down .
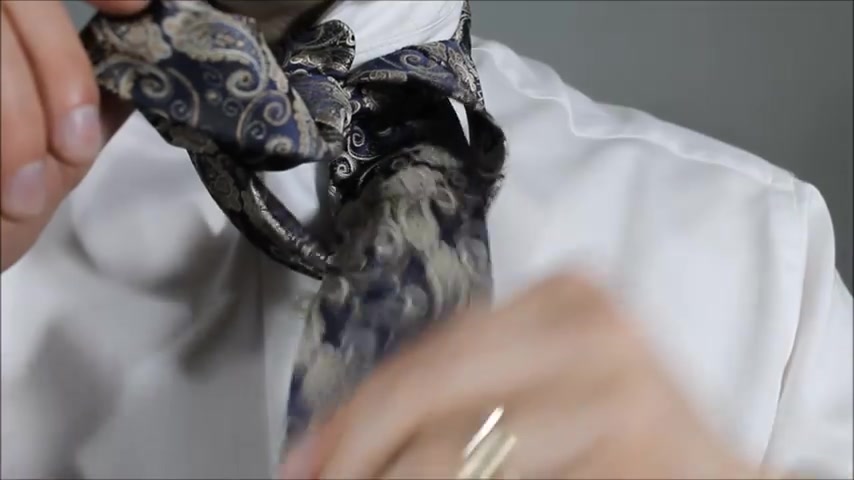
And if you're familiar with the A knot or the cape knot or engine , you're taking the big end through that loop .
Like , so now you can tighten that up to how you see fit .
I like having it a little bit loose .
I like having this sort of wide mouth .
Look here to my knot and now we have this bottom part here .
This is our finishing touch .
I'm gonna pull this through and there we go .
That's how you do the matrix .
Now , pull down your collar and ready to rock and roll .
That is how the matrix knot is done .
I hope you guys like that .
Please let me know what you think in the comments .
If you come up with any of your own ideas uh based on this new method , then I'd love to see that you could share videos or instructions with me on my Facebook page or email me .
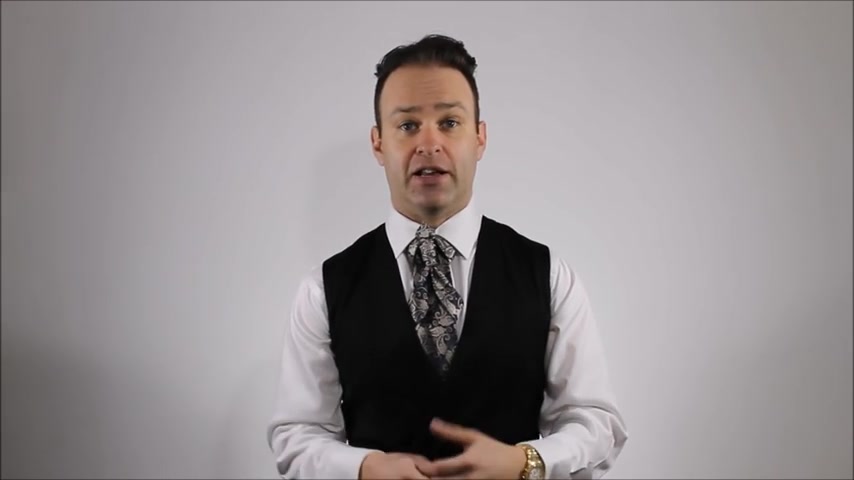
Uh and don't forget to tag me in your Instagram photos or share that , share your photos on my Facebook page as well .
So , thank you so much and we'll see you next time .
Are you looking for a way to reach a wider audience and get more views on your videos?
Our innovative video to text transcribing service can help you do just that.
We provide accurate transcriptions of your videos along with visual content that will help you attract new viewers and keep them engaged. Plus, our data analytics and ad campaign tools can help you monetize your content and maximize your revenue.
Let's partner up and take your video content to the next level!
Contact us today to learn more.