https://www.youtube.com/watch?v=ppXHoCpZAlc
I Restored These Trashed Air Jordan 1's
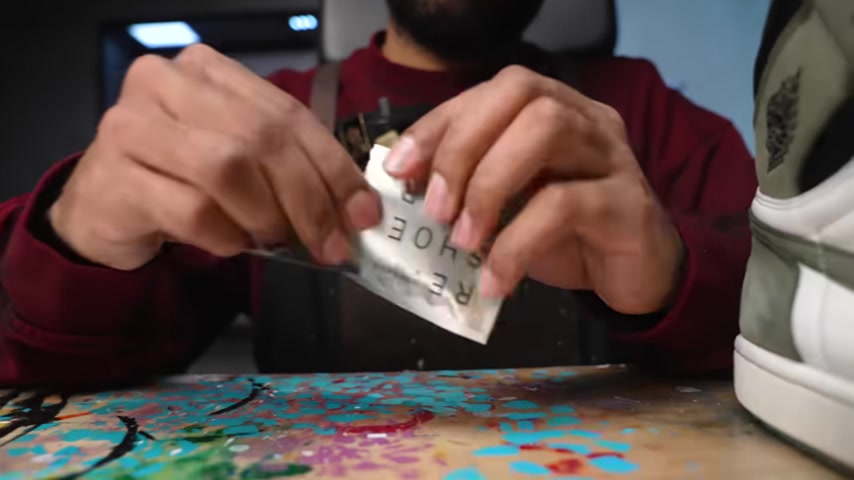
What is going on everybody today , we're gonna be restoring these OG Play Green Jordan one .
I didn't really find them in the trash can .
I actually found these on ebay for a great price .
They must have belonged to a mechanic because these are super big right now .
They look like we need to get them back to its original state .
So without further ado , let's get it started .
And so and laces out , we'll focus on this later .
Next , let's grab our shoe tree .
We are gonna be using an extra large sho this shoe is a size 14 .
So therefore , we need a bigger shoe tree .
So we're just gonna adjust it , put it inside the shoe and help us remove the creasing from the toe box .
Good to go with that .
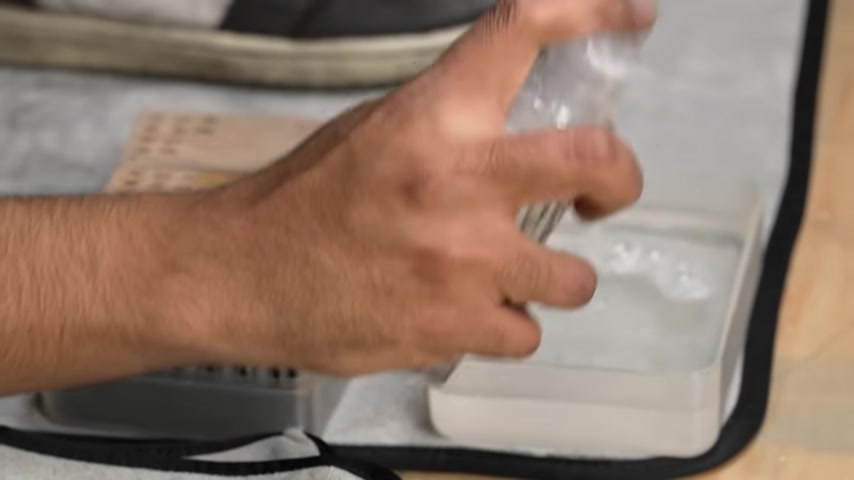
Now , we're gonna grab our solution score two squirts inside a bowl of water .
Now , the first brush we're gonna be using is our so bristle brush .
So we're gonna start breaking down all the grime on the uppers .
All right , so far , so good , the green is looking really good .
I can see the color once again .
Now the next step , we gotta focus on is the soles right now in a bit .
I'm gonna switch out the water to some clean water as you can see it is black .
So , while we have this dirty water and some soap , we're gonna grab a slipper .
So , brush and start focusing on these grimy soles all done with the soles .
We got all the grime off using the bristle brush .
I also switched out the old dirty water .
We're going to score some more solution inside and keep it going .
Our next brush we're gonna be using is the medium bristle .
We're gonna be focusing on getting this white leather as white as possible .
Same thing with the white stitching all around the sneaker .
All right , we're all done with the shoe while I have this medium Bristol brush out .
We're gonna grab the insole and give this a good scrubbing cleaning is all done on the in in the shoe .
Originally , we're just gonna stay with the essential shoe cleaning kit and not put them in the washing machine .
But after seeing how dirty the shoe was and dirty the insides were as well .
We're gonna put this inside the washer fully flush them out .
Thank you Miguel .
So we're gonna put this into the bag before we do that though .
We're gonna grab a lace and give it a quick scrub .
Let's put them in the washing machine , got the shoes out of the washing machine .
We got some great results as you can see .

We got the green back to green originally , they look like not anymore .
Same thing with the rest of the shoe .
We got all the grime and dirt inside and now fully flushed away .
Thanks to our signature shoe clean kit .
And the next thing we gotta do is remove all the yelling from the sole using our and so vibe and the big 2000 , we're gonna be applying a nice thin even coat all around the sole .
We'll start off with one side , placing some ram wrap .
After a few hours , we'll flip it to the other side .
Got the , so I applied to one side of the shoe .
Now we're gonna put it inside the big 2000 A Ka A bunch of UV rays .
Let's put it inside for a few hours .
After a few hours of putting the shoe inside the big 2000 , we got some great results later on in this video , I'll show you guys a nice before and after .
But for now we got some white soles .
The next thing is to use some sneaker wipes to wipe off the excess story , wipe off the sole .
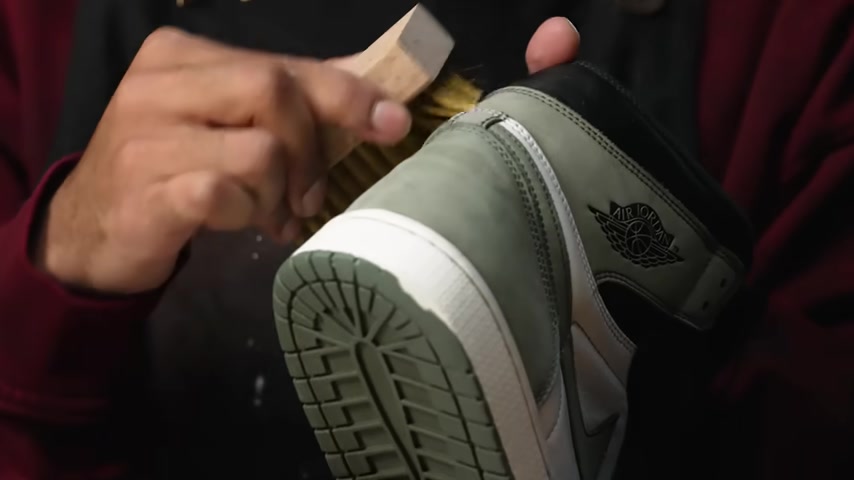
After that , we're gonna move on to using our brass bristle brush to bring back the soft texture on the green suede brass bits of brush did its thing .
These shoes were submerged in water .
So when they fully dried , the was really crunchy .
But thanks to this brush , we got it back to its original texture .
So the next part we gotta focus is this back piece on the , there might be an oil stain that didn't fully come out during the cleaning .
I don't think it'll come out with a solution of water .
So we're gonna try to use some sand paper to remove it .
We gonna be using 400 grid and 600 g .
Basically , what I'm gonna do is go back and forth or in a circular motion to get these three little stains fully out .
Let's see how it goes .
Got the mark off using the sandpaper method .
It's a good trick .
You just gotta use it on the right swing .
Now while we have the sandpaper out , we're gonna move on to the black leather .
It's not really that bad , but all around there's some scuffs , not deep ones .
So we're gonna go in with some 800 gra sandpaper and lightly go over it before we go in and paint it .
Prepper is complete .
We'll come back to the painting in just a bit .
Our next focus is a tow box .
The shoe did do a good job of reshaping the sneaker , but there is still a lot of heavy creasing on the tool box .
So for this , we're gonna be using the iron method .
First , we're gonna stuff the tow box with some towels .
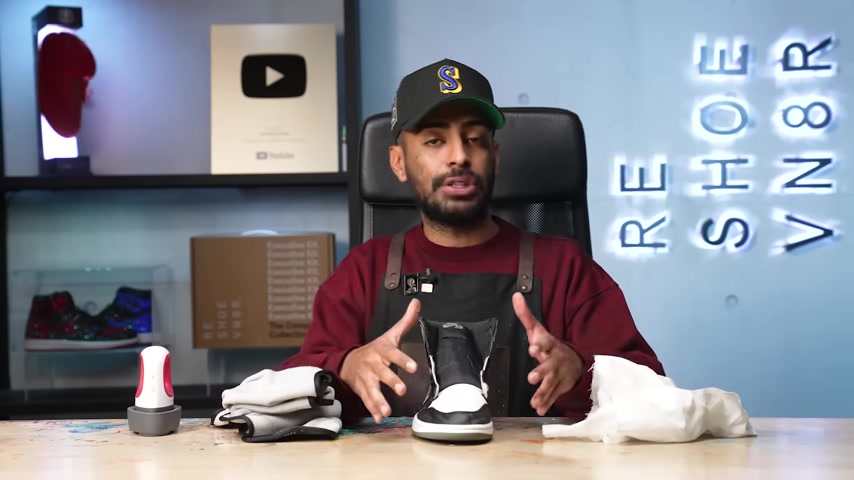
Then we're gonna place a wet towel over the tow box and then simply iron it out with this little iron , iron method complete .
The tool box looks a lot better in just a bit .
I'll take up the towels and put the shoe tree back in .
Once it's fully dried right now , we're gonna grab some scissors and clean up all the loose threads around the shoe .
This part really bothers me .
So we're gonna get it out the way .

Tool box looks so much better .
It's almost back to its original shape .
Now we're back on to the black leather .
We're done with the prep work .
So we're gonna lay down her Angela flat black paint with an A brush and with my brand new Wagner Heat Gun .
Thank you Wagner .
Now we're on to the white leather before we go in and touch it up , we're gonna grab our sneaker wipes .
Once I was done decreasing these tool boxes , I was able to see that there was some dirt tucked inside the crevices of the crease leather .
Now that we have a flat surface , we're gonna go in and wipe it off with the texture side of these wipes while we're at it , we'll also take care of the sides real quick .
Yeah .
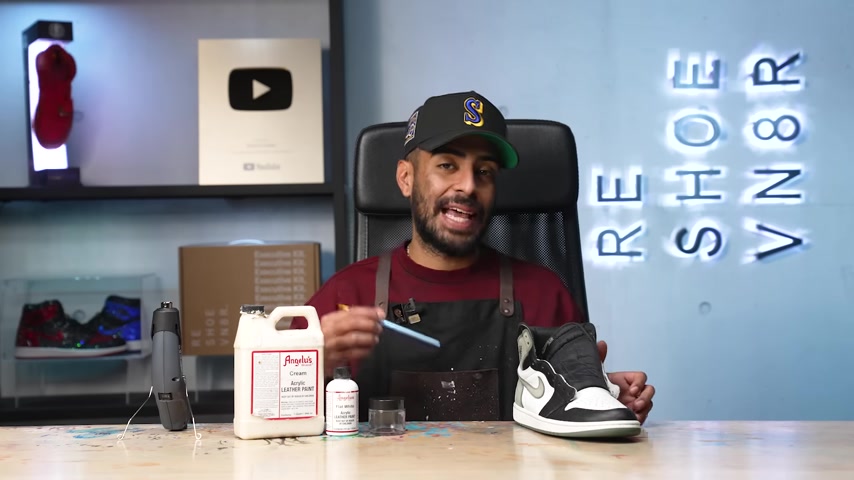
Now , for the touch ups , we're gonna be using some flat white paint mix with a little bit of cream .
The shoe isn't brand new .
The white looks white , but it's not exactly a brand new white .
So we're gonna tone it down with a little bit of cream and then we'll go in and touch it up with this little angler brush .
The little touch ups is really this little spot right here in the toe box and a couple of mix right next to the swoosh .
Nothing crazy .
Mhm .
The stray right now is pretty faded .
So we're gonna bring a lot of the color back using some Mink .
We're gonna go outside , spray it , we'll spray a couple of coats , brush it in with our horse hair brush .
We'll keep on reapplying until we get the results we want .
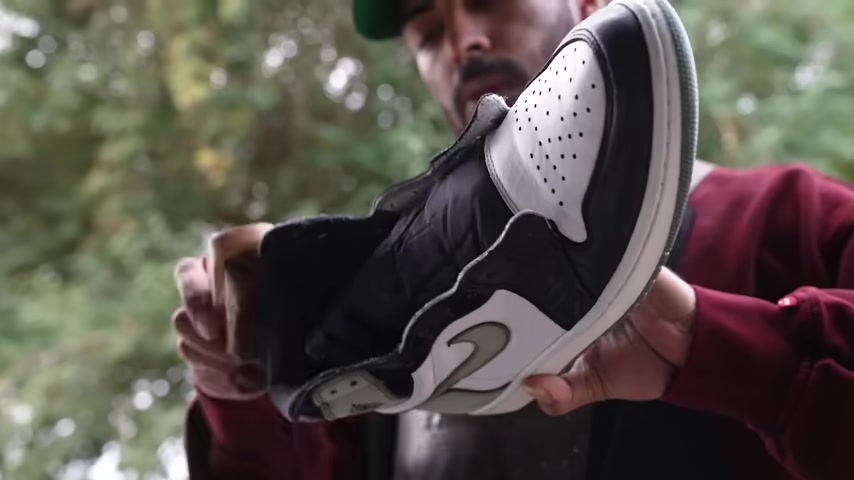
Let's go outside and Lassie , let's lace it up .
All right , everybody that is gonna bring us to an end on this restoration on these og clay green joan ones .
Now , this is a before and after and the process was pretty straightforward .
Simply what we did was give the shoe a proper deep clean using our resin products .
We gave it a good scrub it out .
After that , we put some solar on the soles , removed all the yellowing things to the 2000 and our solar vive then we took care of the creasing on the tool box .
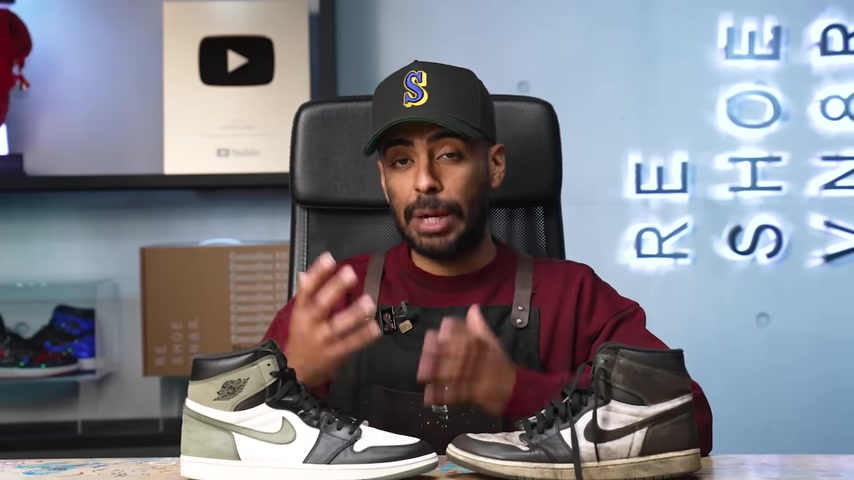
The did do a good job of reshaping the sneak , but we finished it off using the iron method to fully remove all the creasing from the toe box .
We also went ahead and took care of the green sweat in the back .
There were some stains that were still there .
So we reset the nap using a brass bristle brush and took care of the stain using the sandpaper method .
All in all this was a simple restoration .
Didn't take much effort .
Anybody could do this at home .
You can find other products at dot com .
Use my promo code down below to save some money since al mighty I'll catch you guys next Monday .
See y'all .
Are you looking for a way to reach a wider audience and get more views on your videos?
Our innovative video to text transcribing service can help you do just that.
We provide accurate transcriptions of your videos along with visual content that will help you attract new viewers and keep them engaged. Plus, our data analytics and ad campaign tools can help you monetize your content and maximize your revenue.
Let's partner up and take your video content to the next level!
Contact us today to learn more.