https://www.youtube.com/watch?v=FnTMN_o5Sak
How to Tie a Rectangular Scarf - Part 1
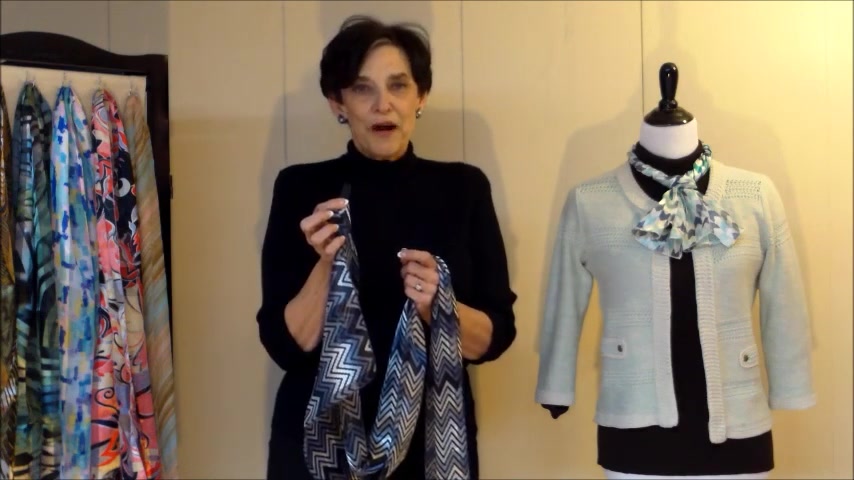
Hi , I'm Nancy N Rice , an image and wardrobe consultant in Saint Louis , Missouri and author of the book Looking Good every day .
My clients so enjoy using scarves to extend the versatility of their wardrobes and to focus viewers attention up toward their face and away from whatever they imagine are their figure challenges .
But of course , they want to know easy ways to tie them .
So I'm here to show you several very fast and easy ways to tie the basic oblong or rectangular scarf like this one .
Remember that you'll always want to start by cutting off the little label with the fiber content and the care instructions from your scarf .
So it's not showing while you're wearing the garment .
Now , since I borrowed this one from the inventory in our online store , I'll leave it intact .
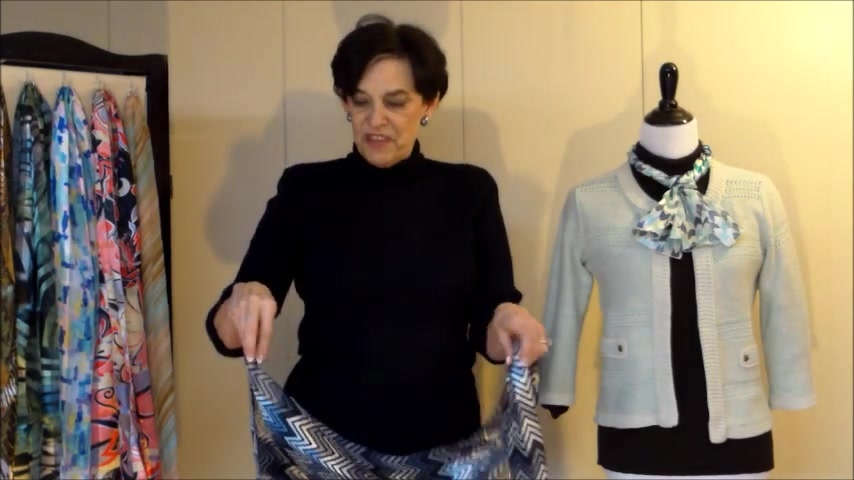
But remember for yours at home , just use tiny scissors to cut very close to the stitching without damaging the scarf .
I almost always start working with this sort of scarf by folding it loosely in about thirds lengthwise that controls the fullness .
So now anything I do with this scarf is going to look more intentional , purposeful and pulled together .
The very easiest way is to drape it around your neck and simply tie it in front .
Your first impulse is probably to tie a square knot , but that has a tendency to make the end sort of walk out a little funny .
So you'll be amazed how much smoother and more sophisticated the look will be when you simply tie a plain overhand knot , that's simply a loop and pull the end through , leave the loop loose , feed the other end through it .
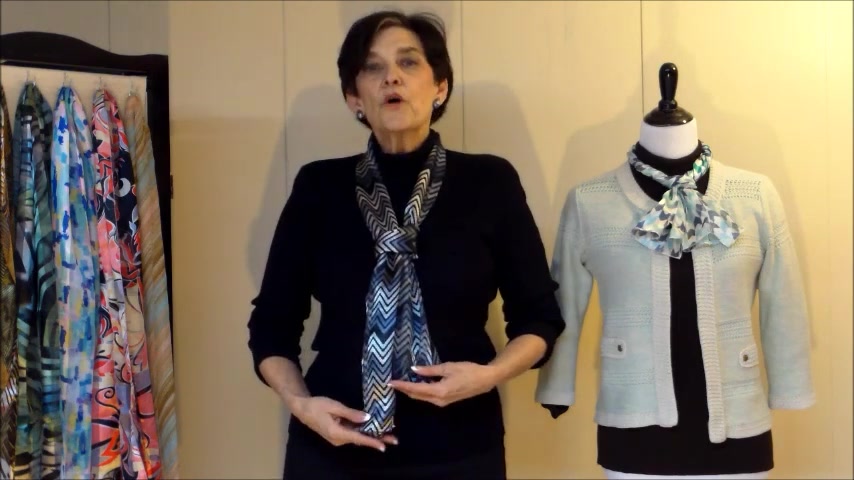
And now your scarf hangs perfectly straight down the front of your body .
You'll want to keep those two ends offset by 2 to 3 inches .
The reason is that if you line those up together , they form a hard horizontal and a distinct focal point right at your tummy , not the place that most of us are anxious to focus people's attention staggered .
Instead they form a stair step that invites the viewer's eye to move straight on up to your face .
Now , you'll also want to think strategically about where on your body the knot comes to rest .
If you'd like to look a little more endowed a little more , then line up the knot right with the fullest point of your bust and pow immediately an extra cup size , at least visually .
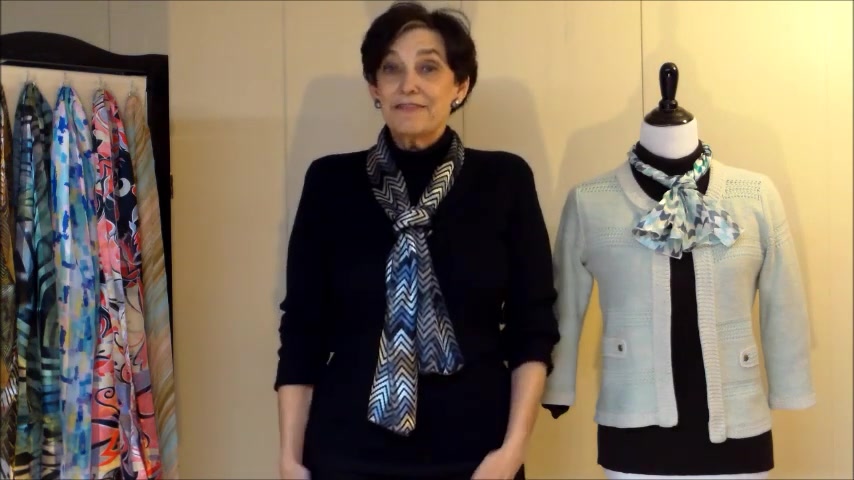
On the other hand , if your bus line is about as full as you'd care for it to be , or maybe you'd like to look as if it were lifted a little bit , simply raise the knot and you've minimized the attention and created immediate lift .
How easy is that if it happens that you're a short goal or you're wearing a short jacket with your scarf and having it hang quite that long is a little too much rest both tubes of the scarf together .
Keep those ends staggered and tie your one simple through the loop , overhand , knot through both layers .
So you still get your stair step , you'll still position your knot strategically .
But the look is softer , fluffier and a little bit shorter .
Now , let's look at some variations on the popular through the loop technique .
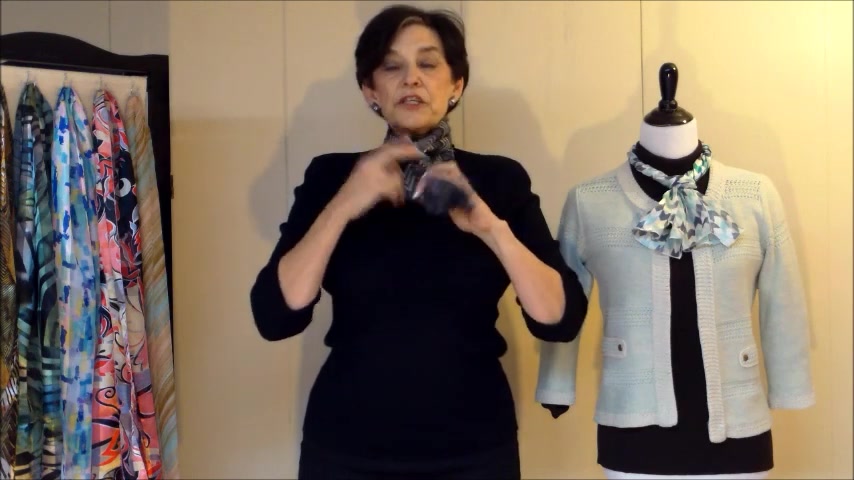
For this technique , we start by bringing the two unfinished or two finished edges of the scarf together in one hand and the loop in the other .
The basic technique just brings the two strands behind your neck and feeds the two ends through the loop .
Perfectly simple , perfectly basic .
Another variation is to bring the two ends through the loop , then make a twist in the loop and bring the ends back through .
So now they're more secured and hang more straight to the center front .
But wait , there's more .
Another variation begins the same way , two ends together loop on the side .
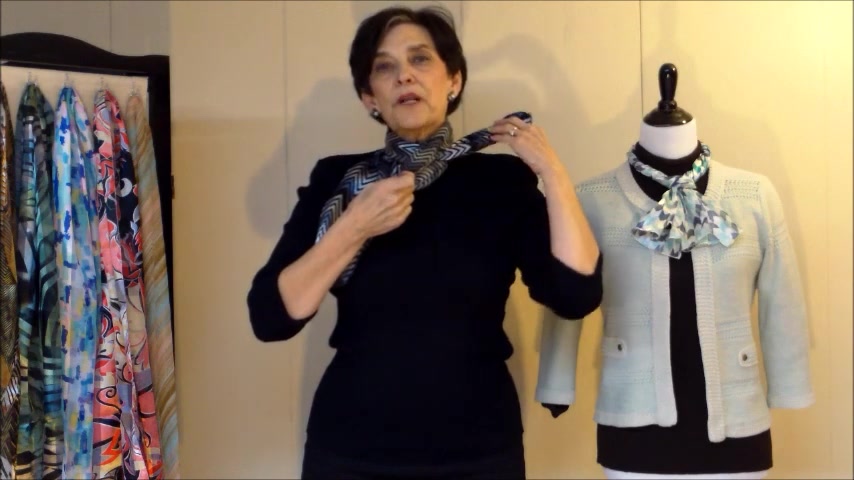
This time , we're going to bring just one loop , I'm sorry , just one end through the loop , pull it up to your neck away from the loop and now flip the loop in a figure eight twist , it doesn't matter which of the two ends you bring through first .
It doesn't matter whether you make the figure eight twist clockwise or counterclockwise .
In either case , you bring the remaining free end through the loop , smooth the whole thing down and you get a braided or lover's knot kind of effect .
One warning about this technique though , you only want to wear a scarf this way on a day that you're feeling social and outgoing because I guarantee at least three or four people will stop and ask you to show them how you tied that scarf .
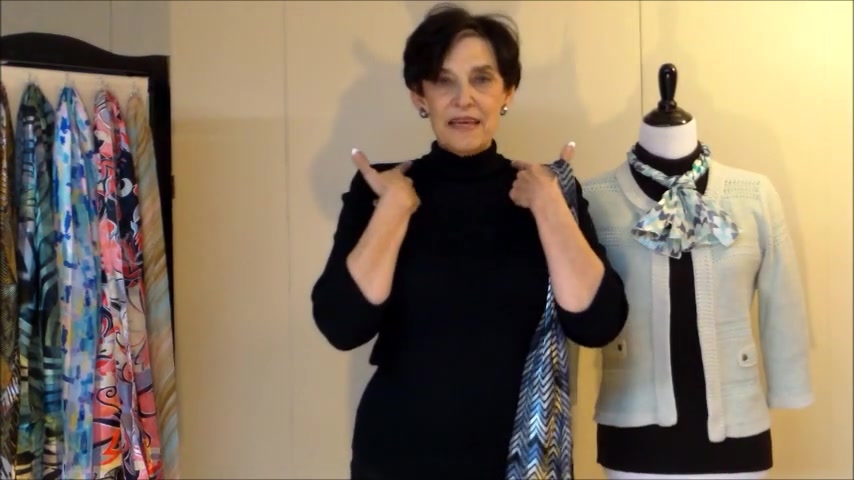
Now , if you're reluctant about scarves because your neck is either wider or shorter and having that fluffy fabric under your chin feels uncomfortable or doesn't look as flattering as it could .
You can still utilize this easy through the loop scarf technique simply by twisting the length of the scarf before you bring it around your neck .
I've inserted one finger into the loop and twisted it until the fabric is firmly compacted .
Bring it around my neck .
Now , it takes a little more work to loosen the loop enough to feed the tails through , but then the loop promptly tightens up , holds the tail secure , you fluff the loose ends and this section around your neck is compacted or even forms of V , which works just beautifully and comfortably for shorter gals .
For more techniques on how to tie a rectangular scarf come back and join us for our scarf video number three .
Are you looking for a way to reach a wider audience and get more views on your videos?
Our innovative video to text transcribing service can help you do just that.
We provide accurate transcriptions of your videos along with visual content that will help you attract new viewers and keep them engaged. Plus, our data analytics and ad campaign tools can help you monetize your content and maximize your revenue.
Let's partner up and take your video content to the next level!
Contact us today to learn more.