https://www.youtube.com/watch?v=o4pUsK-pfGM
Create a YOUTUBE Banner with PHOTOSHOP CC_CS6 under 15 minutes in 2021! (Windows_Mac)
Hey , what's up youtube ?
It's your boy minus .
And I'm gonna show you guys today how to design a youtube banner .
Now , this is not complicated .
This is super easy .
What I'm gonna be showing you guys .
So don't even worry about it .
It's not that tough .
So to start , I want you guys to make sure you have Adobe Photoshop CC .
It doesn't matter or , or , or CS six , it doesn't matter what year it could be 2019 , 2018 , 2017 .
It just might be a difference in the kind of terms used within program , within the software .
So let's get right to it .
The first thing you want to do is download the Channel Art template , which I will provide a link for you to , you know , get in the description .
So make sure you check in the description for the Channel Art template .
It's gonna be an archive folder and then you just have to un ach it and get this PSD for Photoshop .
So when you open this up , it's gonna , you know , just open up your Photoshop and basically open up the template that you've already download it and then what you're gonna do .
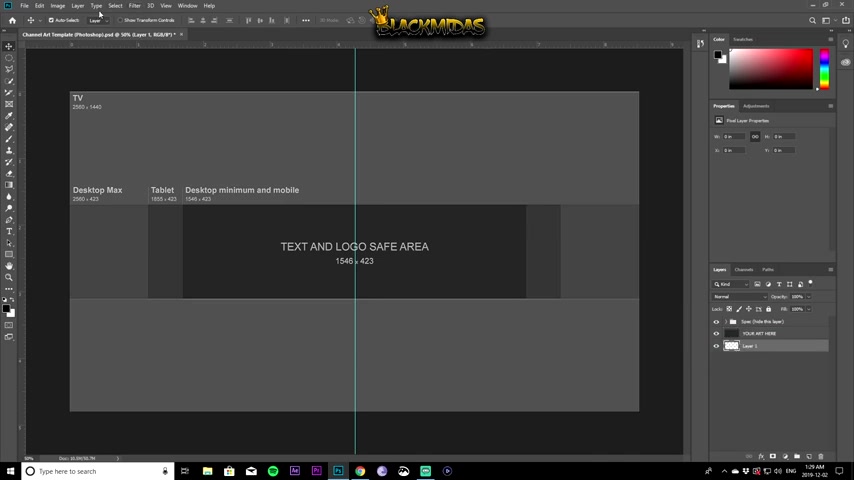
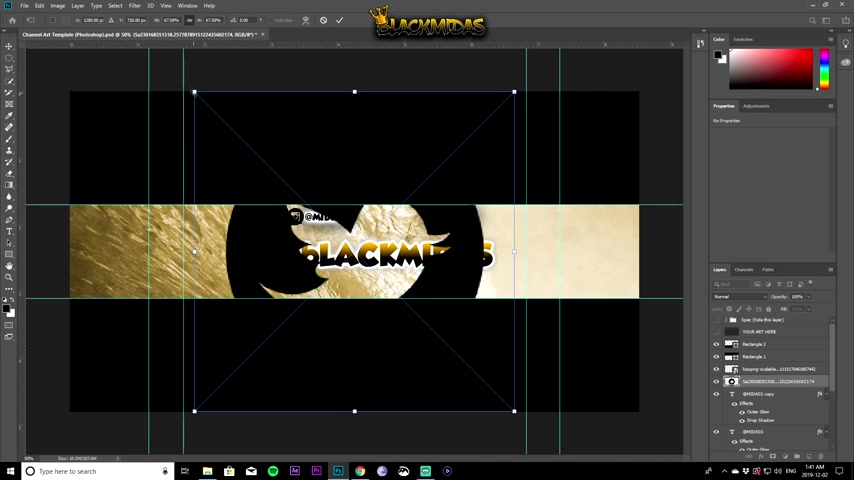
Next is now that you have this open , you want to make sure that you create a new layer .
So this is gonna be your background layer because you don't have any layers in here yet .
So you just want to create a background layer and put it all the way to the bottom right there .
Next thing you wanna do is go to view and make sure your rulers are enabled .
So as you can see right here , mine is already enabled .
So make sure you enable that .
And then you pull this line right here and all you have to do is set your parameters , just set your parameters .
So once you have your parameters set , the next thing to do is on is basically to hide the spec and the art .
Once you hide all that , the next thing to do is to draw rectangles , black rectangles at the top and the bottom .
So to do that , you gotta set your foreground color to black .
As you can see , I already have a mindset to black .
All you have to do is just click that square and choose black , select .
OK ?
And then choose the rectangle tool right here and then just draw two rectangles .
Make sure you don't get past these lines .

That's why you drew those parameters in the first place .
Now , once you have that done , the next thing to do is put in your background .
I already have mine downloaded , but I'm gonna show you guys where you can , how you can get really , you know , high quality background photos .
So you wanna go on Google and search up anything .
So I got waves opened up right now .
Make sure you have HD at the end of , you know , whatever you search up .
So you can , you can search up .
I don't know if you play Grand Theft Auto .
Let's say you , you , you know , you play like a lot of video games , then you wanna search out something like this and you can , you can use these , you know , these as long as the solution is at least 1920 by 10 80 you should be fine .
So you get what you want here and then you grab that .
You also , I usually like to use a grunge background .
It's like a grunge um texture to mix with my background .
So you can also look for a grunge .
You just search out grunge background HD the same thing and then there's different colors , different styles .
I already have mine downloaded .
So I just want to show you guys where you can get this also , you want to get your fonts ready to go because this is what you're gonna be doing next is using fonts .
And the best thing to do is go to this website dot font dot com .

This is the best , you know , place to get free fonts , you know , different kind of F fonts , all kinds of fonts .
It's crazy .
But my favorite , usually brush trash or handwritten .
These are usually the ones I use the most you can use whatever you want .
Just go around and , you know , mess around and see what they got .
But I already have mine downloaded .
Like I said , I , I , I've already , I've already downloaded everything .
So you guys , you know , you can , you can basically look at the name of my fonts if you want to use it and then just search it up here , you'll find it .
It's that easy .
Also , one last thing is you want to go to this website right here .
I'm gonna have the links to each and every one of these websites in the description .
So don't worry about that .
You want to go to clean PNG dot com , look for social media icons , you can use whatever kind of icons you want , but look for individual icons .
So you see Twitter , I already have that open .
So you look for whatever media icons you , you know , you use , you want to use .
So it's up to you or you can just forget about using social media icons and you know , have your youtube banner more plain that way you can use like the embedded links that they already have .
Like youtube has these new links that you can just , you know , put on your youtube banner .
That way you don't have to use these or you can just use these up to you man .

But let me show you guys how to do what I'm saying .
Now let's get back to the video .
I'm gonna open up my two backgrounds , my grunge and my waves background , which I already have downloaded as you can see waves right here .
I'm gonna pull this in here and as you can see it's a full cover that's because of the resolution and you just pull it down to underneath both rectangle layers as you can see right there .
And once you have that done , you want to go and pull in the grunge , I have mine right here and just pull it right in there .
This is a little bit smaller , but I , I really wanted this grunge .
So I'm gonna keep this grunge .
I'm not gonna expand it .
I could , but it doesn't really matter because I'm gonna be , you're , you're gonna in a second what I'm gonna do with this grunge .
So you can see it's underneath , it's where it's supposed to be .
You want it between , you want it to above the waves .
Basically , once you have it there , you can change the opacity .
I would usually put mine at like half way through about 50 but then I have to expand this because it doesn't look as good .
So with the full grunge now , it looks better .
It looks like like waves with like a little bit of , I don't know what , what , what I call this , but it's up to you , it's up to you .
This is just for the purpose of the video .
So you can also come here and mess with a bunch of the different blend modes .
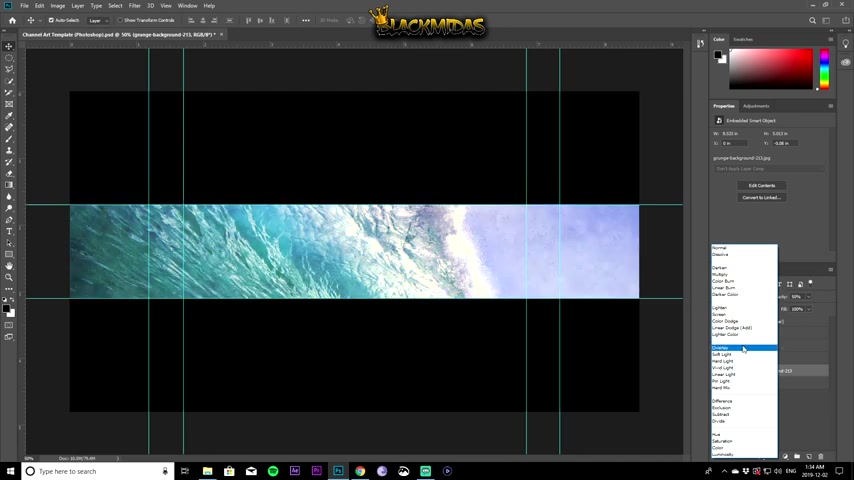
The blend modes will allow you , you know , have different kind of styles , mess with the blend mode and the opacity and then you can have something pretty nice .
So I usually would go overlay if anything because it just overlays the grunge over that So you can try that .
You can do whatever you want .
I'll keep it at that right now for uh like at this right now .
So next thing you want to do is you want to make sure you're clicking on the waves and then go to adjustments and go to human saturation , then you click color eye .
So now this is my favorite part .
You want this human saturation to definitely be above the grunge .
You want , you want your grunge to be between the human saturation and waves .
You can also put it below here .
It's up to you .
It will matter .
What's your , what , what I'm trying to explain to you guys , but you know it's up to you do what you need to do , man .
So for the heel , you , you can , you can use this to change the color of your black background .
So you can see what I'm doing with mine .
I don't know if you guys can see this , but I'm gonna go with something more like almost gold right there and then your saturation is gonna increase like the brightness or whatnot .
See you see that .
So I'm just gonna keep it right here .
The lightness is also gonna obviously increase or reduce the , you know , brightness of the , of what you got .
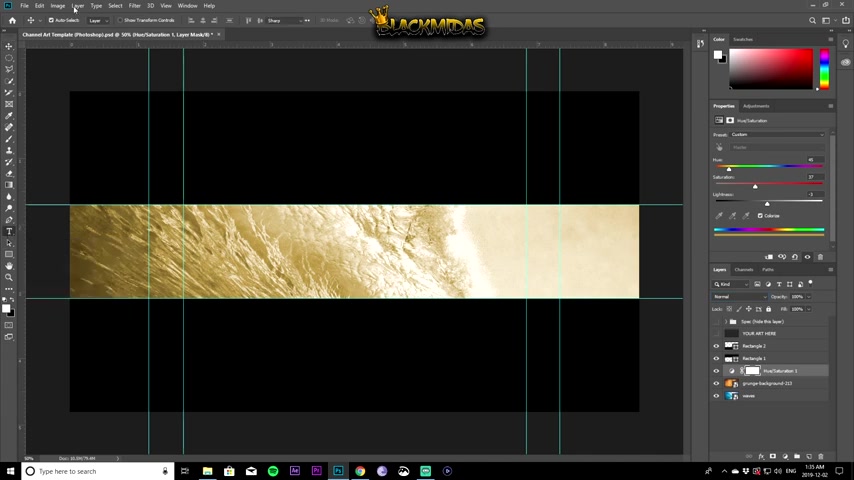
So I'm just gonna keep , you know , keep this where it's at so you guys can mess around with the controls and go go , you know what you need .
So next thing you want to do is put in your text .
So I'm gonna be using a pro cry .
That's what I I'm gonna be using it for my main text and I'm just going to type in here black M because that's my name or my youtube name .
And next thing we're gonna do is we're gonna resize this image and to do that , we need to , we need to press control T on windows or command T if you're on Apple Os and then you hold down alt the alt button and then you resize the image , just drag , just drag , resize to however large you want it to be .
So it's up to you how you want it to be .
Just put it as large as you need to be .
You could always modify this , change it as neat as you know , as needed and then you hit the check mark .
If you wanted to align this to like the center , I'm gonna show you guys an easy way to do it .
So you make sure the layer is selected and you click control a to select the whole thing , then you go over the layer align layers of selection and then vertical centers , you see it that's aligned down there .
And if you wanted to , you know , get it to like the center horizontally , which I'm not gonna be doing .
I'm just gonna show you how to do it is you come down here and you click horizontal center as you can see .
So I'm just gonna go back one step so I can just , you know , show you guys how I'm gonna make this one , but I'm just showing you guys how you could do it if you wanted to send your text .
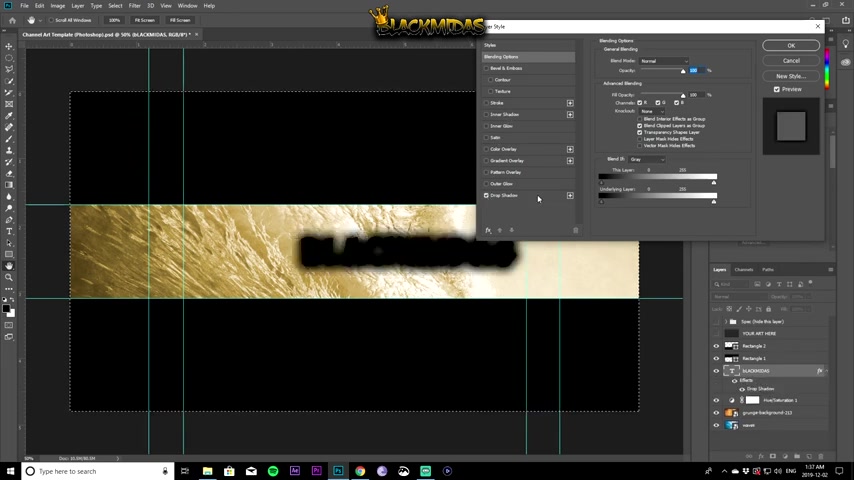
Now , the next thing you want to do is you want to blend , you wanna , you know , adjust the blending options of this so you can make it more pop , you can make it pop a lot more .
So the first thing you want to do is you want to put a drop shadow .
I usually like to put a drop shadow first so it darkens it and then I can , you know , make it brighter .
It's up to you how you wanna , how you wanna do it .
So I usually keep my distance at zero .
It's just for anything .
It doesn't matter .
I always keep my distance at zero and then you can mess around with the size and the spread and see what you like out of glow is also not as you can see , I have white right there .
I could put any color I want , you know , you just click on it and then you can click right here to change the color .
So I like white .
I'm gonna go with that and then you don't want to know you want the settings to be similar to this .
You can always mess around with these ones , you know , you can mess , mess around with them to see what you like .
And for the color overlay , I don't like using color overlays for just because they're pretty boring or just bland , but it's up to you .
You can just use that because boring is sometimes a lot more than you know , too much .
Now .
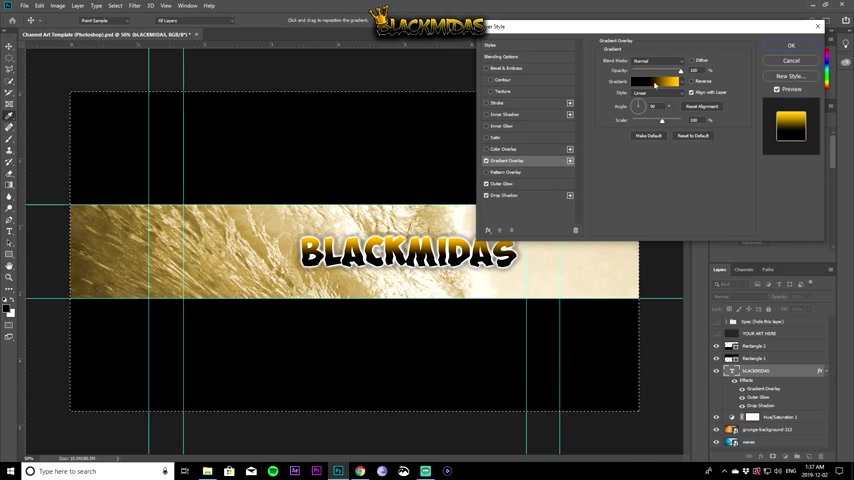
Grade and overlay is what I would usually use for my channel .
But like you can use whatever you want .
So grade and overlay , you can click on the gradient right here and choose whatever style you want .
You can even edit the styles like clicking these little square , I um square things right here and just click .
OK ?
And OK .
Again .
So once you have this here , you can also do one more thing .
So you want to put a stroke because I would like to , I would usually put strokes on my main like text you , you know , to make it pop a lot more .
Now I got maybe even bring up the size of the drop shadow or the glow as you can see , I can increase that , but it's up to you .
I don't know if this looks good but whatever looks good to you guys , you can , you know , mess around with .
But um I have this done next thing to do is to put your social media , you know , icons .
I'm only , I'm only going to be using two for this video just to make it as short as possible .
You can use as much as possible .
Two will be enough for me to show , you know what I want to show you guys , you know with that .
So before we do that , do you see these little dotted things around here ?
If you want to deselect an item , all you have to do is press control D or command D on apple .
So once we have this done , next thing to do is like I said , create a text , I'm gonna be using a different fund for this style .
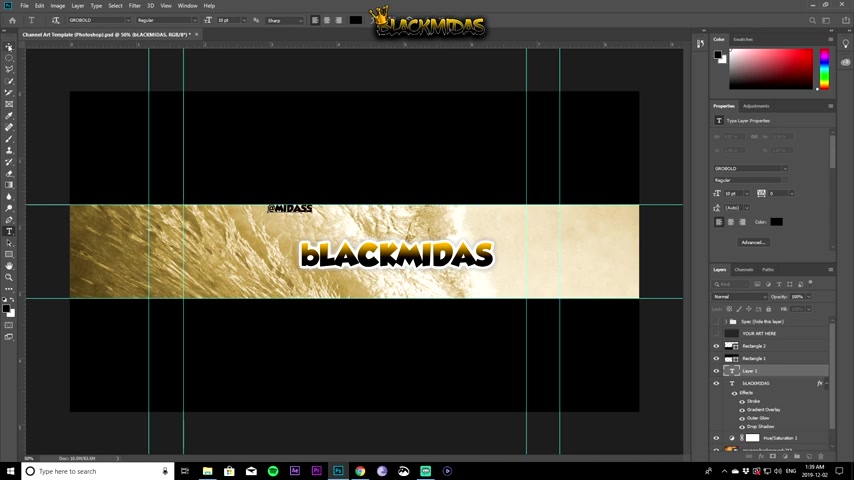
So grow bold is my go to text for this one .
So I'm gonna put on for the purpose of this video at my .
It is that's what I'm gonna use it as my handle .
That is not my handle for any social media , but I'm gonna use it for this for this video .
So we're gonna adjust the blending mode or the blending options on this as well .
Just like we did with black M is it's a little bit messed up .
Right now , I'm gonna adjust that in a second .
So the first thing you want to do is put on like a out of glow .
I , what I usually put and then I put on a drop shadow as well as usual .
You can always tweak these , you know , spread and like size just to make it darker if you want .
Like look at that , it's just changing it up and then you can put a stroke on if you want , it's up to you .
You can do whatever you want , man .
It's crazy like that .
You can even change the color overlay to gold , black , white , whatever you want .
But I'm just gonna leave it at black for the purpose of the video .
So I'm gonna click and then we're gonna click .
OK ?
And then the next thing to do is we're going to duplicate this layer .
So you can click , you can right click and then click the duplicate layer option here or you can just press control J or command J on apple to duplicate and then just grab this , make sure it's selected minus copy and then pull it , just pull it .
You can align it .
You see , you see those little pink lines , they help you identify if you're , if you know if they're , if both of those layers are aligned .
So you see right here .
I got all three right there and then that's it good .
So you wanna put your icons ?
That's the next thing you wanna do , I already have mine downloaded .
I already showed you guys where you can get them from .
So I'm gonna put on , I don't know , I'm gonna put on Instagram and maybe Twitter .
So once you , once you pull it in here , next thing to do is to resize it .
I've already told you guys how to do that .
So you just have to press down the alt alt button since this is already selected and just resize right there and you can see the width and the height , 0.6 inches as you can see right there .
So it'll help you with dimensions for the next one .
So I will usually just reduce this first and just , you know , put it right here in front of this .
It's up to you how , how you want , you know , if you want it super close or not , what it depends on how you want it , but this is a little off screen .
So I'm gonna pull this down , have it right there and then bring this downwards as well .
This one's gonna come here and right here .
So it's aligned again .
So the next thing you want to do is you want to pull in your icon and then press down alt and resize as well .
You can , you see it , you can look at the dimensions right there as well , but I didn't look at it like I said , I'm just trying to make this video as quick as possible .
You guys can do all the extra stuff .
I'm not really gonna mess around with that .
Not for the video at least , but it's great to do all that to make your , you know , make your , make your thing look just as good .
So you resize it and you just click that .
So now we got it right there .
So I think I'd rather put this just a little closer to each other .
You know , it's all about how you feel , how you feel .
You want to have it .
Look , this is just me messing around with like what I got right now just for you guys to know what you're working with , what you could be working with , you know .
OK .
So we have , we have it right there .
I'm just gonna leave that right there .
The next thing I'm gonna do is I'm gonna adjust , I'm gonna fix this .
So that's back to where it's supposed to be .
And now next thing we're gonna do or next thing I'm gonna show you guys that you could do is you want to make sure that both of your uh social media icons are also popping with this little thing right here .
So you can just copy the layer style right here from one of your one of your um text layers and then paste them on your icon layers basically right here , paste layer style , paste layer style .
So that's it .
It's pretty easy right there .
Pretty simple .
This is just a basic version .
I will make an advanced tutorial if you guys want one of those .
But this is a , this is a basic tutorial .
This is all you need for right now .
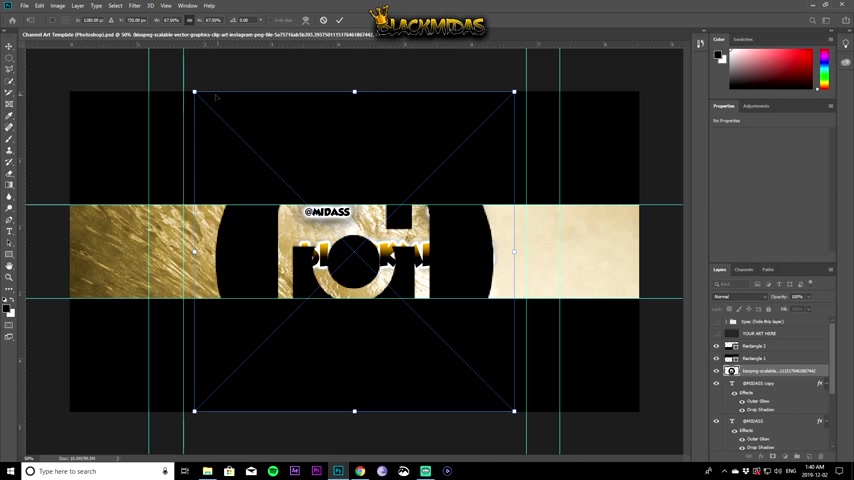
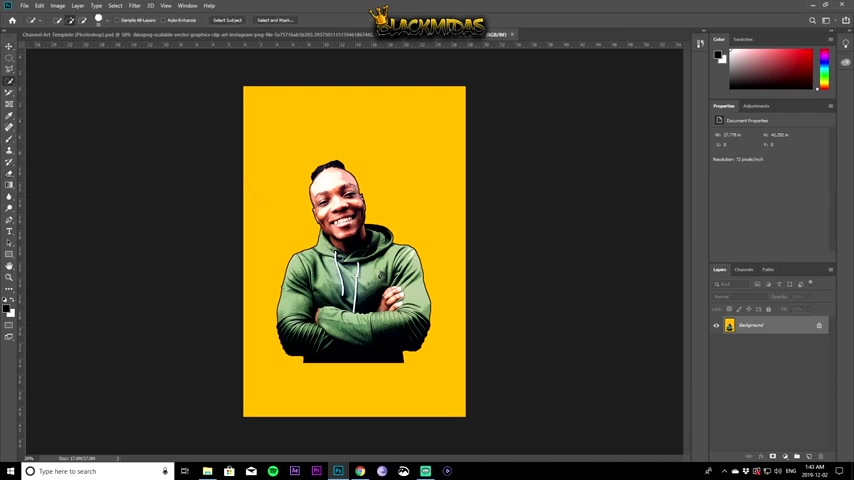
So the next thing I'll usually do is put an image in myself because III I like to have a channel where it's not really restricted to anything , you know , not telling me that I'm just a gamer or whatnot .
It's just me .
But if you have a , you know , a preference or if you have a , a niche you're going into , then you want to make sure you're putting images that's similar to that or you can just put an image of yourself because it's the internet , you can do whatever you want .
So I'm gonna show you guys how to do this .
So what , what I did right here was basically pull the photo in here and then I chose the quick selection tool .
Well , I zoomed in first by pressing Z on the keyboard and just zooming in .
And then I chose a quick selection tool and all you gotta do is select this , do it .
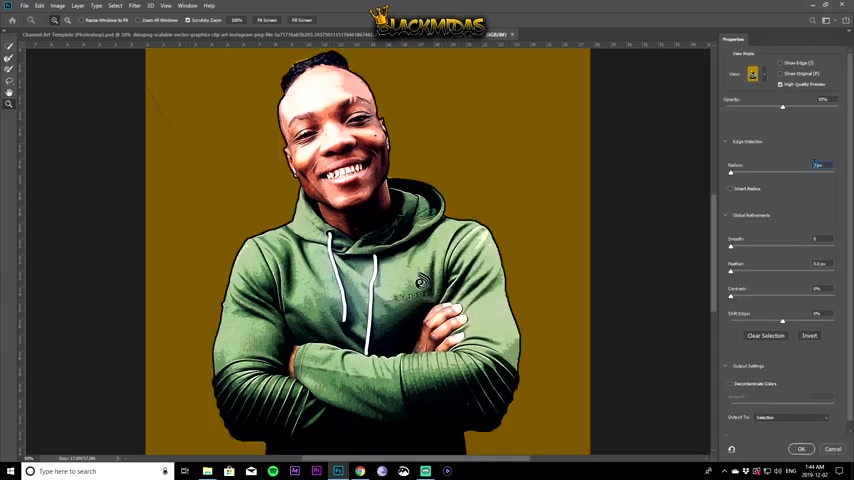
Once you have this done , you right click and choose , select the mass and you put your radius to two , you can put it , you can adjust as , as you see , as you see fit , just tweak it around and see how it works for you .
And then you can go from there .
I usually just do this as default because it doesn't really change much .
You can use this as well .
It wouldn't really do much or change much for you as well , but I use it like that .
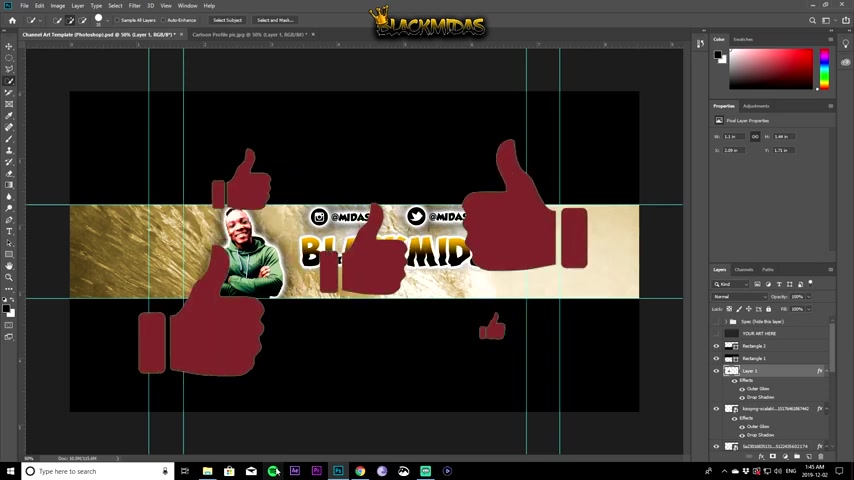
So then you layer your copy once you have that and you have your , your , your , your cut out right here .
So your cutout can be pulled into this one and then resize control tea or command t then press down the alt button and then pull the resize as you can see right there .
I have my little dude , right ?
That , that , that's me right there , man .
OK .
So you resize this and you just hit the check mark .
So then you go to blending options .
It's always cool to do that too .
With this .
You put your drop shadow out of glow , you can put even a stroke if you want it .
That's if you want it .
But I would , I wouldn't , I wouldn't put a stroke .
I don't like strokes on , you know , icons like this or sorry on images like this .
So that's basically it for this video man .
There's a lot more you can do with these things , but this is the most basic version I can show you guys .
So uh make sure you like the video if you like the video and make sure you click that sub button , you know , subscribe because we're gonna be rolling out these videos as much as possible .
Trying to help you guys get your youtube channel , started gaming , you know , lifestyle , fitness , whatever it is , man , these videos are going to help you out and it's your boy and I .
Are you looking for a way to reach a wider audience and get more views on your videos?
Our innovative video to text transcribing service can help you do just that.
We provide accurate transcriptions of your videos along with visual content that will help you attract new viewers and keep them engaged. Plus, our data analytics and ad campaign tools can help you monetize your content and maximize your revenue.
Let's partner up and take your video content to the next level!
Contact us today to learn more.