https://www.youtube.com/watch?v=z1S8s4fiQv4
How-to Tie Dye a Shirt Bullseye Technique
Hi , I'm Chris Thompson with I love to create dot com .
And today we're gonna be working on some basic tie dye techniques and you can find any of these tie dye boxes from tulip at your favorite craft store or you can always find them online at , I love to create dot com .
So let's get started .
Today .
We're gonna start off with the Bulls Eye technique , which looks just like this and it's super easy .
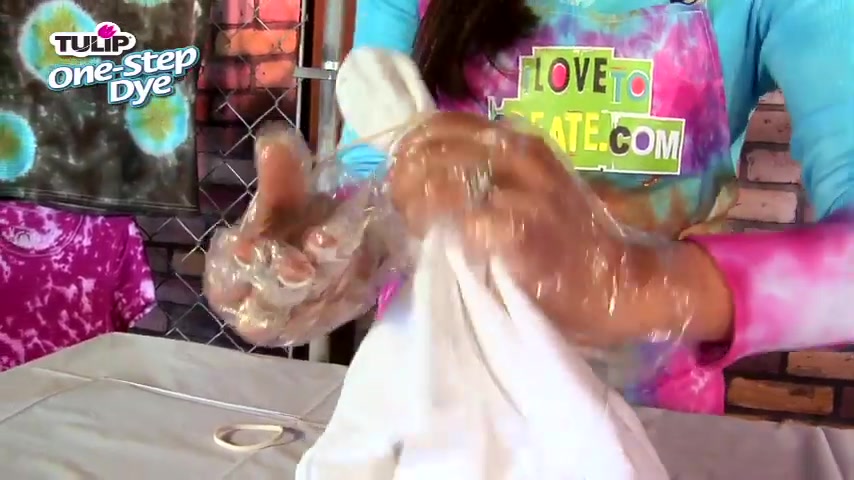
All you're gonna do is take a basic white t-shirt .
Now remember to always wash your shirts because you want to get rid rid of any sizing that might be in there , put on your gloves , always remember to put on your gloves .
Now these will come in your tie dye packaging too , which is nice and convenient , but you always want to keep them on because otherwise you'll have some really pretty looking hands .
Now , when you get your tie dye , it's gonna come like this in a powder .
The best thing about this , all you have to do is add water .
It doesn't have to be hot , it doesn't have to be cold , just any kind of water , put it in and shake it up and you're ready to go .
Now to get your technique , you'll start with your shirt , played flat on your surface , make sure that the surface you're working on is covered .
I like to use plastic table cloth because they're cheap and easy .
You'll start off anywhere that you want to put your bull's eye .
Right now .
We're gonna work with the center , pinch it right at the center and pull it straight up using your other hand and just guide it through like this .
Then you'll take your rubber bands attached to the rubber band about an inch to two inches down from where you started to pull at the center .
You'll continue this process .
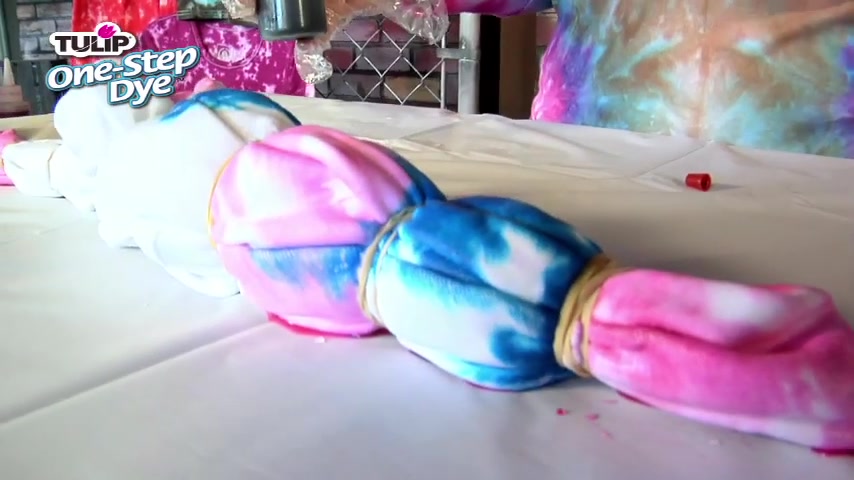
Add another rubber band here and keep going all the way down until your T shirt looks just like this .
Then you'll go ahead and lay it flat on your surface .
Take your dye , give it another good shake and then apply your color and just squeeze it on out just like that .
And you can alternate colors just like this .
Just go maybe every other one or even every two .
Now , repeating the same process by adding water .
Just take your next color .
Start loading that dye on a good thing to want to try to make sure is as you can see like right here , it kind of got a little meshed up , mix the colors together .
Normally , it's not that big of a deal , but if you're working with more than two colors , your colors can kind of tend to muck up and get really muddy , maybe create a color you're not really interested in .
So if you want , you can always leave a nice little gap in between your colors just like this because eventually the dye will bleed through .
And then once you're all done , you can flip it over and start adding it on the other side , make sure you're not worried about adding too much or not enough in one particular spot because you wanna make sure it soaks all the way to the middle .
When you're all done , you'll set that aside for about 4 to 6 hours , rinse it out and then get a nice looking bull just like that .
Are you looking for a way to reach a wider audience and get more views on your videos?
Our innovative video to text transcribing service can help you do just that.
We provide accurate transcriptions of your videos along with visual content that will help you attract new viewers and keep them engaged. Plus, our data analytics and ad campaign tools can help you monetize your content and maximize your revenue.
Let's partner up and take your video content to the next level!
Contact us today to learn more.